Post by Dennis on Oct 16, 2016 23:05:57 GMT -5
Banger Geek Progress!
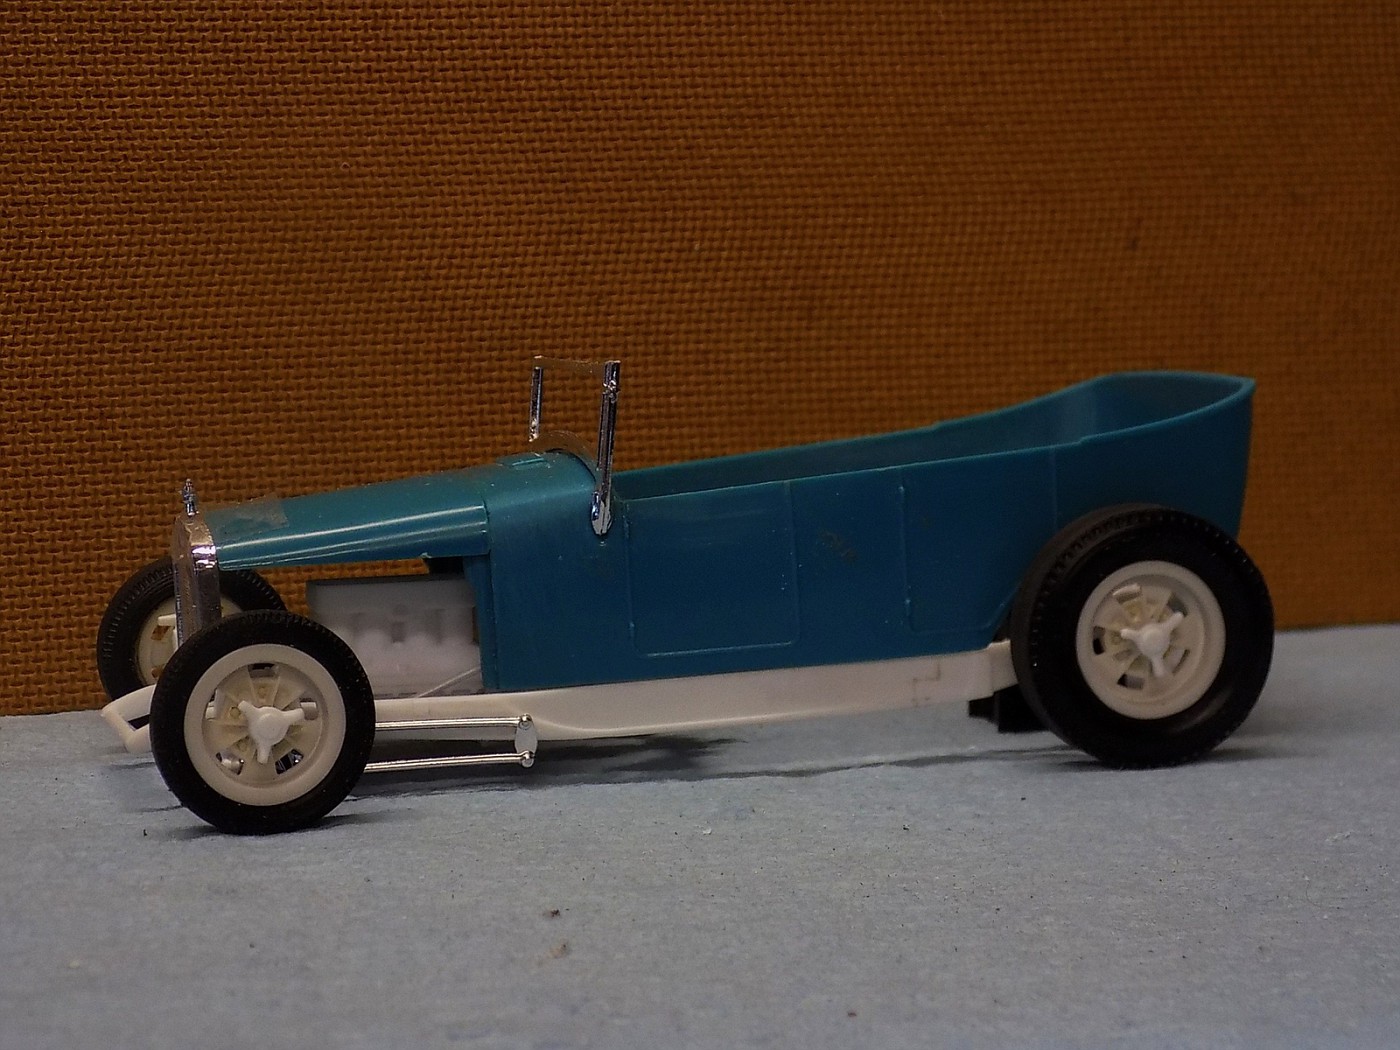
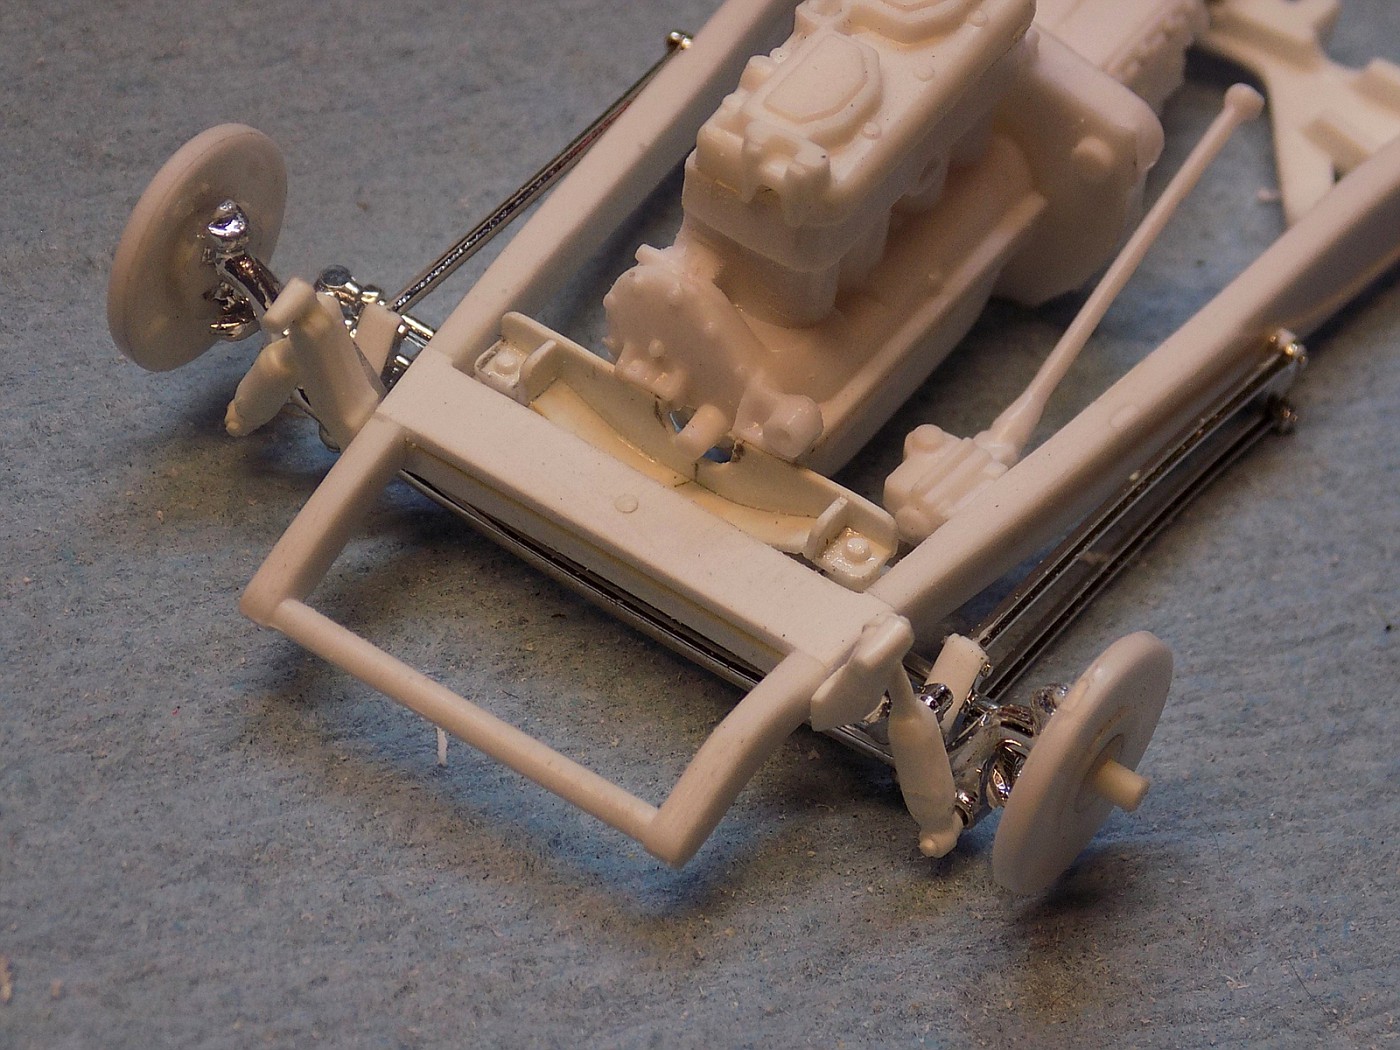
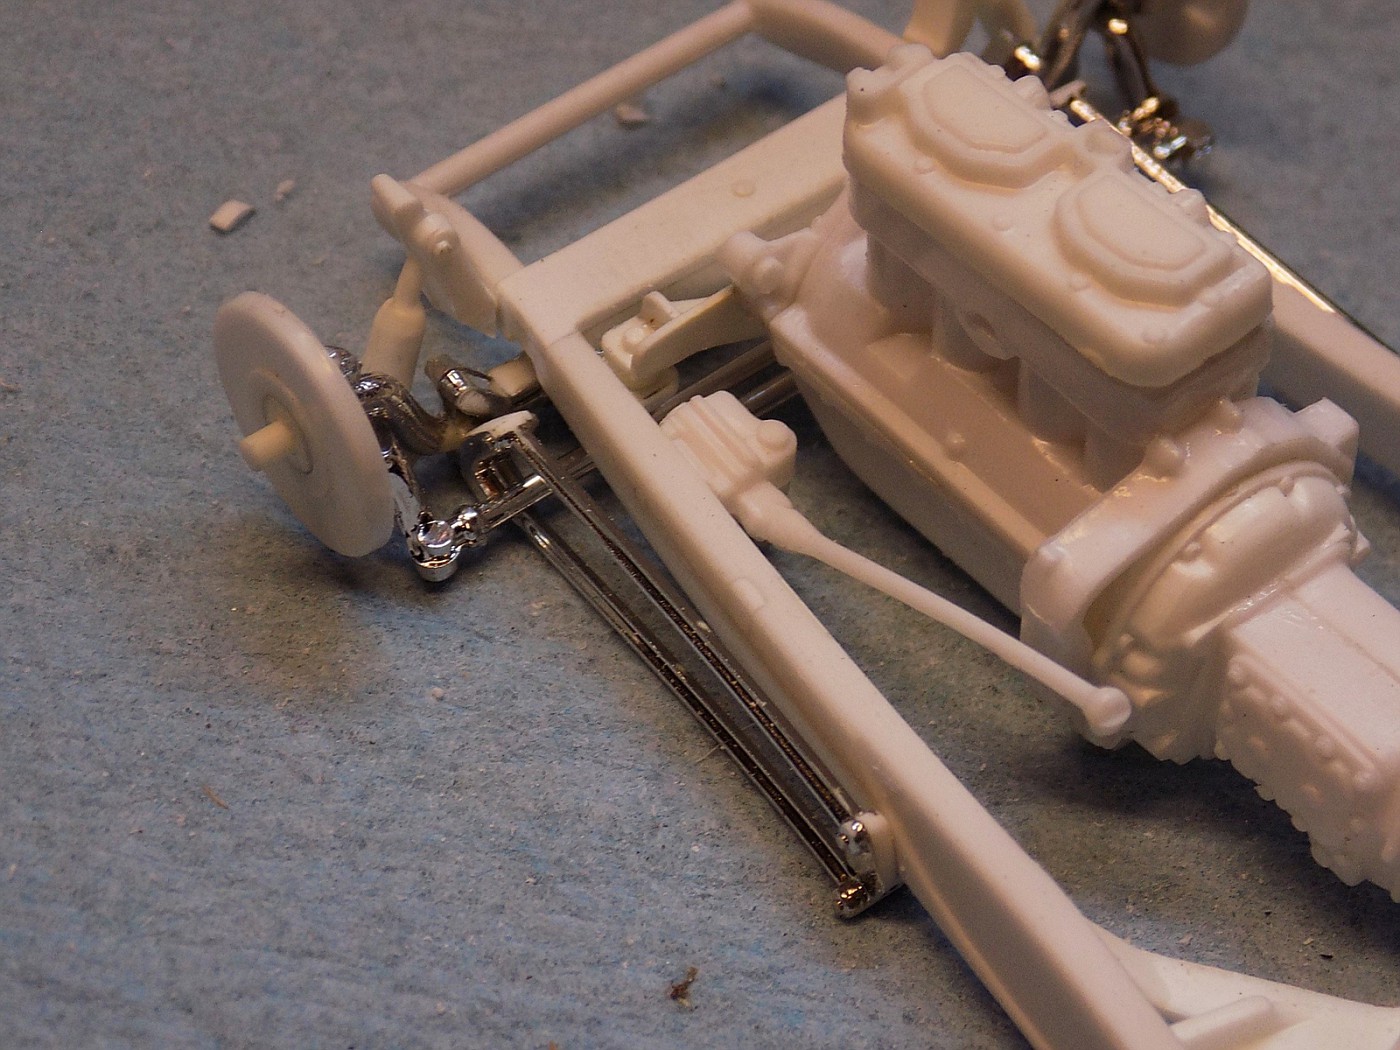
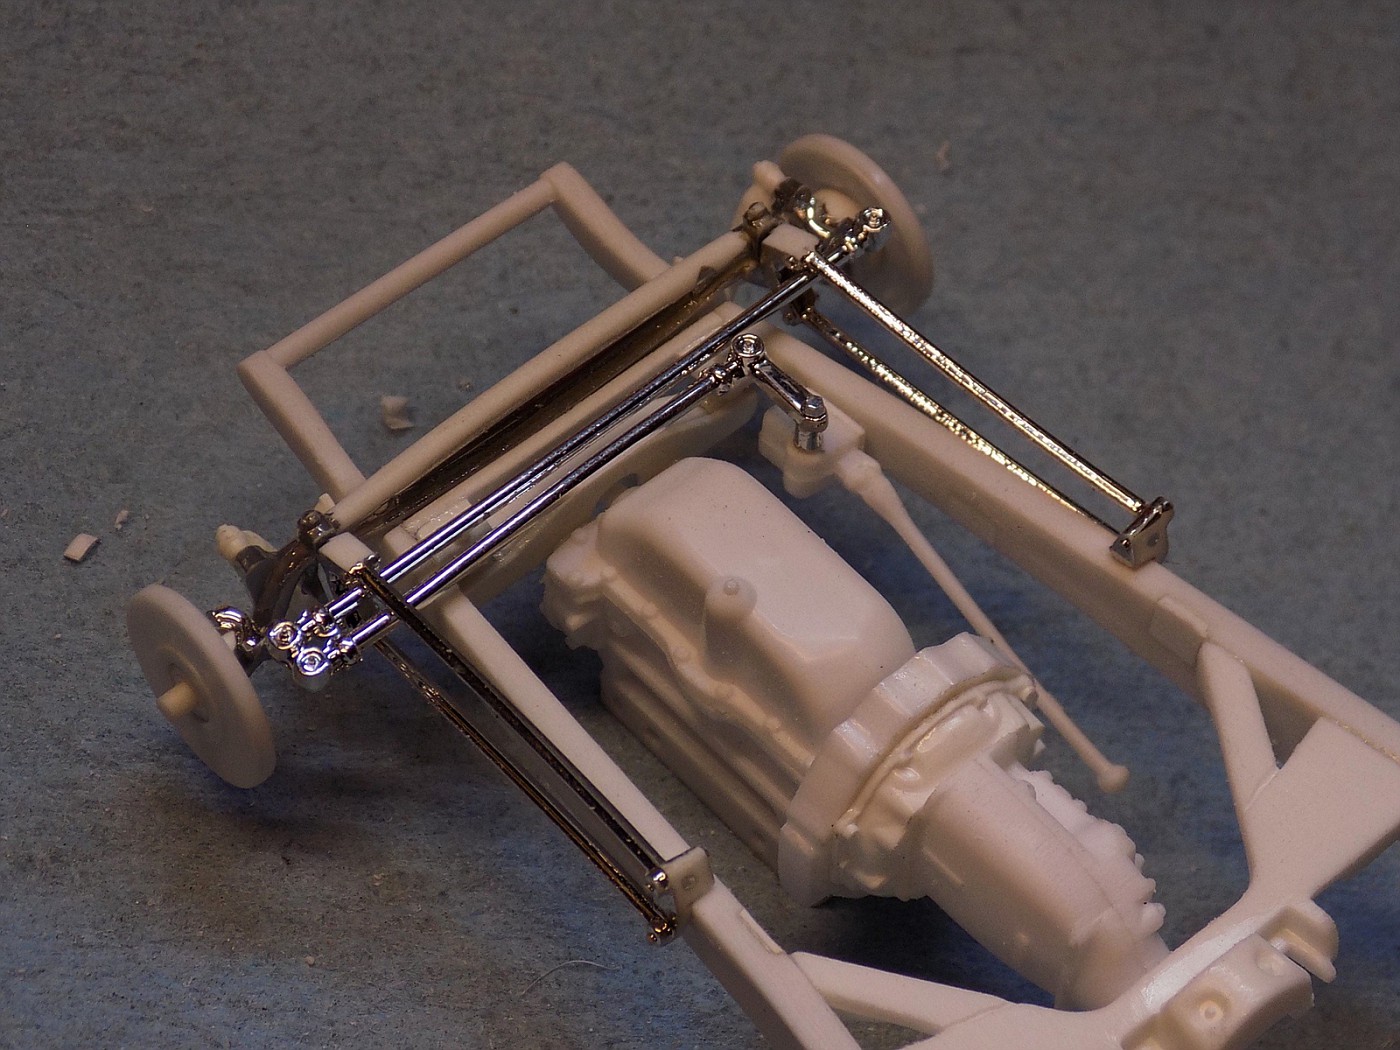
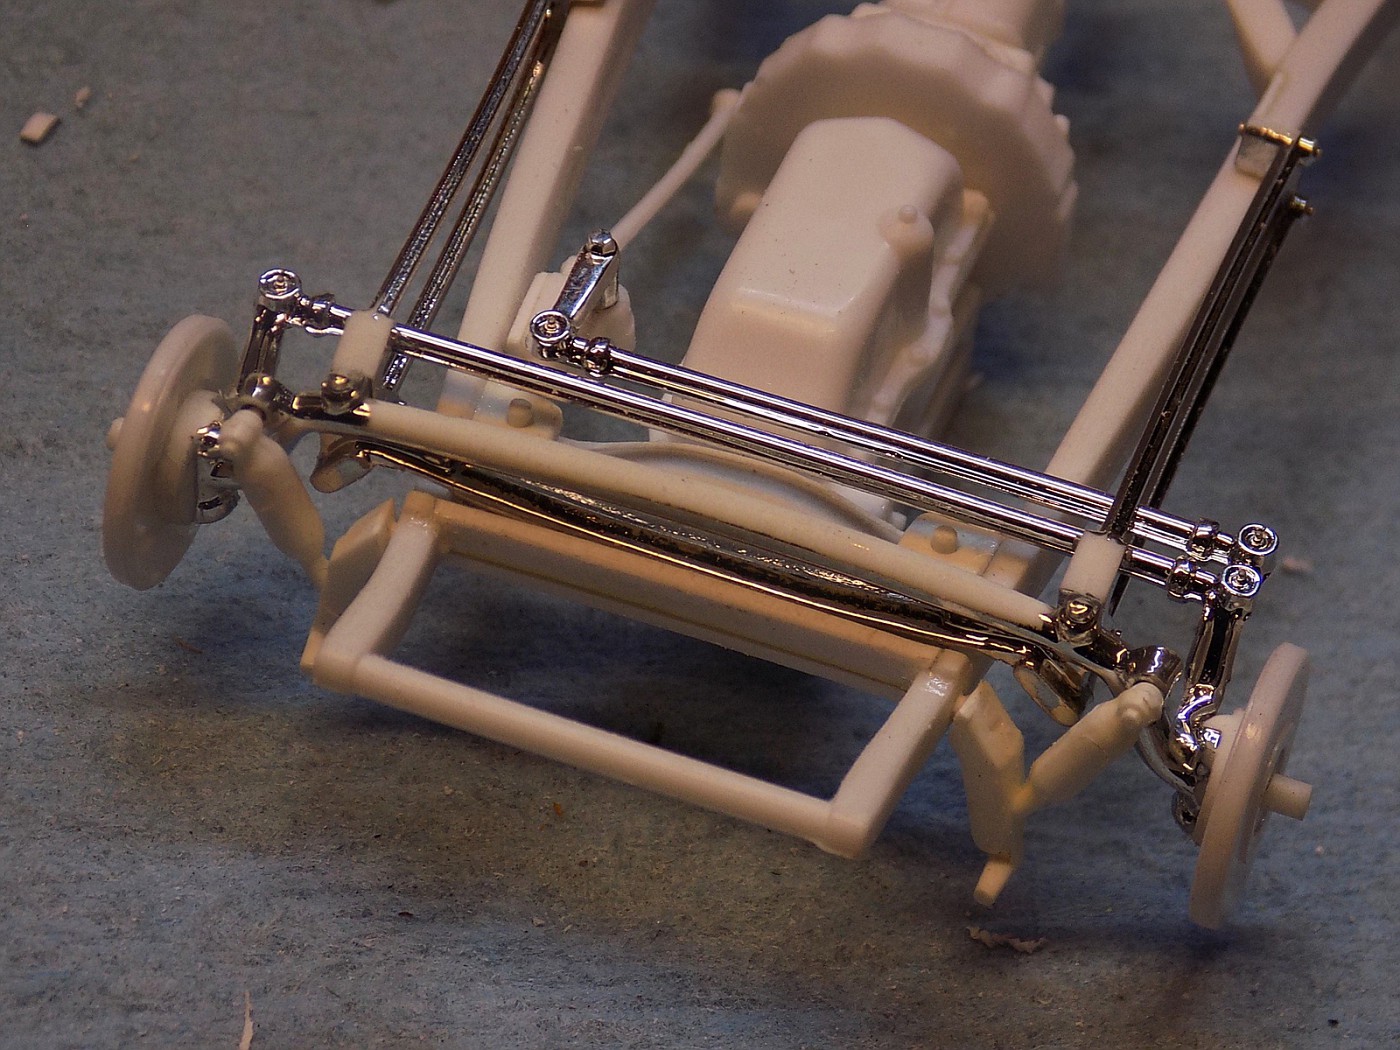
Completely engineered the front suspension and steering. It's all from the Revell '32 Ford series, the first Roadster specifically. The axle got its original mounting/alignment tabs trimmed off then I center drilled the spring and installed an .040" pin which fits into a corresponding hole in the cross member. The 4-bar radius arm frame-ends are pinned through the bottom of the frame. I added some material to the frame-side notch in the steering gear then inserted a mounting pin through the frame rail. I then drilled the steering arm and bottom of the gear box so that they pin together. The front shock mounts got trimmed where they attach to the frame and are pinned as well.
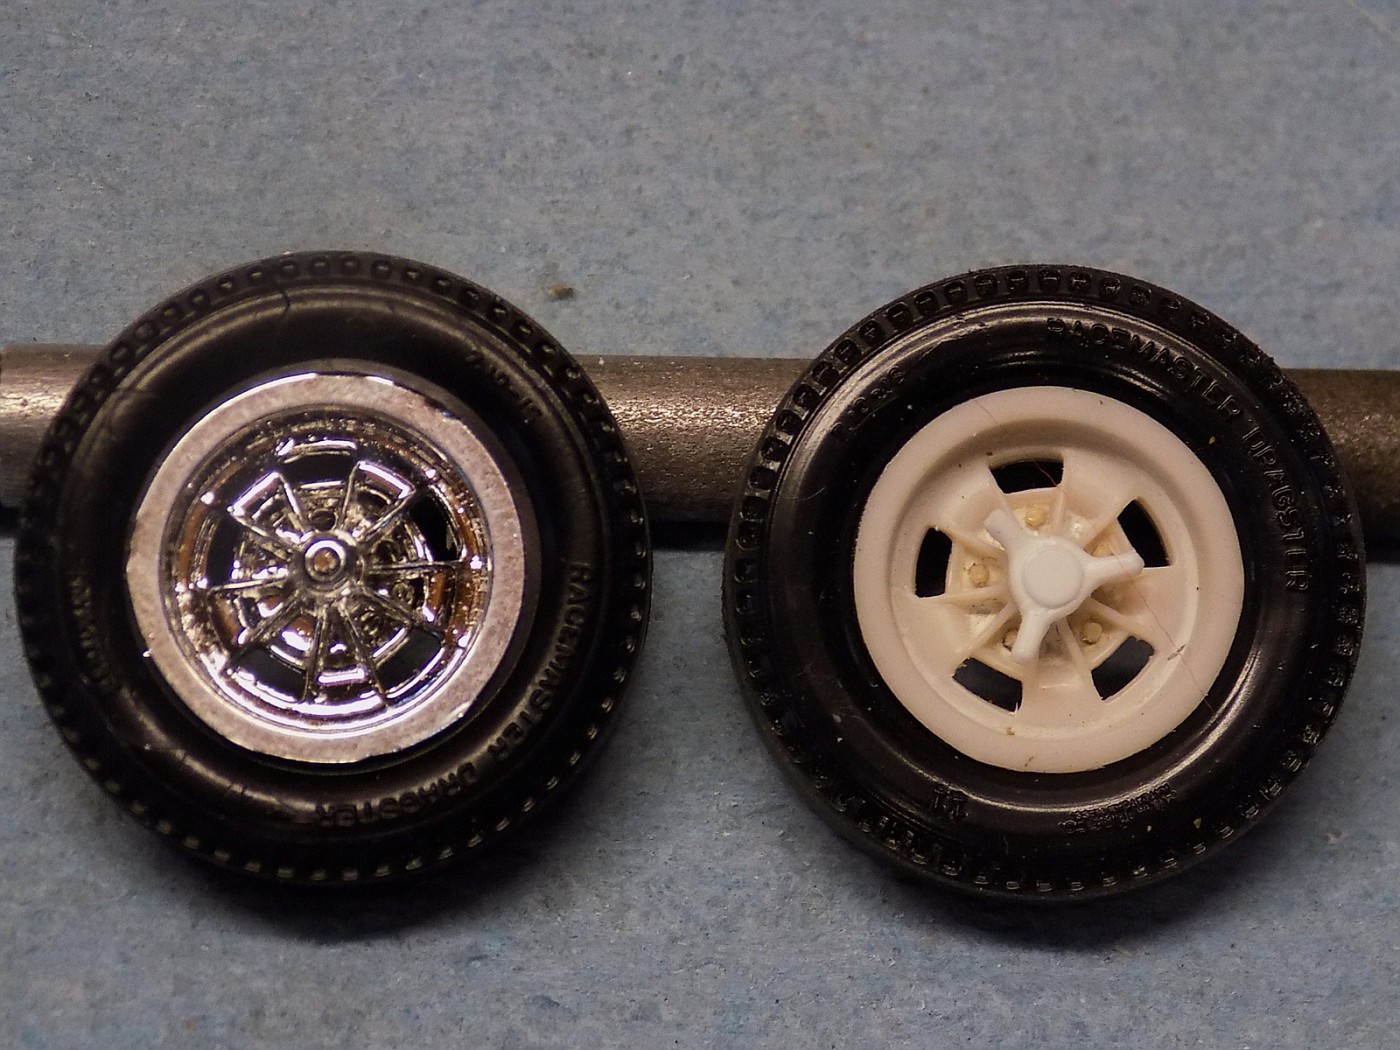
I then cleaned up spindle area of the axle, fitted Revell '40/'48 Ford brake plates and installed 1/16" mounting pins for the wheels.
I went with the 4-bar radius arms over hairpins or split wishbones because things like this were starting to show up in the mid-60's and it just felt appropriate as a means of further separating the rest of the 60's-built car from it's 30's technology engine.
 Hosted on Fotki
 Hosted on Fotki
 Hosted on Fotki
 Hosted on Fotki
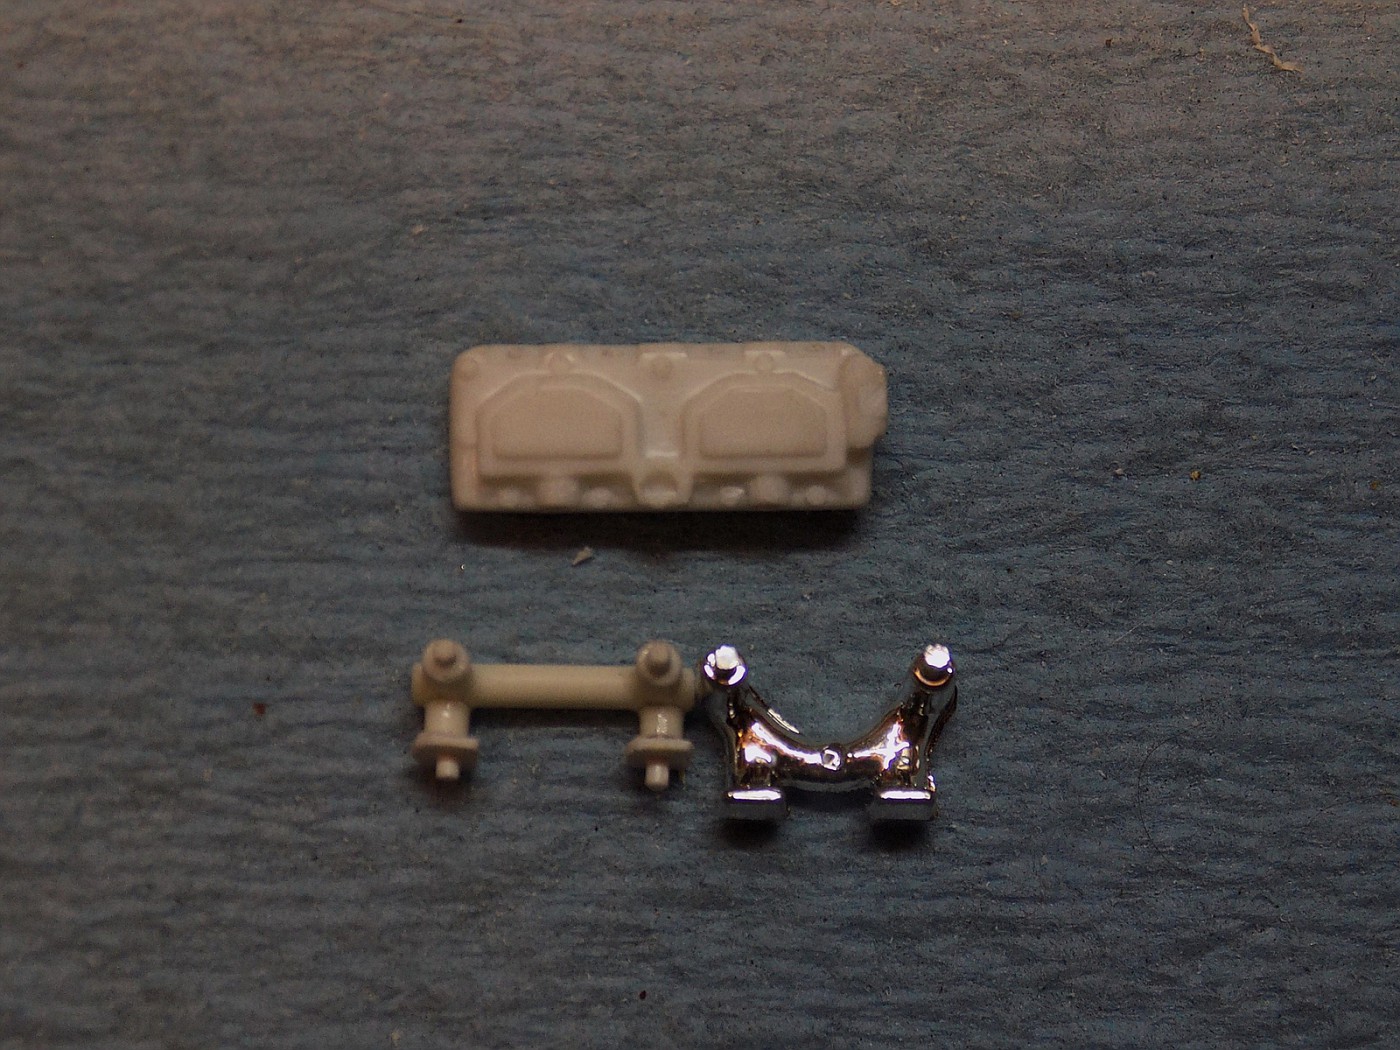
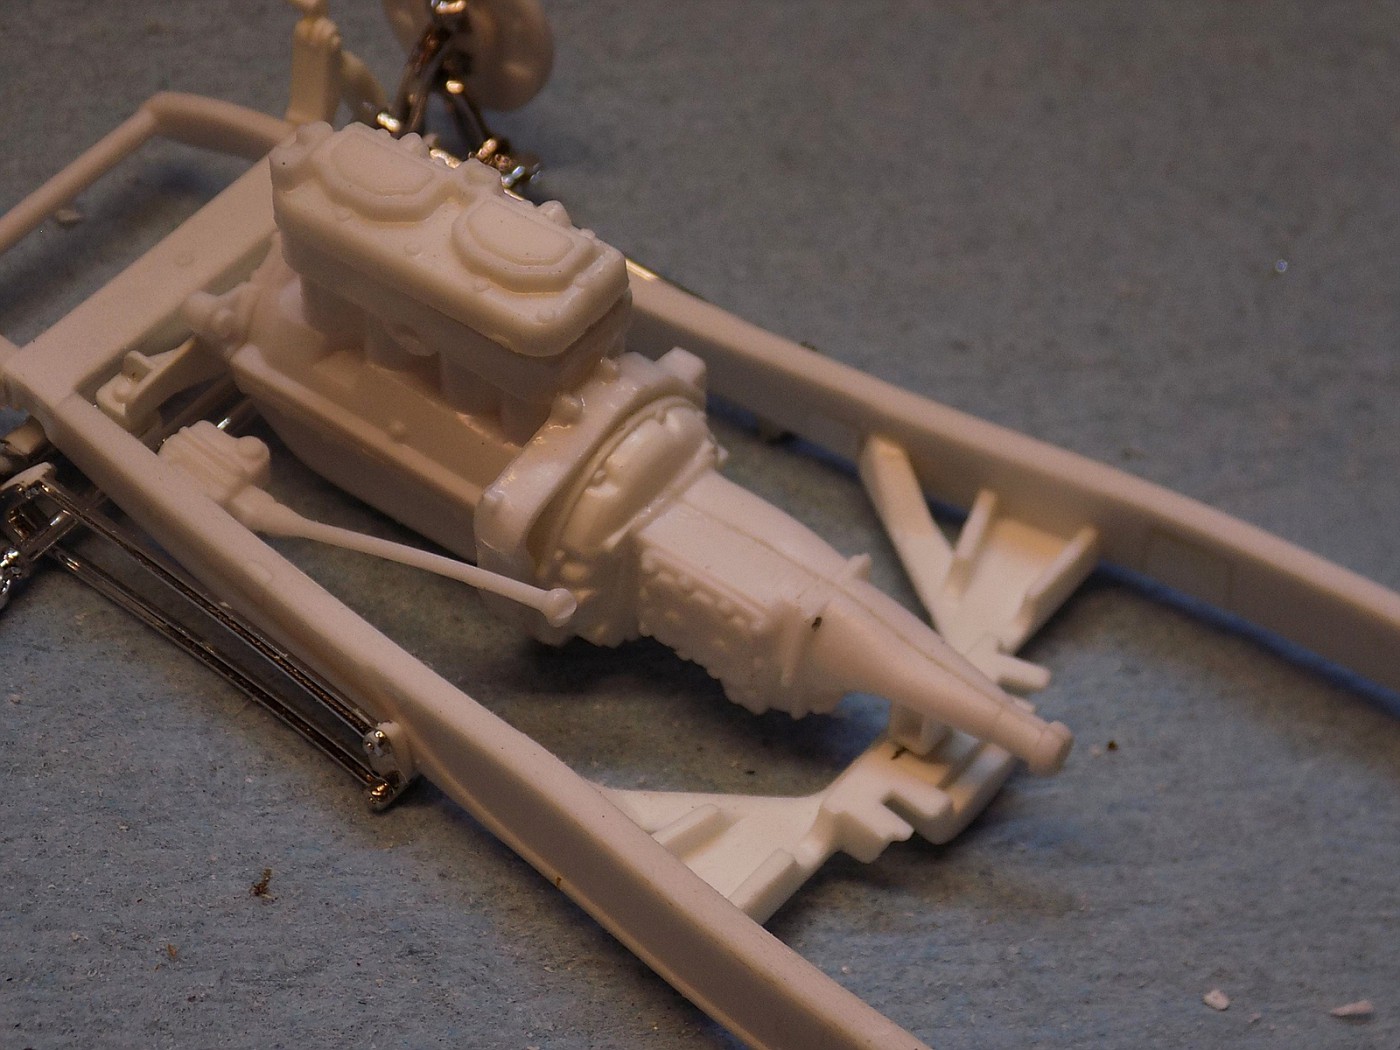
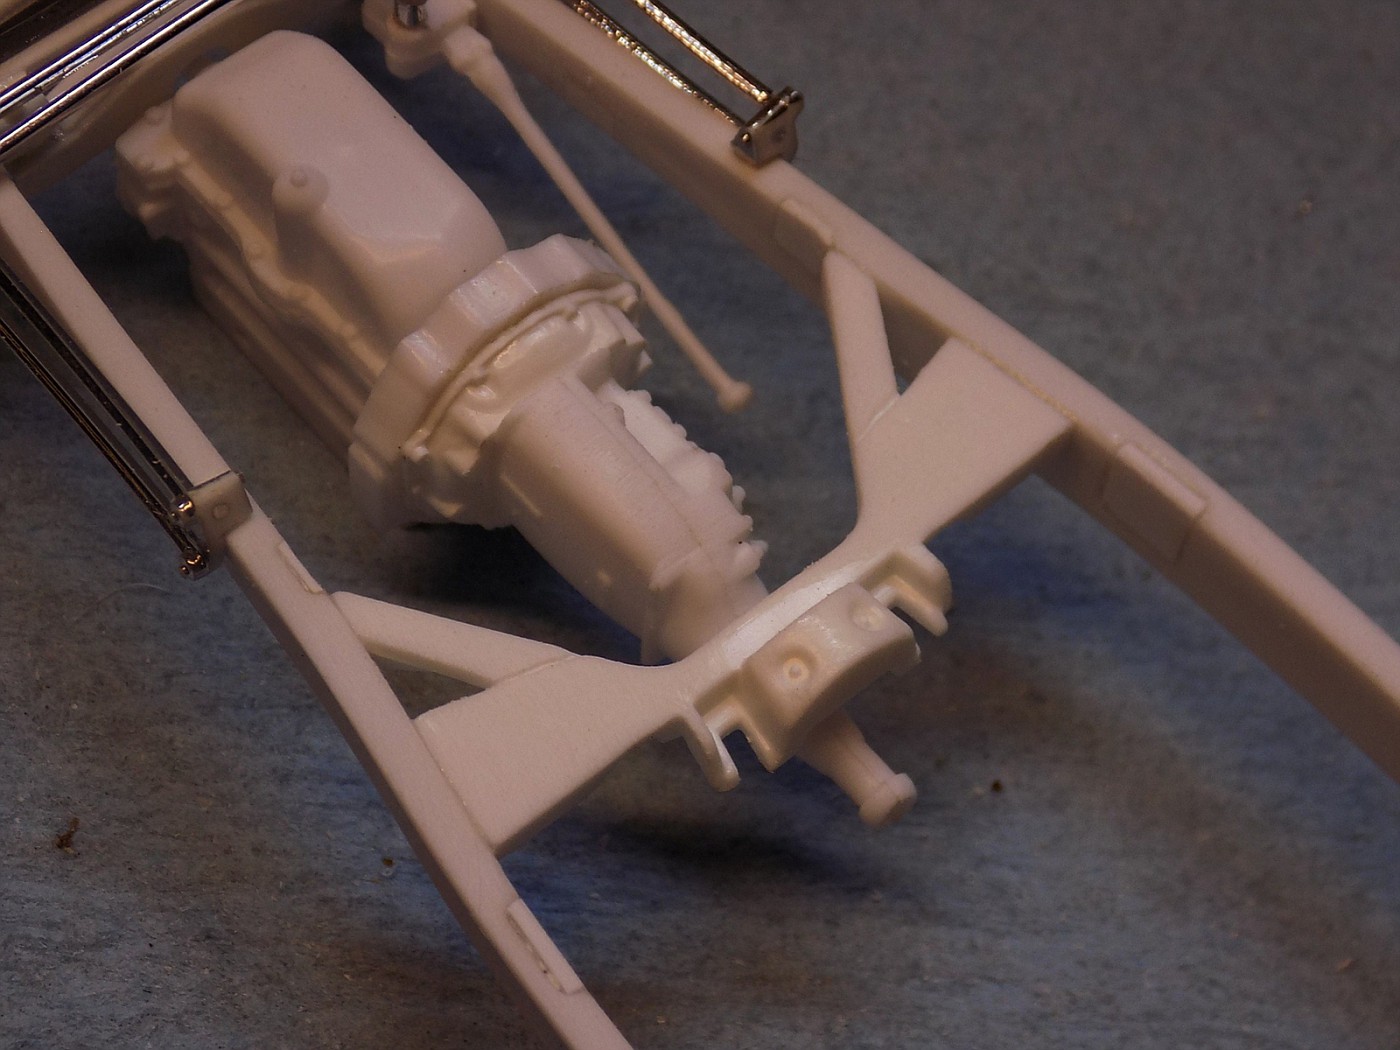
I found that I had the bell housing and 4-speed trans that had been cut away from the Hemi engine in Revell's '32 5-Window so I cut the trans away from the bell housing. I then grabbed the trans adapter from the Olds engine in the Ed Roth Beatnik Bandit. The adapter has good detail and I think this should be convincing enough.
With the trans set up I rummaged through my frame parts and found that with just a touch of sanding that the center K-member from the Revell '32 series would fit the frame nicely and also provided the needed trailing arm mounts for the future rear axle. I'm still need to add material across the back span so that it is the full height of the frame rails.
At this point I also spent the time to fill in all of the various mounting notches in the frame rails. Won't be needing any of those!
 Hosted on Fotki
 Hosted on Fotki
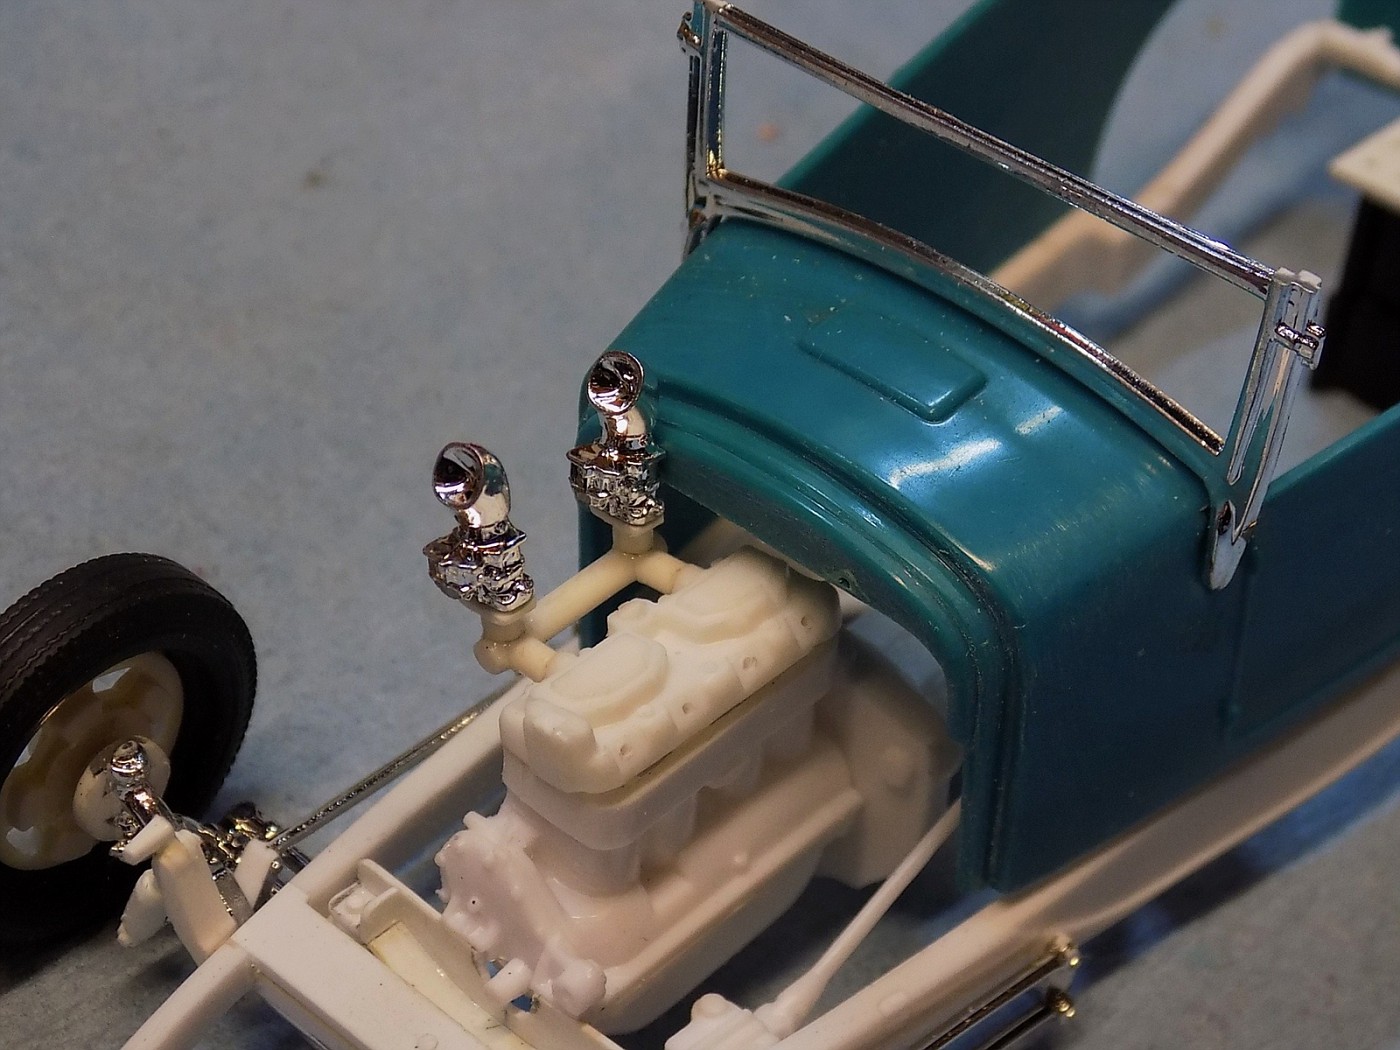
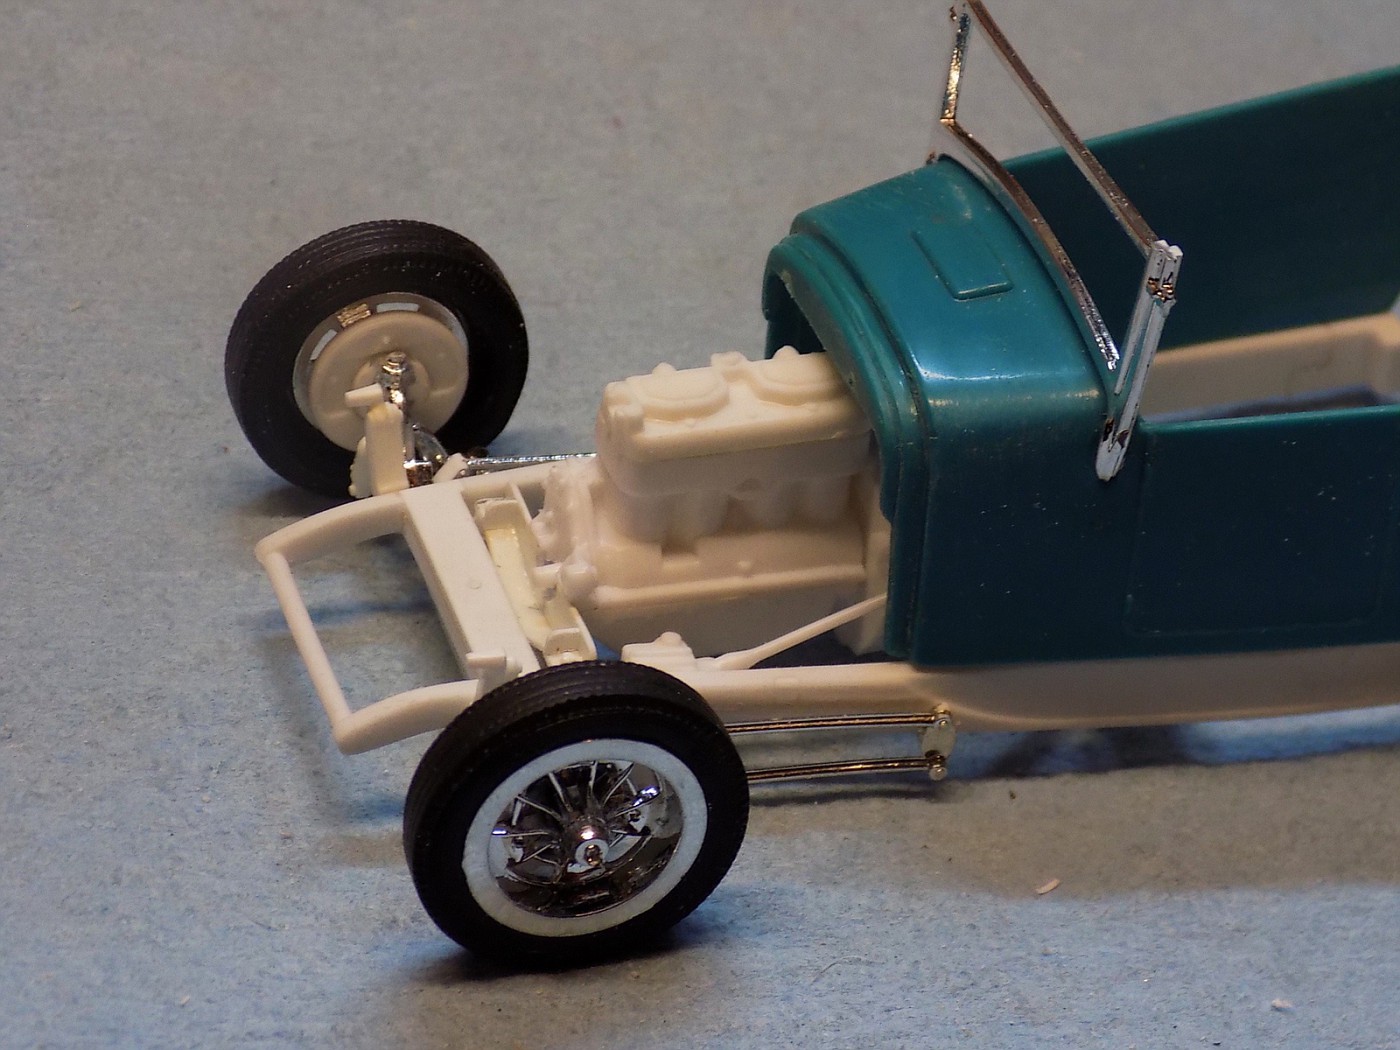
Definitely going to need a recessed firewall!
 Hosted on Fotki
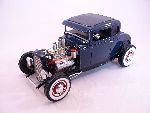
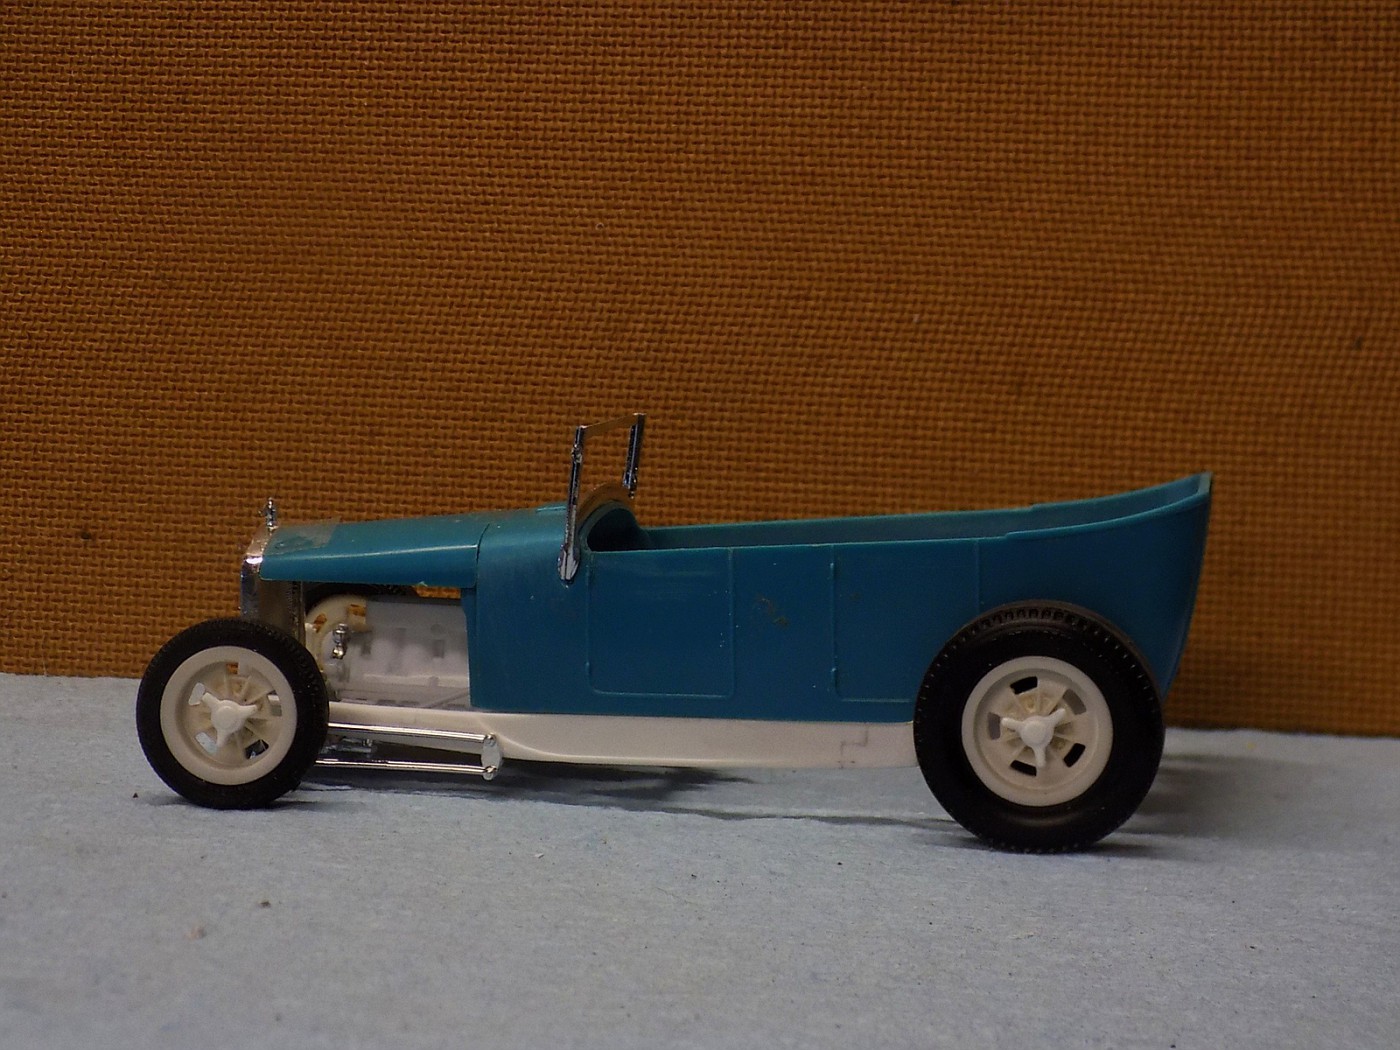
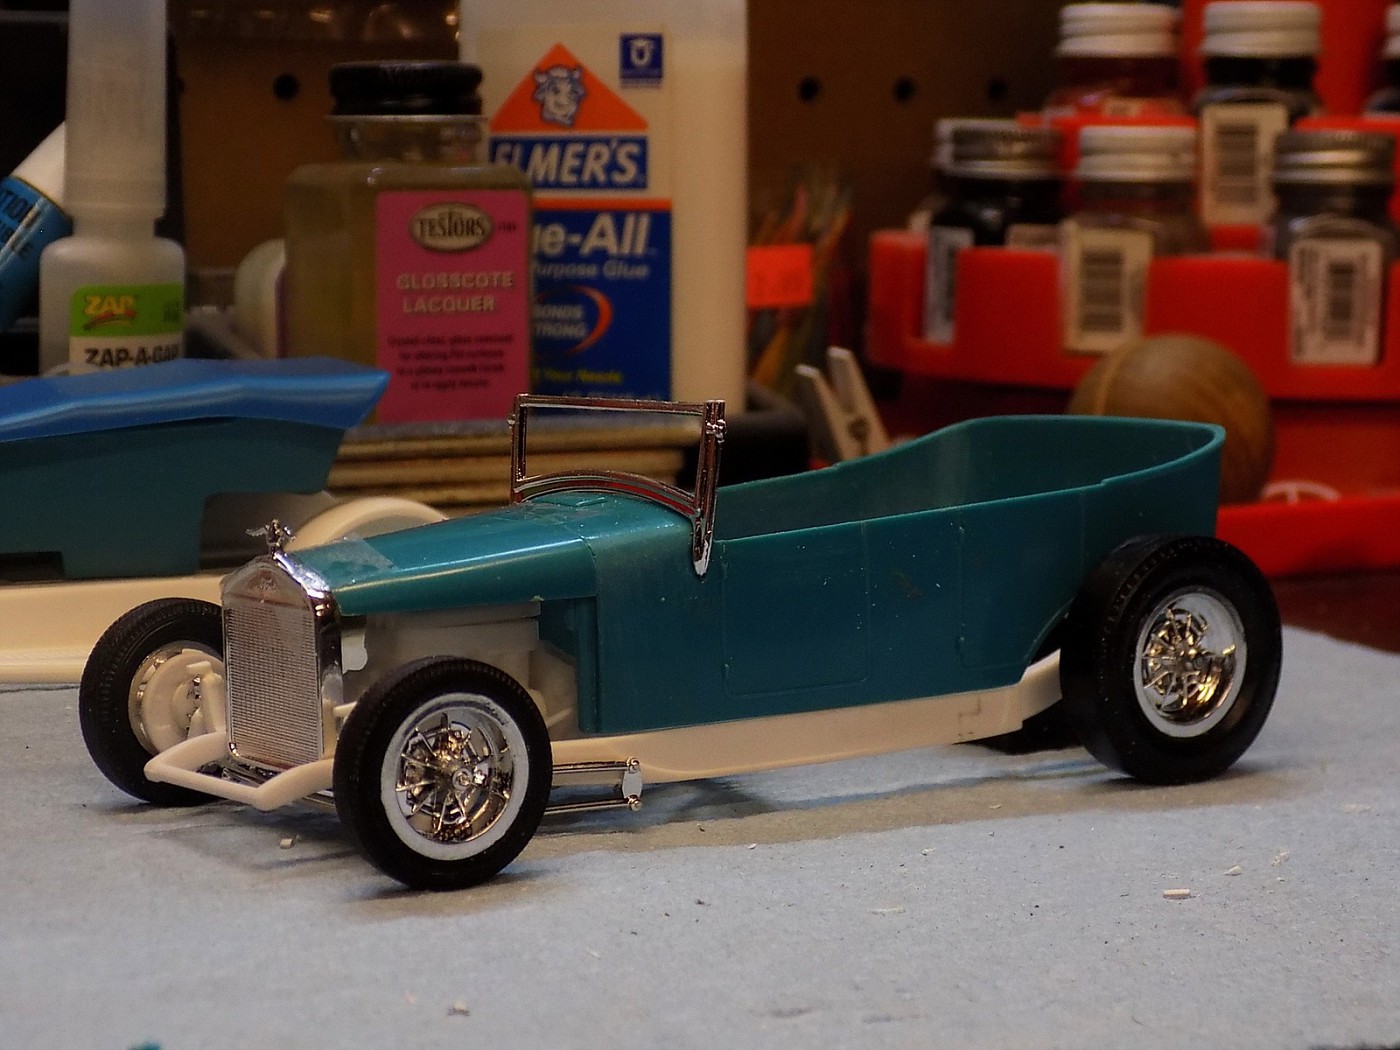
Here's the view from the front. Proportions look pretty good to me.
 Hosted on Fotki
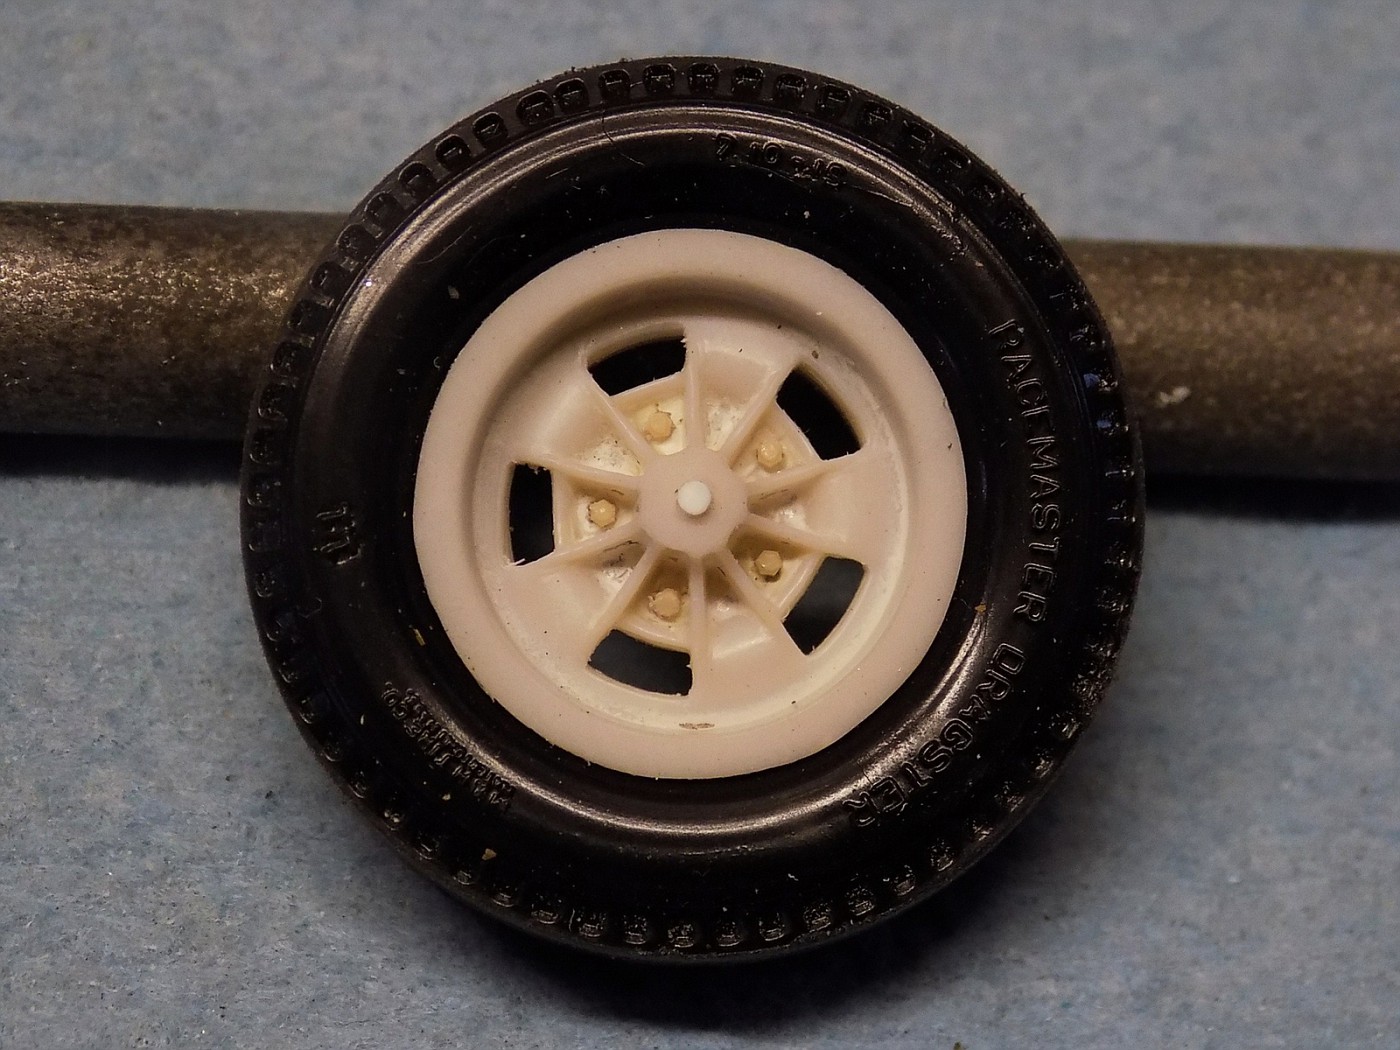
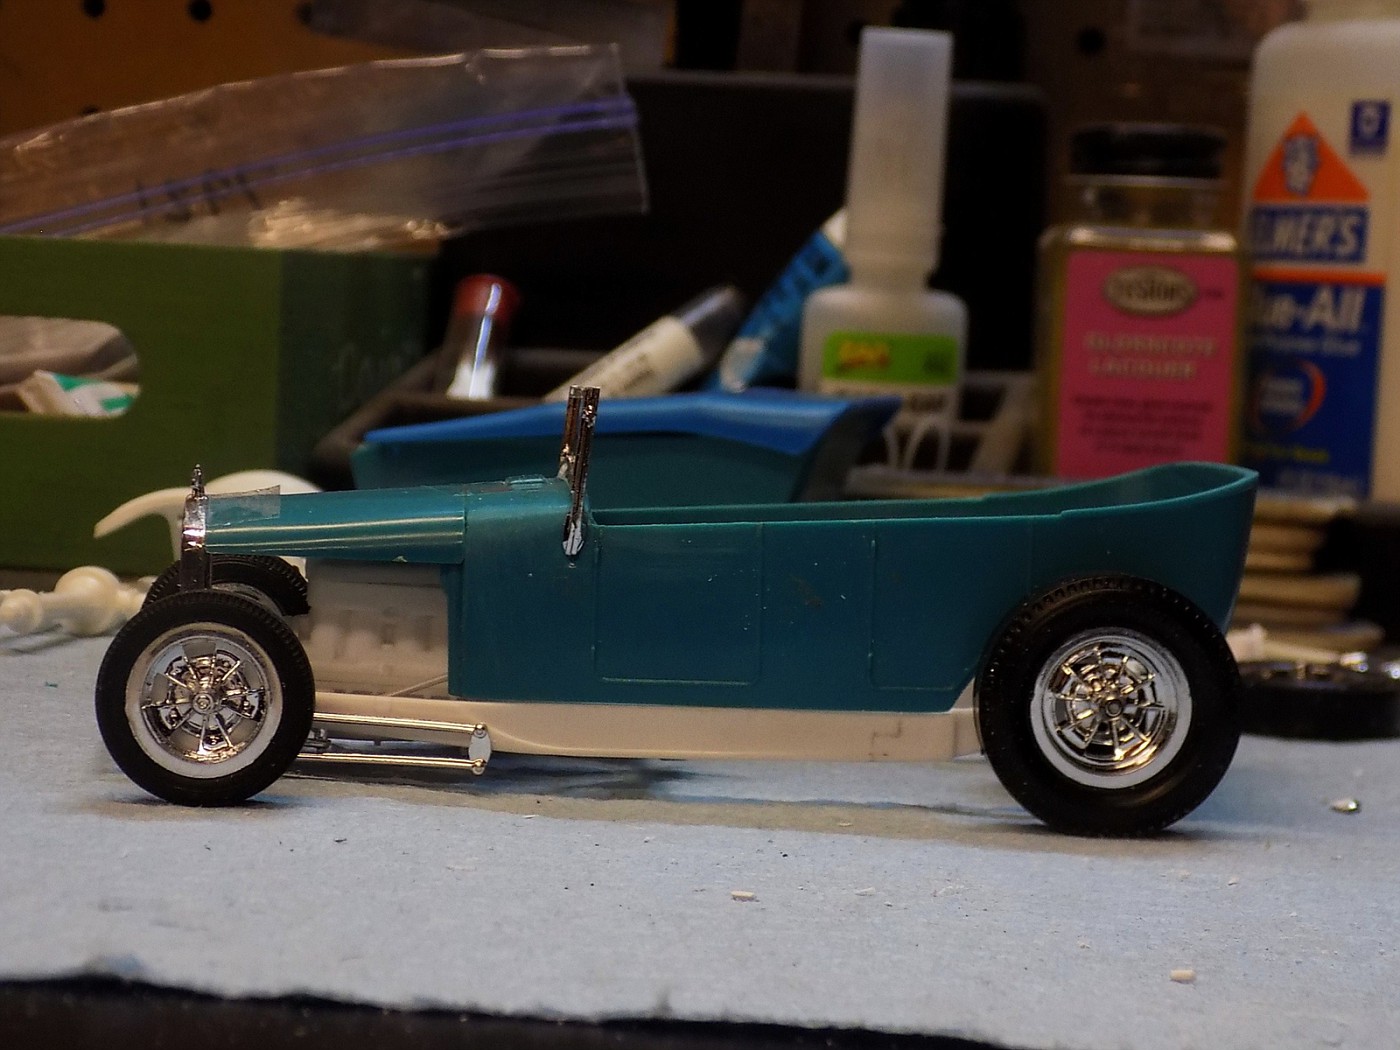
Quick mock up with the rear wheels and tires. Won't be quite this low out back, I just didn't take the time to set it up correctly.
 Hosted on Fotki
 Hosted on Fotki
More to come...
Comments welcome!

Completely engineered the front suspension and steering. It's all from the Revell '32 Ford series, the first Roadster specifically. The axle got its original mounting/alignment tabs trimmed off then I center drilled the spring and installed an .040" pin which fits into a corresponding hole in the cross member. The 4-bar radius arm frame-ends are pinned through the bottom of the frame. I added some material to the frame-side notch in the steering gear then inserted a mounting pin through the frame rail. I then drilled the steering arm and bottom of the gear box so that they pin together. The front shock mounts got trimmed where they attach to the frame and are pinned as well.
I then cleaned up spindle area of the axle, fitted Revell '40/'48 Ford brake plates and installed 1/16" mounting pins for the wheels.
I went with the 4-bar radius arms over hairpins or split wishbones because things like this were starting to show up in the mid-60's and it just felt appropriate as a means of further separating the rest of the 60's-built car from it's 30's technology engine.
Hosted on FotkiHosted on FotkiHosted on FotkiHosted on FotkiI found that I had the bell housing and 4-speed trans that had been cut away from the Hemi engine in Revell's '32 5-Window so I cut the trans away from the bell housing. I then grabbed the trans adapter from the Olds engine in the Ed Roth Beatnik Bandit. The adapter has good detail and I think this should be convincing enough.
With the trans set up I rummaged through my frame parts and found that with just a touch of sanding that the center K-member from the Revell '32 series would fit the frame nicely and also provided the needed trailing arm mounts for the future rear axle. I'm still need to add material across the back span so that it is the full height of the frame rails.
At this point I also spent the time to fill in all of the various mounting notches in the frame rails. Won't be needing any of those!
Hosted on FotkiHosted on FotkiDefinitely going to need a recessed firewall!
Hosted on FotkiHere's the view from the front. Proportions look pretty good to me.
Hosted on FotkiQuick mock up with the rear wheels and tires. Won't be quite this low out back, I just didn't take the time to set it up correctly.
Hosted on FotkiHosted on FotkiMore to come...
Comments welcome!