Deleted
Deleted Member
Posts: 0
|
Post by Deleted on Jul 21, 2014 10:00:38 GMT -5
Looking at the work involved in the chop, & knowing this is a reissue of the old Monogram kit, I was going to suggest that the Replica & Miniatures of Maryland chopped 36 Ford 3W part might be a better, less labor intensive choice, but then I saw the awesome scratch building & modifications you've already accomplished superbly, so I decided to keep my mouth shut!  This is some damned nice work! I'm going to keep following this thread. |
|
|
|
Post by steveb on Jul 21, 2014 12:31:29 GMT -5
Thanks, again!
Robtrat, I stripped the chrome off of the grille, glued it into the stock surround, & glued that to the fenders. I cut the center section out, & after cleaning up the edges, glued a .030” styrene strip around the top & sides. This is what it looked like early on.
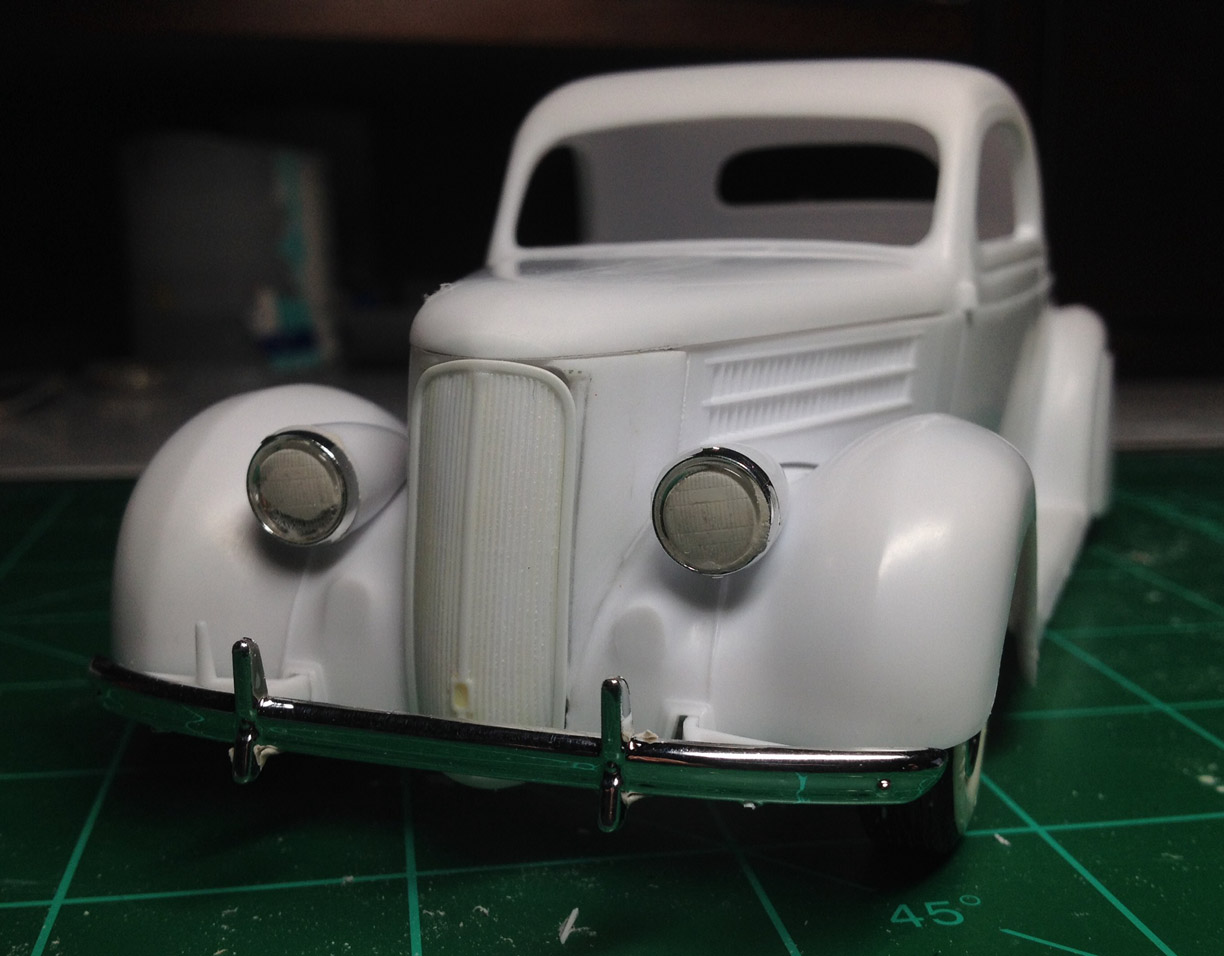
I ended up sanding a lot of it off & rounded the outer edges, so maybe it’s more like .020” now.
On the surround, I sanded off the remaining grille bars & filled the low areas with superglue. I also added bits of styrene & superglue to get the fit tighter.
Over the weekend, I added styrene pieces to the gaps in the top. I also cut out & moved the door frame on the rear pillar forward to meet up with the lower portion of it.
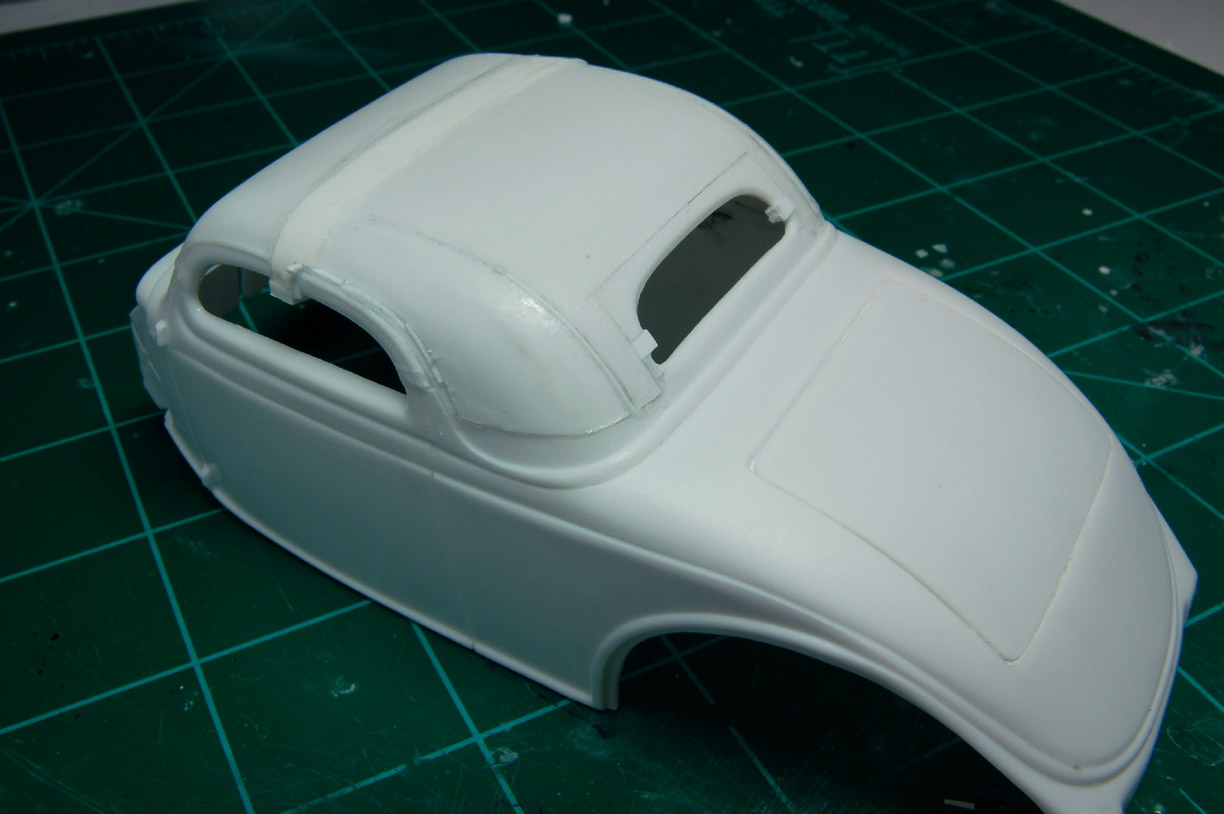
After lots of sanding, filling with superglue & more sanding, it’s starting to take shape.
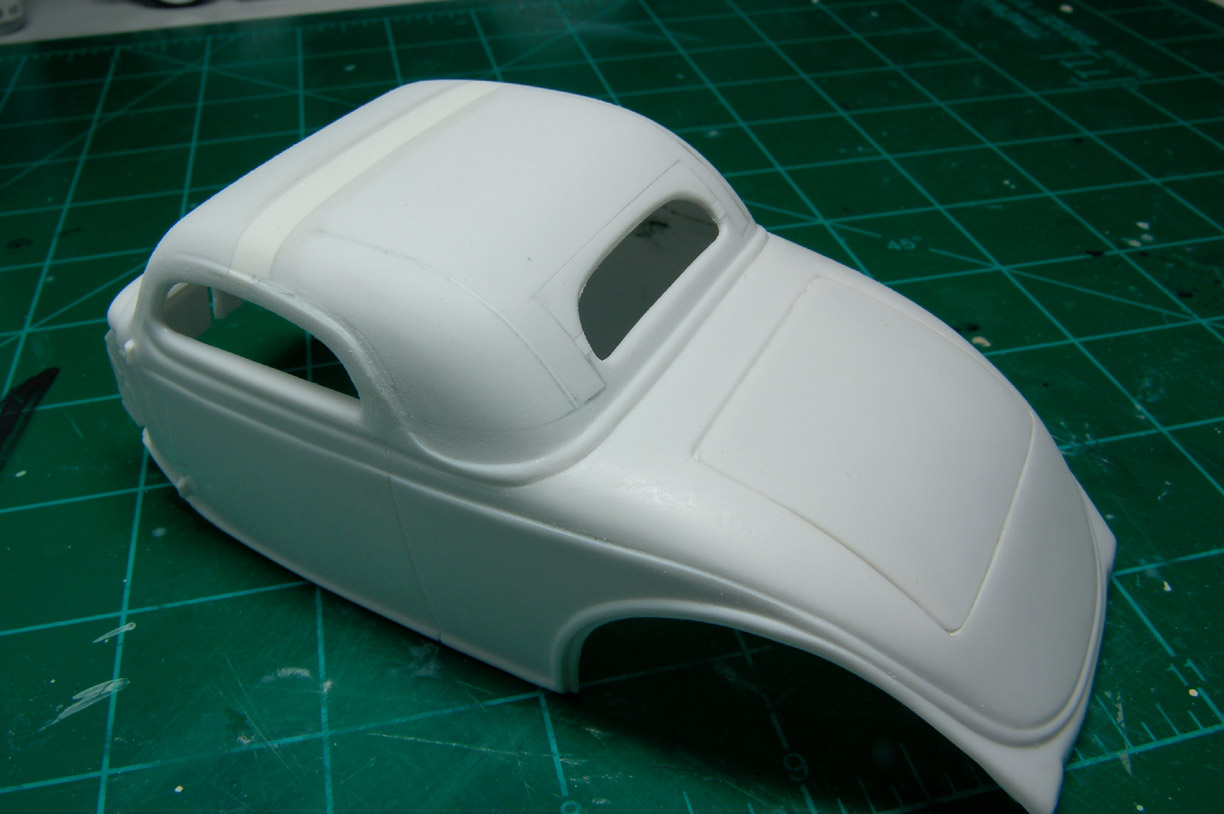
Next, I will need to work on those side window openings & door frame/drip rails to get them to look more like a 1:1.
|
|
|
|
Post by Bernard Kron on Jul 21, 2014 14:47:07 GMT -5
Thanks for the foresight to have taken all the in-progress shots as you move along. It's allowing you to respond to all our questions with terrific detail. When you do smaller area cuts, such as those needed to move forward the rear part of the window opening and door frame, what do use to cut out the section to be moved? There's very little plastic loss apparent in your pics.
|
|
|
|
Post by krassandbernie on Jul 21, 2014 18:28:41 GMT -5
Great work as usual Steve! Are you going to enter in the 13th Annual Custom Clinic contest? I think you'd make it very difficult for anyone else to have a shot at the top spot; but you never know! LOL! www.customclinic.com/?page_id=37 |
|
|
|
Post by steveb on Jul 21, 2014 21:23:44 GMT -5
Thanks, Bernard, 99% of the cuts were done by scribing with the backside of a hobby knife. I just keep scribing until I cut through the plastic. I lay a piece of narrow tape down where I want to cut & start scribing with a needle chucked in a pin vise. 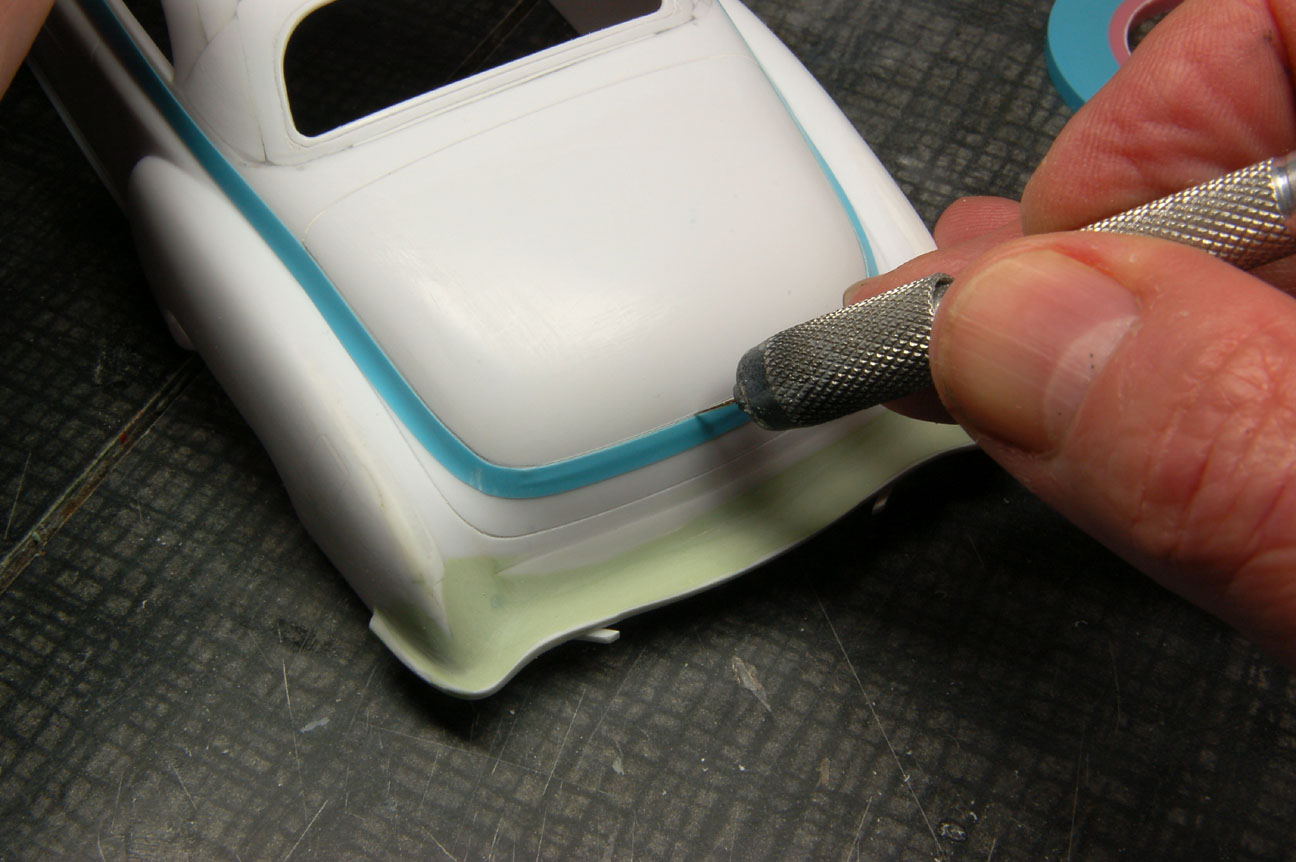 Then, I move on to a hobby knife. 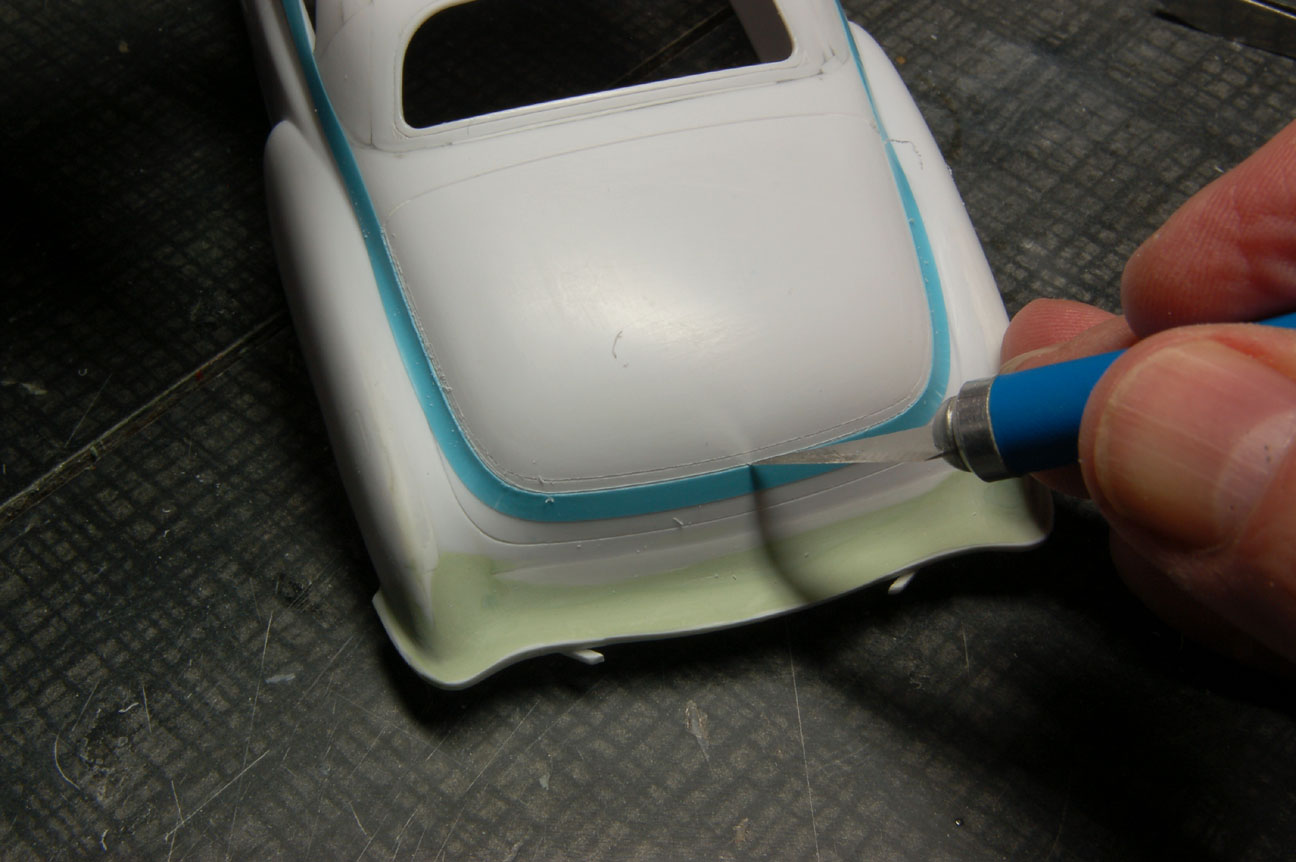 Made it through the body. Some of the time I finish off the cuts with a MCG photoetched saw blade to get into the sharp corners. 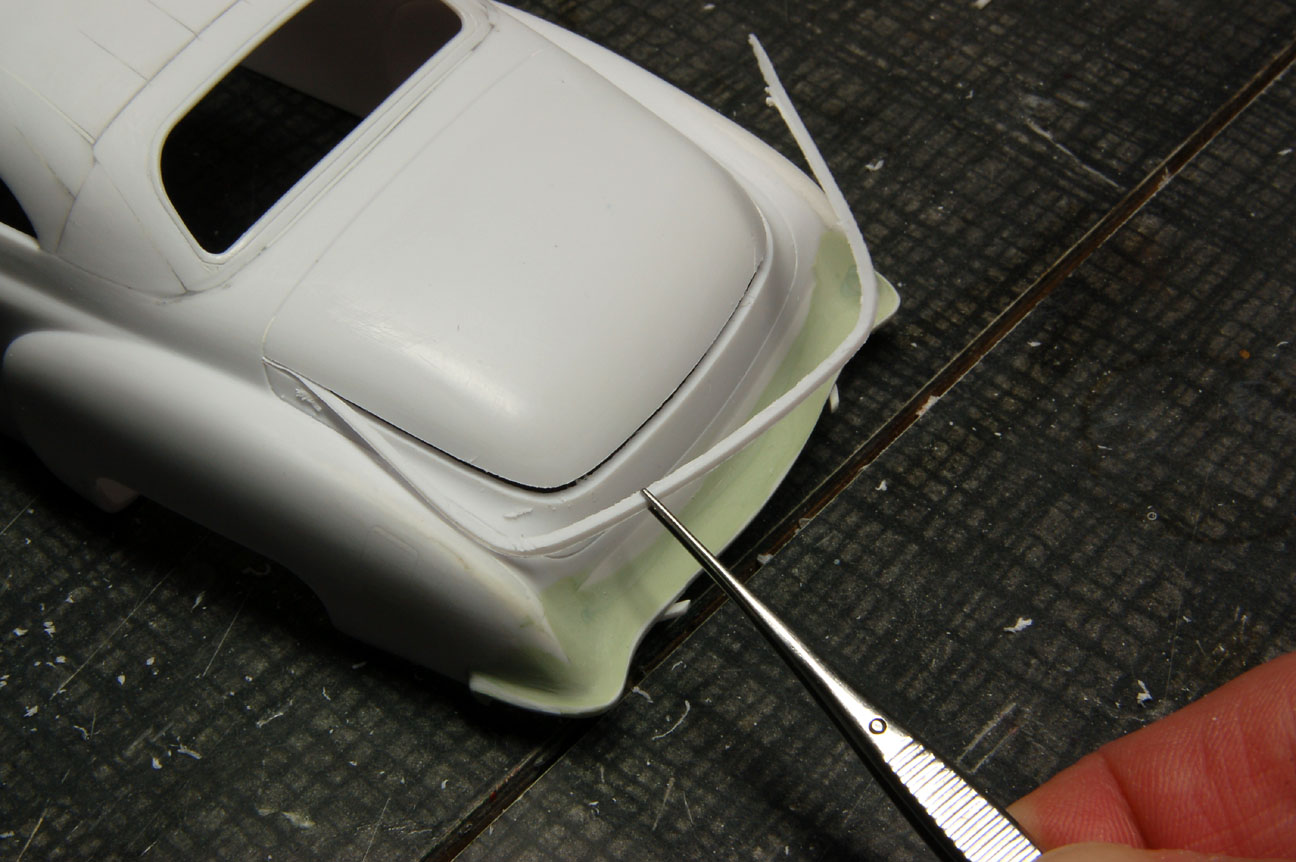 Thanks, Ed, but I think I'll pass on the Custom Clinic thing, & I'll just leave it at that.  |
|
|
|
Post by Plowboy on Jul 23, 2014 19:20:18 GMT -5
Tuned in 'til the end! I love to see your work!
|
|
|
|
Post by southpier on Jul 23, 2014 19:24:59 GMT -5
that's some serious styrene surgery!
|
|
|
|
Post by EchoBravoSierra on Jul 24, 2014 12:00:23 GMT -5
I know I don't have the patience to scribe or sand that much. This thing is looking great so far!
|
|
|
|
Post by Bernard Kron on Jul 24, 2014 12:15:28 GMT -5
Thanks for the response, Steve. I now recall that technique from an earlier post you had made. Since I'm CA intolerant the more precise the cut and the less non-styrene filler involved the better. This approach is just the ticket since it's almost entirely styrene. Unfortunately slow and steady wins the day...
|
|
|
|
Post by Truscale on Jul 26, 2014 1:02:10 GMT -5
Haven't been here in a while. Nice project Steve. I know it will be good.
|
|
|
|
Post by steveb on Jul 27, 2014 9:54:20 GMT -5
After lots of sanding, styrene, superglue & scribing, one side window is starting to take shape. 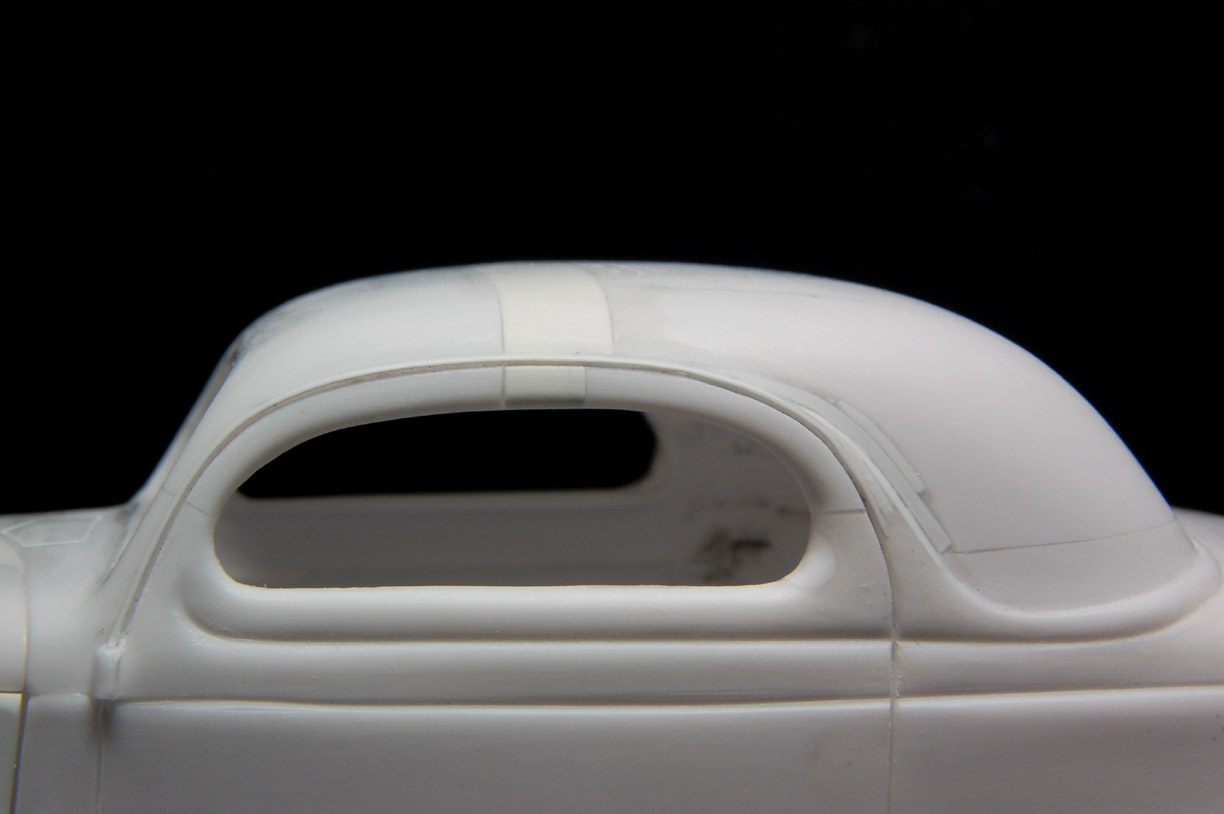 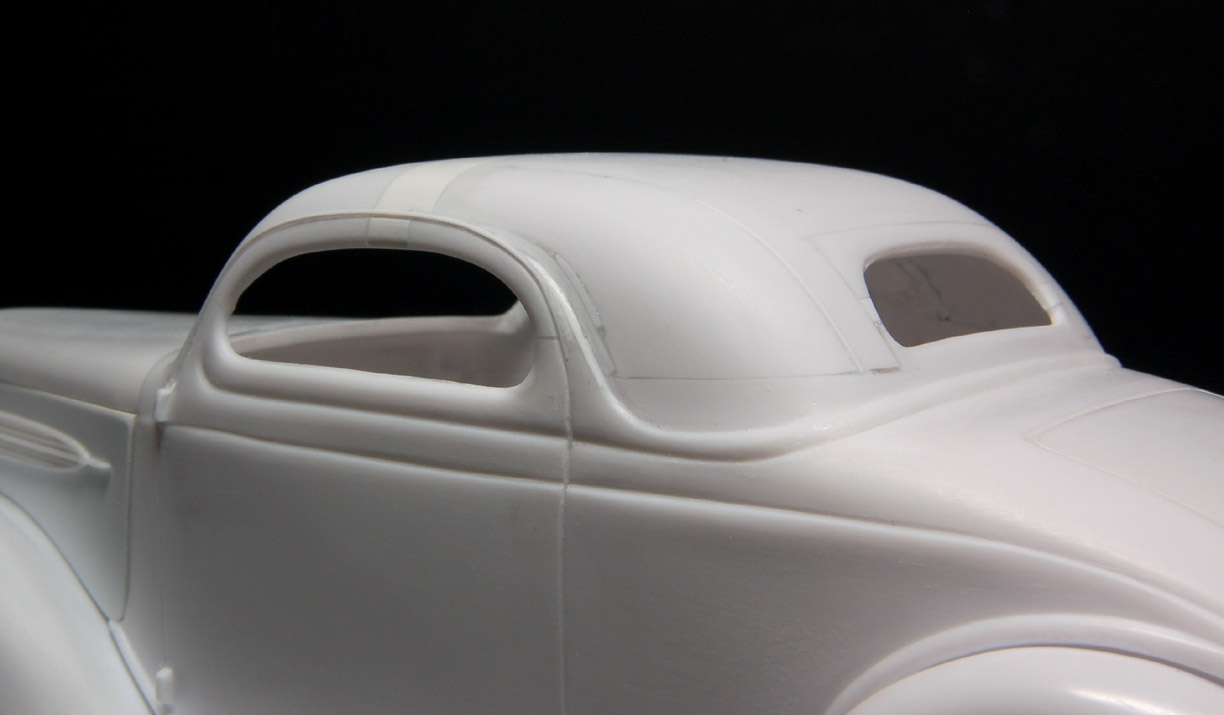 After looking at the photos, I see a few places that still need work, but I'm feeling okay about that. Hopefully, I can also get the other side done without screwing it up. 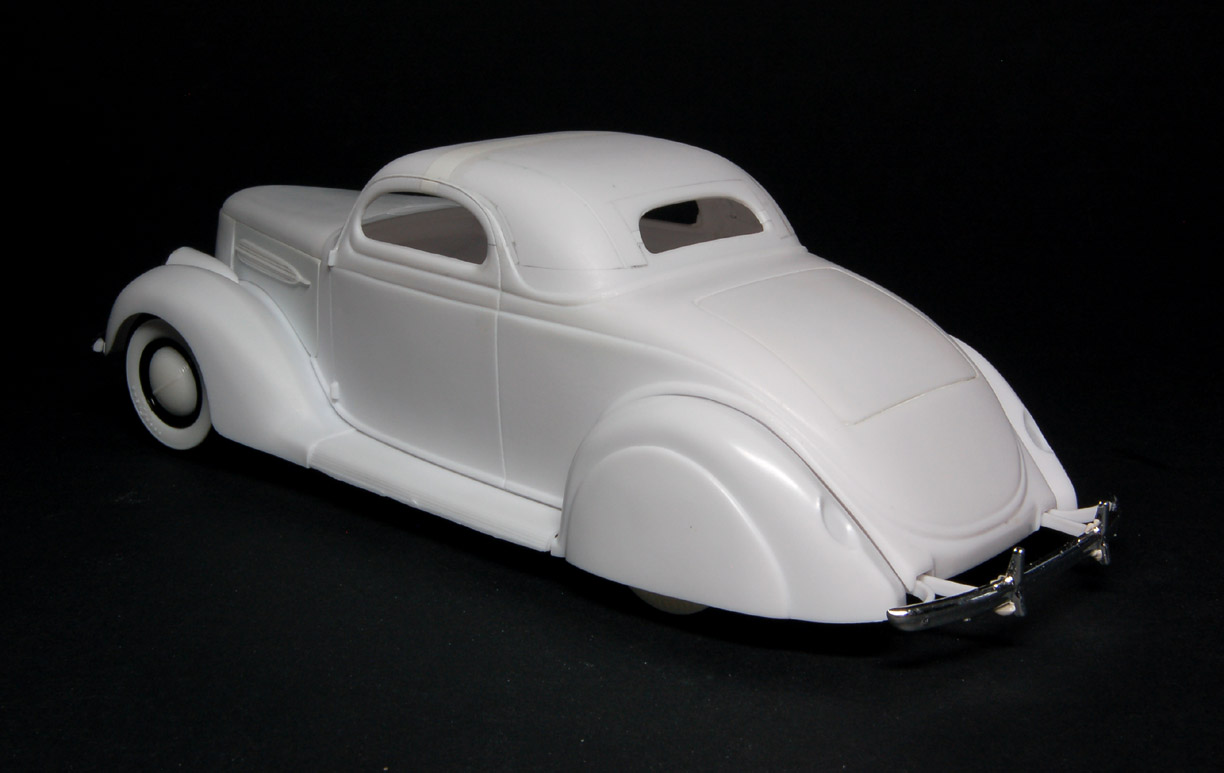 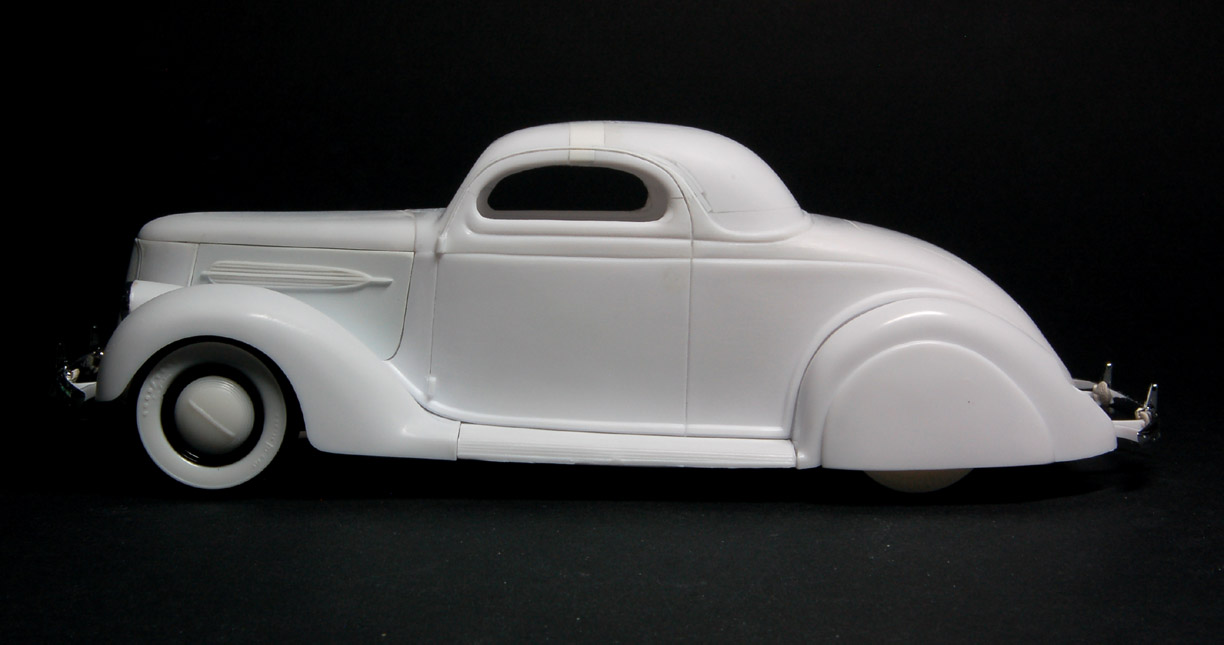 Steve |
|
|
|
Post by southpier on Jul 27, 2014 10:17:52 GMT -5
gonna be 'charp!
|
|
|
|
Post by Mr409 on Jul 29, 2014 2:50:43 GMT -5
Every time I see Steve Boutte's WIP-thread or a thread of a finished model, I know it's going to be amazing. However, every time my jaw hits the floor really hard, and this thread was no exception. Fantastic work, the Ford looks so smooth and tasty! Chop Top is very nicely done. But I have to ask what super glue you use? I tried to sand one of the super glues I found from my local hardware store, but it was so hard stuff that the sandpaper couldn't do it... It would be great to be able to use less putty and more super glue on filling gaps etc.
Anyway very nice work with this one. I'll be watching closely.
|
|
|
|
Post by mack2856 on Jul 29, 2014 19:24:25 GMT -5
Smoked a whole cigar looking at this, and it was good .
|
|
|
|
Post by steveb on Jul 29, 2014 21:25:07 GMT -5
Thanks!
Mr409, I have used all sorts of superglues from cheap stuff to Zap to the stuff hobby stores sells with their labeling on it. I prefer the really thin stuff, because it eventually thickens up in the bottle over time.
90% of the time I use files, not sandpaper to level areas with superglue. A long time ago I read that sandpaper will dig into softer plastic before it cuts into the superglue, & I have found that to be be true most of the time. But for very thin, small applications, like the fillet above the drip rails, sandpaper works fine.
Another thing to try is to sand it as soon as it is dry & don't use accelerator.
|
|