|
|
Post by Duane on Mar 23, 2021 20:33:25 GMT -5
lookin good Jim; keep; up the good work !
|
|
|
|
Post by 41chevy on Mar 23, 2021 21:45:58 GMT -5
That looks wicked good!
|
|
|
|
Post by superflekmoonbird on Mar 28, 2021 18:06:10 GMT -5
Mounted tube shocks and applied resin bolts. Trial fitting headers over frame. 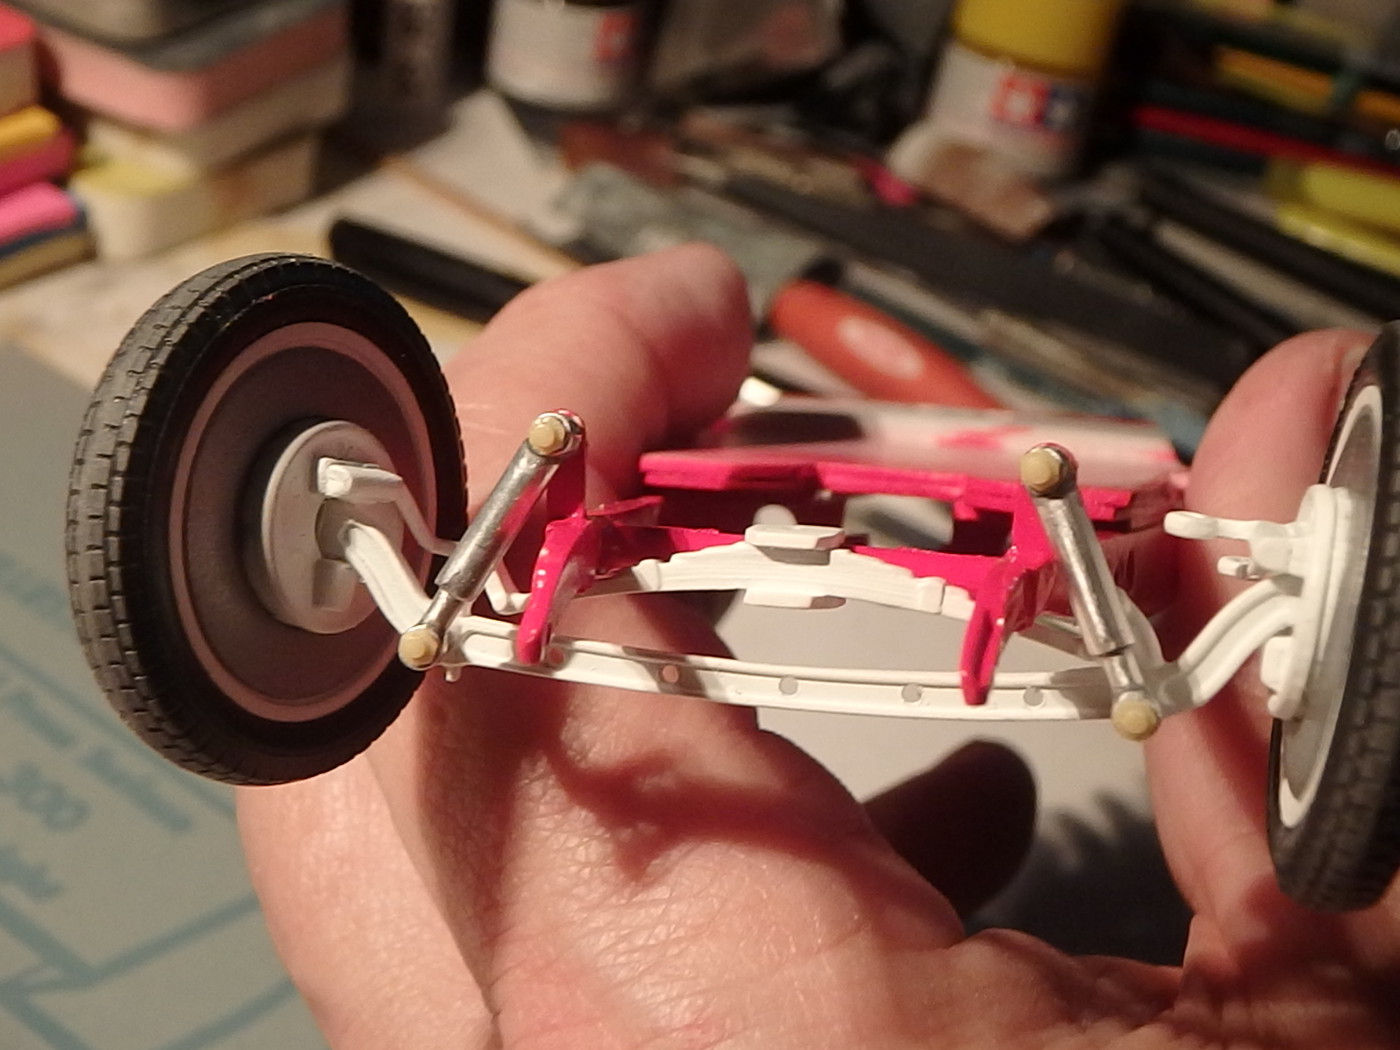 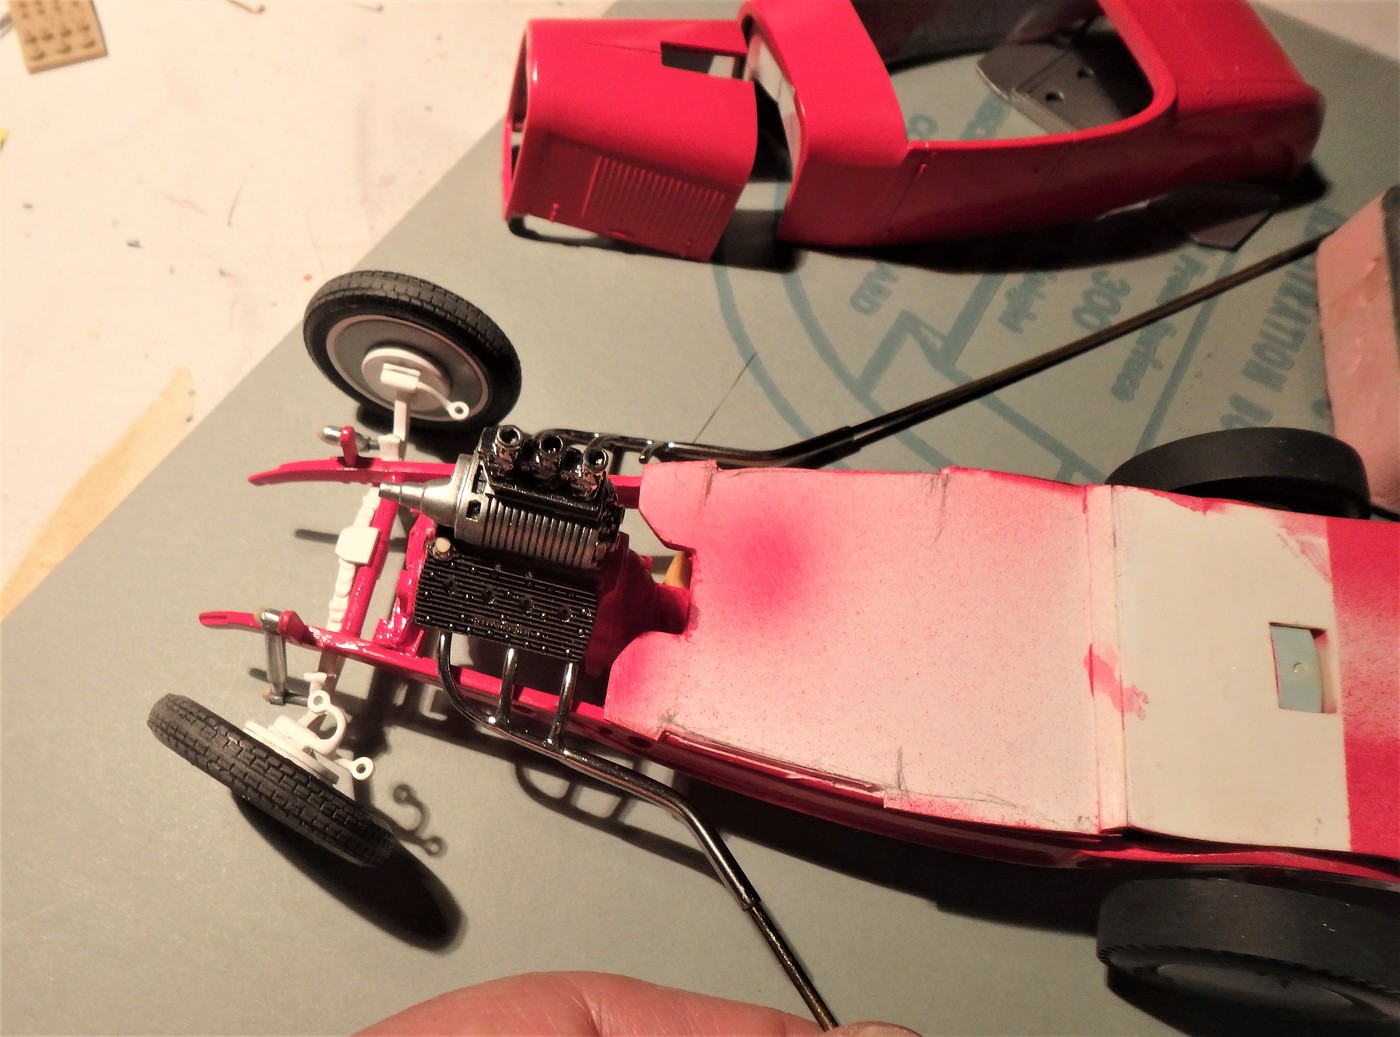 |
|
|
|
Post by tomqvaxy on Mar 28, 2021 18:17:49 GMT -5
looks like it would hold steady "at speed".
|
|
|
|
Post by Dave from Pleasanton on Mar 31, 2021 20:56:36 GMT -5
Jim, it looks to me like the tie rod ends are on upside down. They normally connect to the bottom of the backing plate. I don't see how you're going to get the tie rod from one side to the other. If you've got it all planned out then ignore me. Really great work.
|
|
|
|
Post by Dennis on Mar 31, 2021 21:43:50 GMT -5
Jim, it looks to me like the tie rod ends are on upside down. They normally connect to the bottom of the backing plate. I don't see how you're going to get the tie rod from one side to the other. If you've got it all planned out then ignore me. Really great work. On Model A’s (the axle and spindles here are from Revell’s 29/31 Ford kits) the steering arms are separate pieces that bolt through the tops of the spindles. |
|
|
|
Post by superflekmoonbird on Mar 31, 2021 21:46:29 GMT -5
Jim, it looks to me like the tie rod ends are on upside down. They normally connect to the bottom of the backing plate. I don't see how you're going to get the tie rod from one side to the other. If you've got it all planned out then ignore me. Really great work. ---------------------------------------------------------------------------------------------------------------------------------------------------------------------------------------------- Yep. I've been using the dropped front axles from the Revell 29 Rat Rod kit, and on the first one I built I instinctively put it together exactly as you said. Then I looked at the kit instructions....(see pictures here) and compared the steering arms to picture library.......they all had the steering arms on top vs. bottom. So I had to redo it thinking it might be inaccurate. I rebuilt it per instructions but as you can see the tie rod will have a problem passing through the engine compartment unless I drop extensions from each steering arm down to link up with a tie rod below the frame. 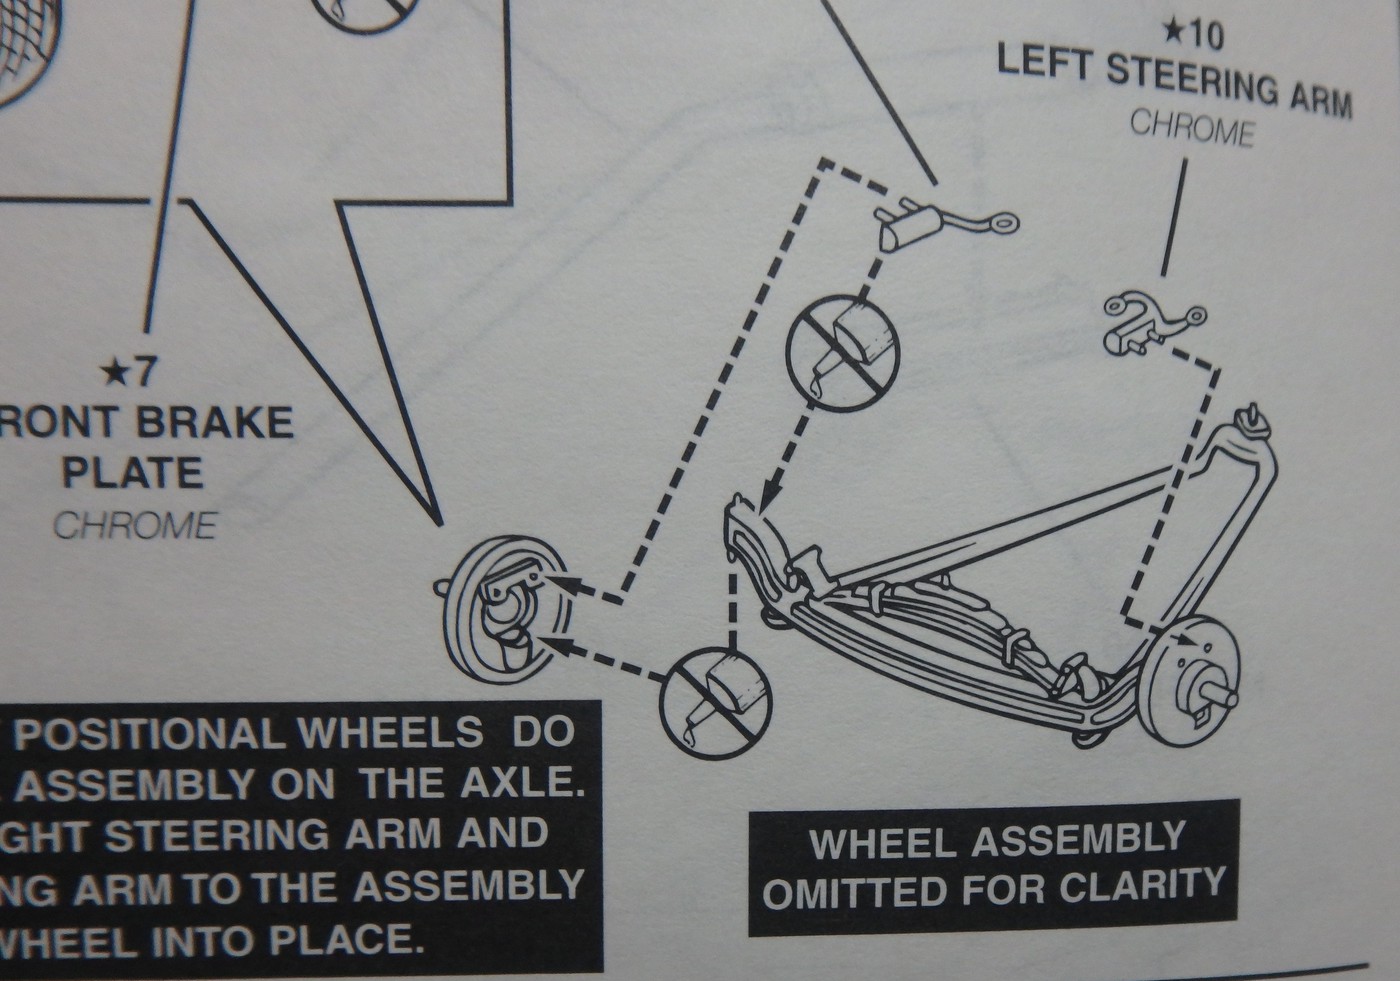 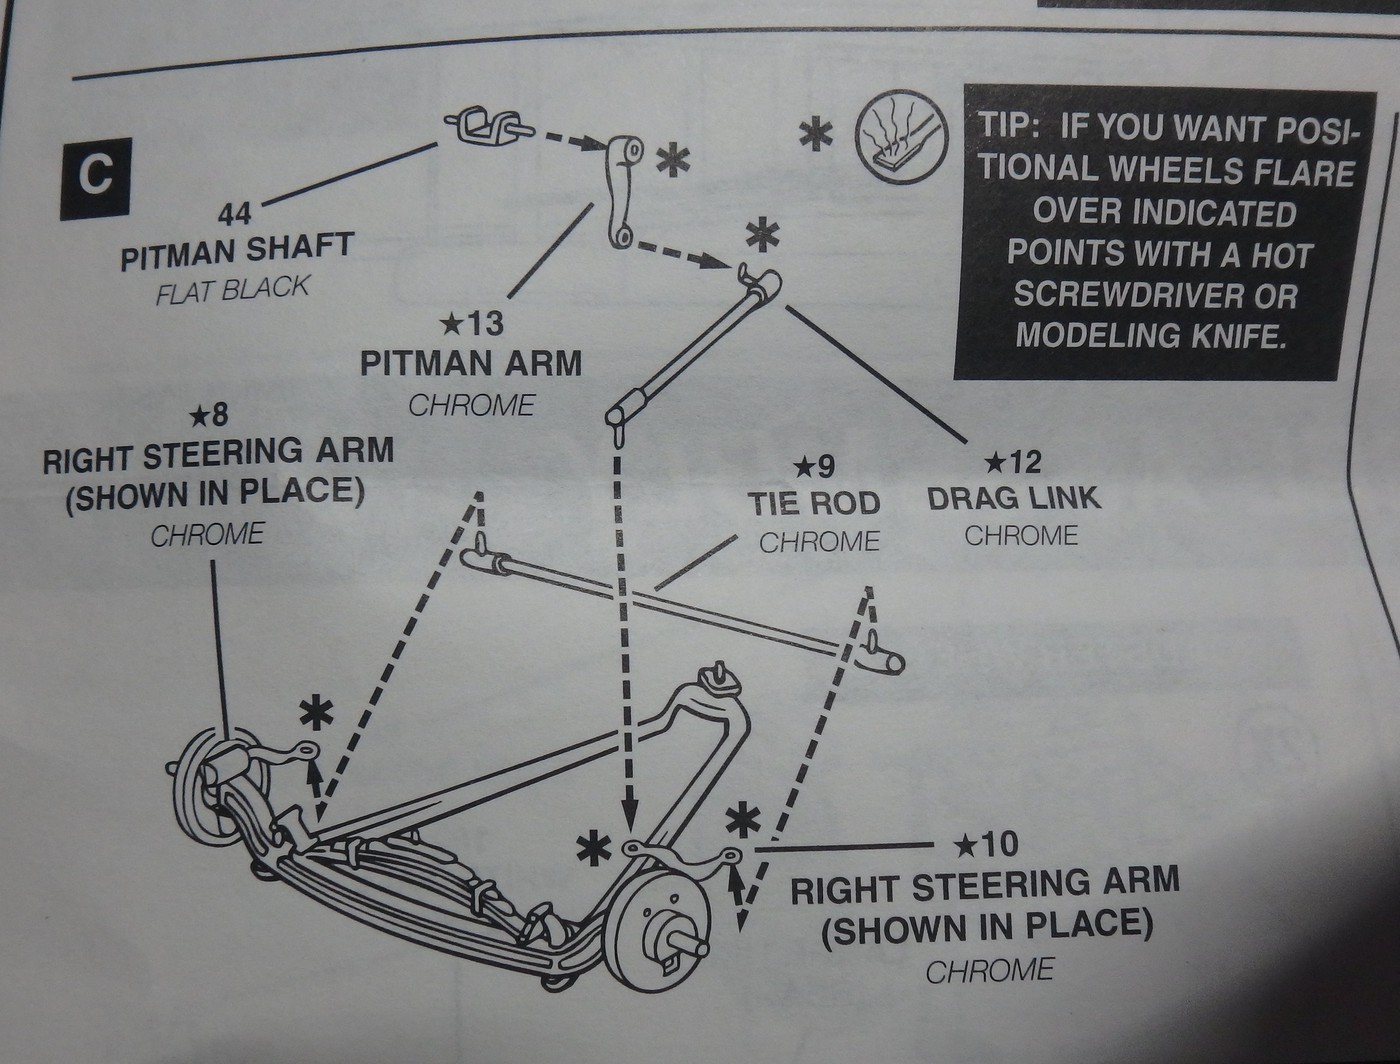 |
|
|
|
Post by Dennis on Mar 31, 2021 21:50:51 GMT -5
Mounted tube shocks and applied resin bolts. Trial fitting headers over frame. Looking good! |
|
|
|
Post by Dave from Pleasanton on Apr 1, 2021 10:42:33 GMT -5
That will teach you to follow directions. :-) That really sucks. It's odd that Revell would combine the idler arm with the tie rod end so that you're stymied as to what to do.
|
|
|
|
Post by superflekmoonbird on Apr 1, 2021 18:17:32 GMT -5
I thought about breaking the links apart and doing them differently to more easily accommodate a tie rod below the frame, but these are fragile parts as is, and I didn't want to take them apart, reglue them and make them
more fragile.
I think I can resolve the tie rod issue, but I won't do the builds in the future like this.
|
|
|
|
Post by superflekmoonbird on Apr 6, 2021 17:40:50 GMT -5
Found a resin bomber seat I like....(R&M). Bent some brass rod to make a tubular seat frame. 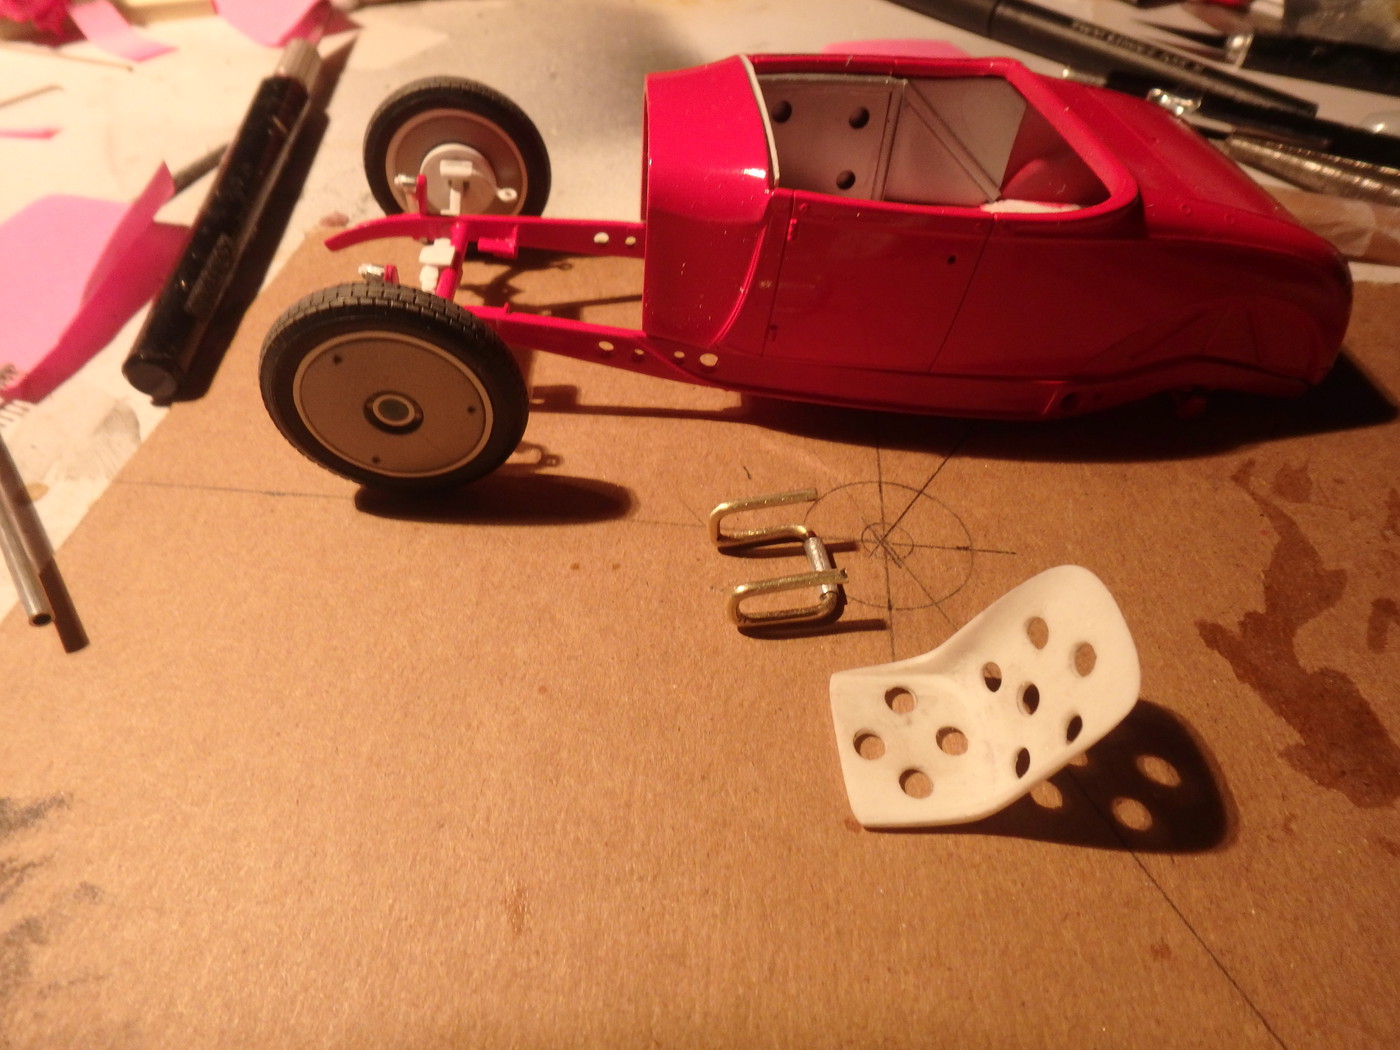 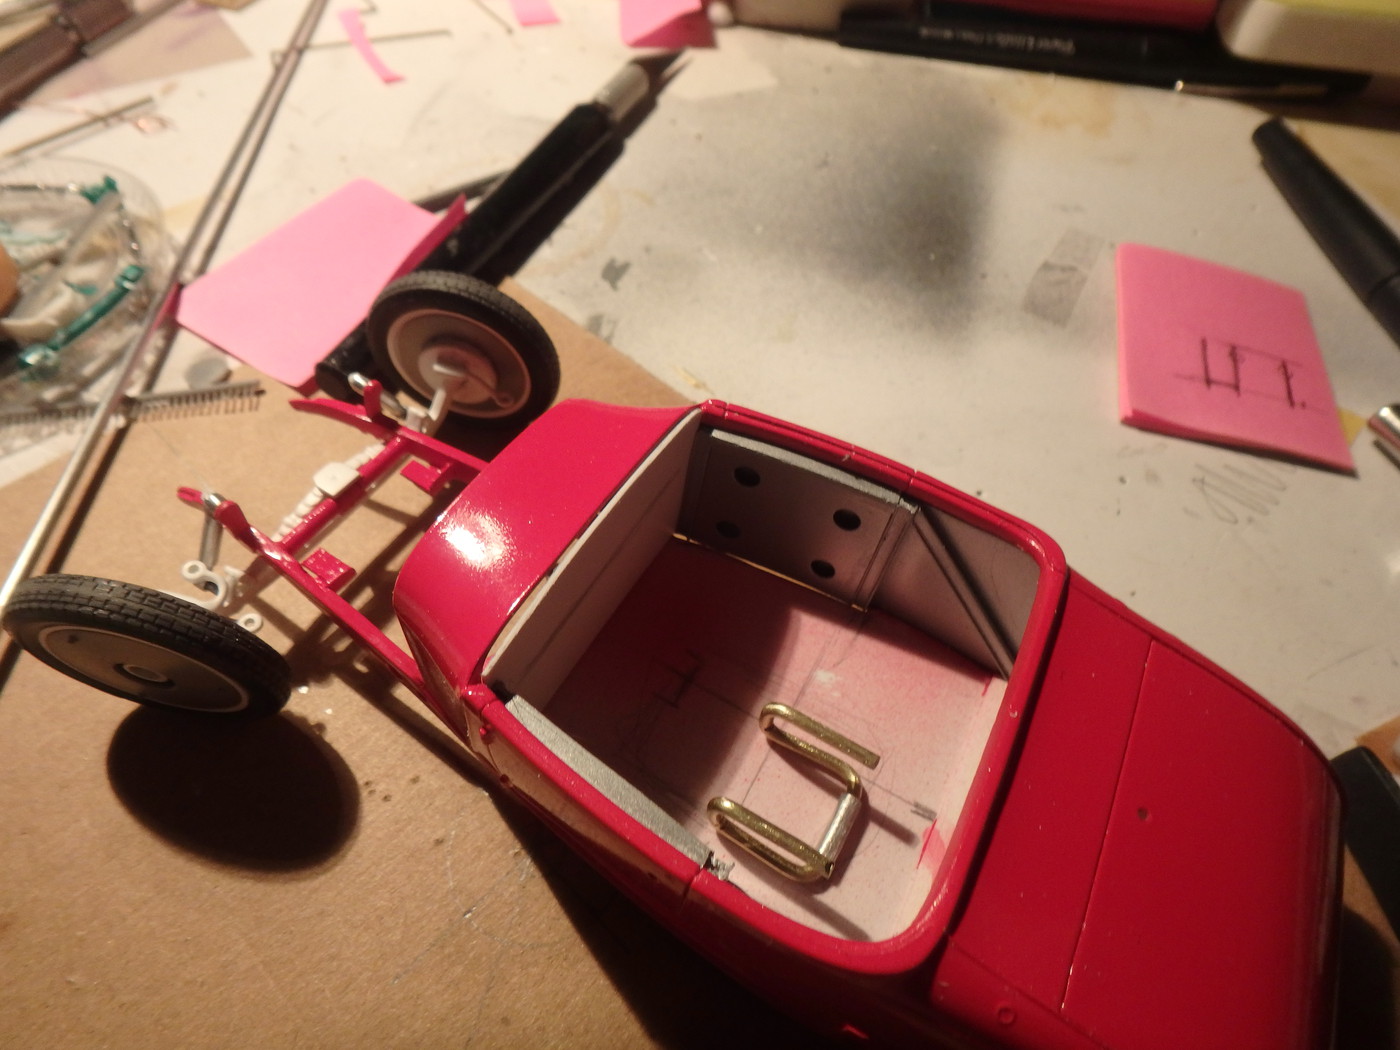 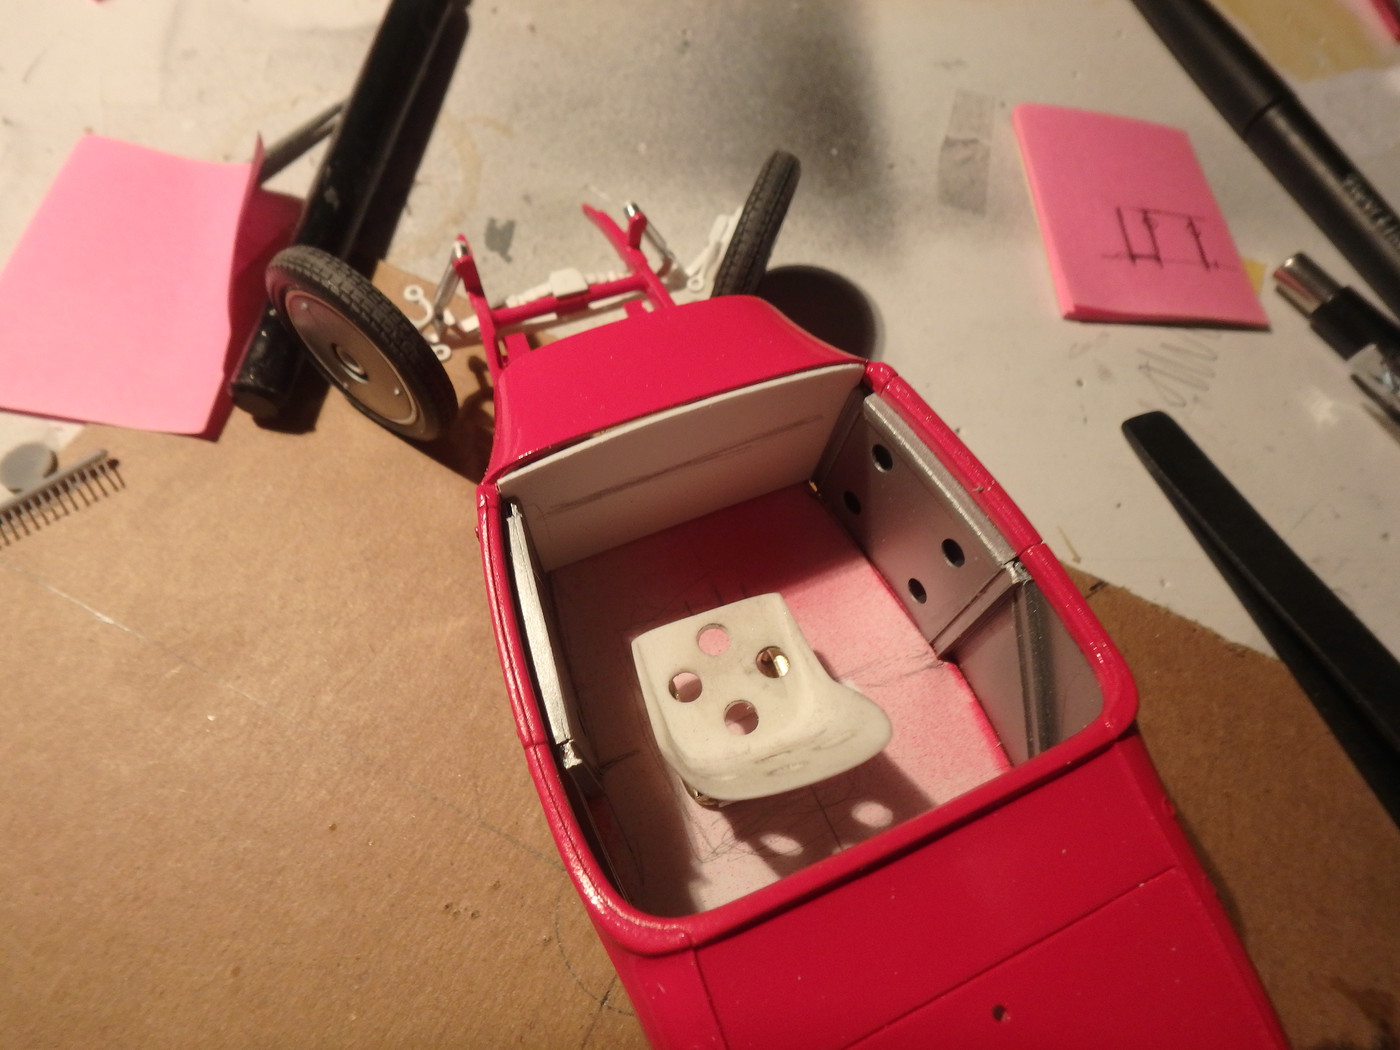 |
|
|
|
Post by superflekmoonbird on Apr 7, 2021 16:46:15 GMT -5
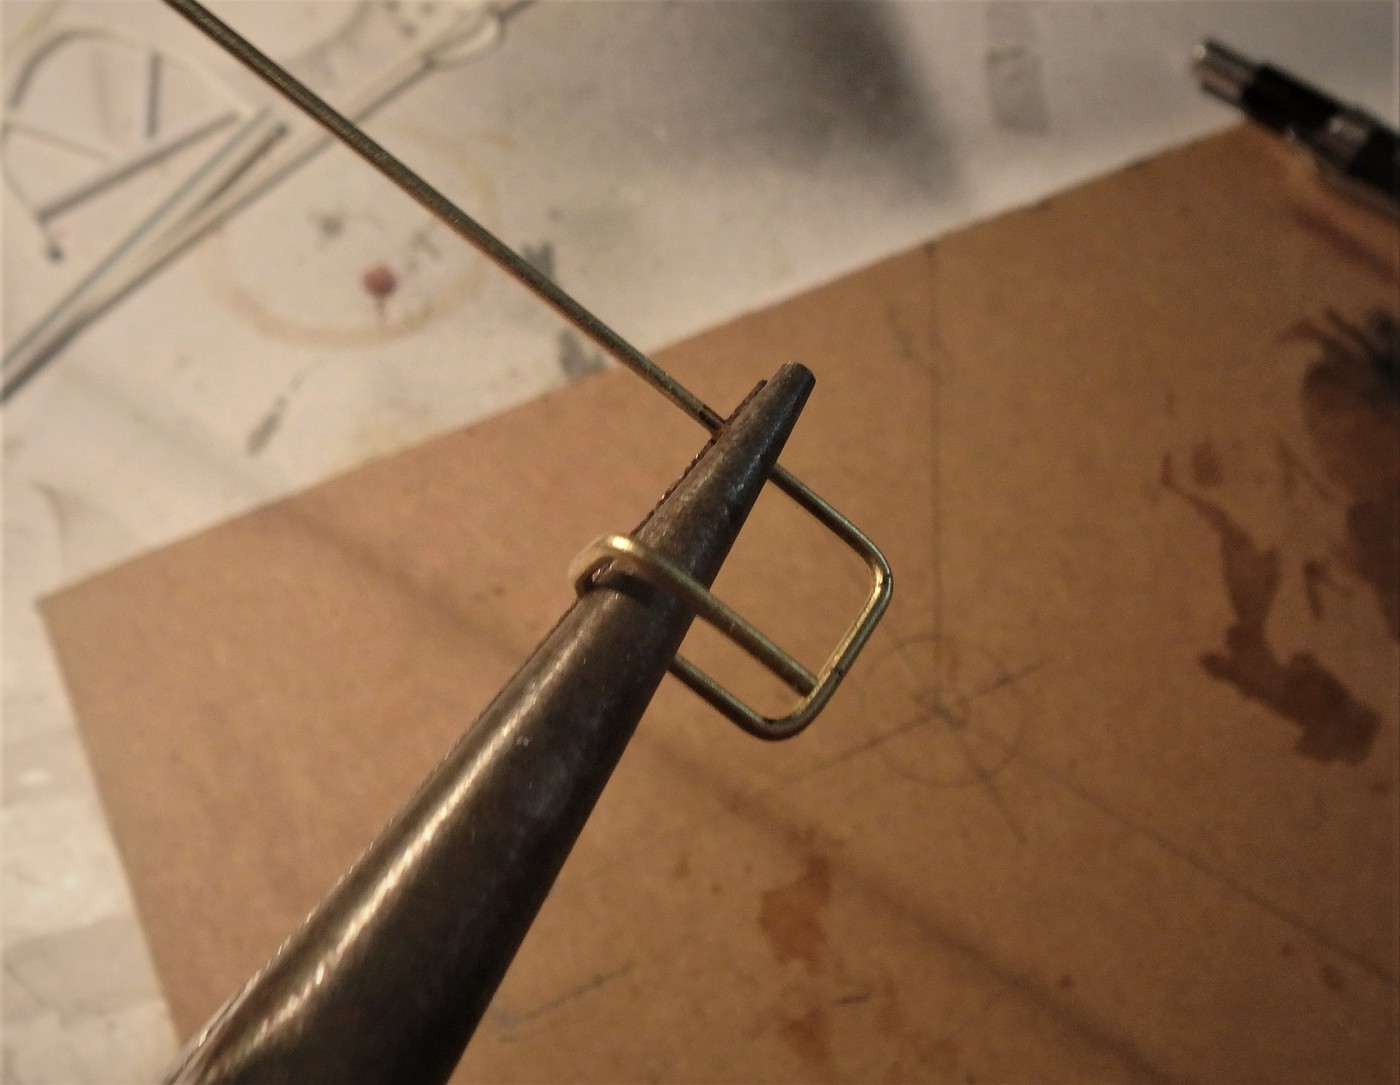 Looking at the seat frame in the picture, it looks too fat. Maybe its the picture, and the camera adds ten pounds, but I didn't like it. Found smaller diameter brass rod in the stash, and bent a new one from 1/32 " dia. rod. Smallest brass rod I have. Here's the comparison. 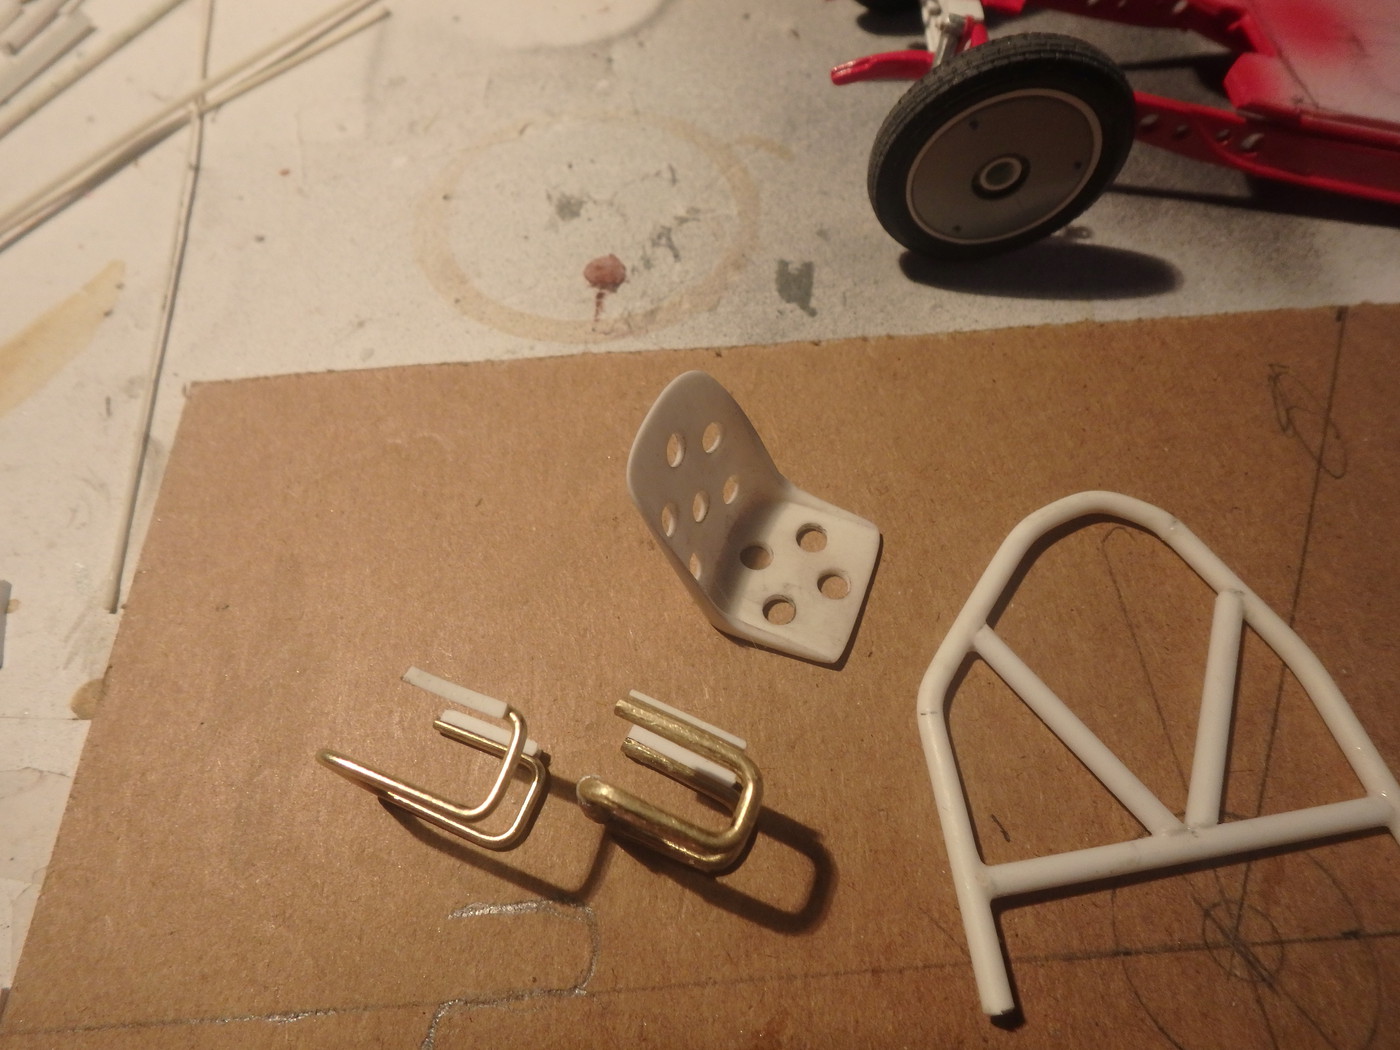 |
|
|
|
Post by superflekmoonbird on Apr 7, 2021 16:50:44 GMT -5
Made a smaller diameter roll bar as well. 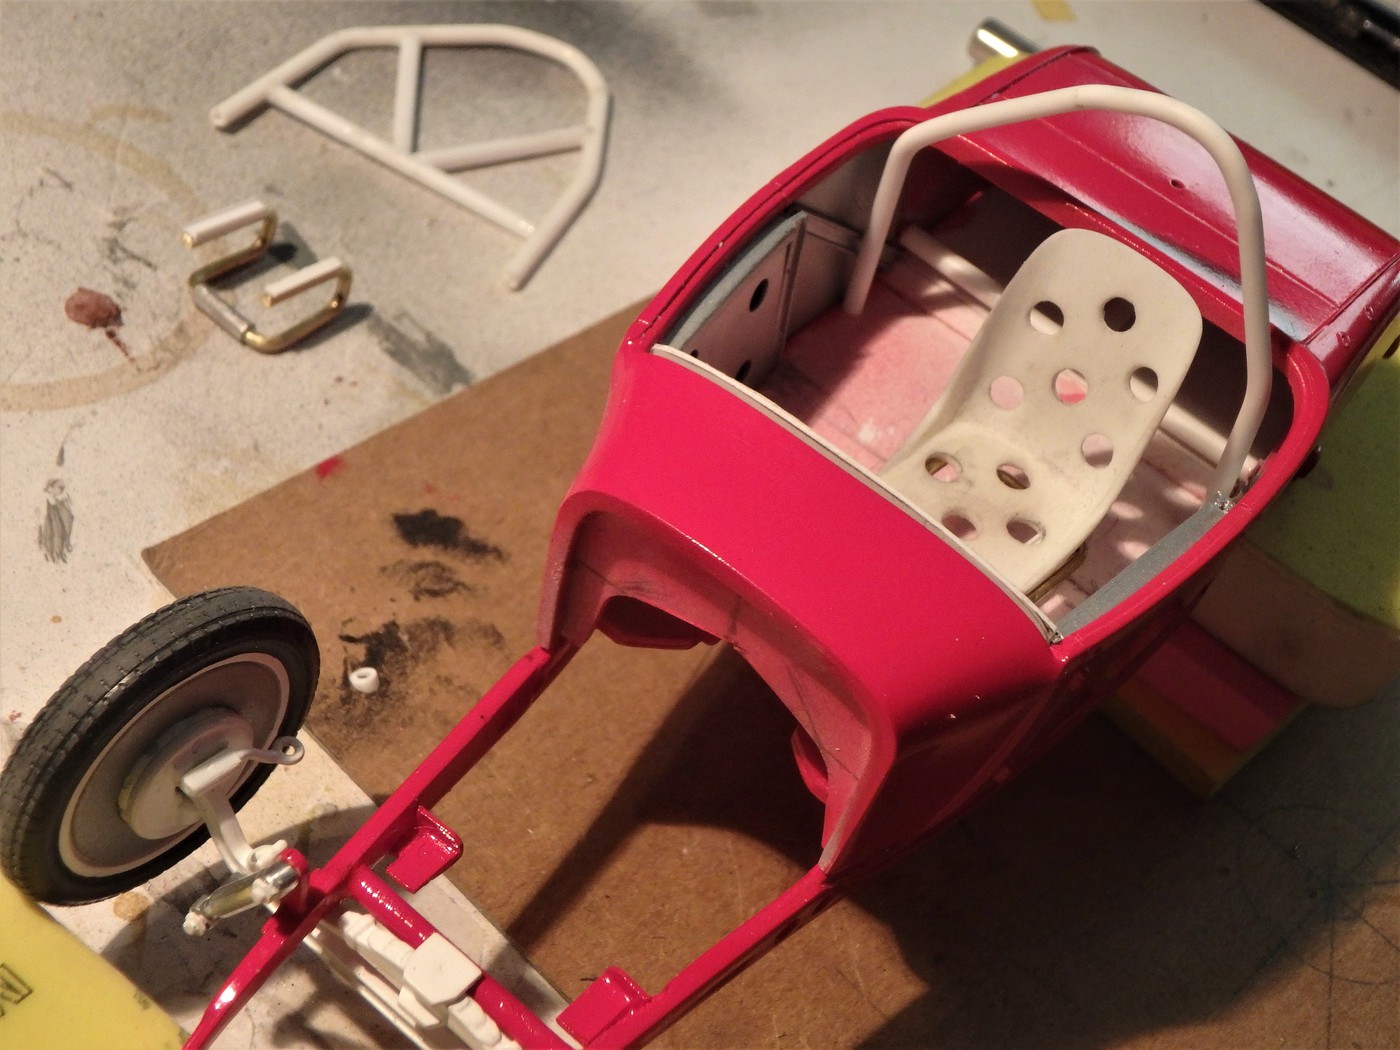 |
|
|
|
Post by tomqvaxy on Apr 7, 2021 17:03:07 GMT -5
both components fit the cockpit more-better.
do the dimple-dies on the seat leave enough support for the dingle-dangle?
|
|
|
|
Post by 41chevy on Apr 8, 2021 11:59:07 GMT -5
The seat mount #2 and the roll bars came out good. Is the seat resin? Are you going for a touneu cover? Paul
|
|