Post by Dennis on May 20, 2019 22:53:24 GMT -5
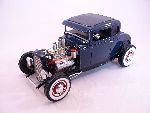
This is a project that I've had in mind for quite some time and after recently acquiring 2 more Revell '32 Sedans I decided to make it happen. Follow along as I convert a Revell '32 2-Door (Tudor) Sedan into a chopped 4-Door (Fordor)!
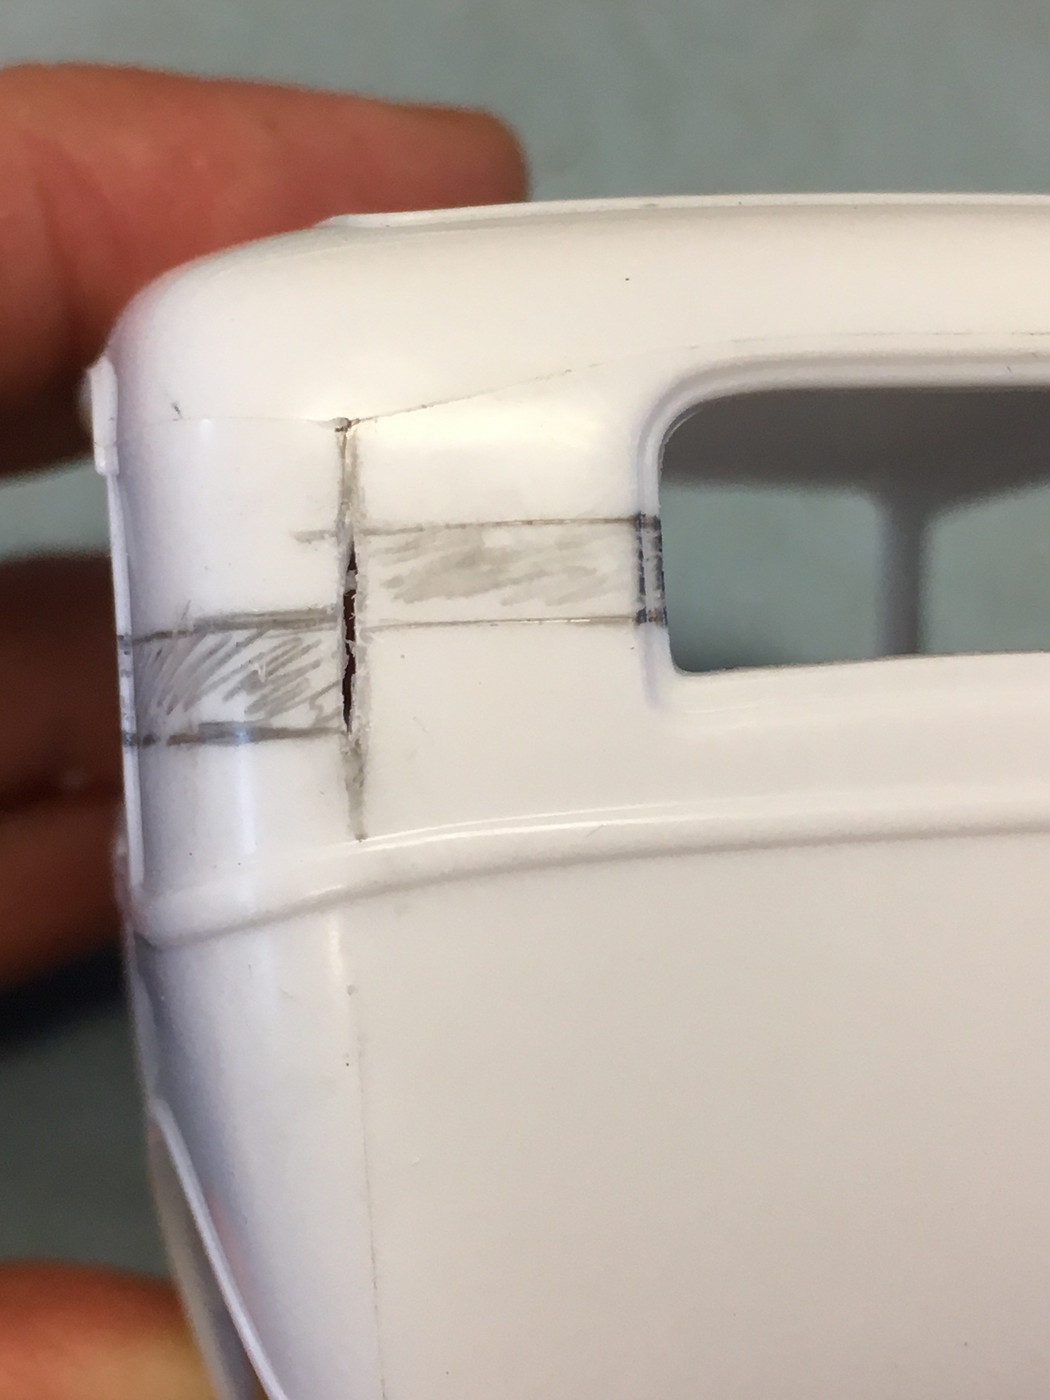
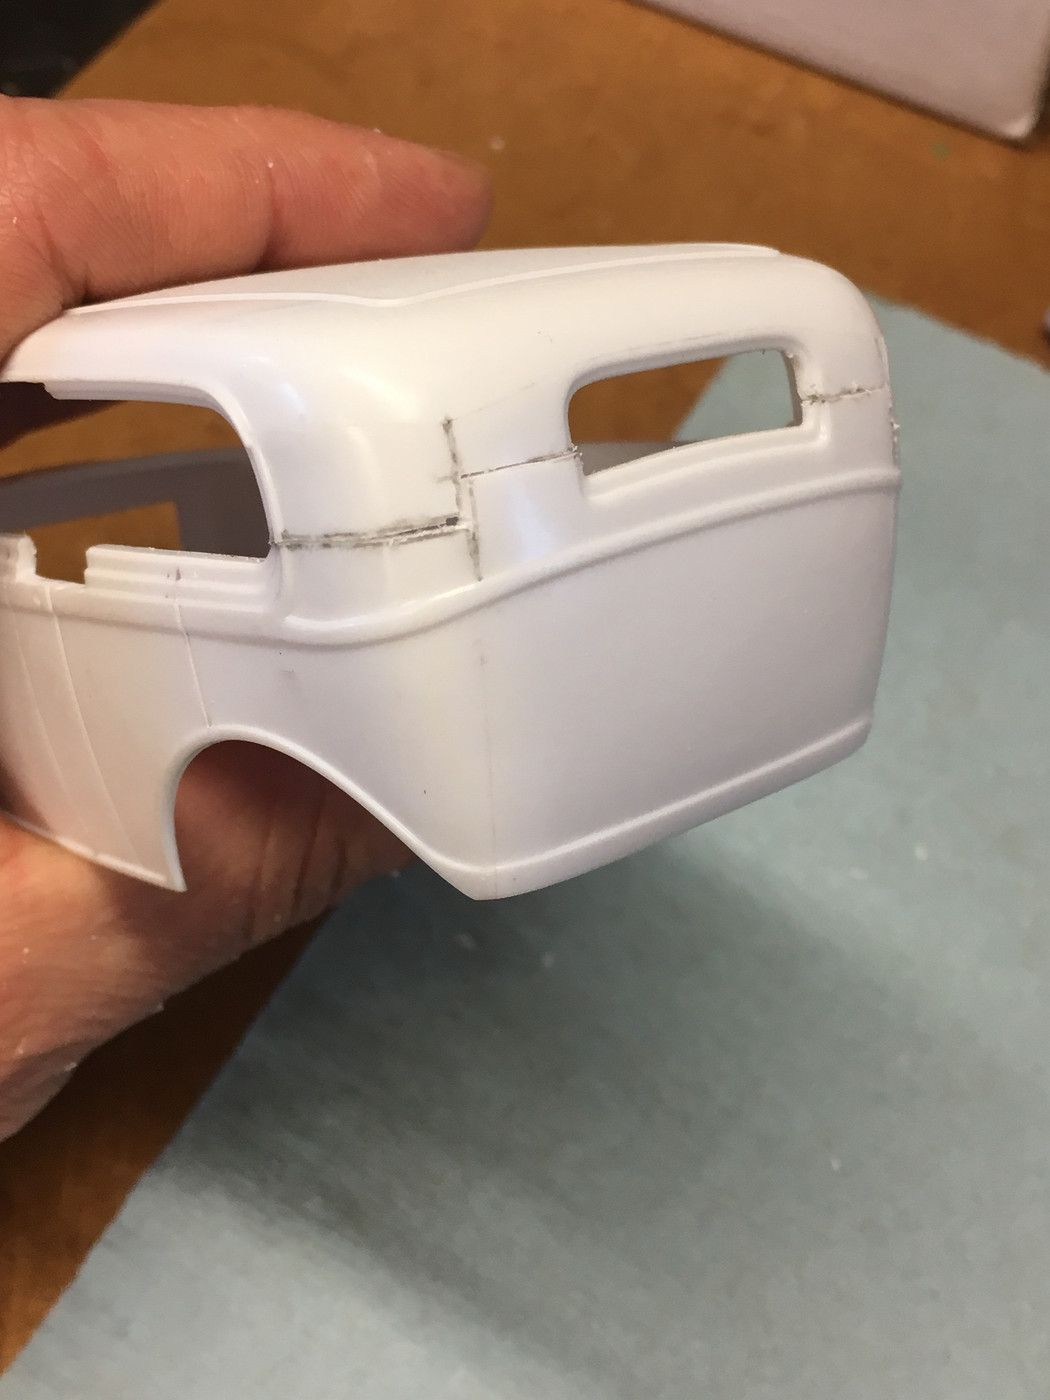
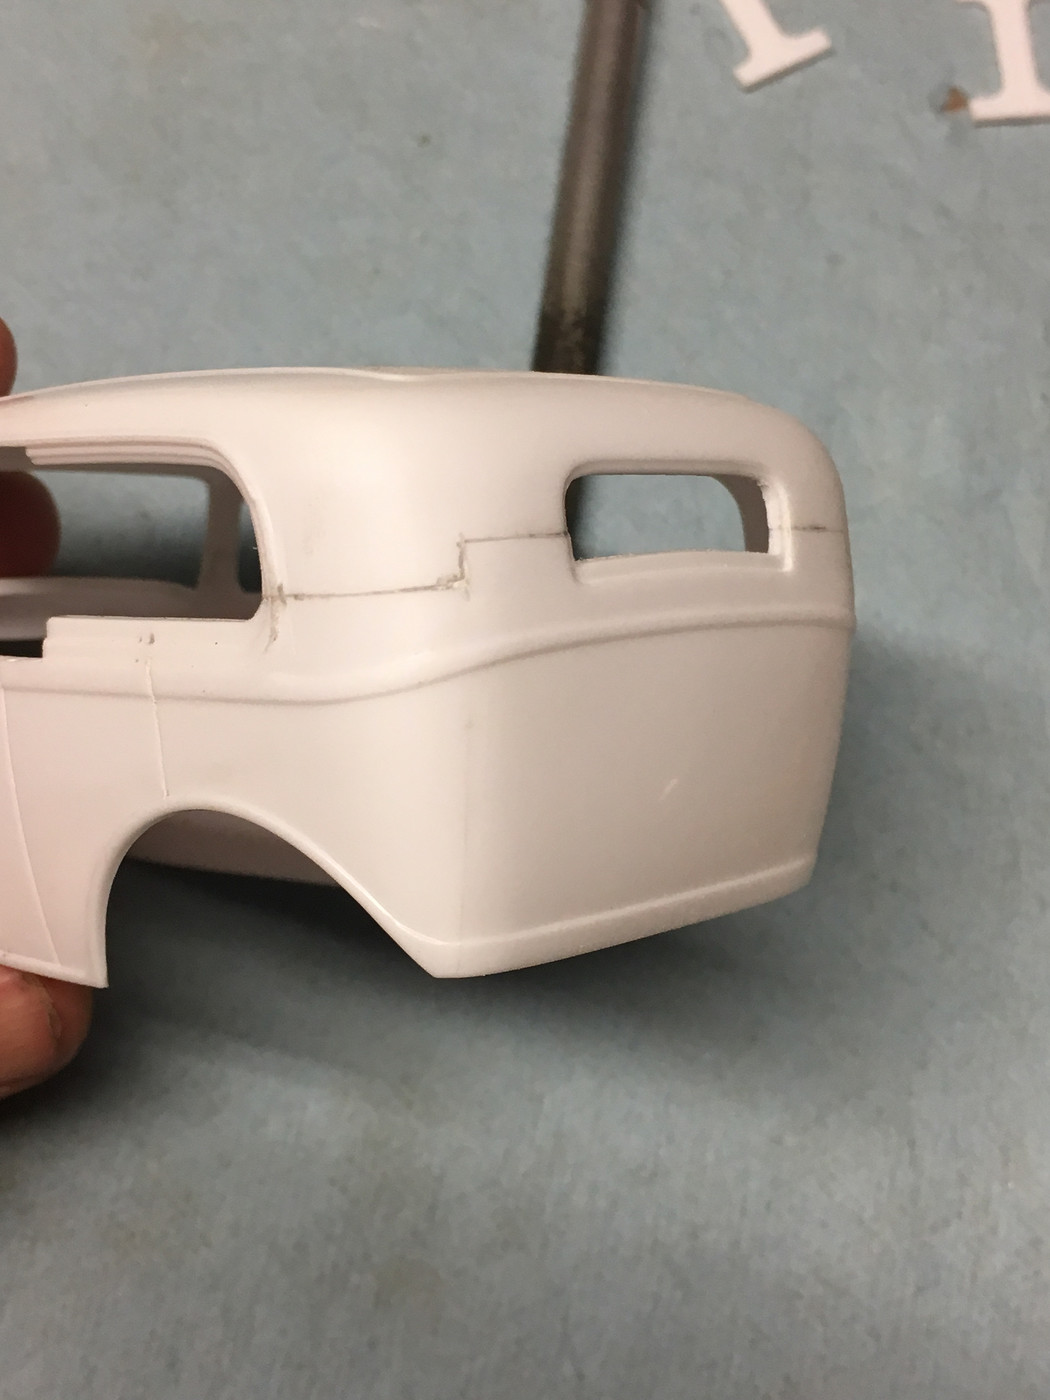
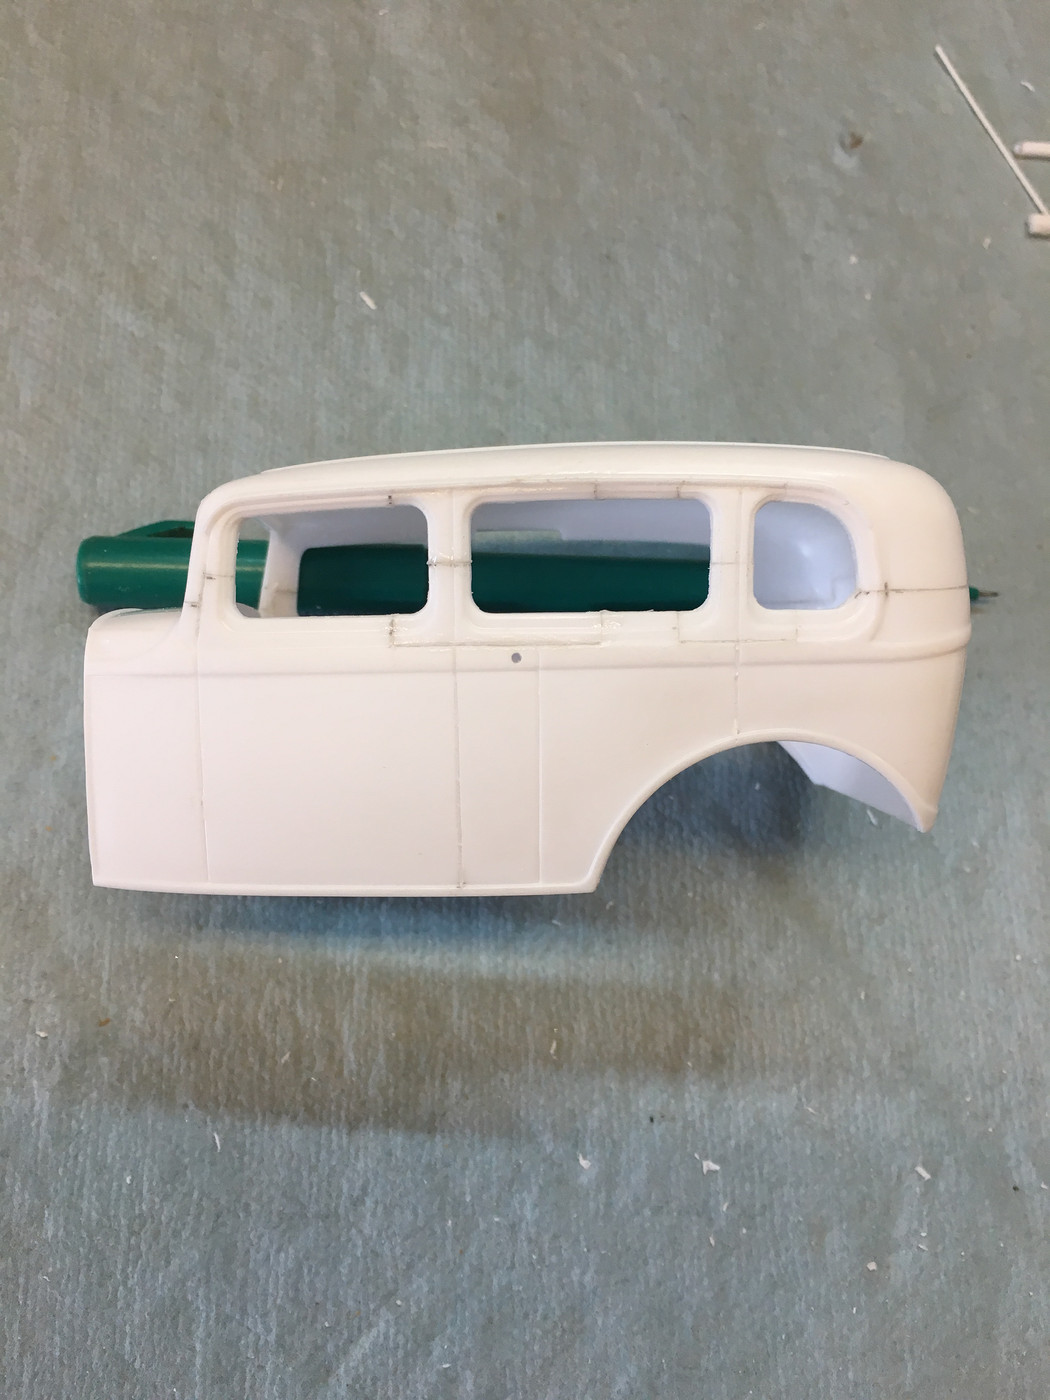
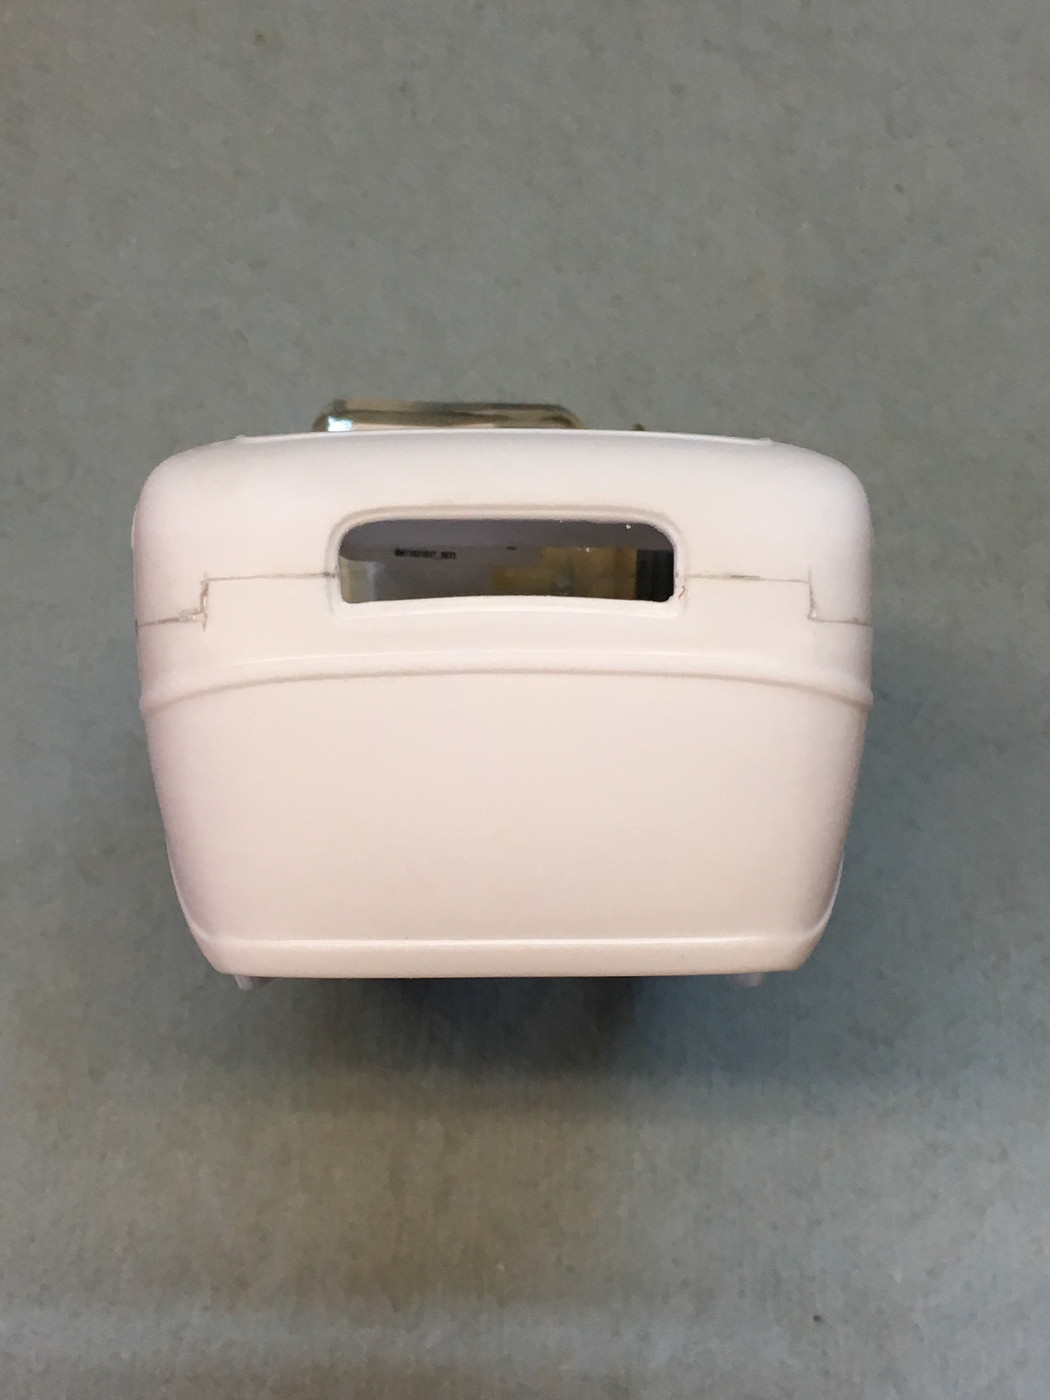
I started by removing the original door "B" post plus sections of the upper and lower window reveals 1/4" in either direction from the original door panel line. At this time I also marked the windshield posts and rear body to be chopped 1/8" which is about 3 scale inches.
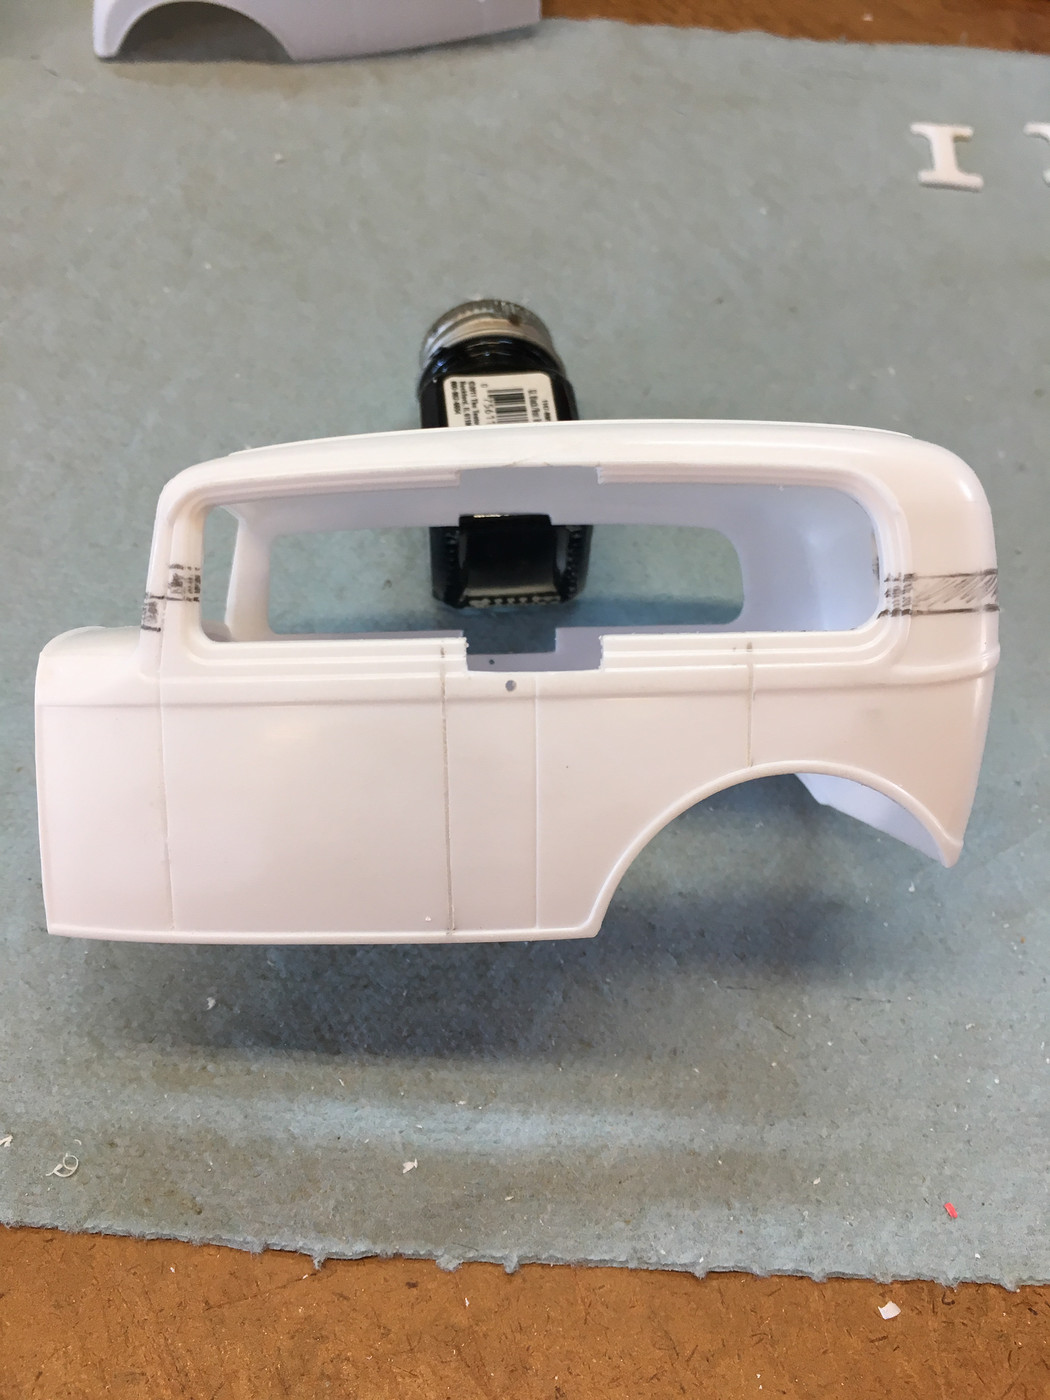
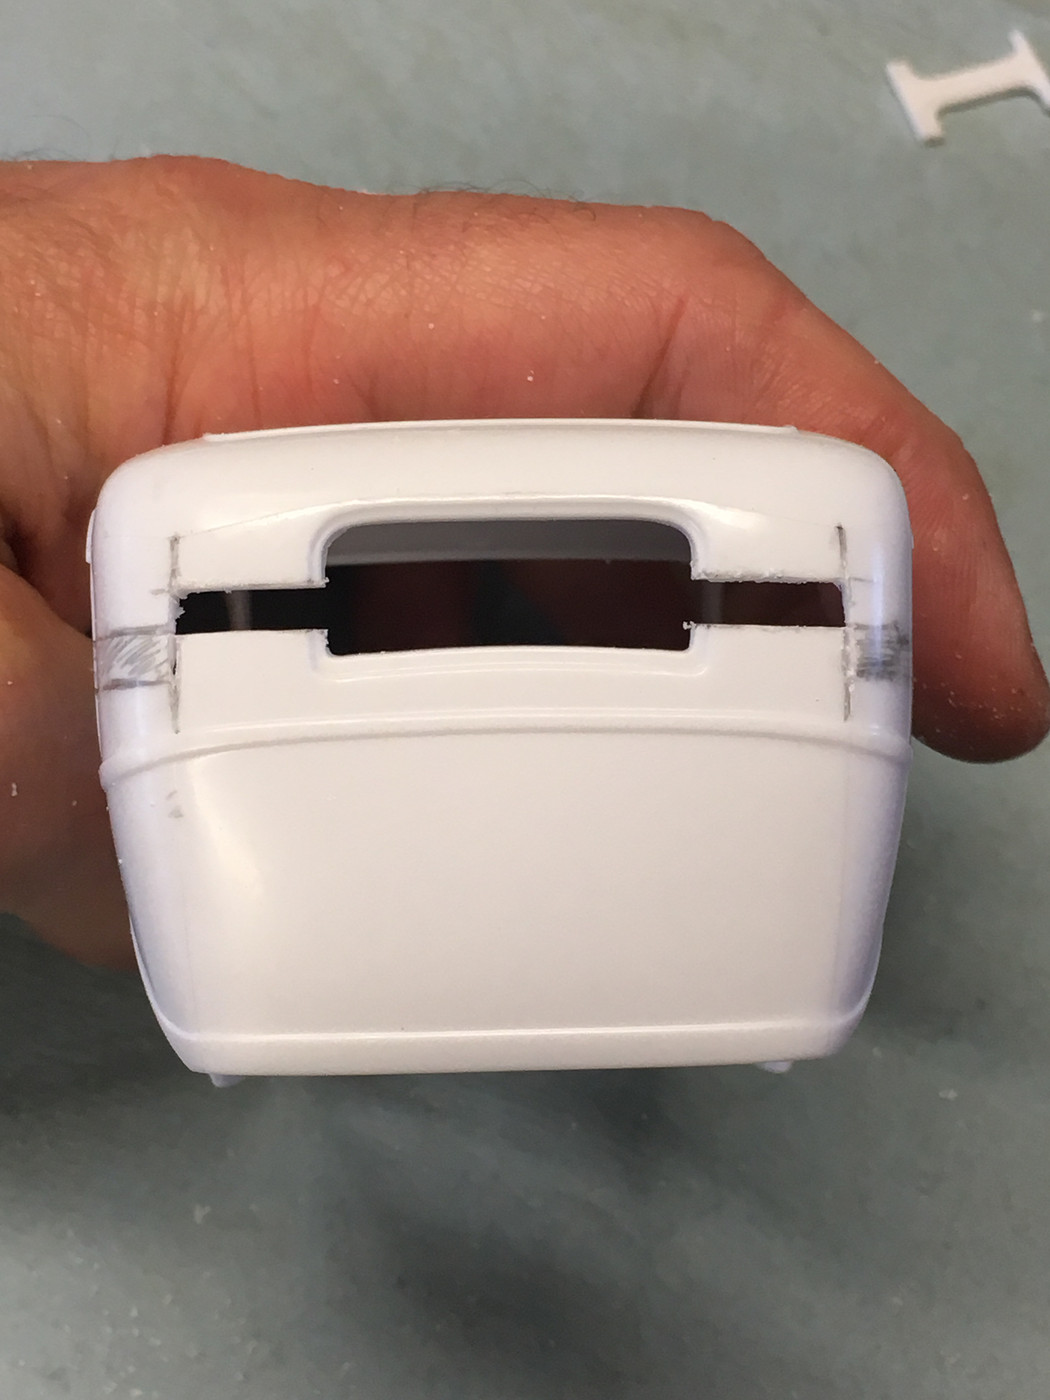
Both front and rear the chop cuts were laid out staggered and then the vertical separation lines cut through with the back of a new #11 blade. In the front the staggered cut allows the windshield post halves to be manipulated back together without having to stretch the roof and disrupt the original soft top insert detail. In the rear the staggered cuts are used because the ideal cutting locations for the side windows and rear window don't fall on a straight line. A bonus is that the staggered joints provide a far stronger glue joint than a straight butt-joint does.
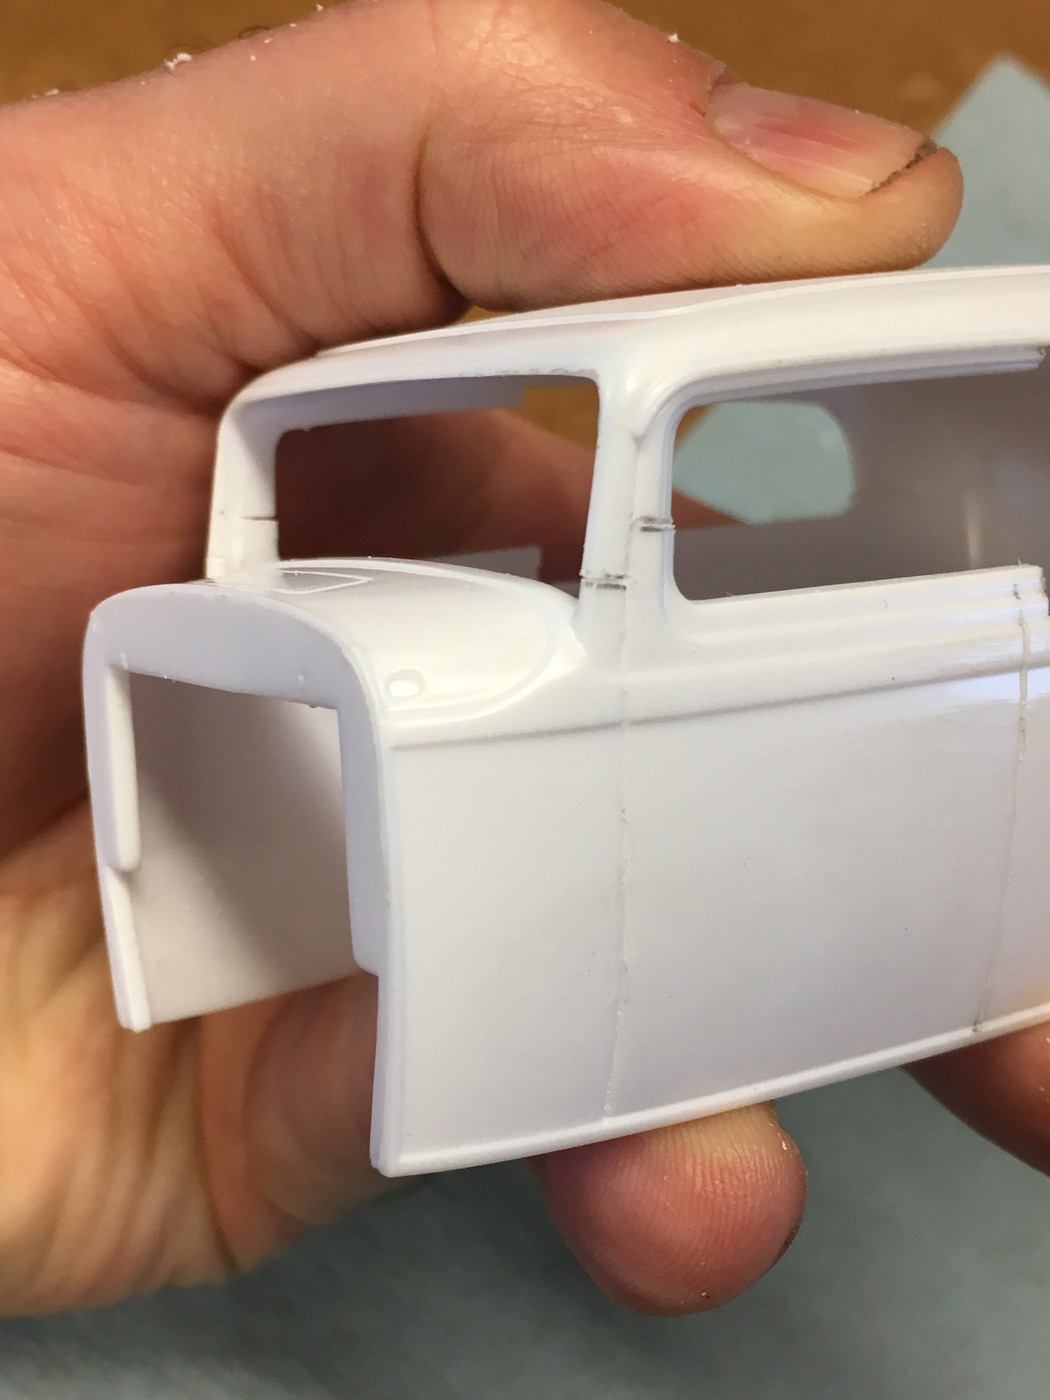
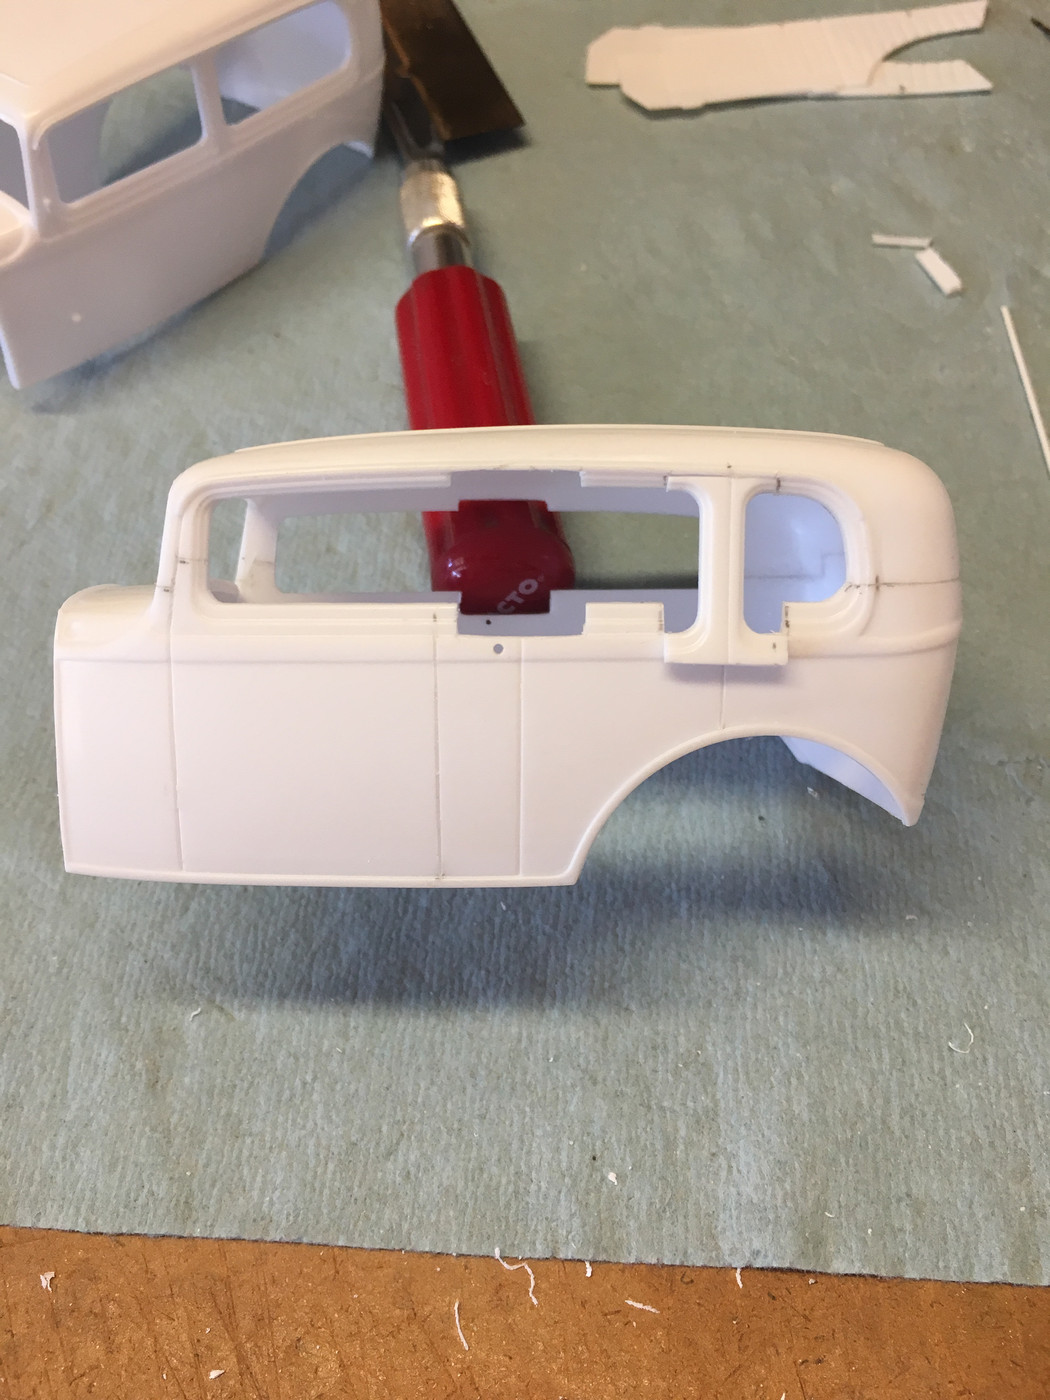
The shaded areas are then systematically removed until the top is separated.
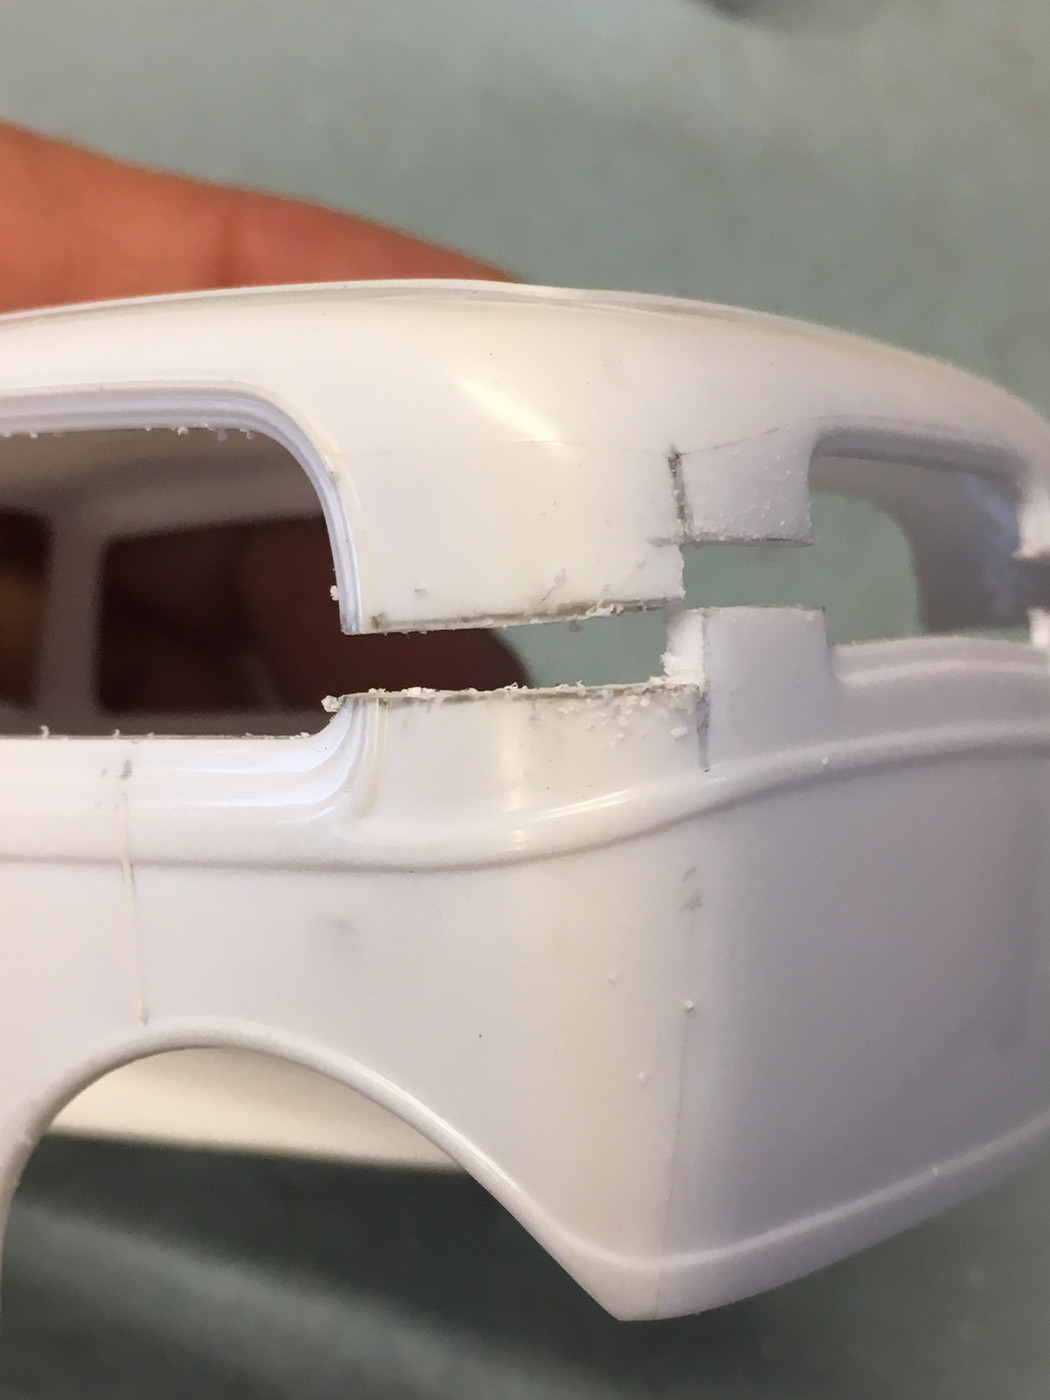
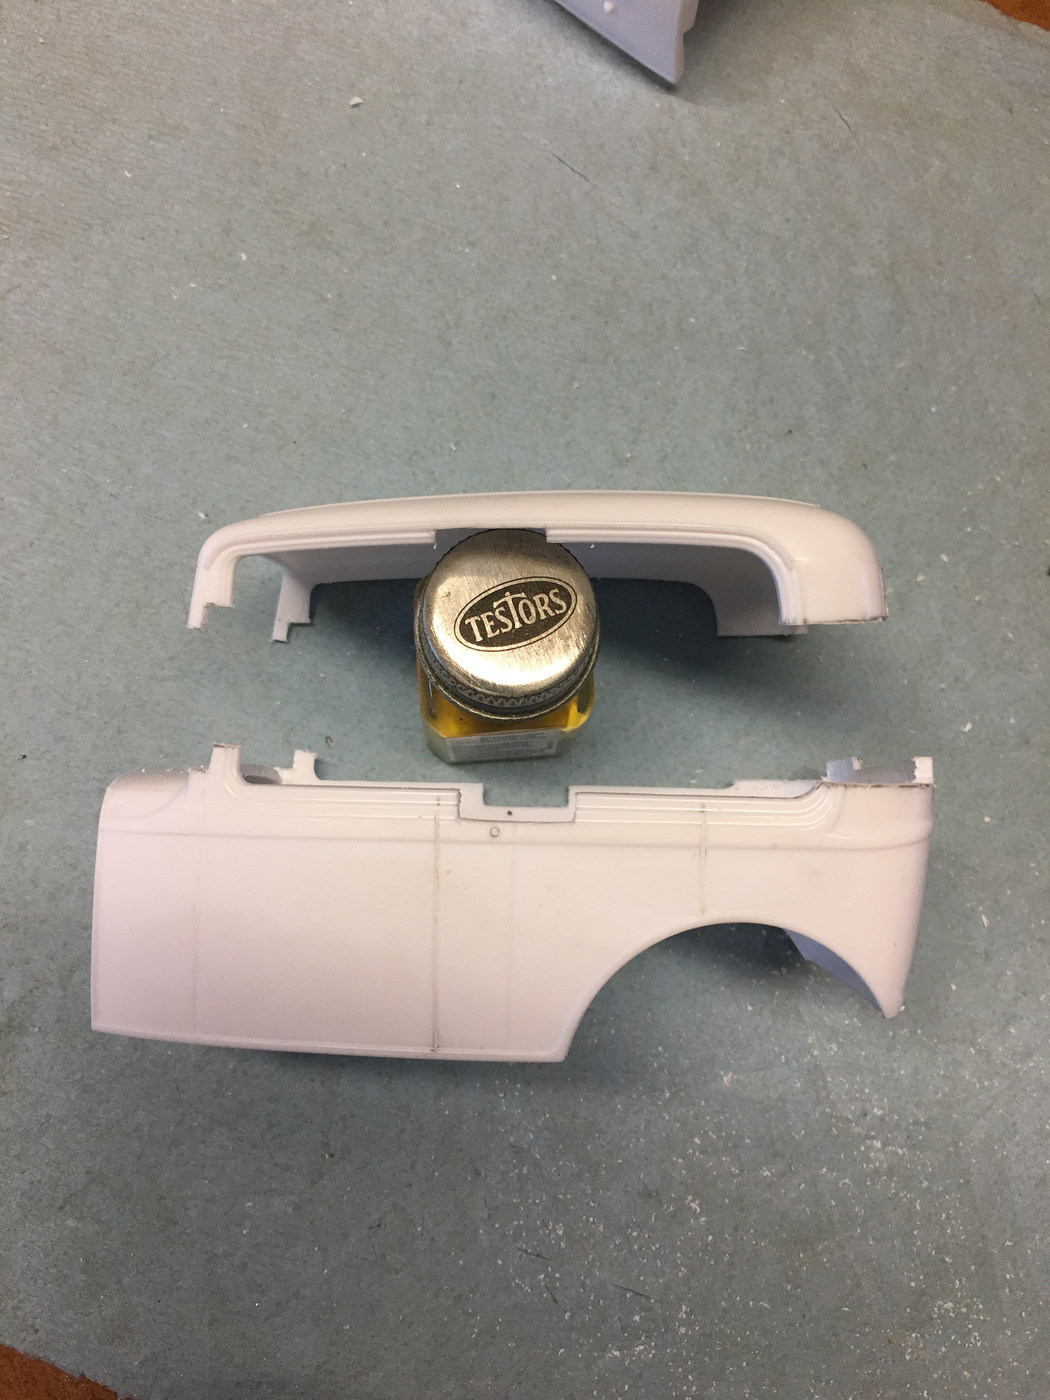
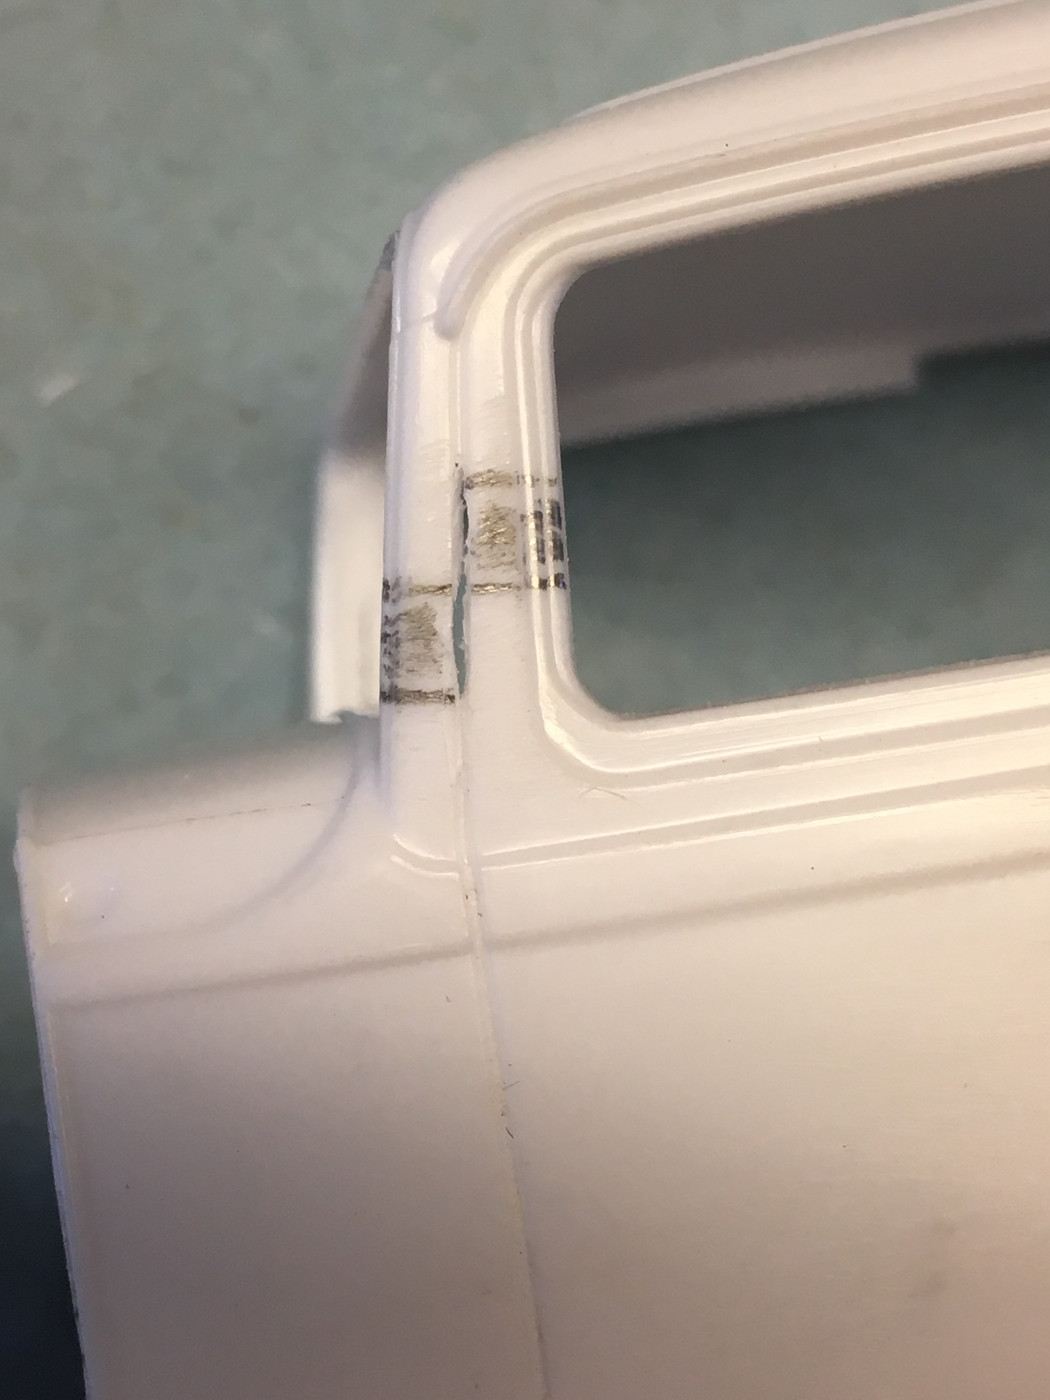
The fit of the top section is adjusted to make everything as lined up and square as possible.
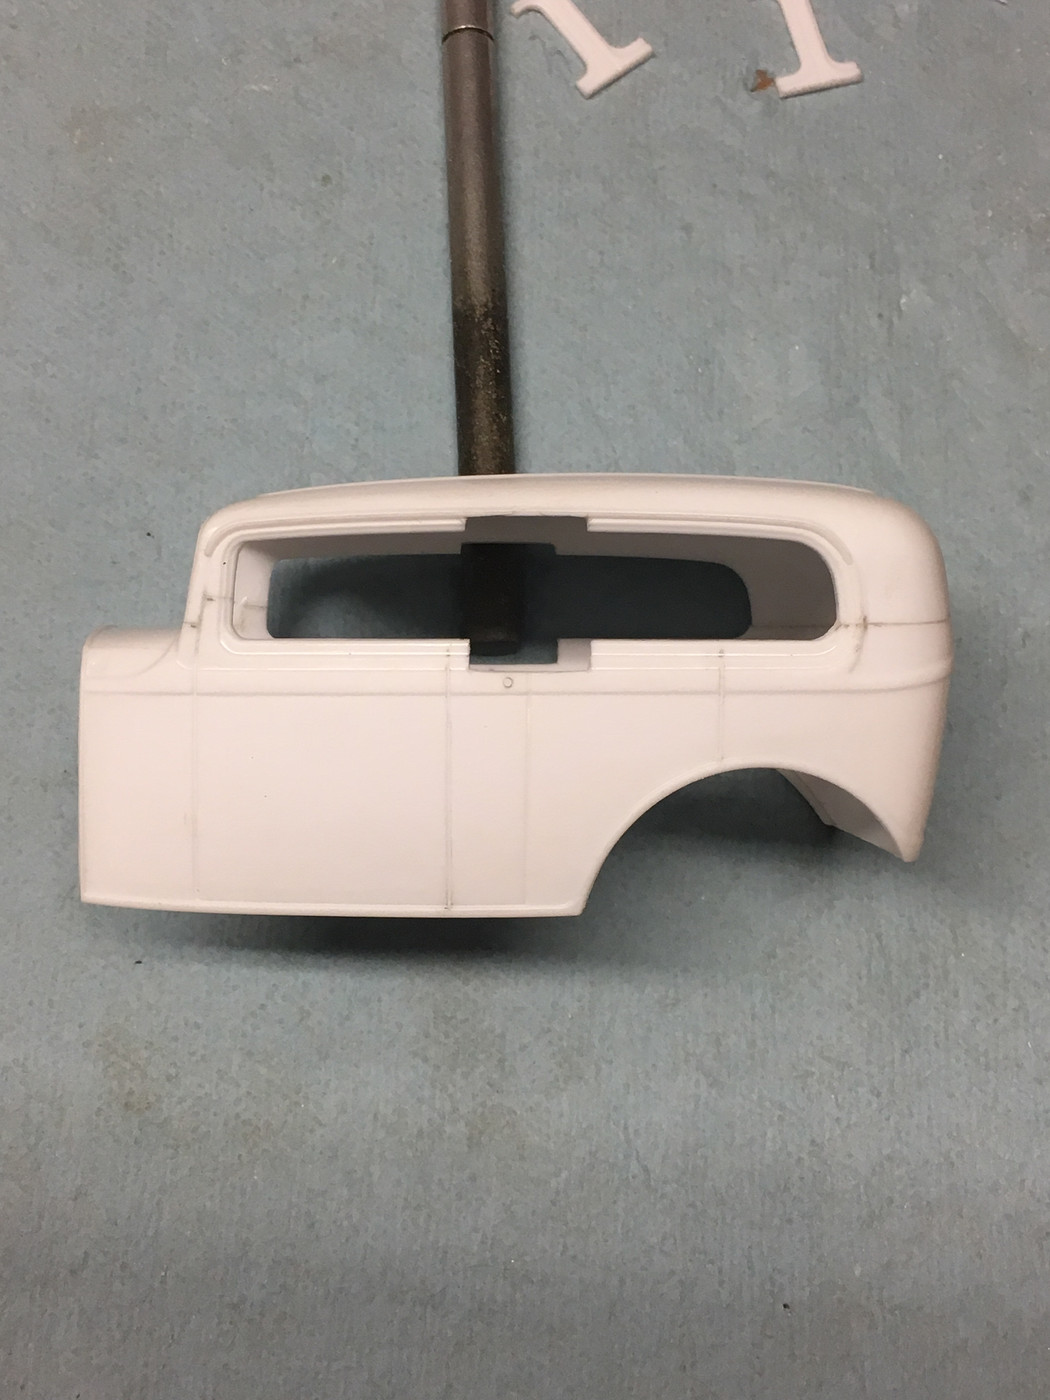
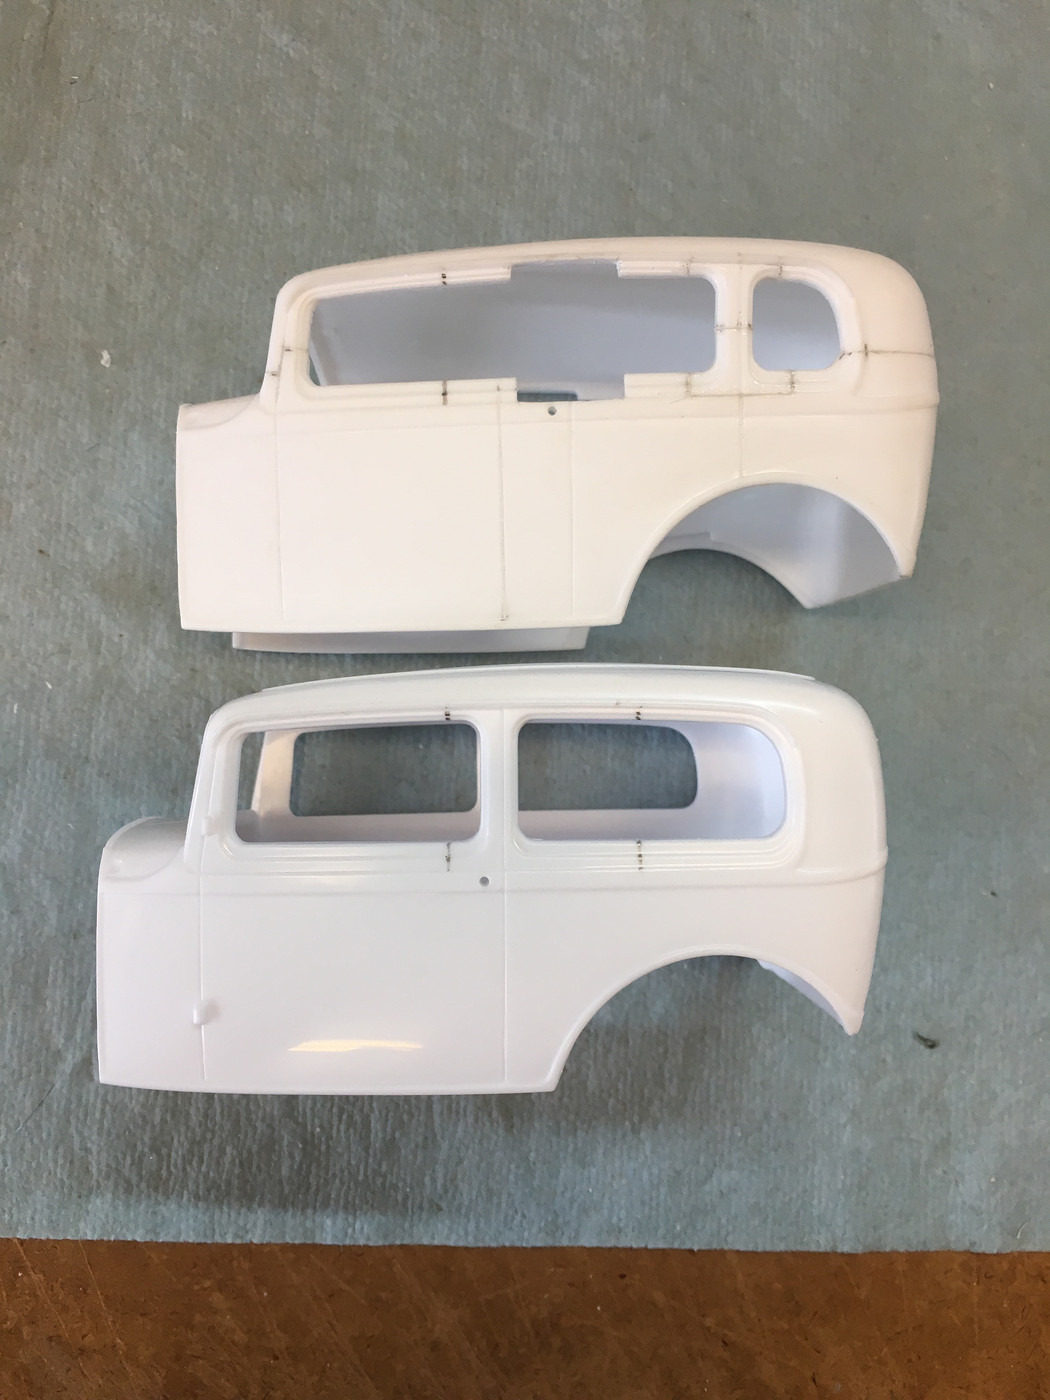
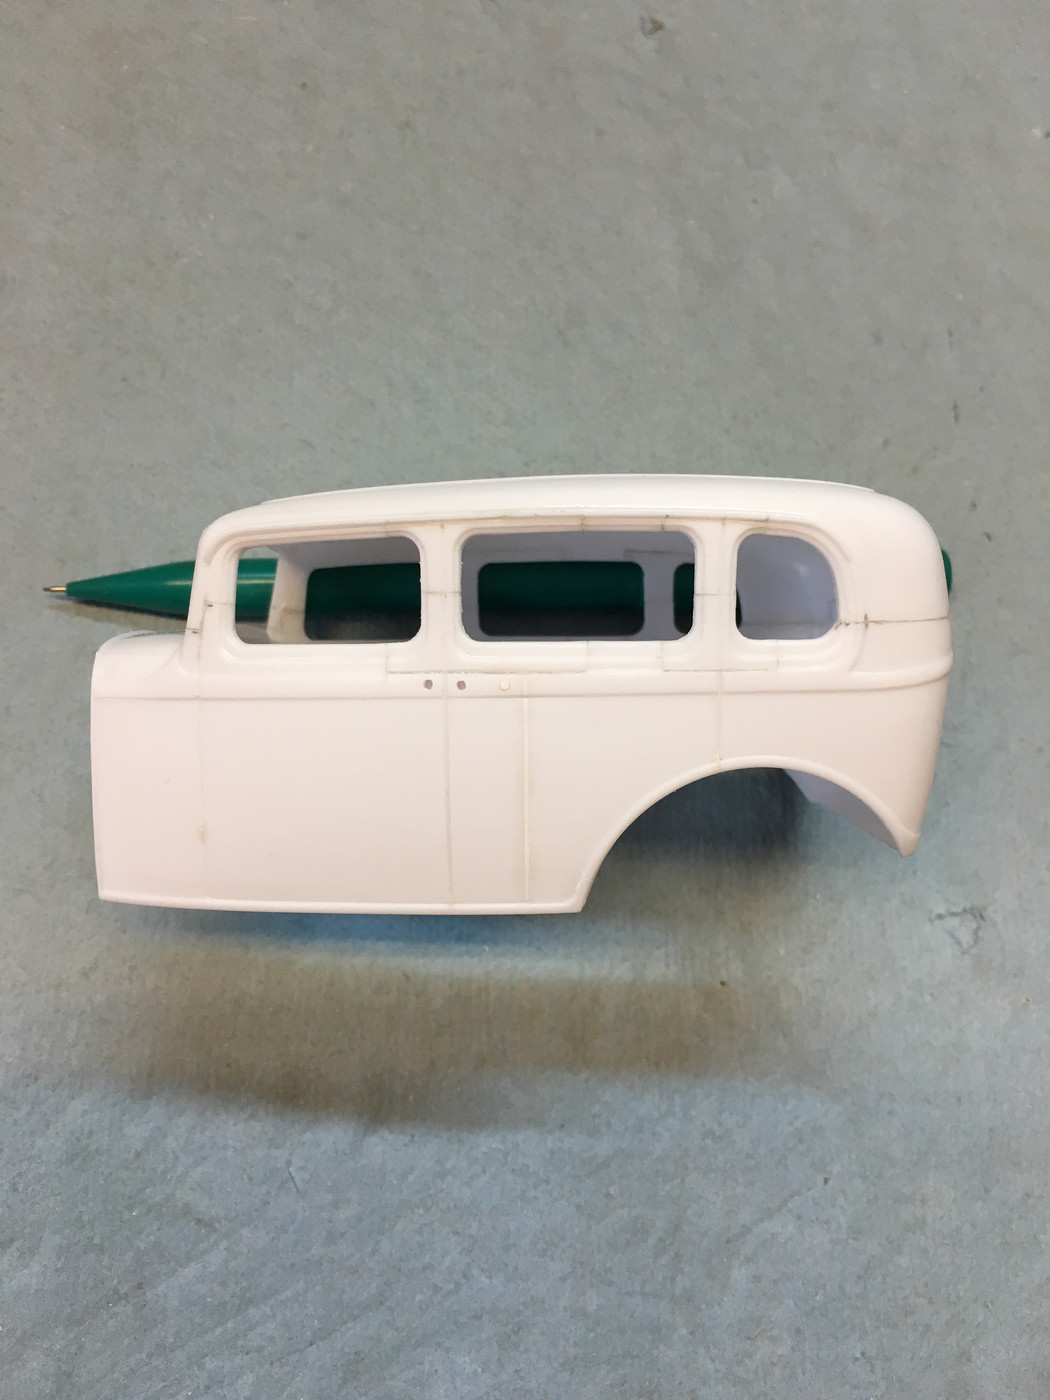
The top is glued back on using Zap-A-Gap CA and all of the joints are blended. The new 4-Door panel lines are cut in as well.
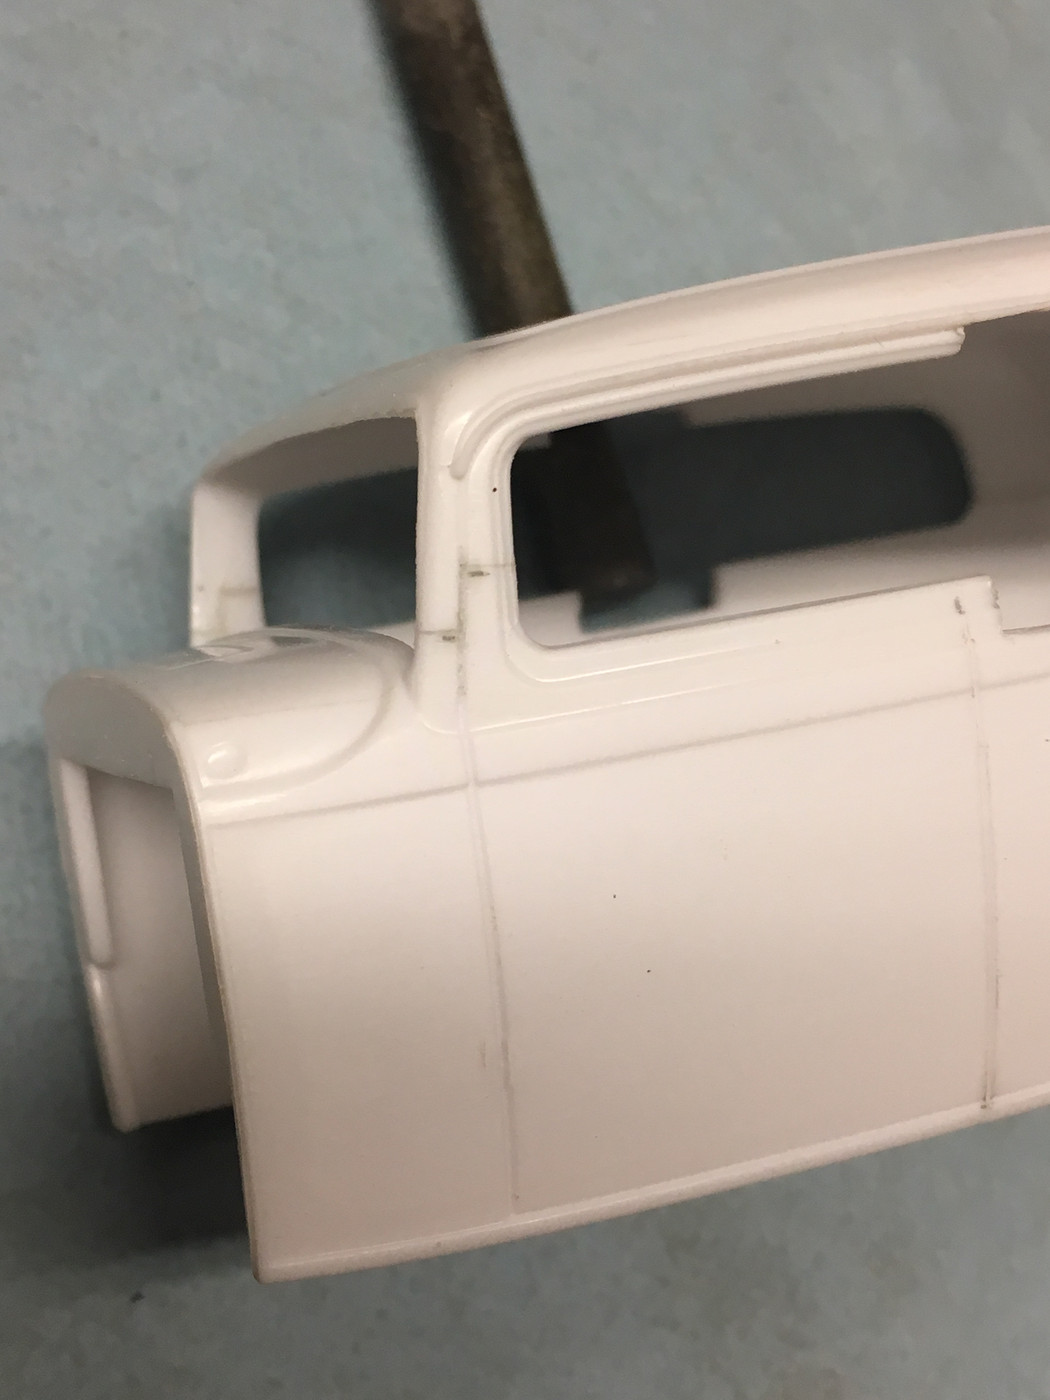
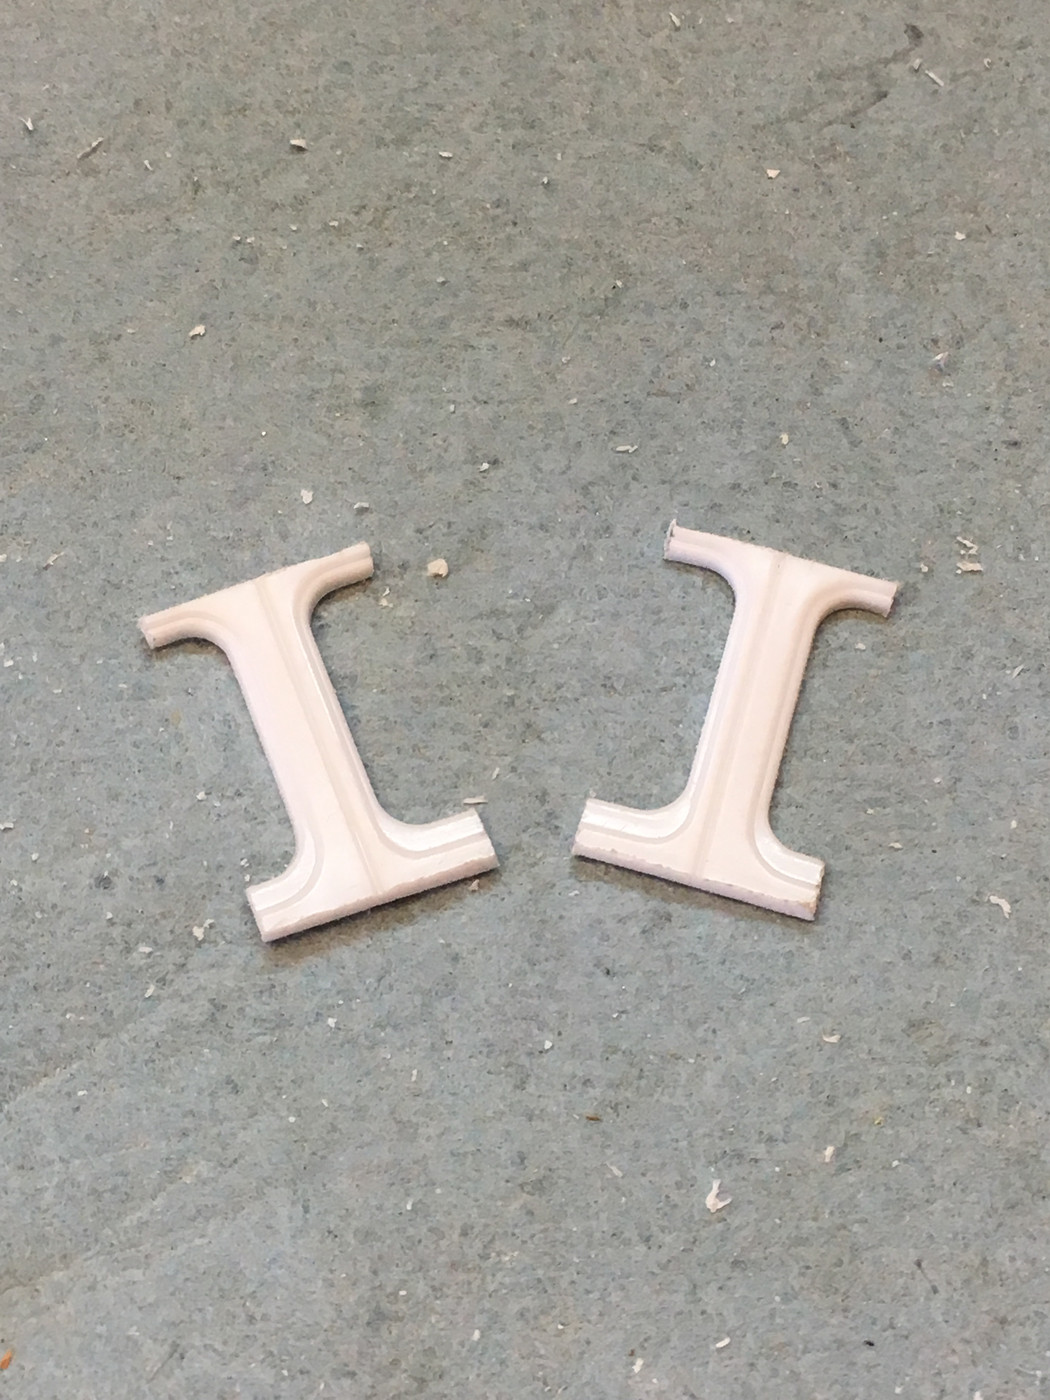
The previously removed door "B" posts are now chopped to match and then the carefully cut into the body creating the new rear door posts.

A second donor body is then marked to have its door "B" posts removed and enough window reveal area to fill in the gaps from removing the original posts.
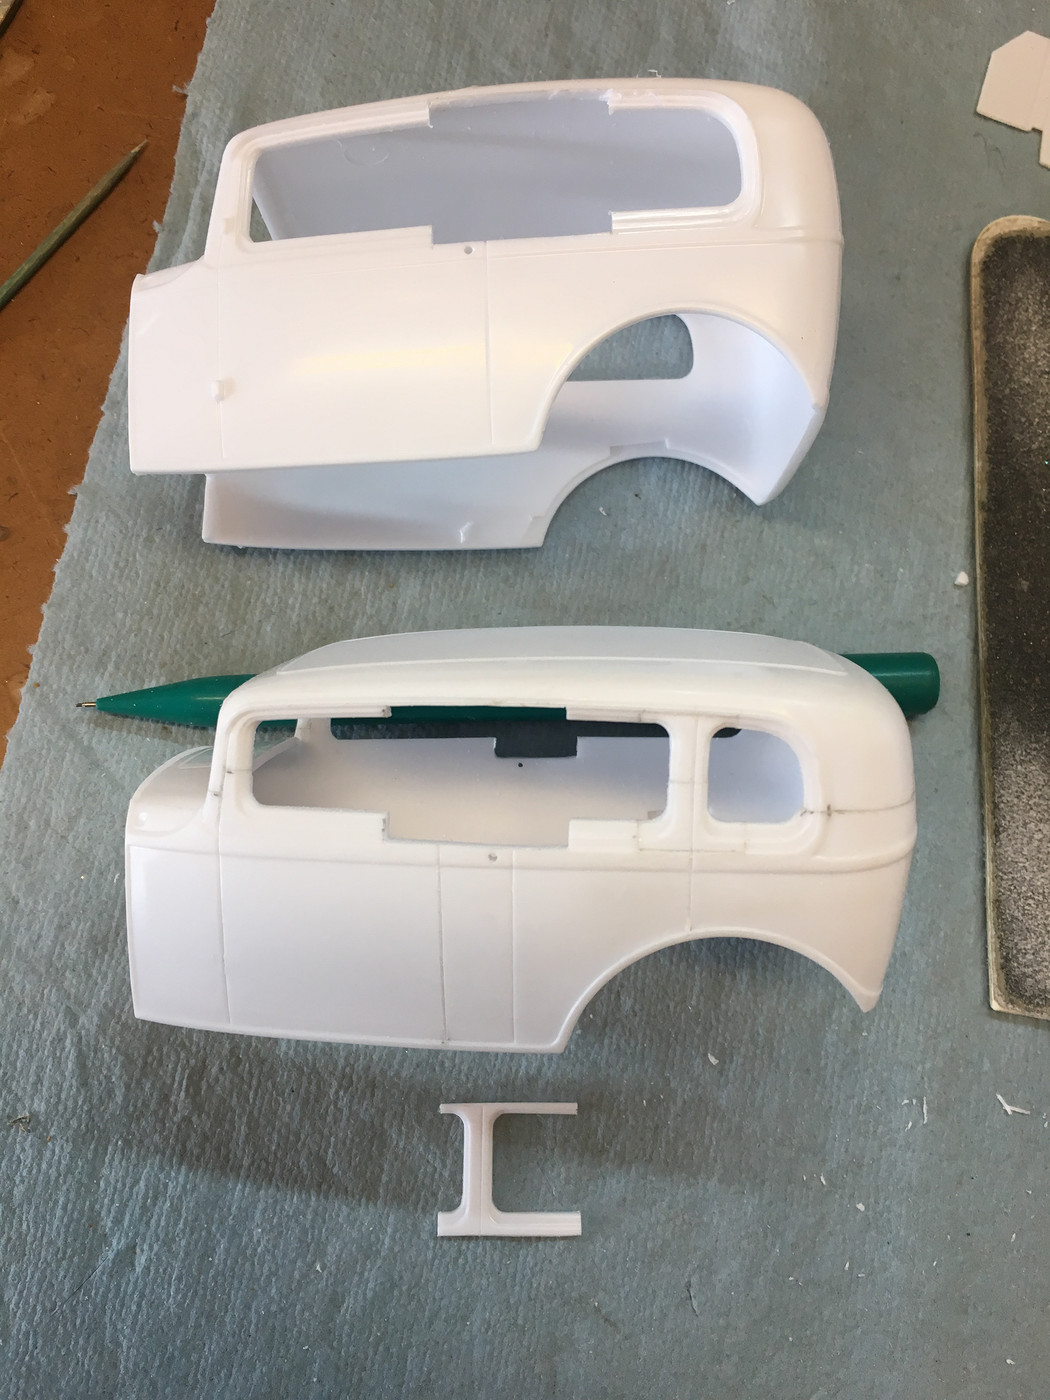
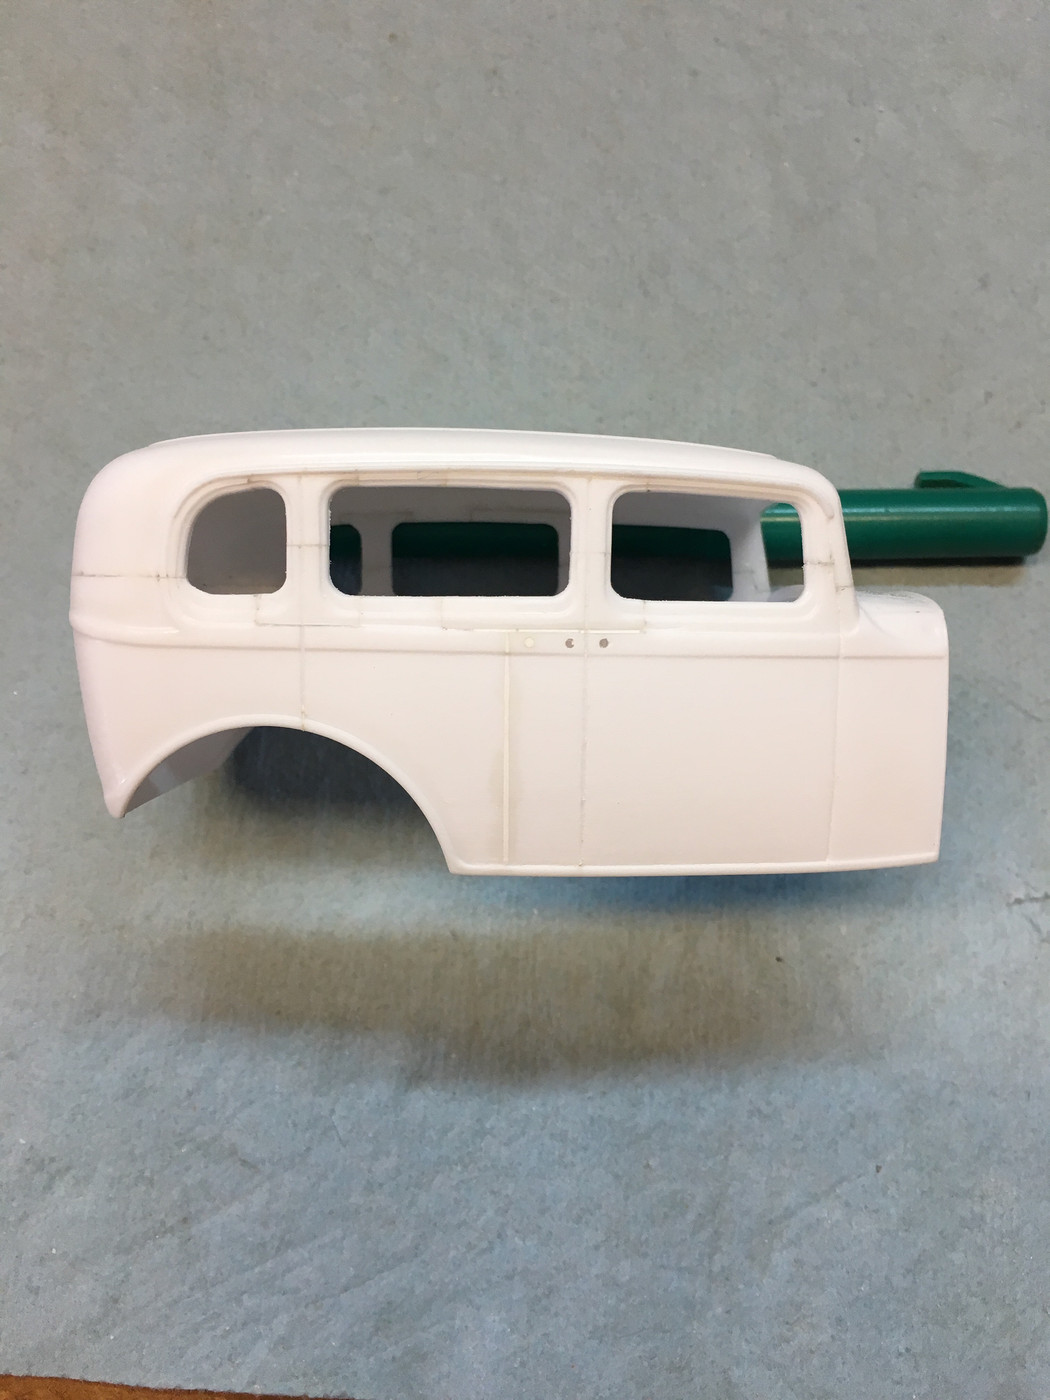
The donor door posts are then chopped and carefully cut into the body to form the new front door "B" posts.
Next, lots and lots of careful filing and sanding to blend everything together. The original 2-Door door panel lines were filled in with strips of .020 x .020 square stock laid in like a diamond then sanded flush. The original door handle holes were filled and new door handle holes drilled in both doors.
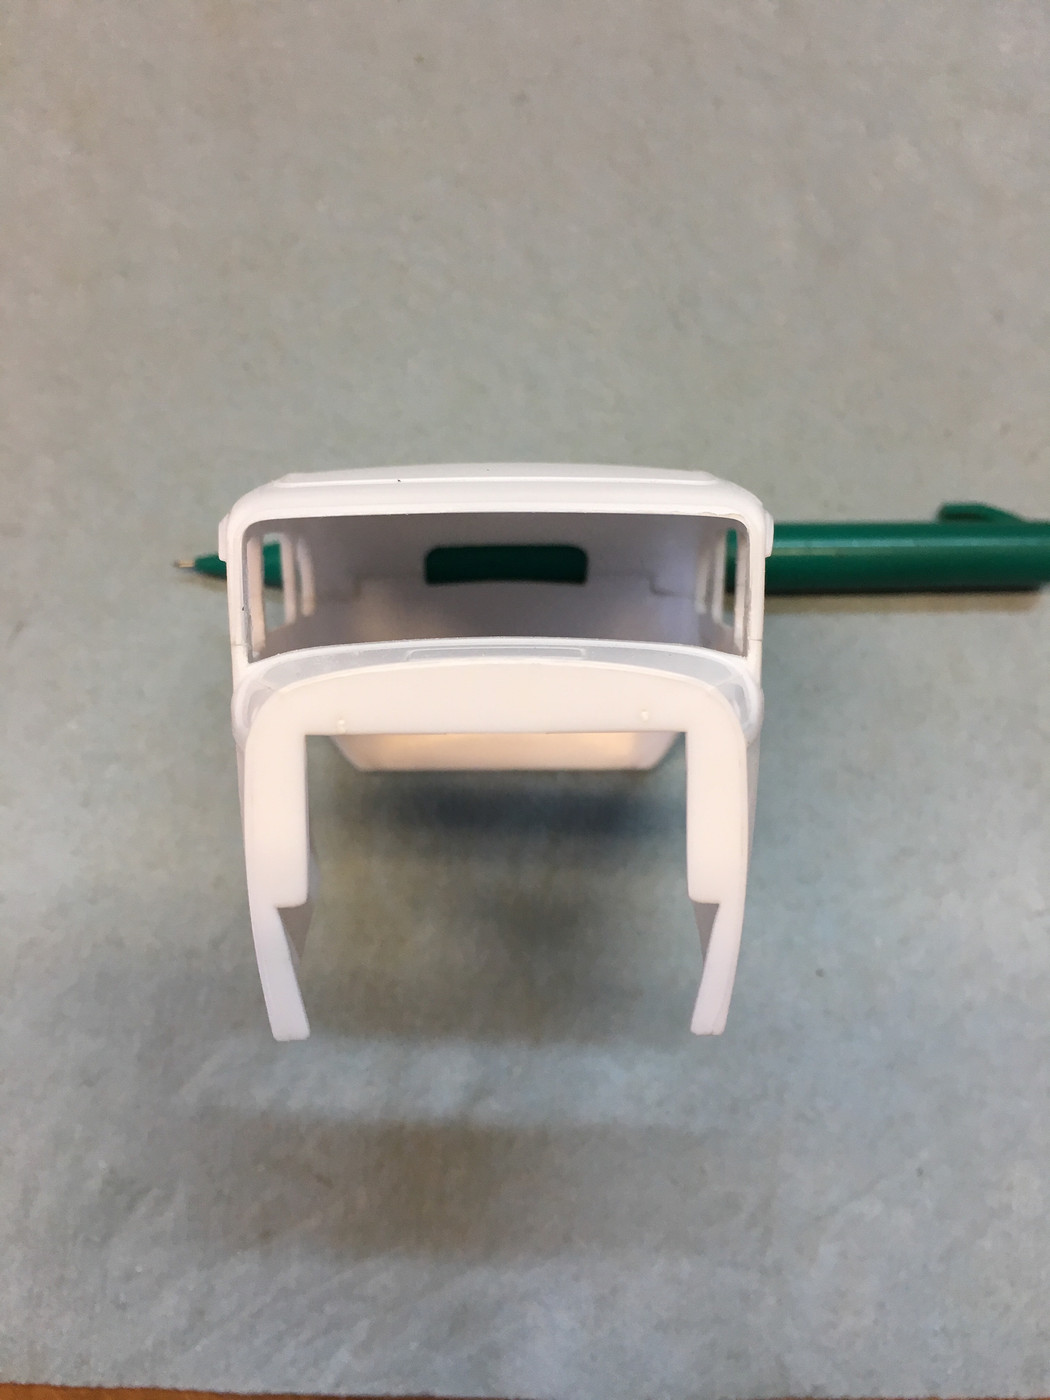
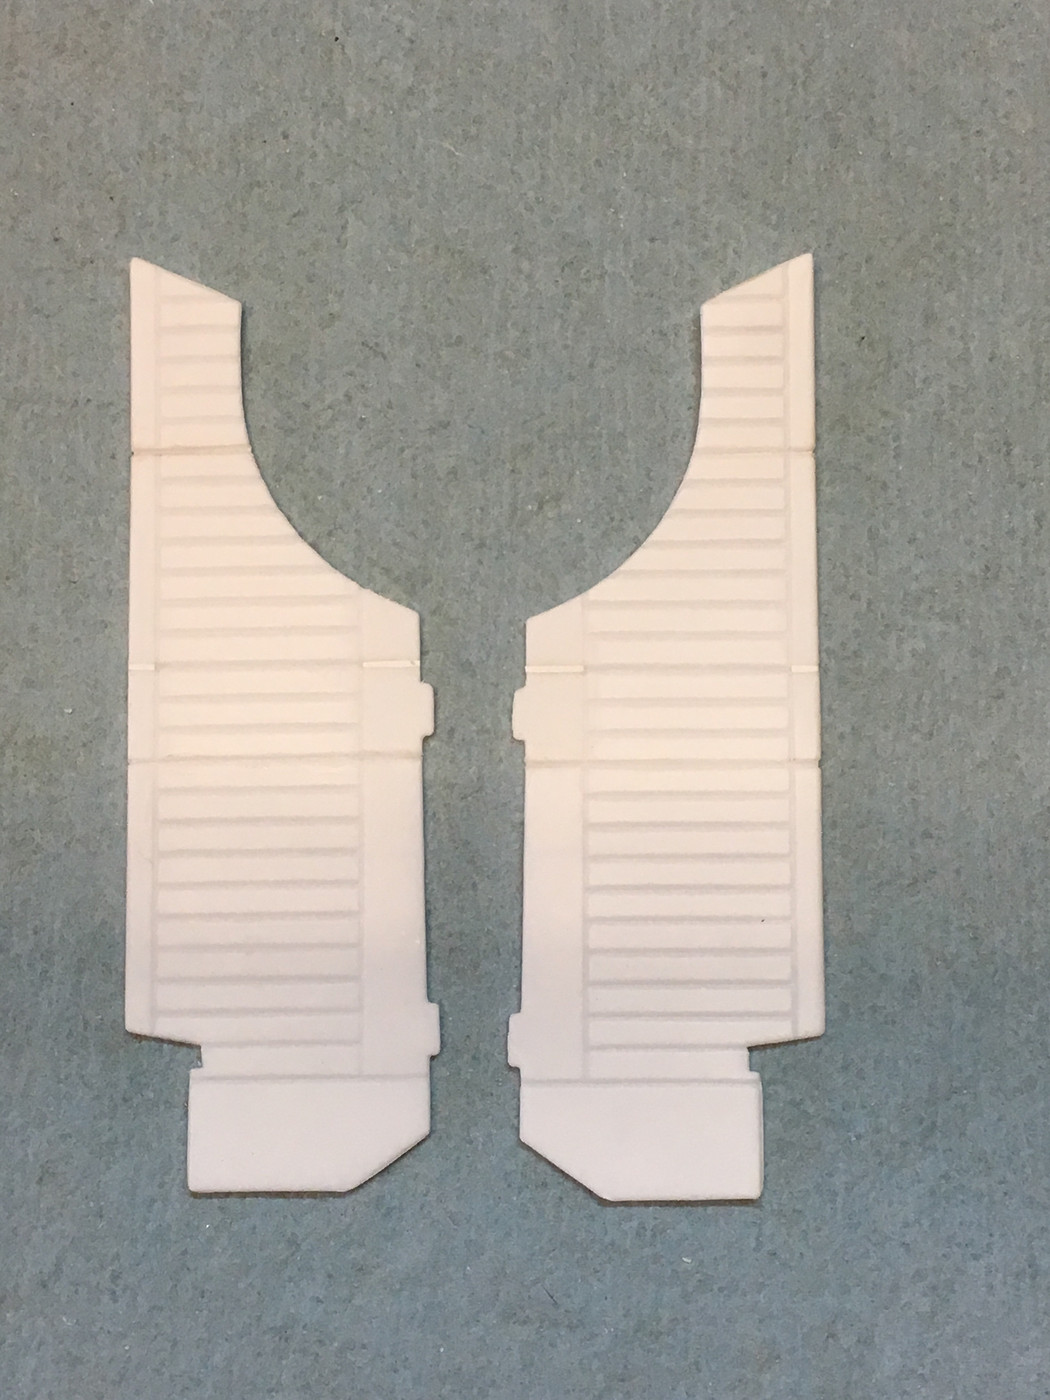
I also went ahead and corrected the interior panels to have a matching 4-Door layout.
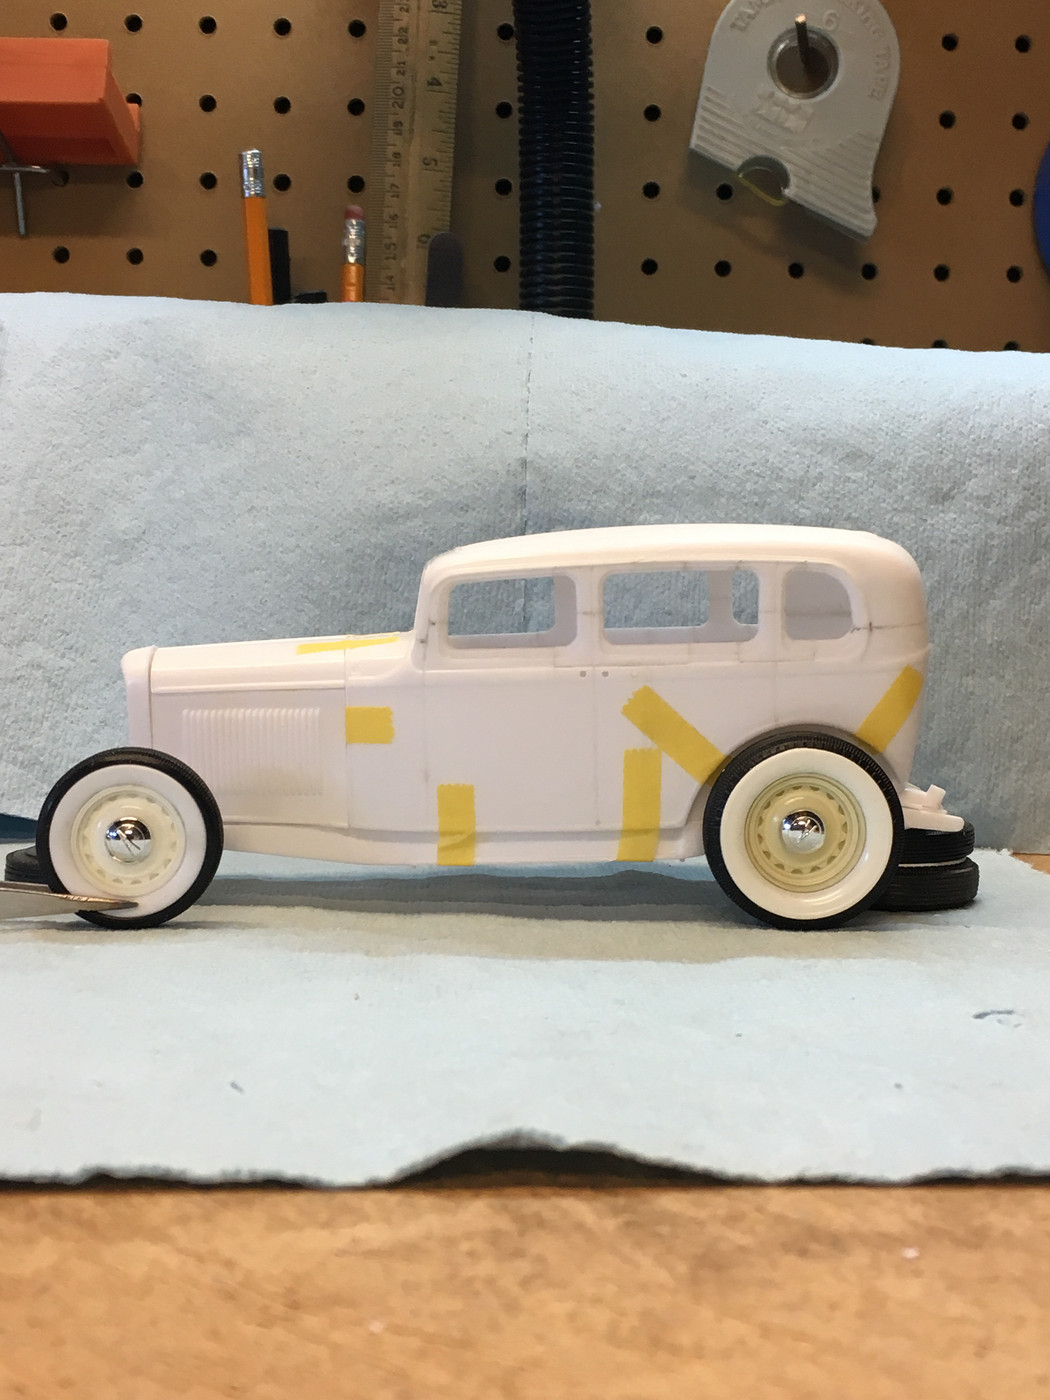
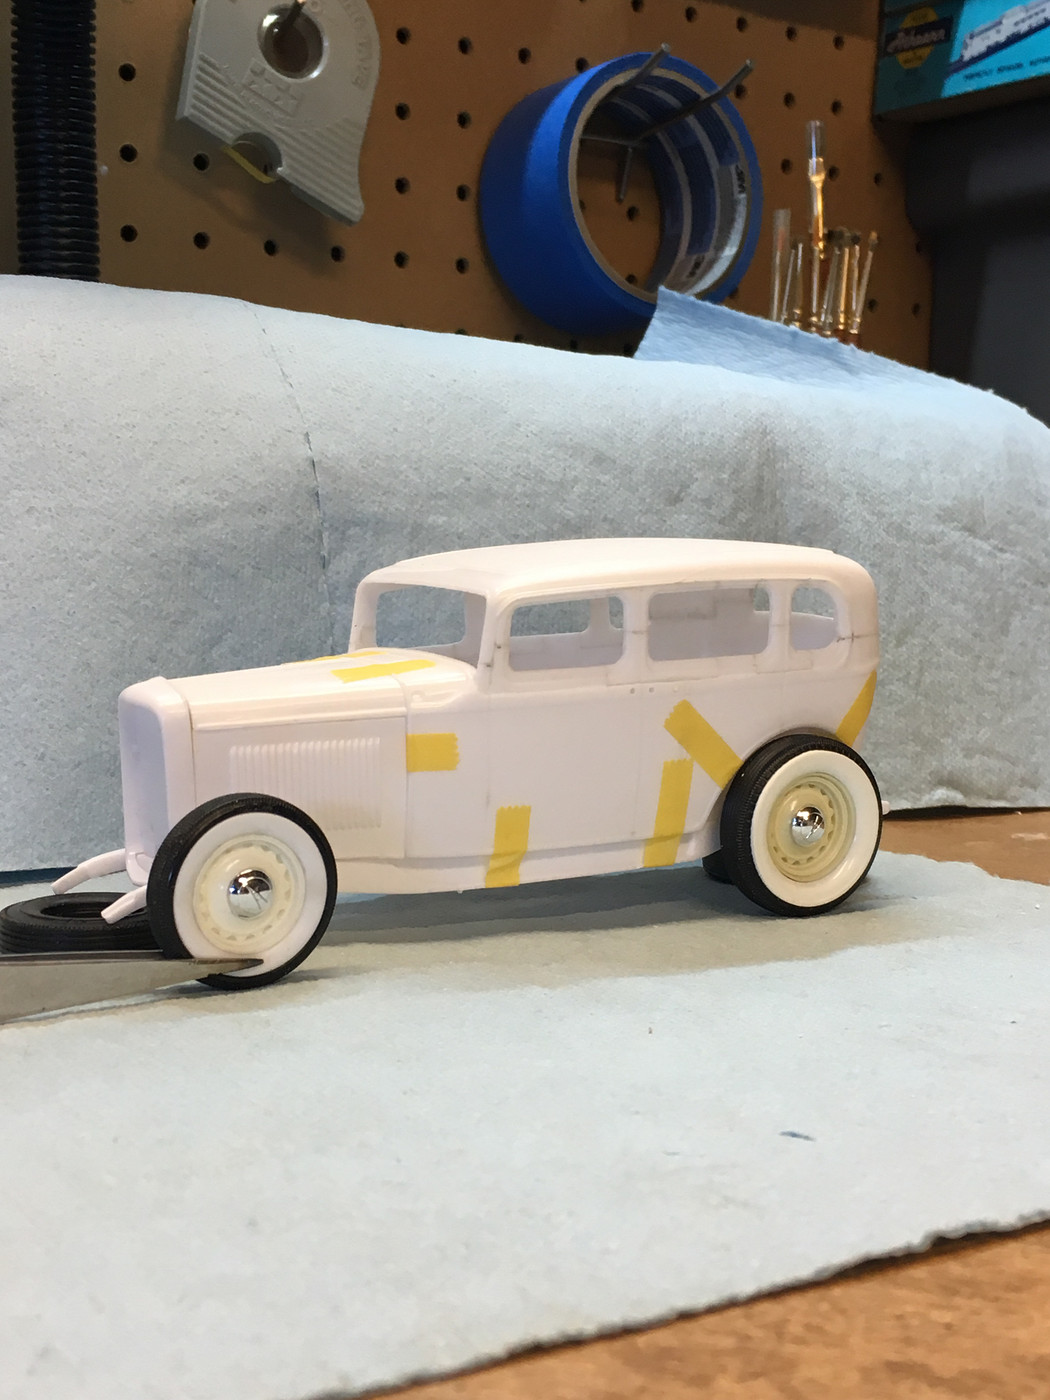
Lastly, a few mock ups to really get a look at how it looks!
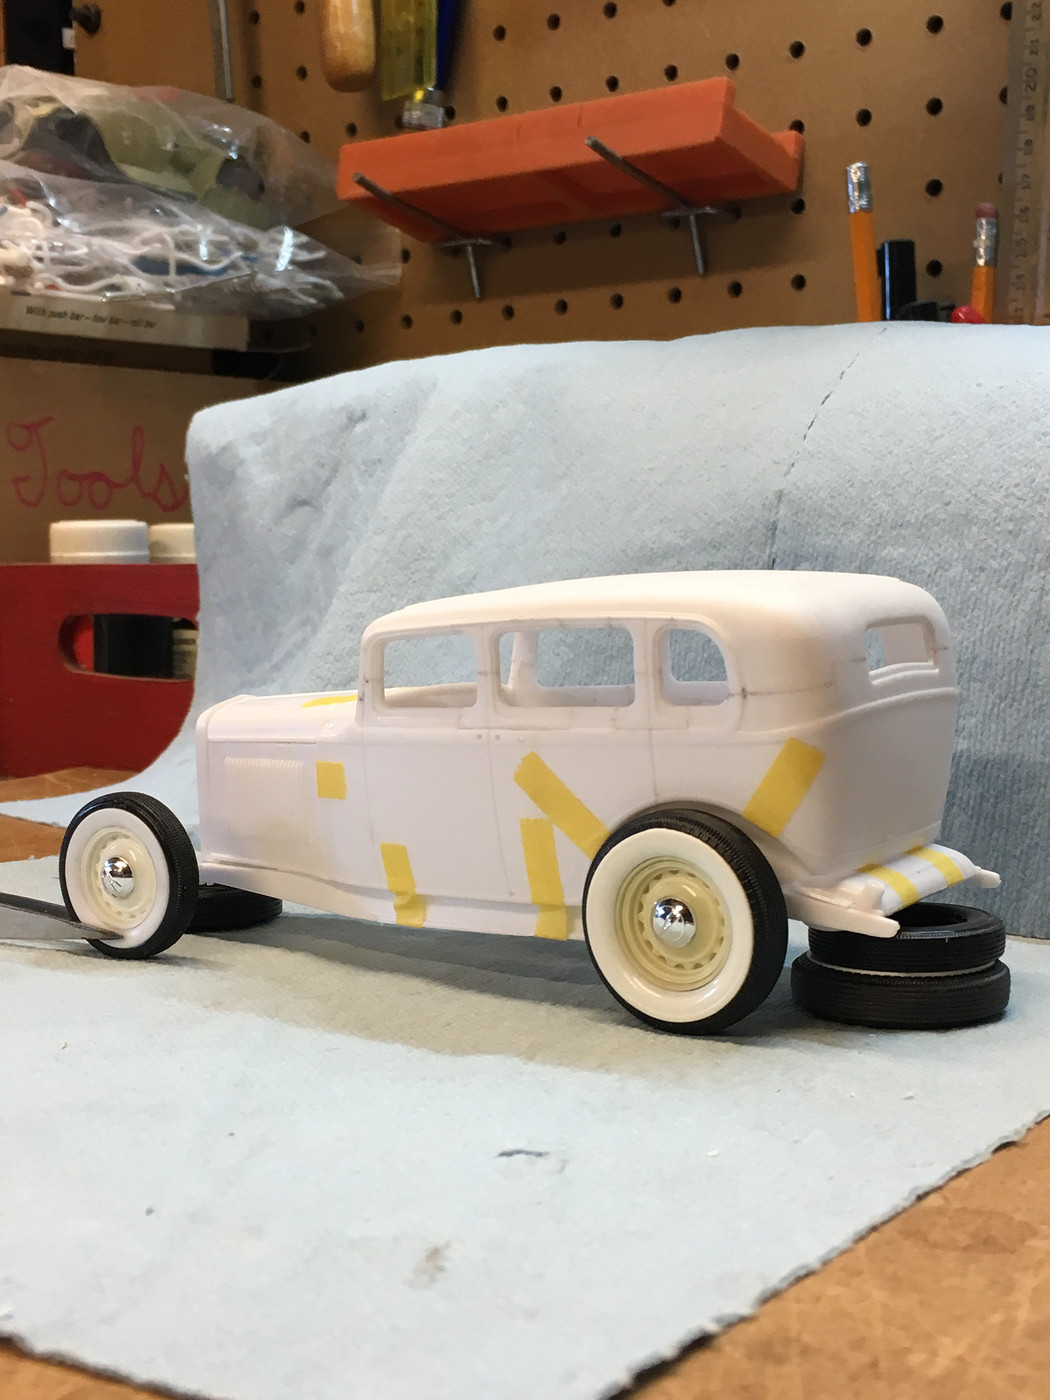
NOW THE BIG QUESTION!!!
I told our favorite resin caster, Ed, that once the body is fine tuned that I would be happy to send it off to him as a master for him to reproduce and sell. Ed's receptive but really wants to get a feel for demand first because 4-Doors have always been less popular. So if you'd truly be down to buy one of these please let us know! Tentatively, it would be a "conversion kit" that would include the body, chopped windshield frame and reworked interior side panels.

I started by removing the original door "B" post plus sections of the upper and lower window reveals 1/4" in either direction from the original door panel line. At this time I also marked the windshield posts and rear body to be chopped 1/8" which is about 3 scale inches.
Both front and rear the chop cuts were laid out staggered and then the vertical separation lines cut through with the back of a new #11 blade. In the front the staggered cut allows the windshield post halves to be manipulated back together without having to stretch the roof and disrupt the original soft top insert detail. In the rear the staggered cuts are used because the ideal cutting locations for the side windows and rear window don't fall on a straight line. A bonus is that the staggered joints provide a far stronger glue joint than a straight butt-joint does.
The shaded areas are then systematically removed until the top is separated.
The fit of the top section is adjusted to make everything as lined up and square as possible.
The top is glued back on using Zap-A-Gap CA and all of the joints are blended. The new 4-Door panel lines are cut in as well.
The previously removed door "B" posts are now chopped to match and then the carefully cut into the body creating the new rear door posts.
A second donor body is then marked to have its door "B" posts removed and enough window reveal area to fill in the gaps from removing the original posts.
The donor door posts are then chopped and carefully cut into the body to form the new front door "B" posts.
Next, lots and lots of careful filing and sanding to blend everything together. The original 2-Door door panel lines were filled in with strips of .020 x .020 square stock laid in like a diamond then sanded flush. The original door handle holes were filled and new door handle holes drilled in both doors.
I also went ahead and corrected the interior panels to have a matching 4-Door layout.
Lastly, a few mock ups to really get a look at how it looks!
NOW THE BIG QUESTION!!!
I told our favorite resin caster, Ed, that once the body is fine tuned that I would be happy to send it off to him as a master for him to reproduce and sell. Ed's receptive but really wants to get a feel for demand first because 4-Doors have always been less popular. So if you'd truly be down to buy one of these please let us know! Tentatively, it would be a "conversion kit" that would include the body, chopped windshield frame and reworked interior side panels.