"Simple" Revell 30 A 5 Window *updated 3-31-22*
Feb 22, 2022 9:39:18 GMT -5
Murphy, chepp, and 2 more like this
Post by Mr. Metallic on Feb 22, 2022 9:39:18 GMT -5
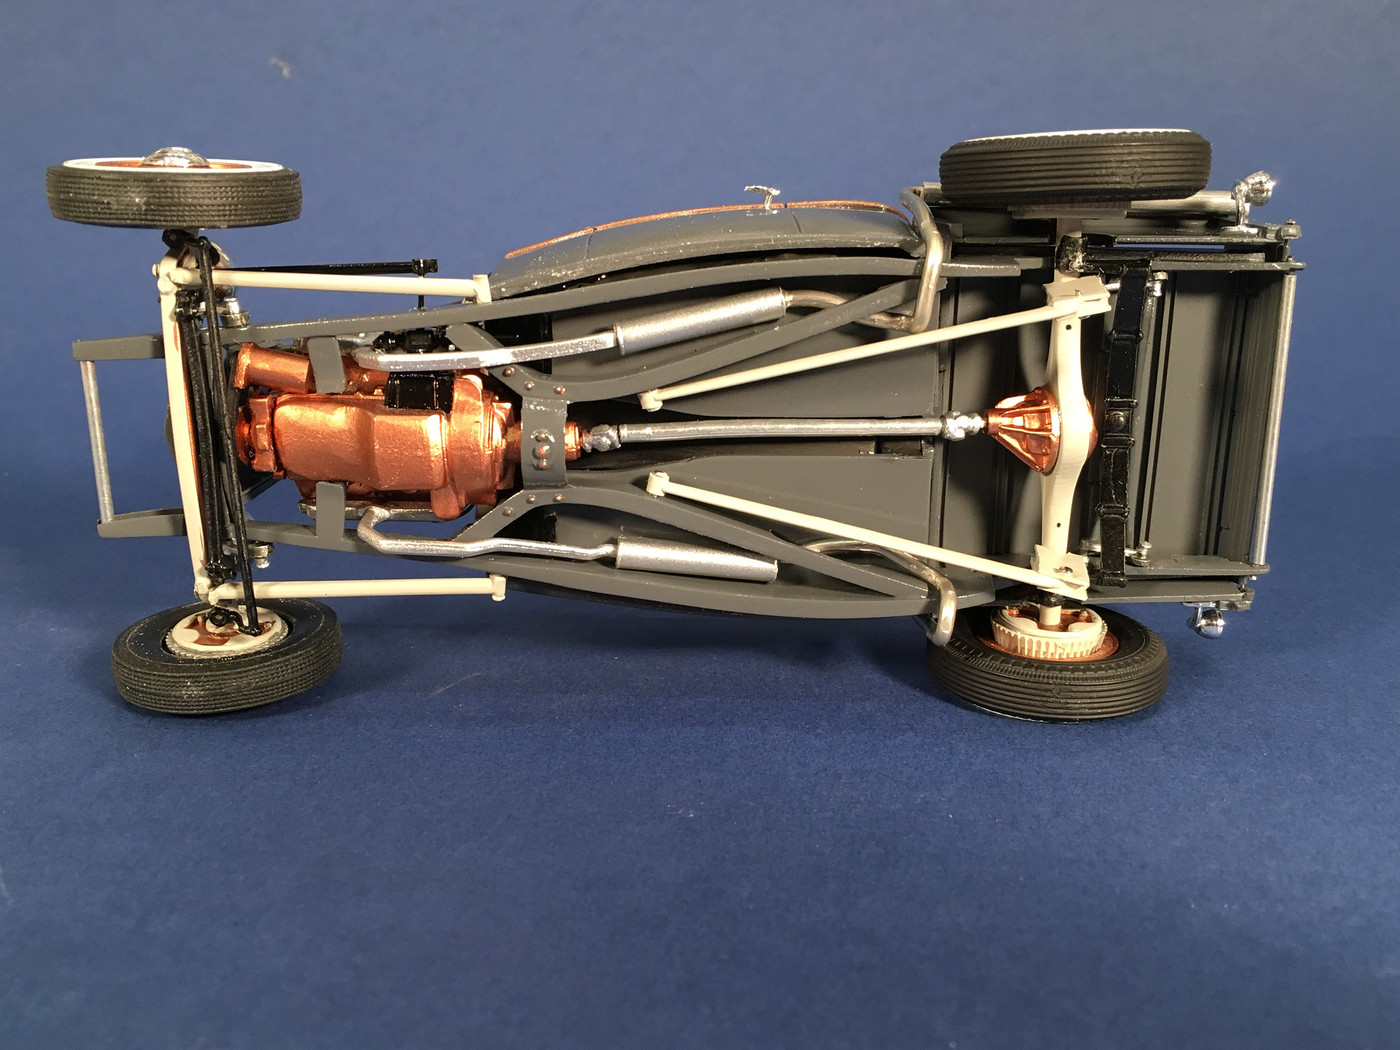
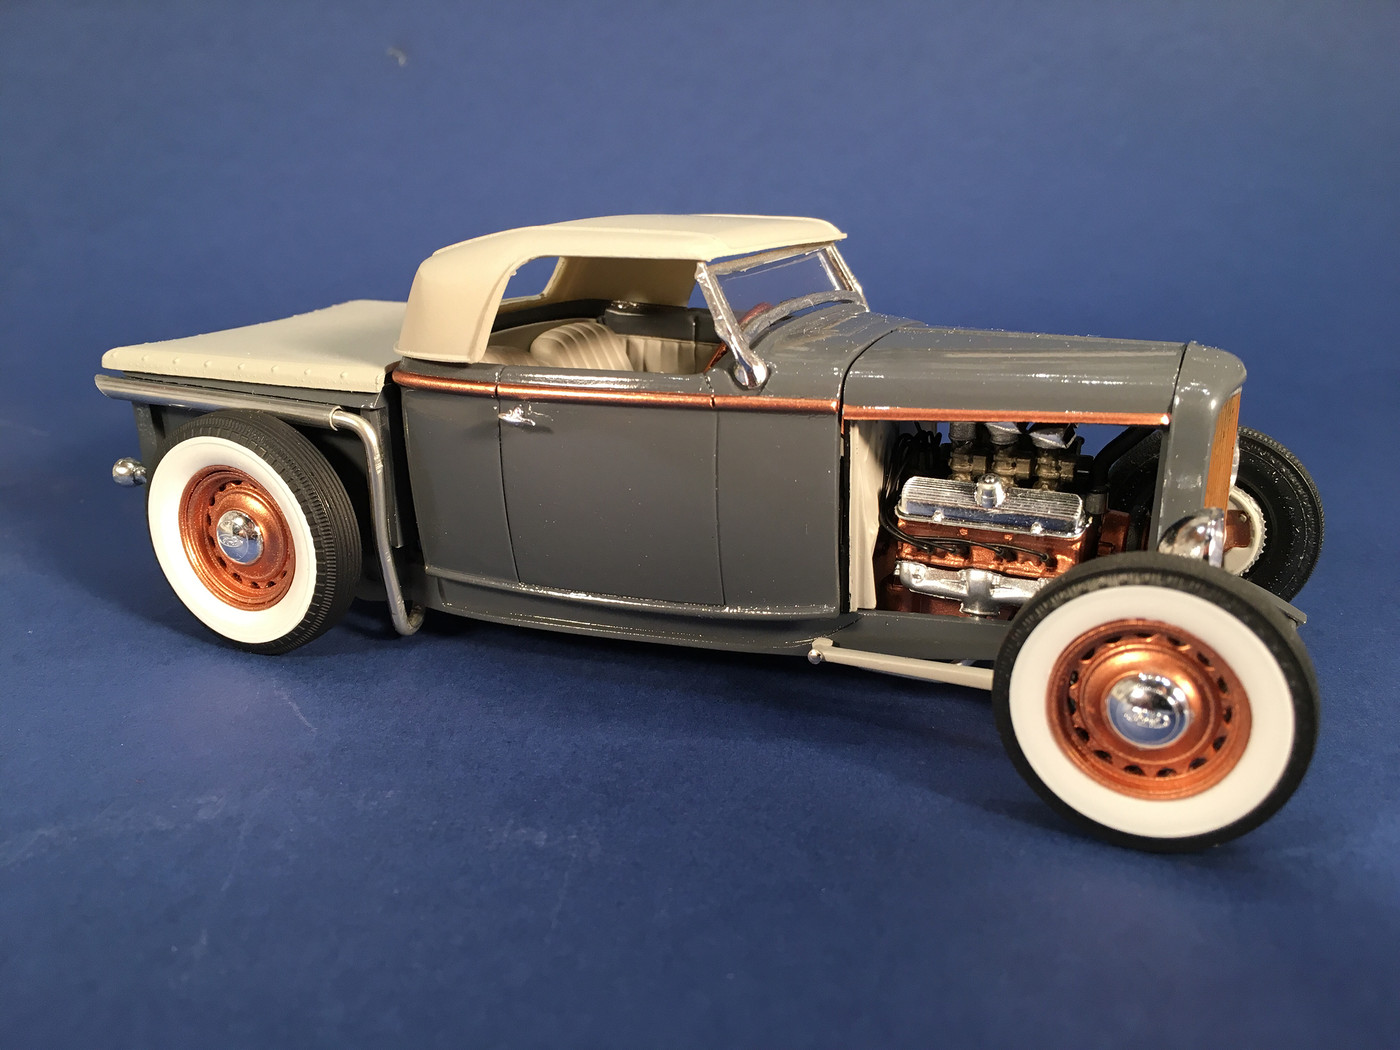
Body, louvers and a grille-
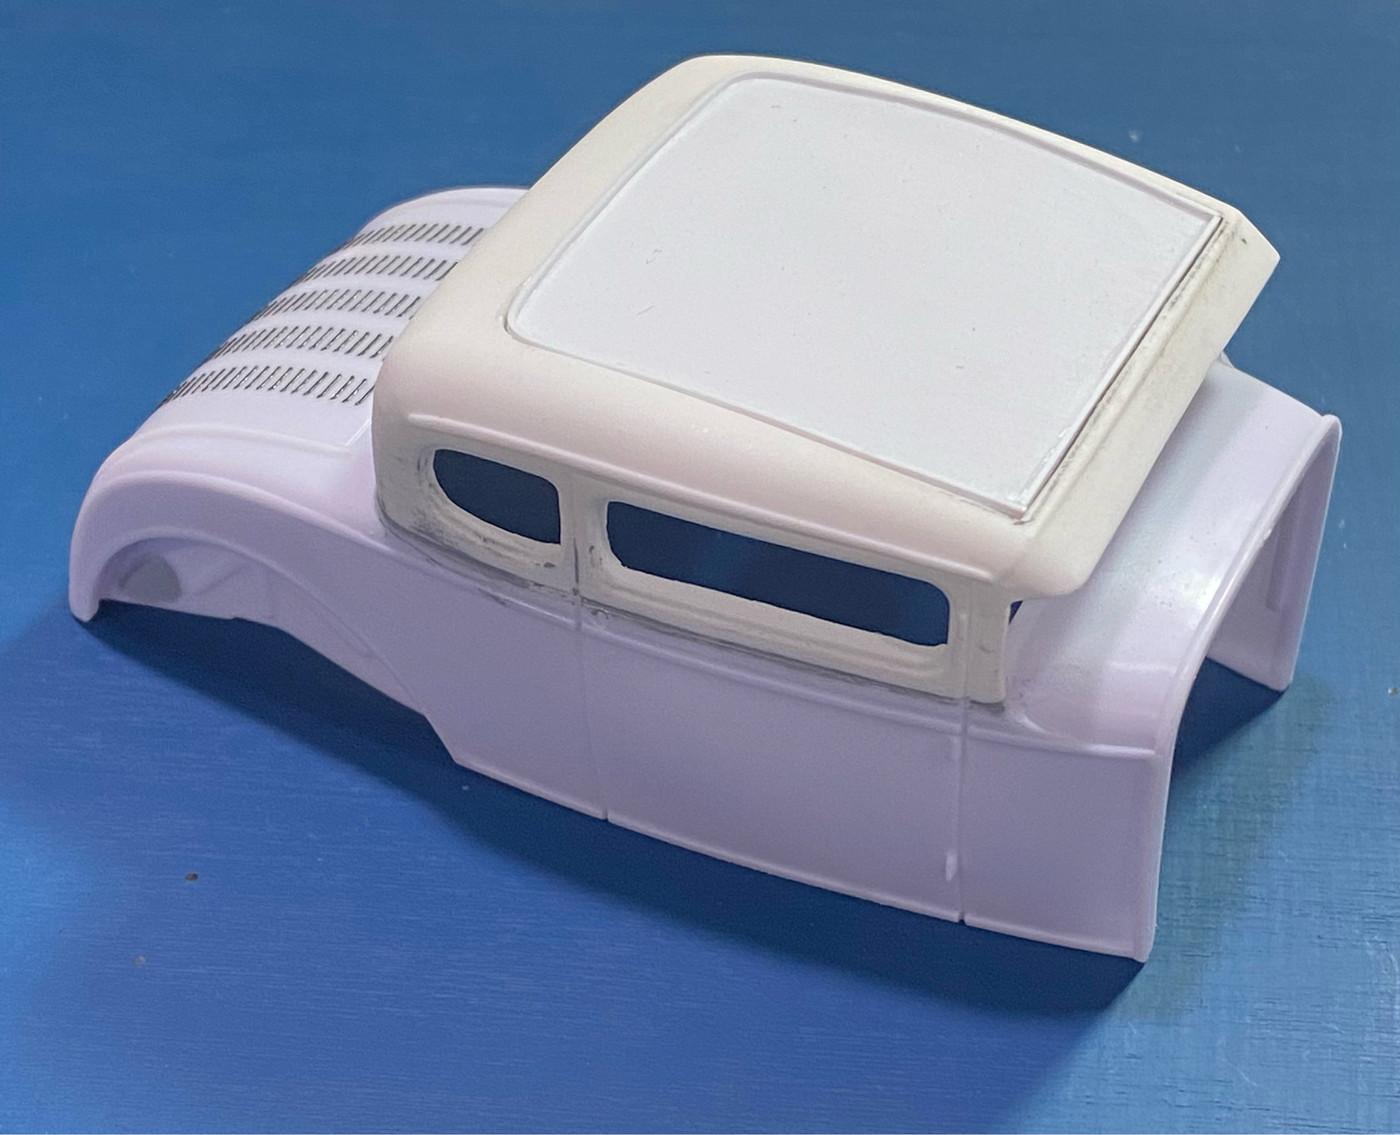
It's time to pay some attention to the body. Revell's kit features a mildly chopped body. If you noticed in the mock ups I've decided to go a bit lower, using the further chopped roof from Altered States. I actually did the master for this chopped top 5-6 years ago when the first version of this kit came out. I also mastered an un-chopped body for it. Sadly, the owner of Altered States has been having health issues and has stopped casting. However, the changes I'm making to this top also apply to the top from the kit.
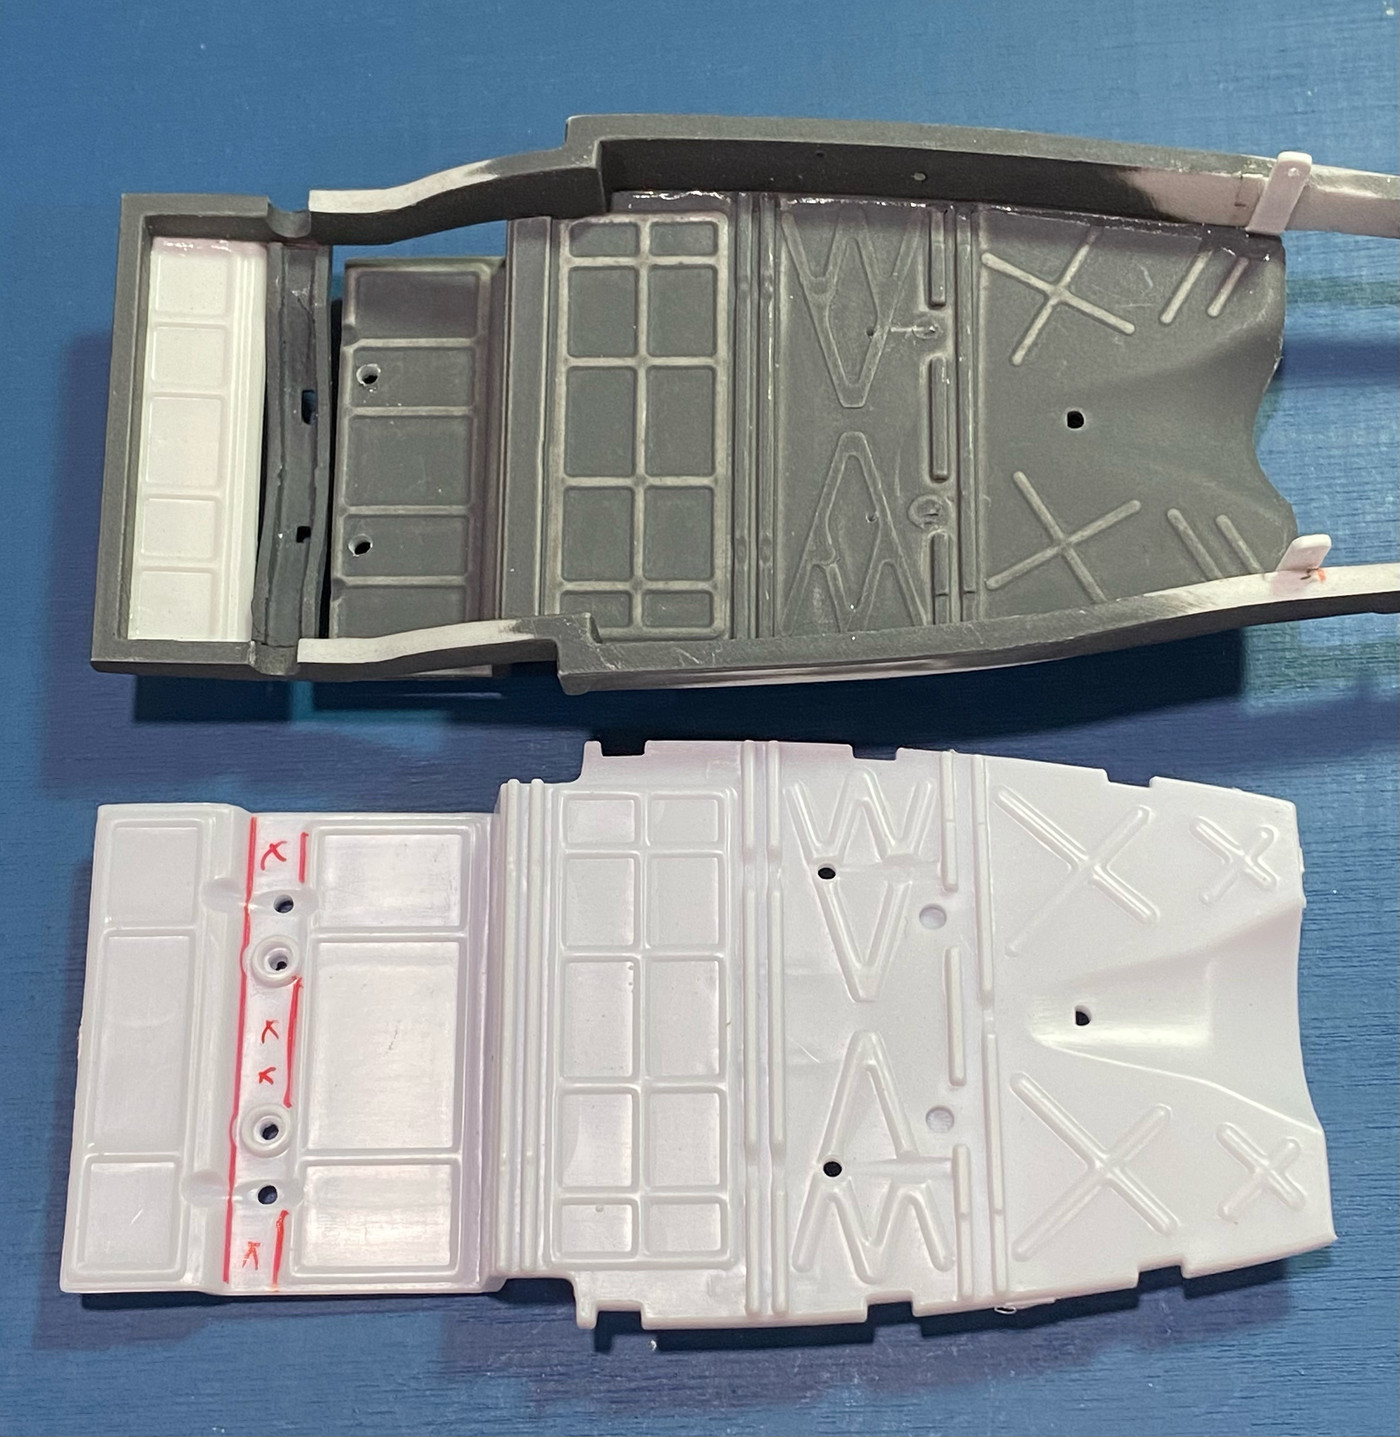
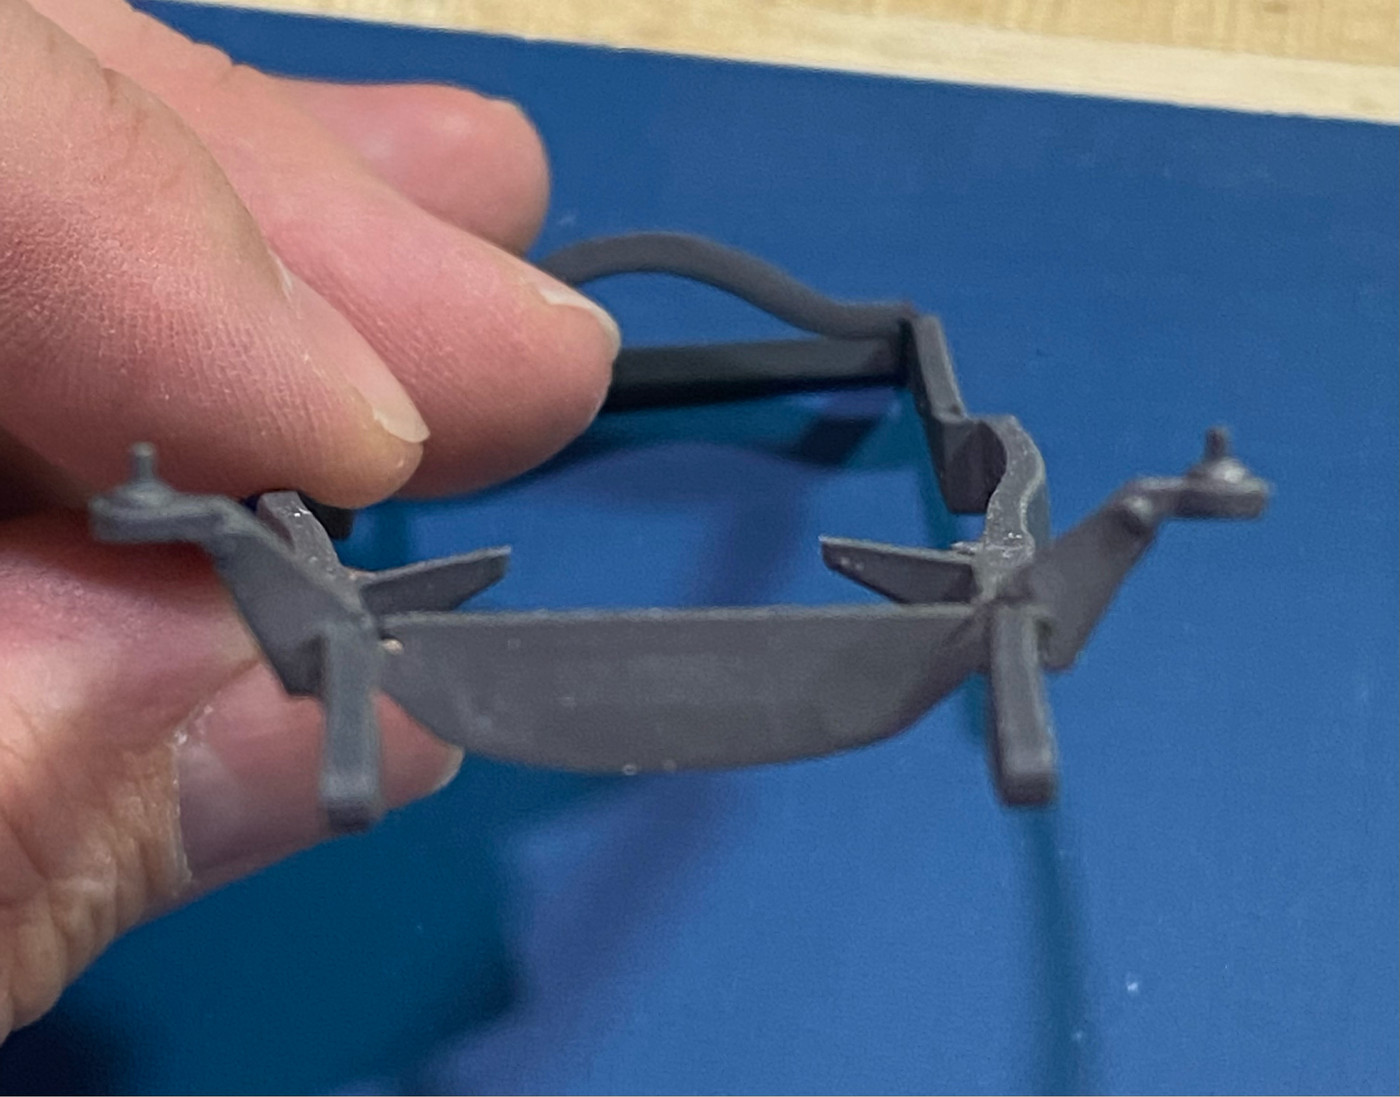
The roof insert Revell decided to put in the kit is kind of a rare bird, not often seen on 1:1 Model A's, whether stock or hot rodded. The roof insert on the stock 1:1 30 Coupe bodies extends forward of what Revell created, all the way to the visor. Modifying the kit roof just requires a little time and some plastic. Lets give it a shot.
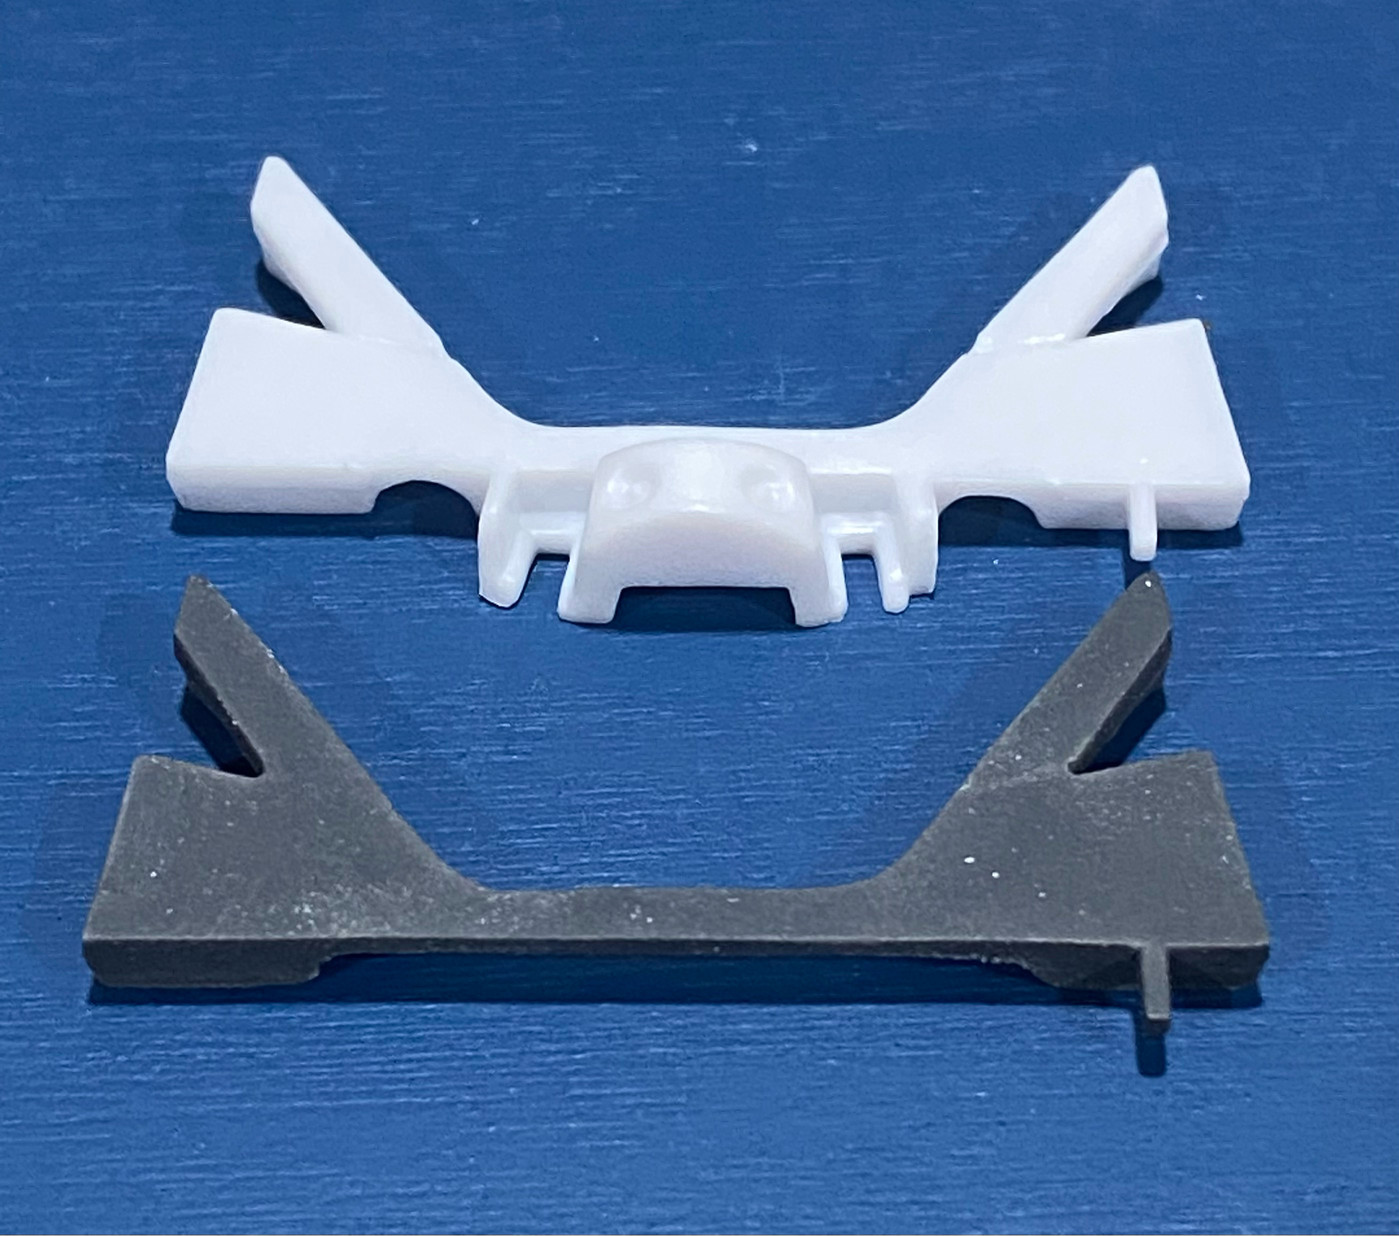
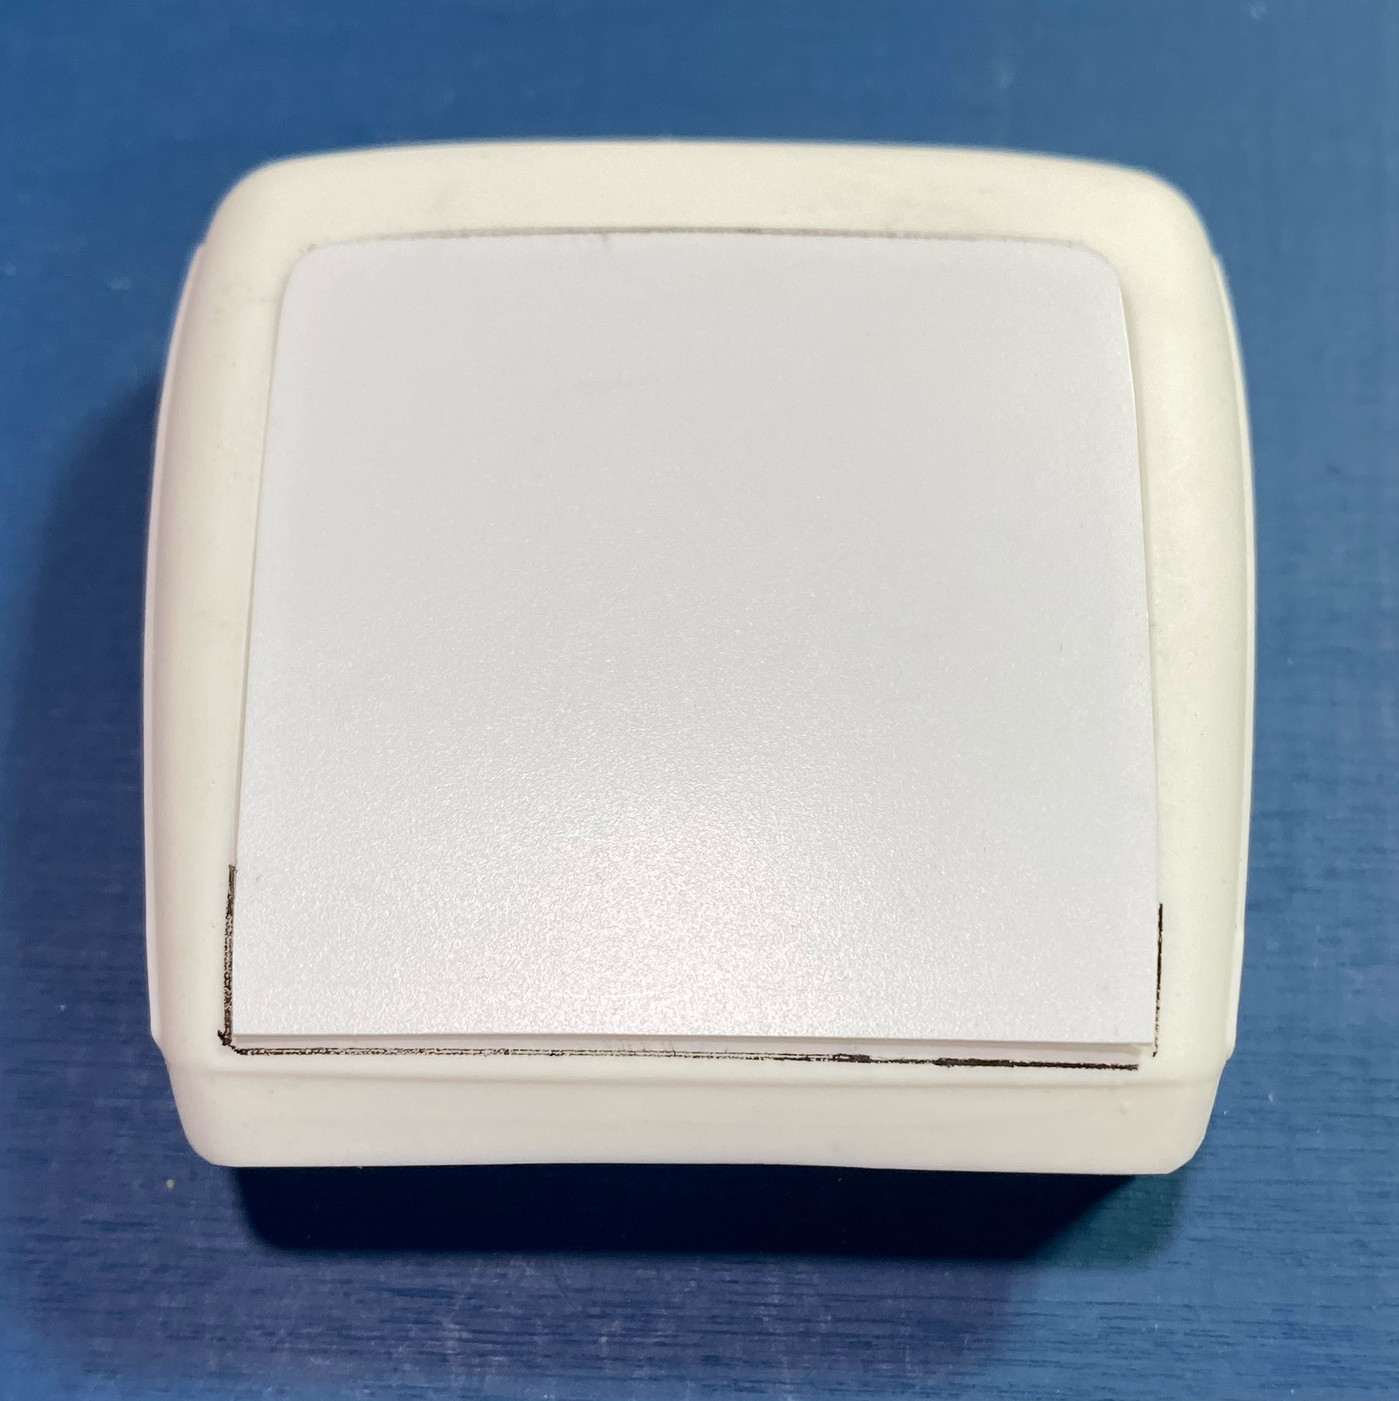
First, take the kit supplied roof insert and lay it on top of a piece of sheet plastic. I used .020 Evergreen sheet. Use the straight factory edge of the plastic sheet to your advantage to create the squared off front edge of the stock roof insert by setting the kit insert back about 3mm from the edge. The distance is not critical, but leave it a little longer to allow you some excess to trim for exact fit. Trace the kit insert onto the sheet, but as you trace down the sides instead of following the curve around the front keep extending that line forward to the edge of the sheet (as seen here)
Cut out the new top, keeping in mind that the piece you traced will be slightly larger than the original. You can compensate for that by cutting just inside the line, or cutting the line itself and then finessing the size with sanding sticks. Make the piece so it fits the existing hole in the roof, except for the front edge which we still need to cut out of the body. Once you are happy with the fit of your new part lay it on top of the roof to use as a template for modifying the opening in the roof. Trace around the front of your new piece.
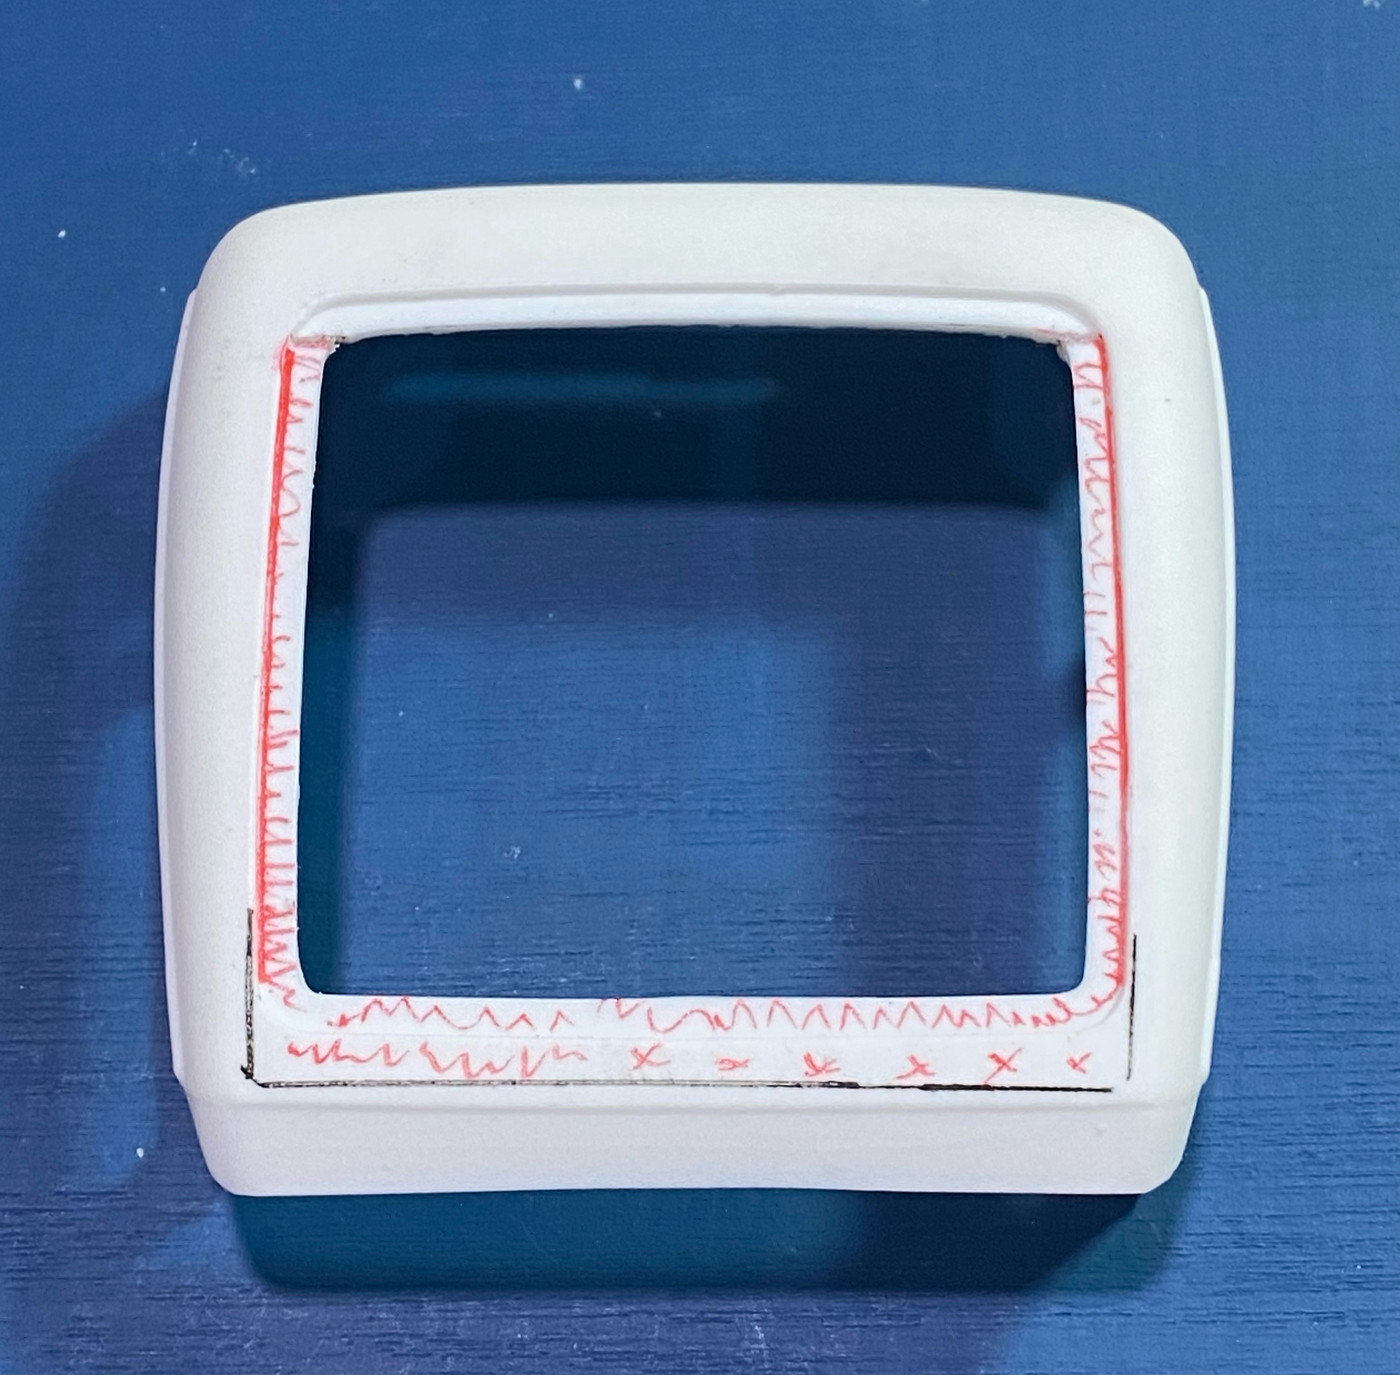
Then remove your roof insert and you'll see what material you need to remove. Remember, cut inside the line and then finesse with sanding sticks. While you're doing that go ahead and remove all the areas marked with red, which includes the lip detail around the inside since we will have to replace it. Leave the rear part of the lip for now to keep your insert from constantly falling through the hole as you do your multiple sand/fit/repeat trial fittings. If you are going to permanently attach your insert you don't need to remove the inner lip.
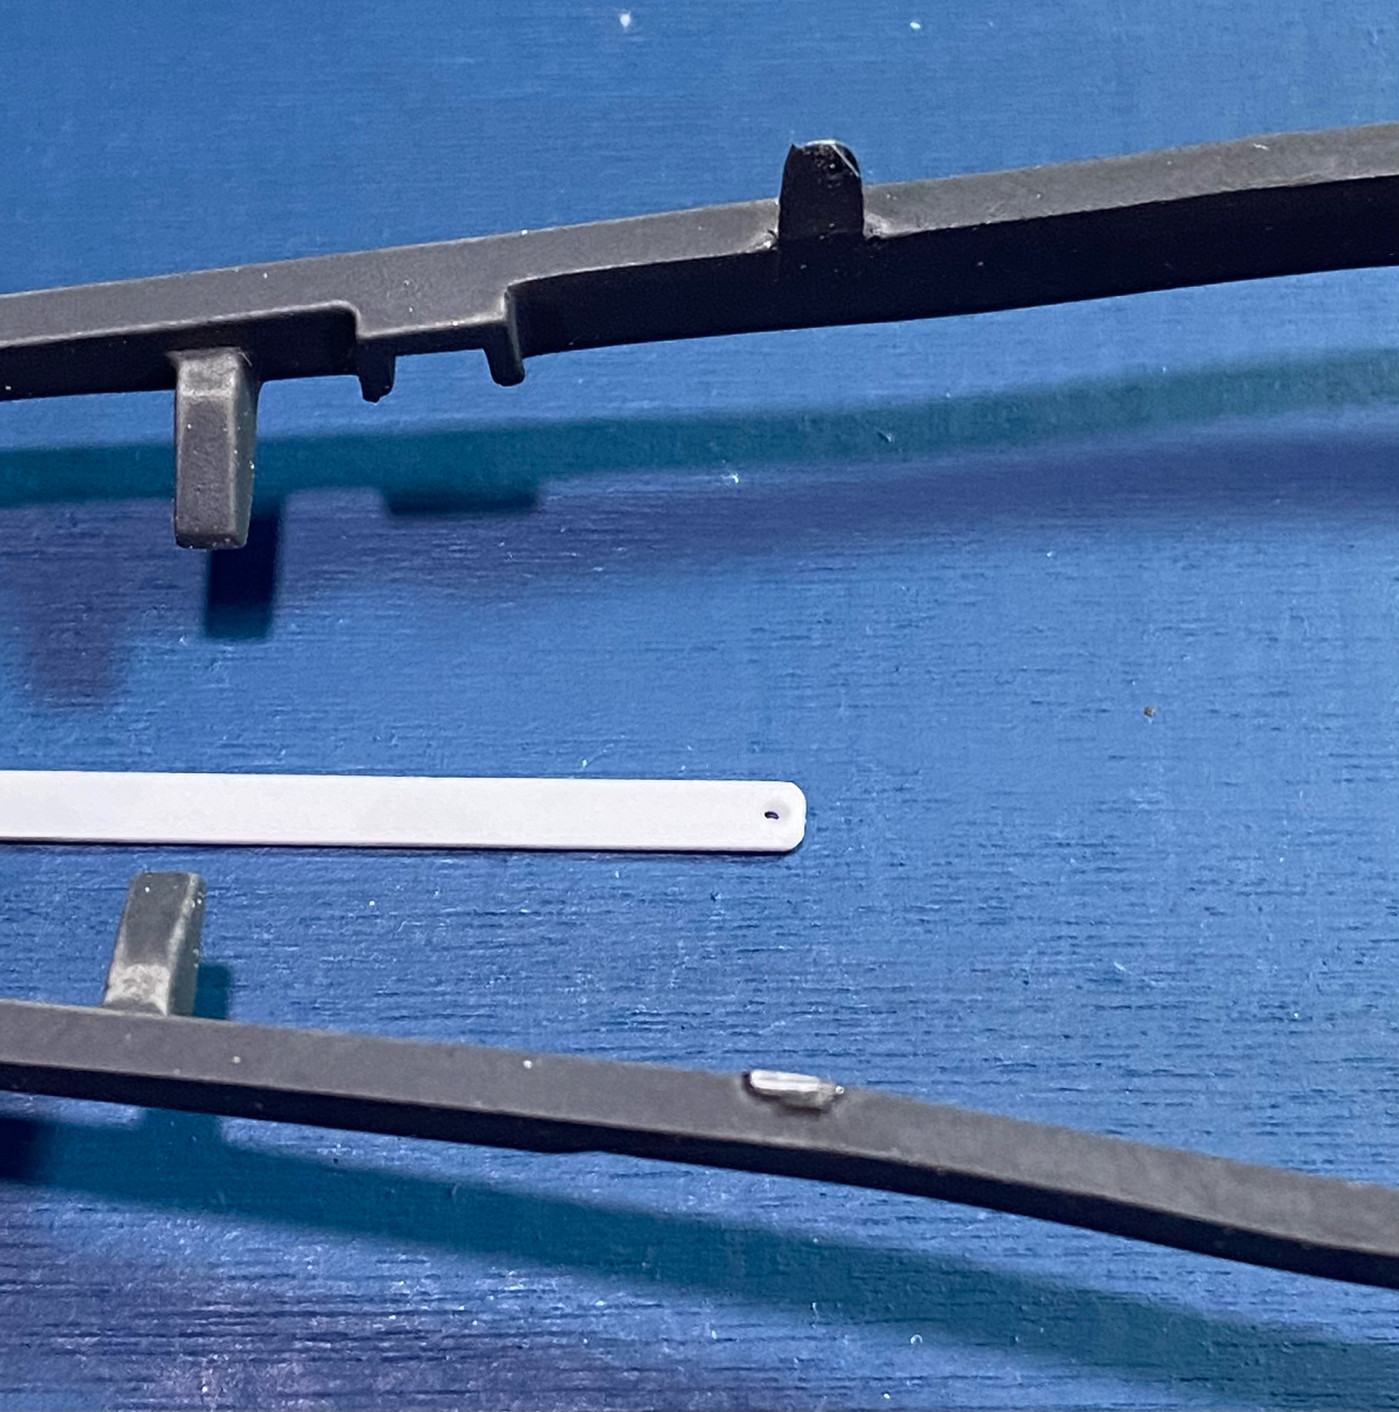
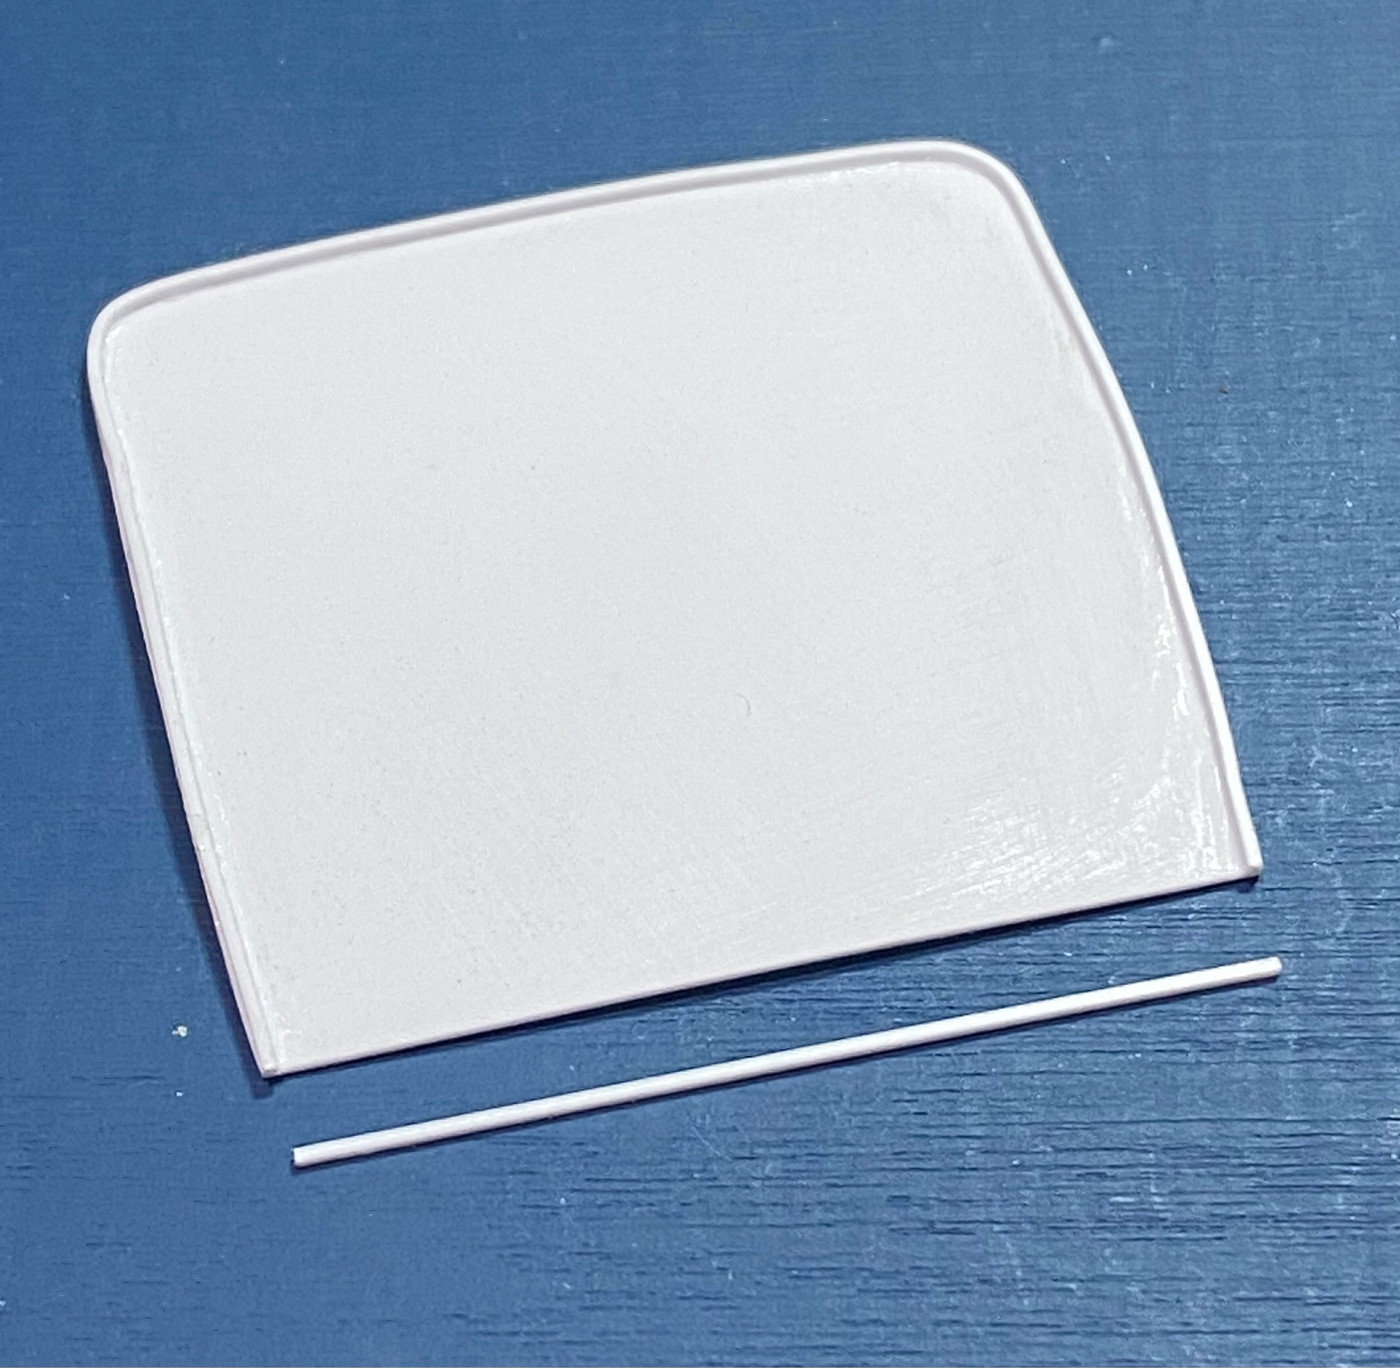
Once you are happy with the new opening you have created give the new insert one last fit before you remove that rear lip. You can bend and tweak the contour of your insert to match the profile of the roof. Once you are happy with the fit you can add a bead detail around your roof insert with plastic strip, I used .020 x .020, one long piece for the sides/back. When you cut the piece for back/sides make sure you leave it long to allow for trimming at the front edge. Start applying the strip a little at a time along the rear edge and be sure to keep the strip straight and follow the edge of the insert. Work carefully around the corners and down the sides. A trick is to pre-bend the corner areas a bit by pulling the strip between your fingers with light pressure to introduce a curve to the strip. Once all the glue has dried, trim the ends of the strip flush with the front end, and then use a new piece across the front
To give the insert a place to rest take strips of .030 x .100 strip and attach it to the underside of the roof to create a new lip. If you like you can omit the lip at the front edge because there is not a lot of space on the underside if the roof near the visor.
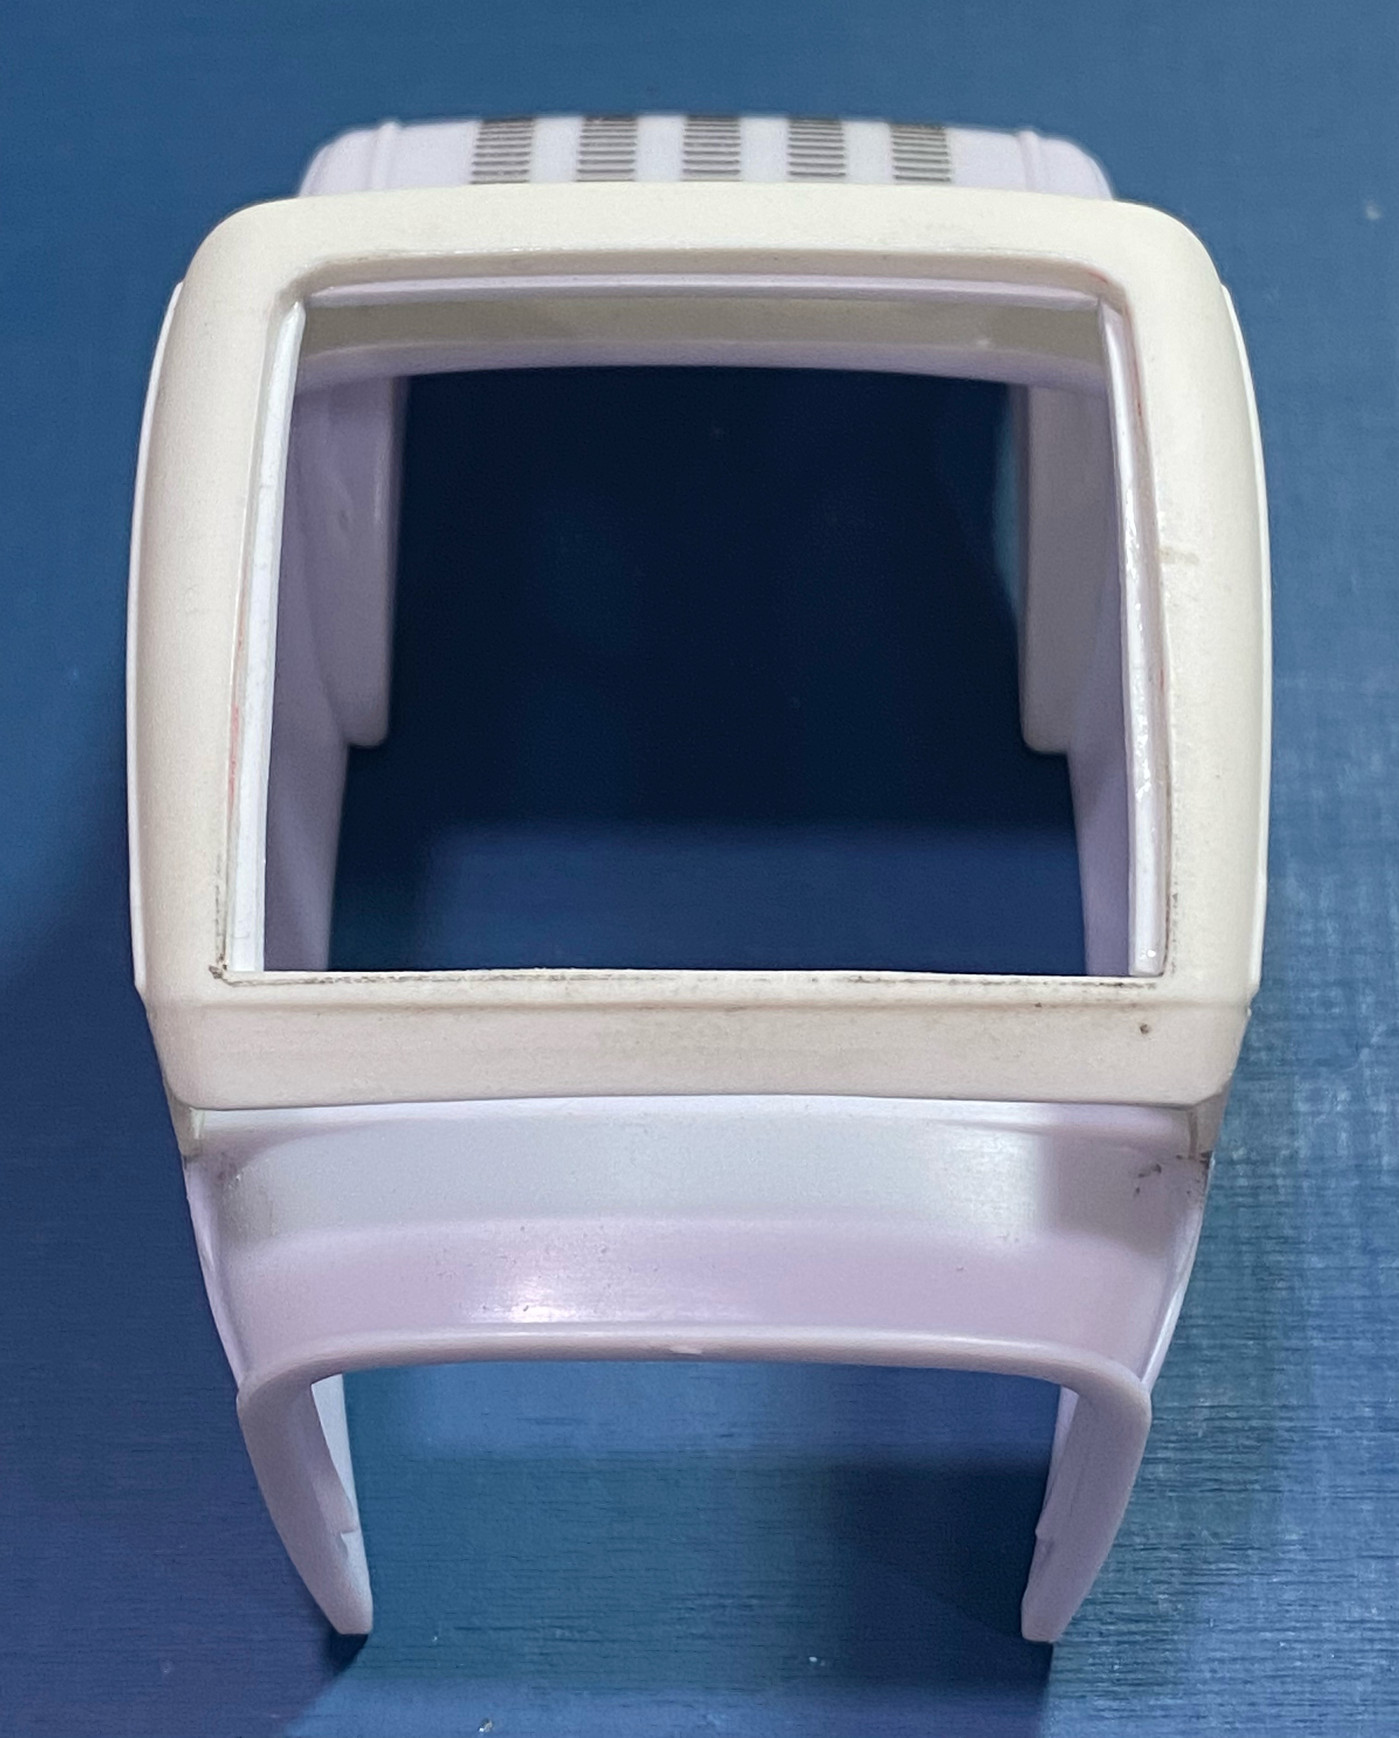
Once that is done set your new insert in the roof and admire the results.
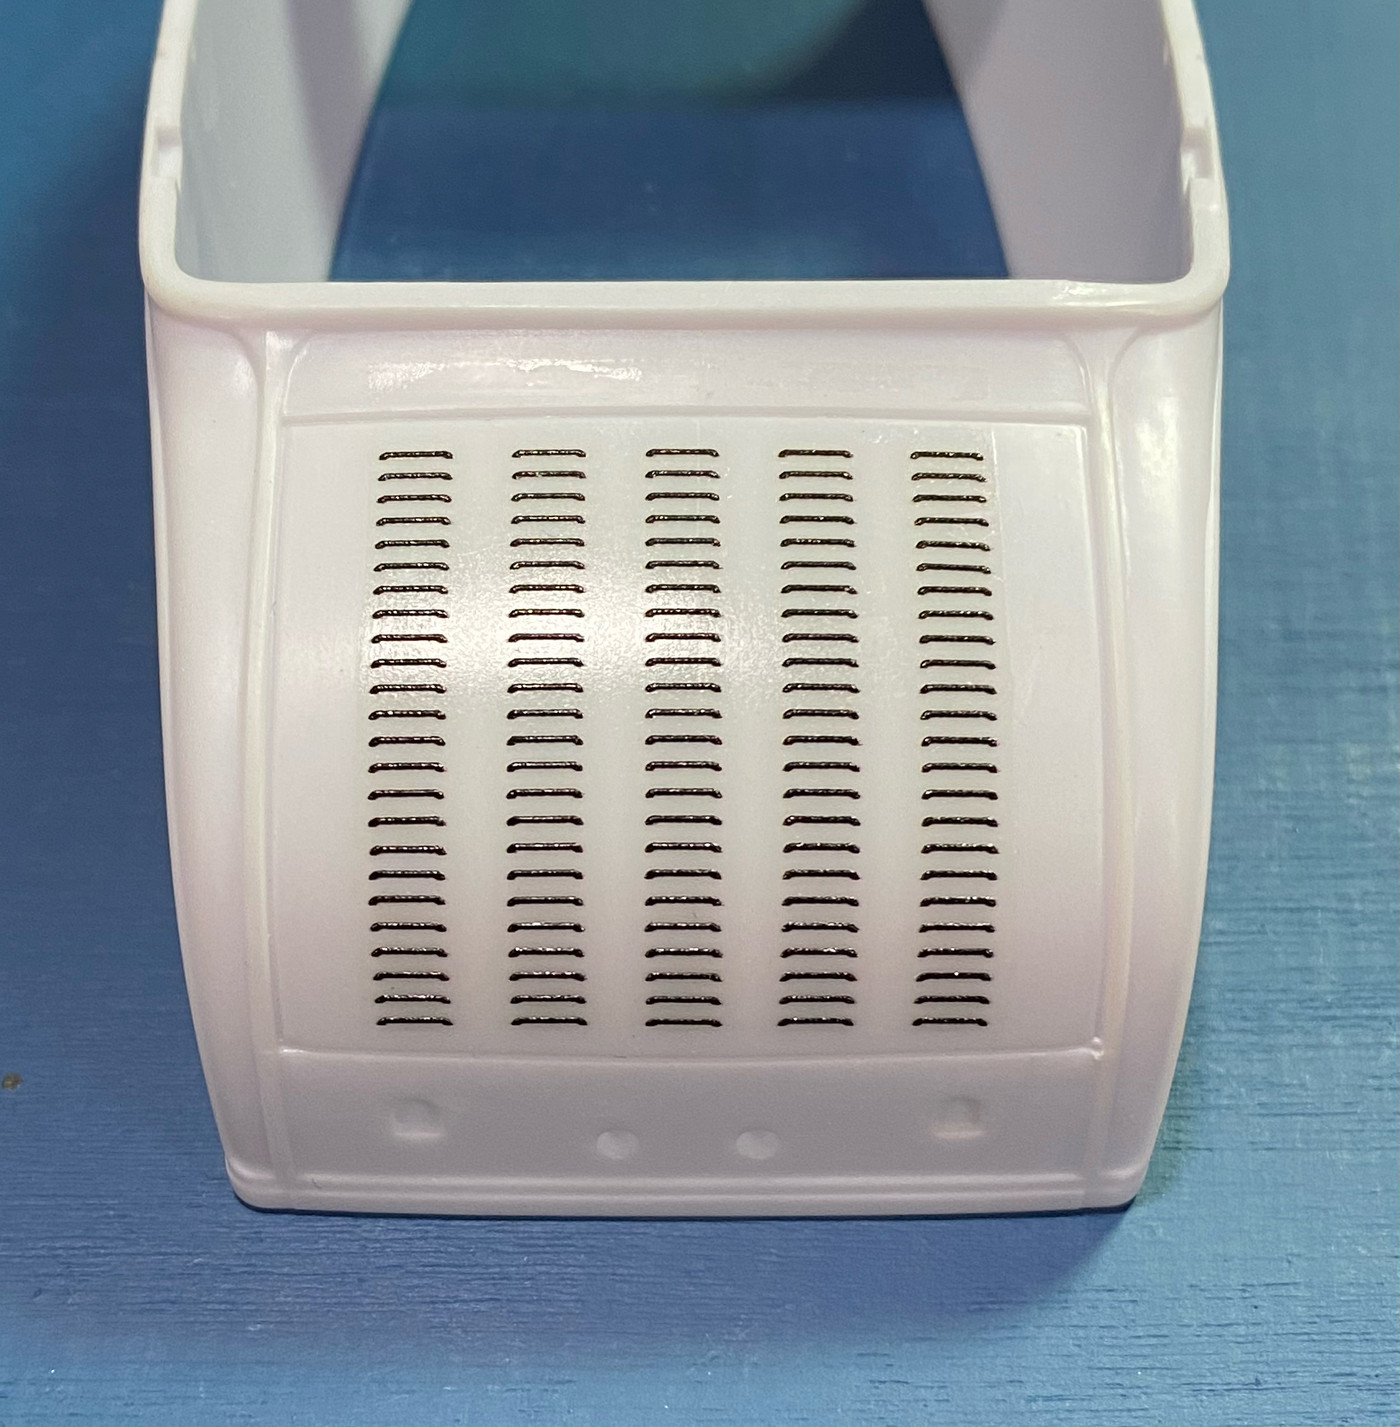
Here's an technique I've been wanting to try for awhile, now seems like the perfect time. Archer makes some pretty cool detailing items for the model railroad part of the hobby, and this item in particular can be adapted to 1/25 scale. It is rows of resin louvers, applied to a very this clear decal, which makes applying them quite simple. I cut out 5 rows of louvers, soaked the paper for 10 second, let the glue loosen from the paper backer, and then carefully guided the decal onto the trunk.
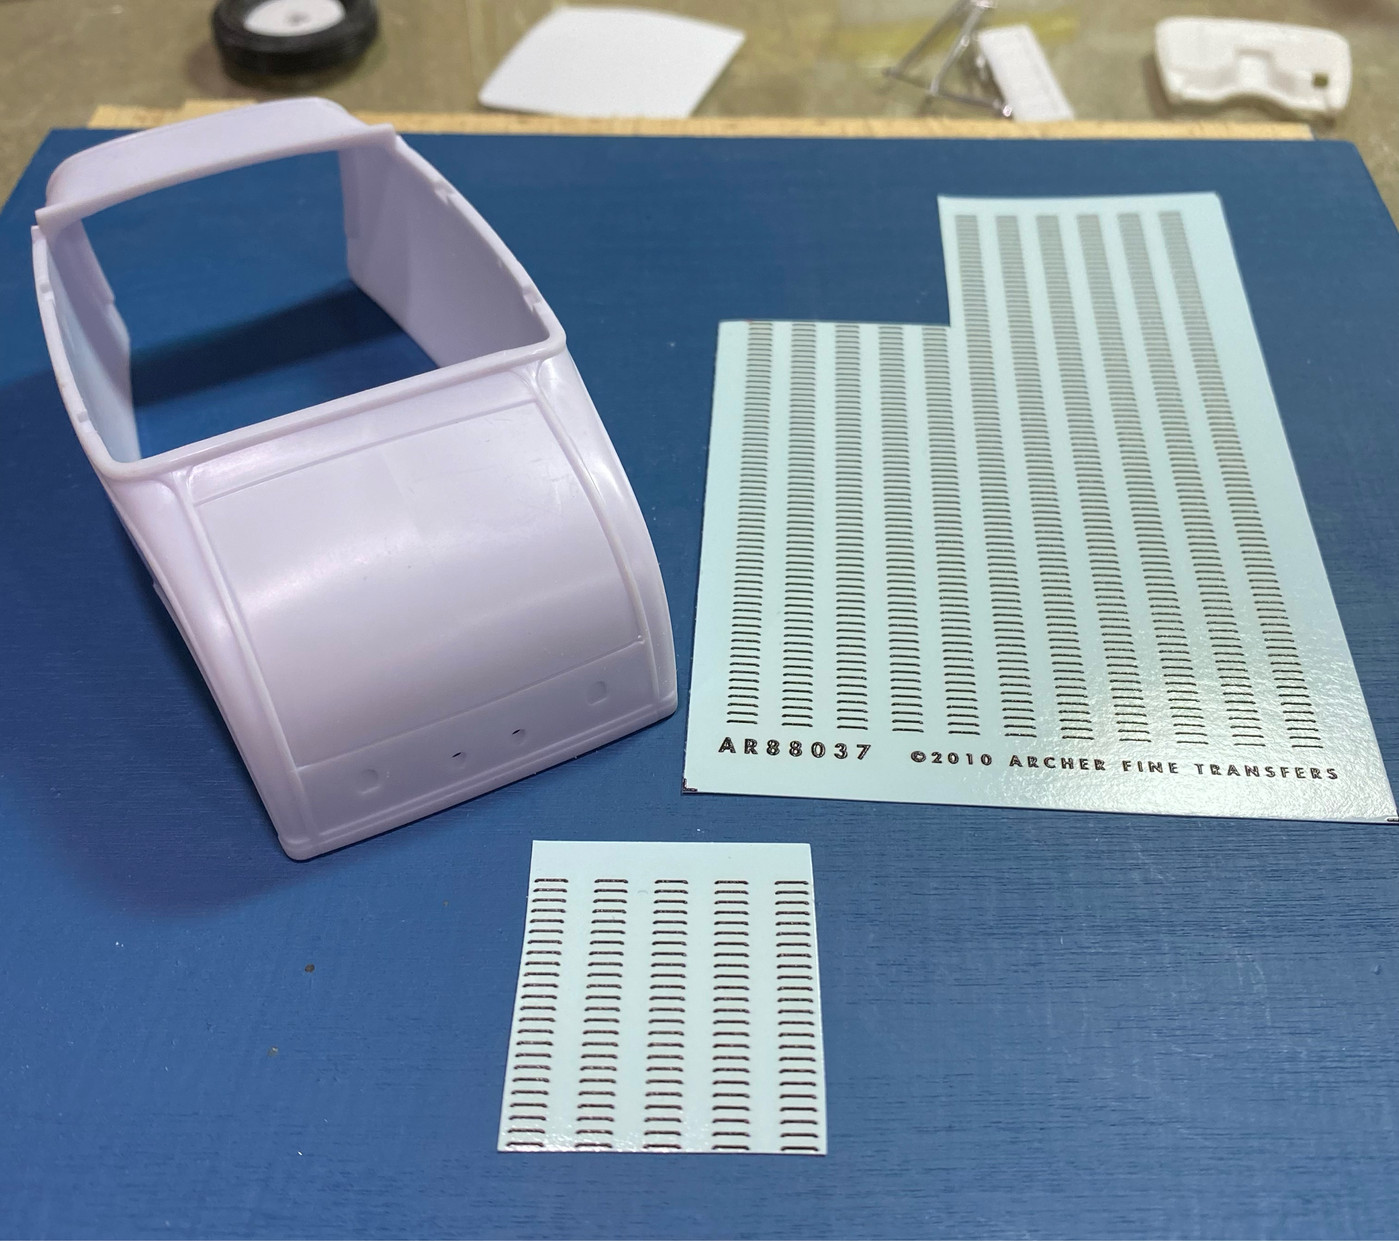
The clear decal is VERY thin so that the edge disappears under a coat of paint, but it also makes it prone to tearing, so use a light touch. The directions suggest using decal setting solution, but I would recommend that only as a last resort. Placing the decal and then hitting it with a little heat from a hair dryer (set on low) will really snuggle up that decal to the body. If you have any wrinkles you need to smooth out very carefully apply a small amount of setting solution with a small brush. But honestly most applications shouldn't require the setting solution. I used setting solution per the instructions and I really feel it made the decal tear more easily, and gave me some tense moments where three of the louvers separated from the rest. It took a few minutes with a toothpick gently maneuvering them back into place.
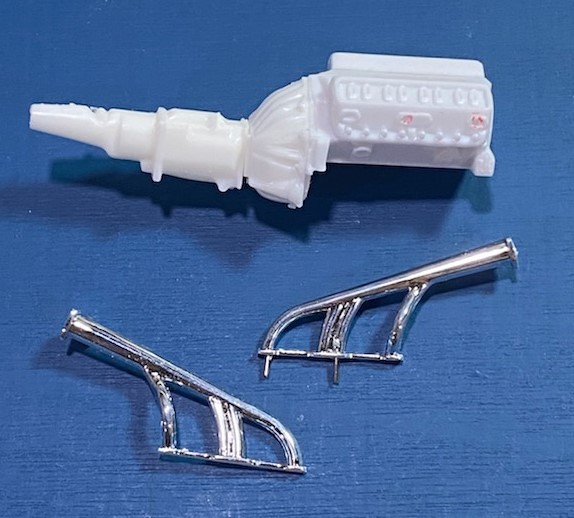
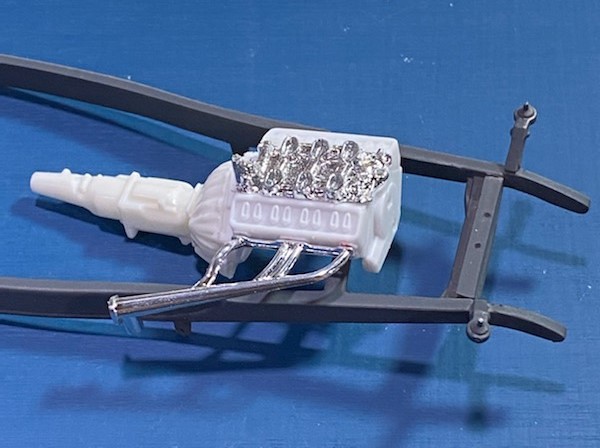
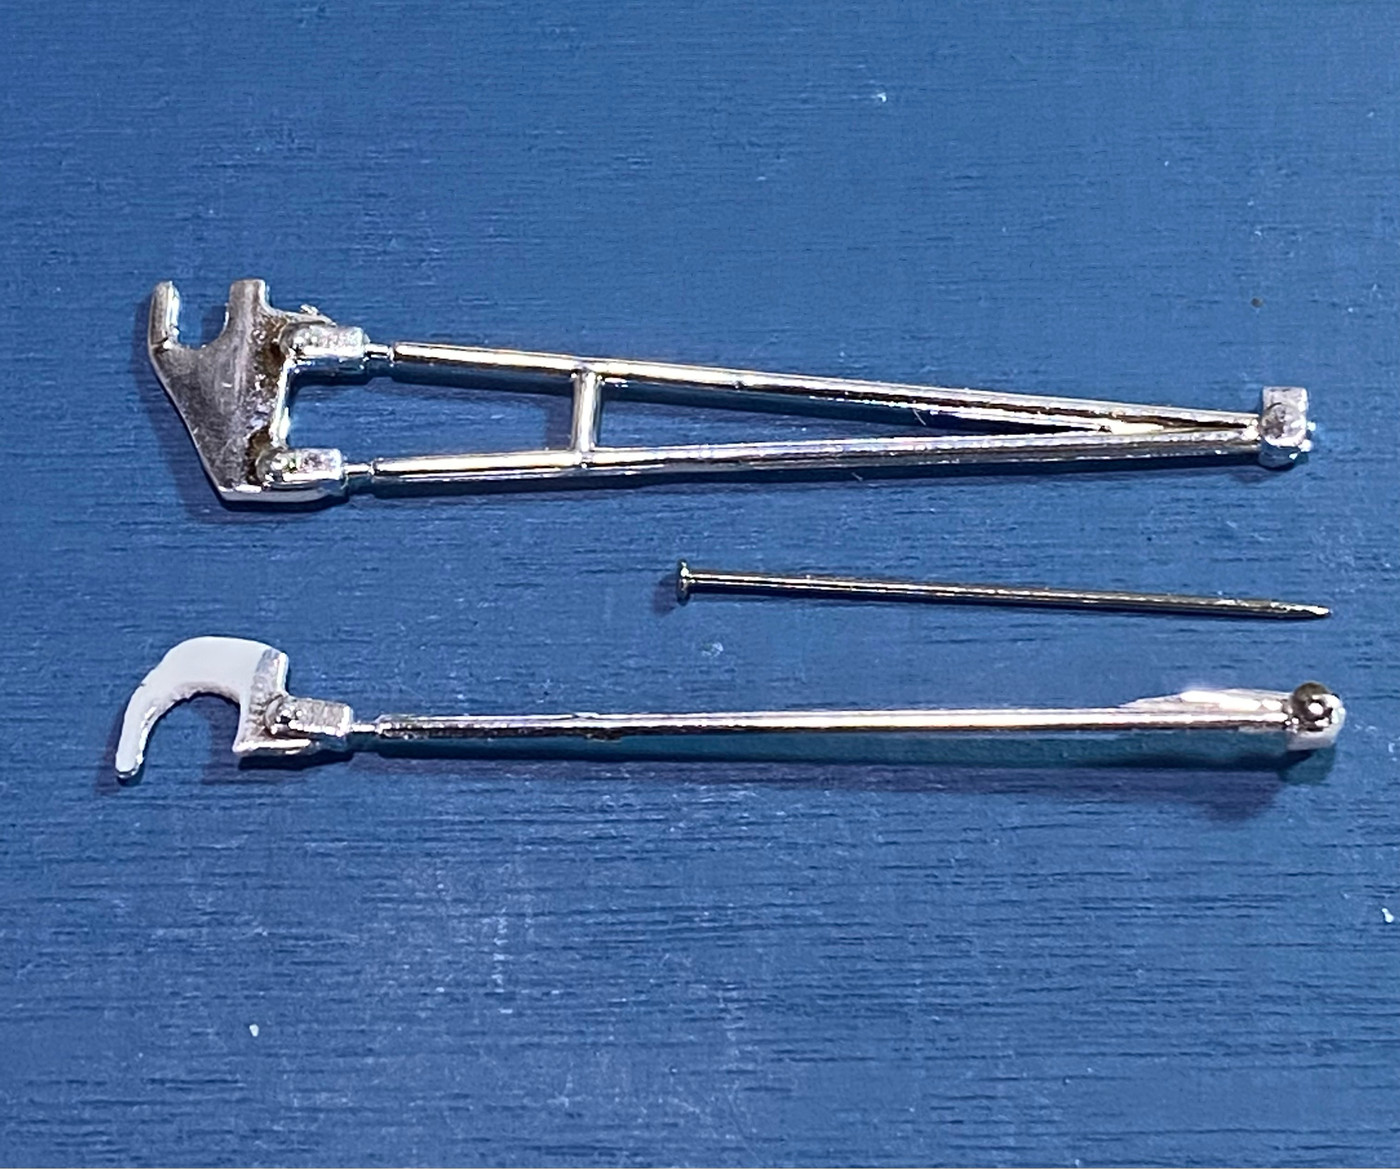
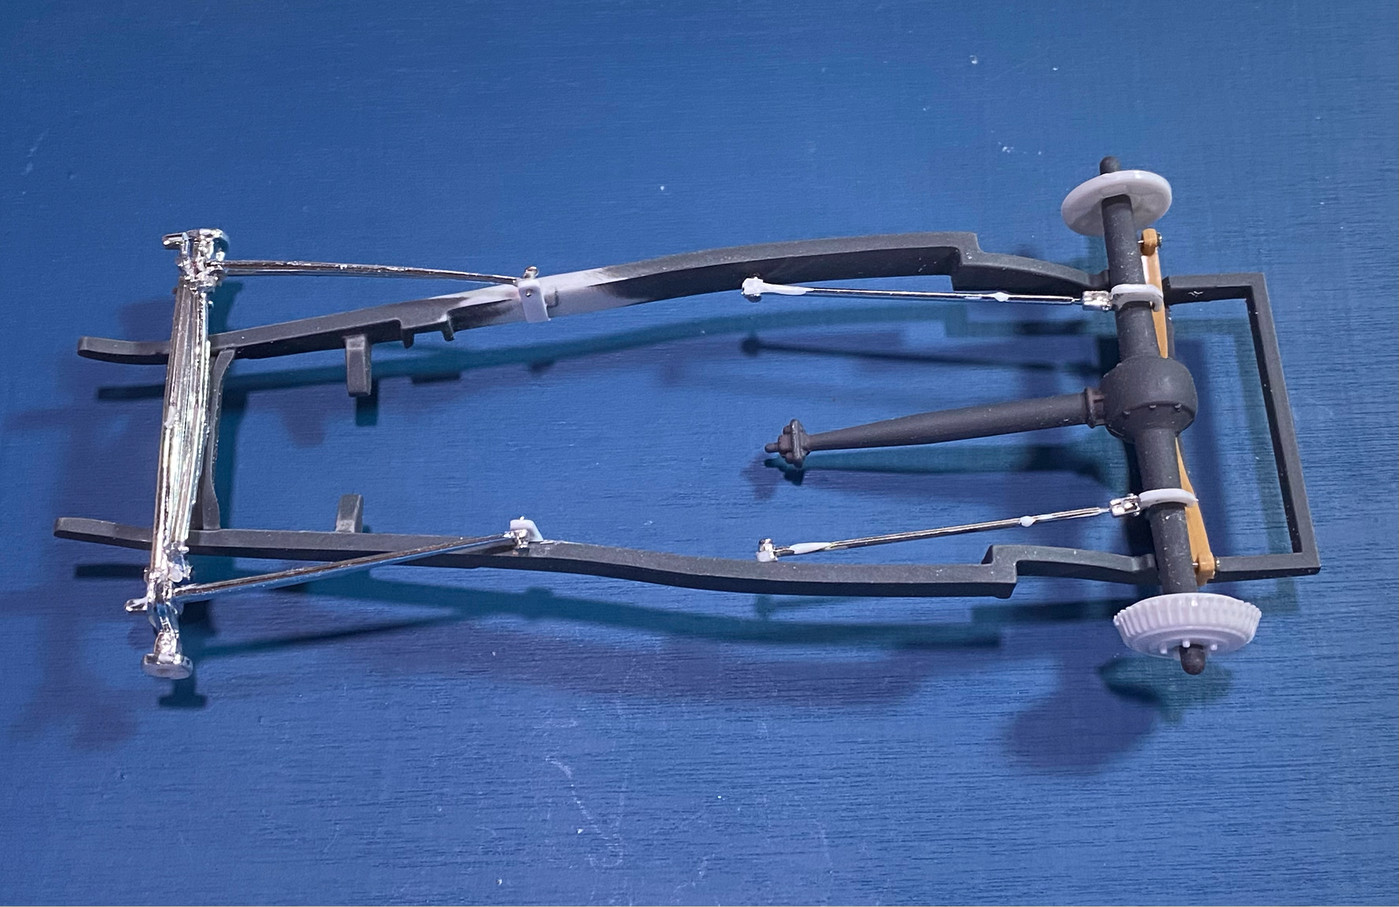
And finally, the grille. The grille that Revell supplied looks good and can be used with just a little detail painting. However, it comes with molded in electric fan detail, which just won't stand for a traditional hot rod. I'll use this as an opportunity to upgrade. I'm using the piece from the Monogram Blue Bandito, the tooling for which has seen multiple revisions since it started as the Blue Beetle in the early 60's. You can use the rad/shell from any Model A kit you choose. To securely attach it to the frame I used my standard pin and hole method, drilling two small holes into the bottom of the radiator, and then inserting pins.
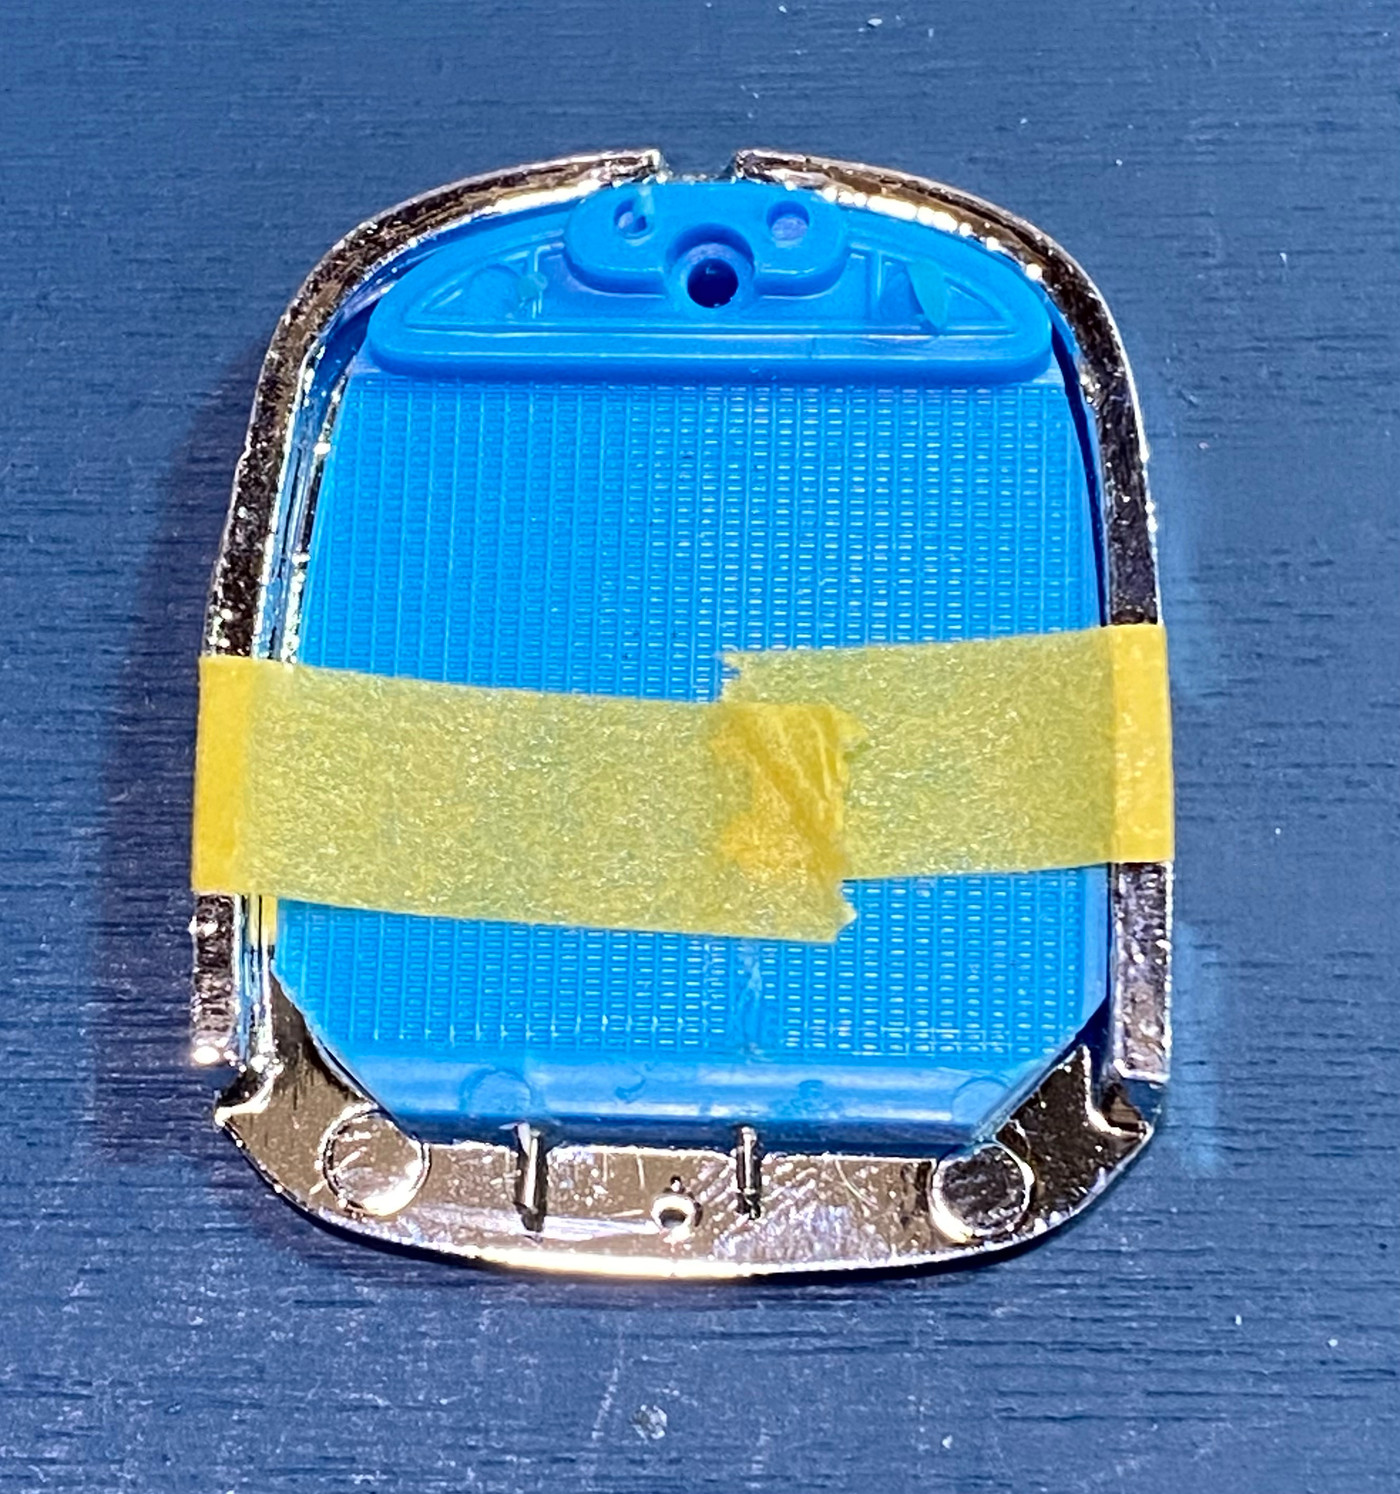
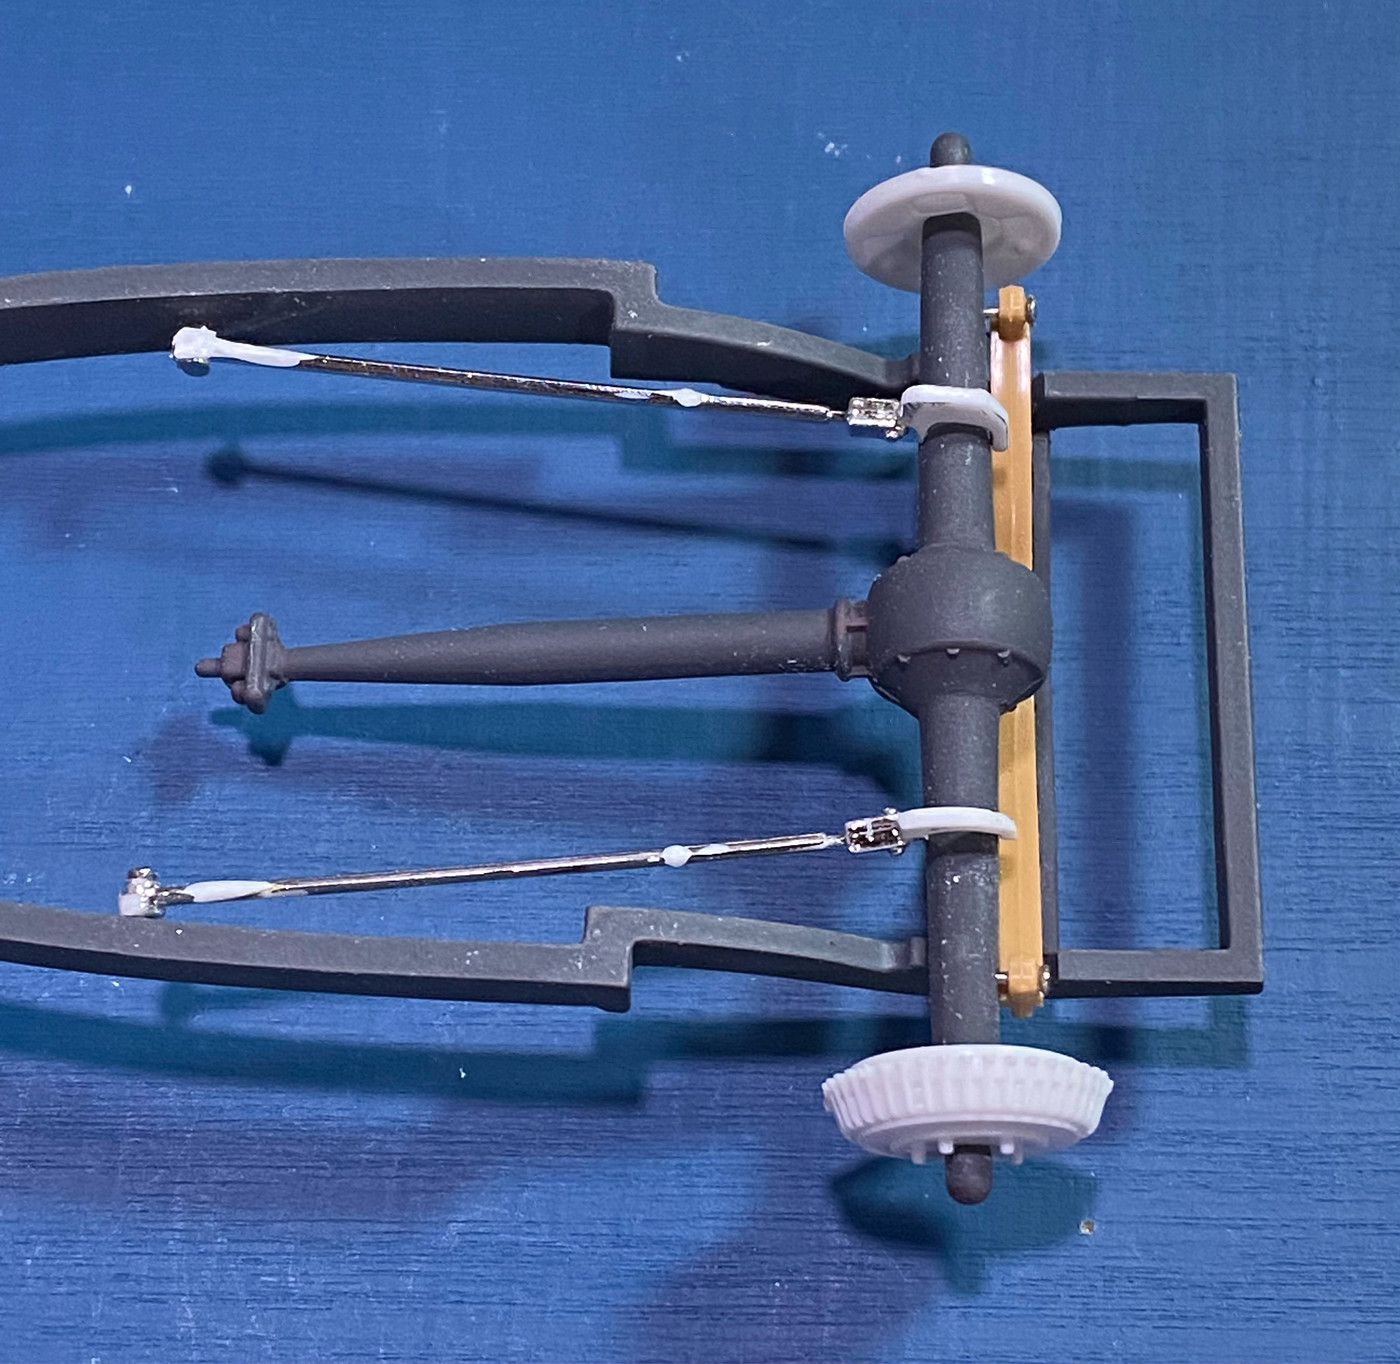
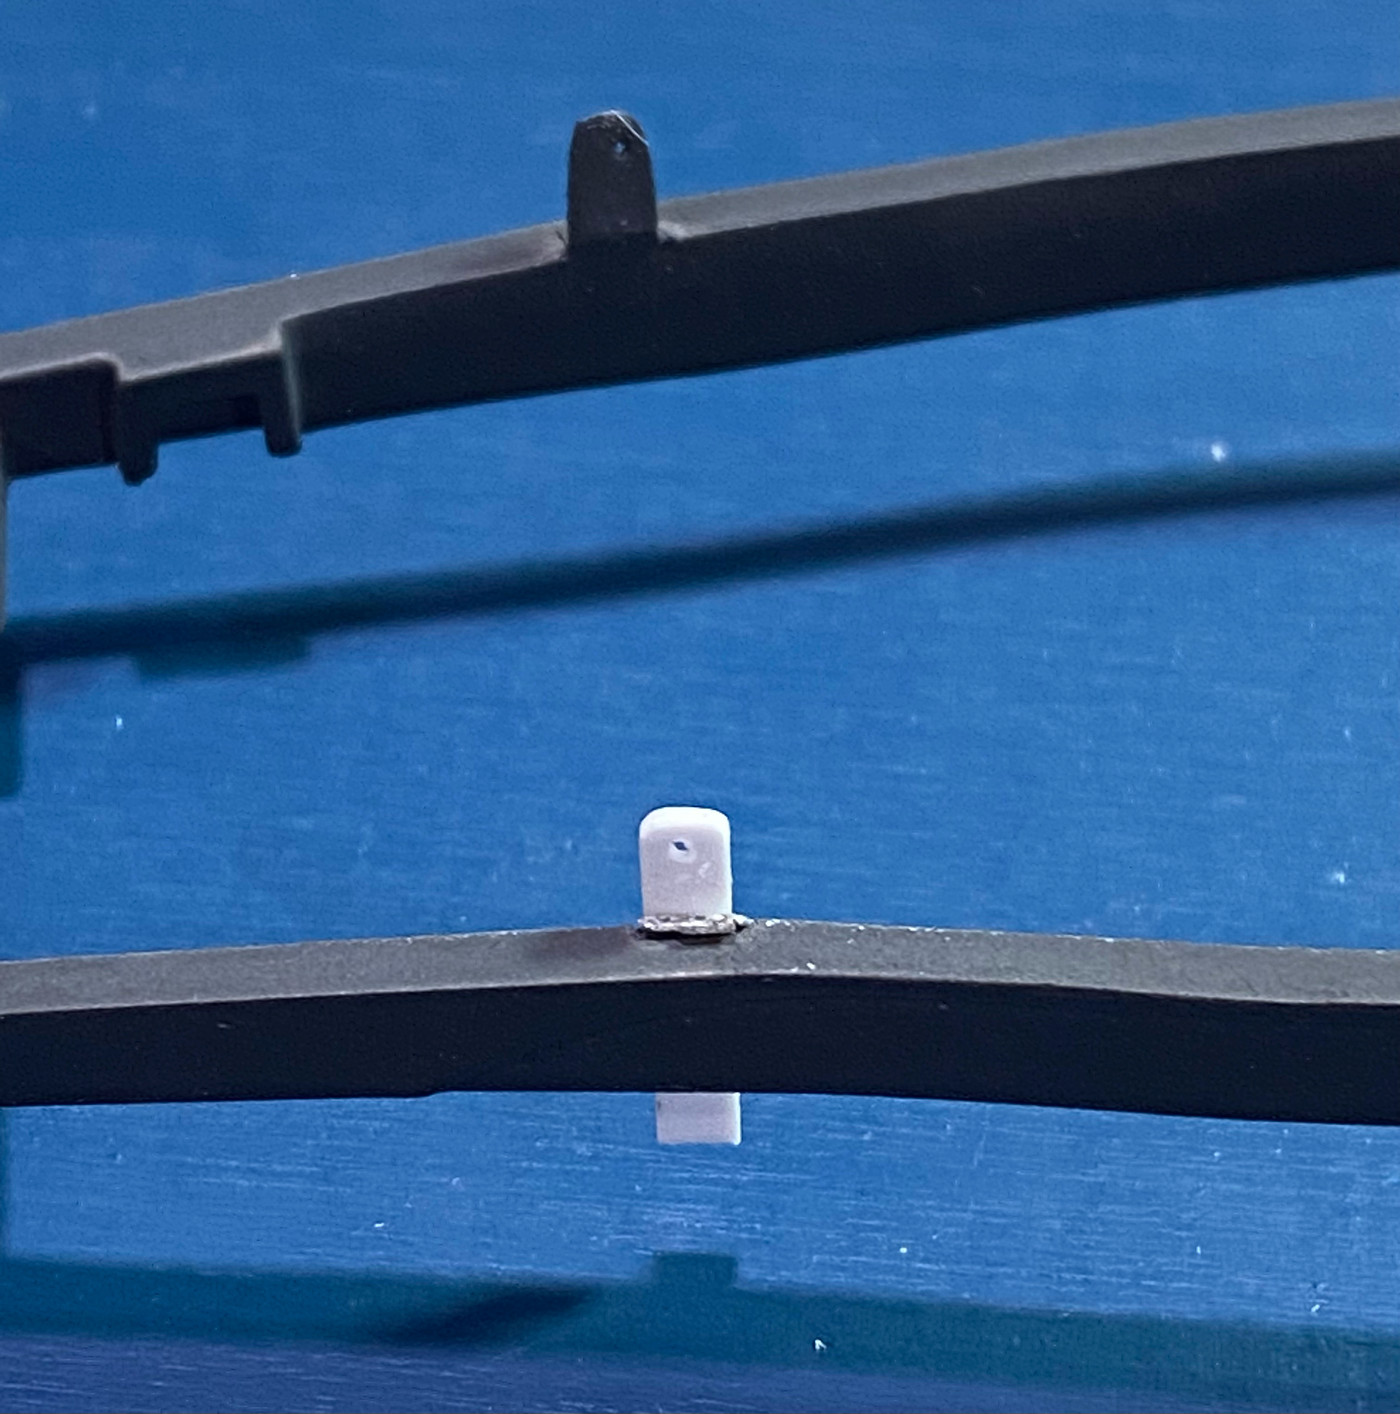
To get the top of the radiator at the right level in comparison to the top of the cowl so it has a nice profile from the side I had to add a .080 x .080 plastic strip to the top of the front crossmember. Glue it in place, and I made the choice to add a little filler to make it all look like one piece. Drill matching holes in the top of the new strip to allow the radiator to pin on top of it.
It's time to pay some attention to the body. Revell's kit features a mildly chopped body. If you noticed in the mock ups I've decided to go a bit lower, using the further chopped roof from Altered States. I actually did the master for this chopped top 5-6 years ago when the first version of this kit came out. I also mastered an un-chopped body for it. Sadly, the owner of Altered States has been having health issues and has stopped casting. However, the changes I'm making to this top also apply to the top from the kit.
The roof insert Revell decided to put in the kit is kind of a rare bird, not often seen on 1:1 Model A's, whether stock or hot rodded. The roof insert on the stock 1:1 30 Coupe bodies extends forward of what Revell created, all the way to the visor. Modifying the kit roof just requires a little time and some plastic. Lets give it a shot.
First, take the kit supplied roof insert and lay it on top of a piece of sheet plastic. I used .020 Evergreen sheet. Use the straight factory edge of the plastic sheet to your advantage to create the squared off front edge of the stock roof insert by setting the kit insert back about 3mm from the edge. The distance is not critical, but leave it a little longer to allow you some excess to trim for exact fit. Trace the kit insert onto the sheet, but as you trace down the sides instead of following the curve around the front keep extending that line forward to the edge of the sheet (as seen here)
Cut out the new top, keeping in mind that the piece you traced will be slightly larger than the original. You can compensate for that by cutting just inside the line, or cutting the line itself and then finessing the size with sanding sticks. Make the piece so it fits the existing hole in the roof, except for the front edge which we still need to cut out of the body. Once you are happy with the fit of your new part lay it on top of the roof to use as a template for modifying the opening in the roof. Trace around the front of your new piece.
Then remove your roof insert and you'll see what material you need to remove. Remember, cut inside the line and then finesse with sanding sticks. While you're doing that go ahead and remove all the areas marked with red, which includes the lip detail around the inside since we will have to replace it. Leave the rear part of the lip for now to keep your insert from constantly falling through the hole as you do your multiple sand/fit/repeat trial fittings. If you are going to permanently attach your insert you don't need to remove the inner lip.
Once you are happy with the new opening you have created give the new insert one last fit before you remove that rear lip. You can bend and tweak the contour of your insert to match the profile of the roof. Once you are happy with the fit you can add a bead detail around your roof insert with plastic strip, I used .020 x .020, one long piece for the sides/back. When you cut the piece for back/sides make sure you leave it long to allow for trimming at the front edge. Start applying the strip a little at a time along the rear edge and be sure to keep the strip straight and follow the edge of the insert. Work carefully around the corners and down the sides. A trick is to pre-bend the corner areas a bit by pulling the strip between your fingers with light pressure to introduce a curve to the strip. Once all the glue has dried, trim the ends of the strip flush with the front end, and then use a new piece across the front
To give the insert a place to rest take strips of .030 x .100 strip and attach it to the underside of the roof to create a new lip. If you like you can omit the lip at the front edge because there is not a lot of space on the underside if the roof near the visor.
Once that is done set your new insert in the roof and admire the results.
Here's an technique I've been wanting to try for awhile, now seems like the perfect time. Archer makes some pretty cool detailing items for the model railroad part of the hobby, and this item in particular can be adapted to 1/25 scale. It is rows of resin louvers, applied to a very this clear decal, which makes applying them quite simple. I cut out 5 rows of louvers, soaked the paper for 10 second, let the glue loosen from the paper backer, and then carefully guided the decal onto the trunk.
The clear decal is VERY thin so that the edge disappears under a coat of paint, but it also makes it prone to tearing, so use a light touch. The directions suggest using decal setting solution, but I would recommend that only as a last resort. Placing the decal and then hitting it with a little heat from a hair dryer (set on low) will really snuggle up that decal to the body. If you have any wrinkles you need to smooth out very carefully apply a small amount of setting solution with a small brush. But honestly most applications shouldn't require the setting solution. I used setting solution per the instructions and I really feel it made the decal tear more easily, and gave me some tense moments where three of the louvers separated from the rest. It took a few minutes with a toothpick gently maneuvering them back into place.
And finally, the grille. The grille that Revell supplied looks good and can be used with just a little detail painting. However, it comes with molded in electric fan detail, which just won't stand for a traditional hot rod. I'll use this as an opportunity to upgrade. I'm using the piece from the Monogram Blue Bandito, the tooling for which has seen multiple revisions since it started as the Blue Beetle in the early 60's. You can use the rad/shell from any Model A kit you choose. To securely attach it to the frame I used my standard pin and hole method, drilling two small holes into the bottom of the radiator, and then inserting pins.
To get the top of the radiator at the right level in comparison to the top of the cowl so it has a nice profile from the side I had to add a .080 x .080 plastic strip to the top of the front crossmember. Glue it in place, and I made the choice to add a little filler to make it all look like one piece. Drill matching holes in the top of the new strip to allow the radiator to pin on top of it.