|
|
Post by skip on Mar 4, 2022 7:58:50 GMT -5
That's OK on the Diameter, it's the pin that counts, right!! The ones that I use are covered by the Harbor Freight "Drill Master" 30 Pc. "High Speed Steel MINI DRILL" SET they are great for using for pinning because they are not as brittle as most other tiny drill bits are. "Steel" is probably a stretch; they are more like "Heat Treated Silly Putty"! LoL!! (I've had a few of them that I've had to drag across a hard Arkansas stone a time or two to get a good sharp cutting edge. That part is easy, just find the angle the bit already has and draw it towards you 2 - 3 times one way and 2 - 3 times the other, presto you have an edge that cuts plastic.) Even with sharpening them, I really don't have a gripe about them they are cheap, do the job, and don't break as often as my good bits do; so, I grab them when drilling for pins. They also work really well with the "Mini-Chuck" used with my rechargeable nut driver, saves wear and tear on the thumbs!! LoL!
|
|
|
|
Post by Dave from Pleasanton on Mar 4, 2022 15:33:26 GMT -5
Throwing my 2 cents in I pin as well but whenever possible I use Evergreen rod, especially if the pin is before painting so I can use plastic glue to fuse the parts into one.
|
|
|
|
Post by Mr. Metallic on Mar 4, 2022 15:59:02 GMT -5
Throwing my 2 cents in I pin as well but whenever possible I use Evergreen rod, especially if the pin is before painting so I can use plastic glue to fuse the parts into one. I guess there are pros and cons to using plastic or metal pins. For the last 25+ years I've been using super glue for building, so using metal pins was natural for me. My first ten years or so of building was with testors tube cement so once I found super glue I didn't use plastic glue at all until I recently started again after being introduced to the Tamiya thin cement. I now realize the benefits of actually welding the parts together, especially when doing custom work. I can see how having a plastic pin in place would help that. However, I mostly use the pins to facilitate repeated mockups, and fear I would break off plastic pins after 2-3 mockups. But in a situation where I was to join parts together permanently after only one time the plastic pin would have a definite strength advantage. I'll have to keep that in mind. |
|
|
|
Post by Dave from Pleasanton on Mar 4, 2022 23:26:31 GMT -5
Agree, both have there place. When I returned to modeling I bought a tube of Testors and then quickly found the liquid glue and now only use it. I also use super glue although I still struggle with getting it to work well. I think my old hands shake too much while I'm holding it in place. Using accelerator helps me, but you might call me "shaky Dave".
|
|
|
|
Post by Mr. Metallic on Mar 7, 2022 7:44:27 GMT -5
Finally had a chance to do some sample spoons. The color will be Model Master Dark Cherry metallic. This color apparently has a good amount of pigment because there's not much difference between the three colors of primer. The top one is red, and that skews a little warmer than I want for this build, so looks like I'll be spraying everything with grey primer since there is virtually no difference between the grey and black. 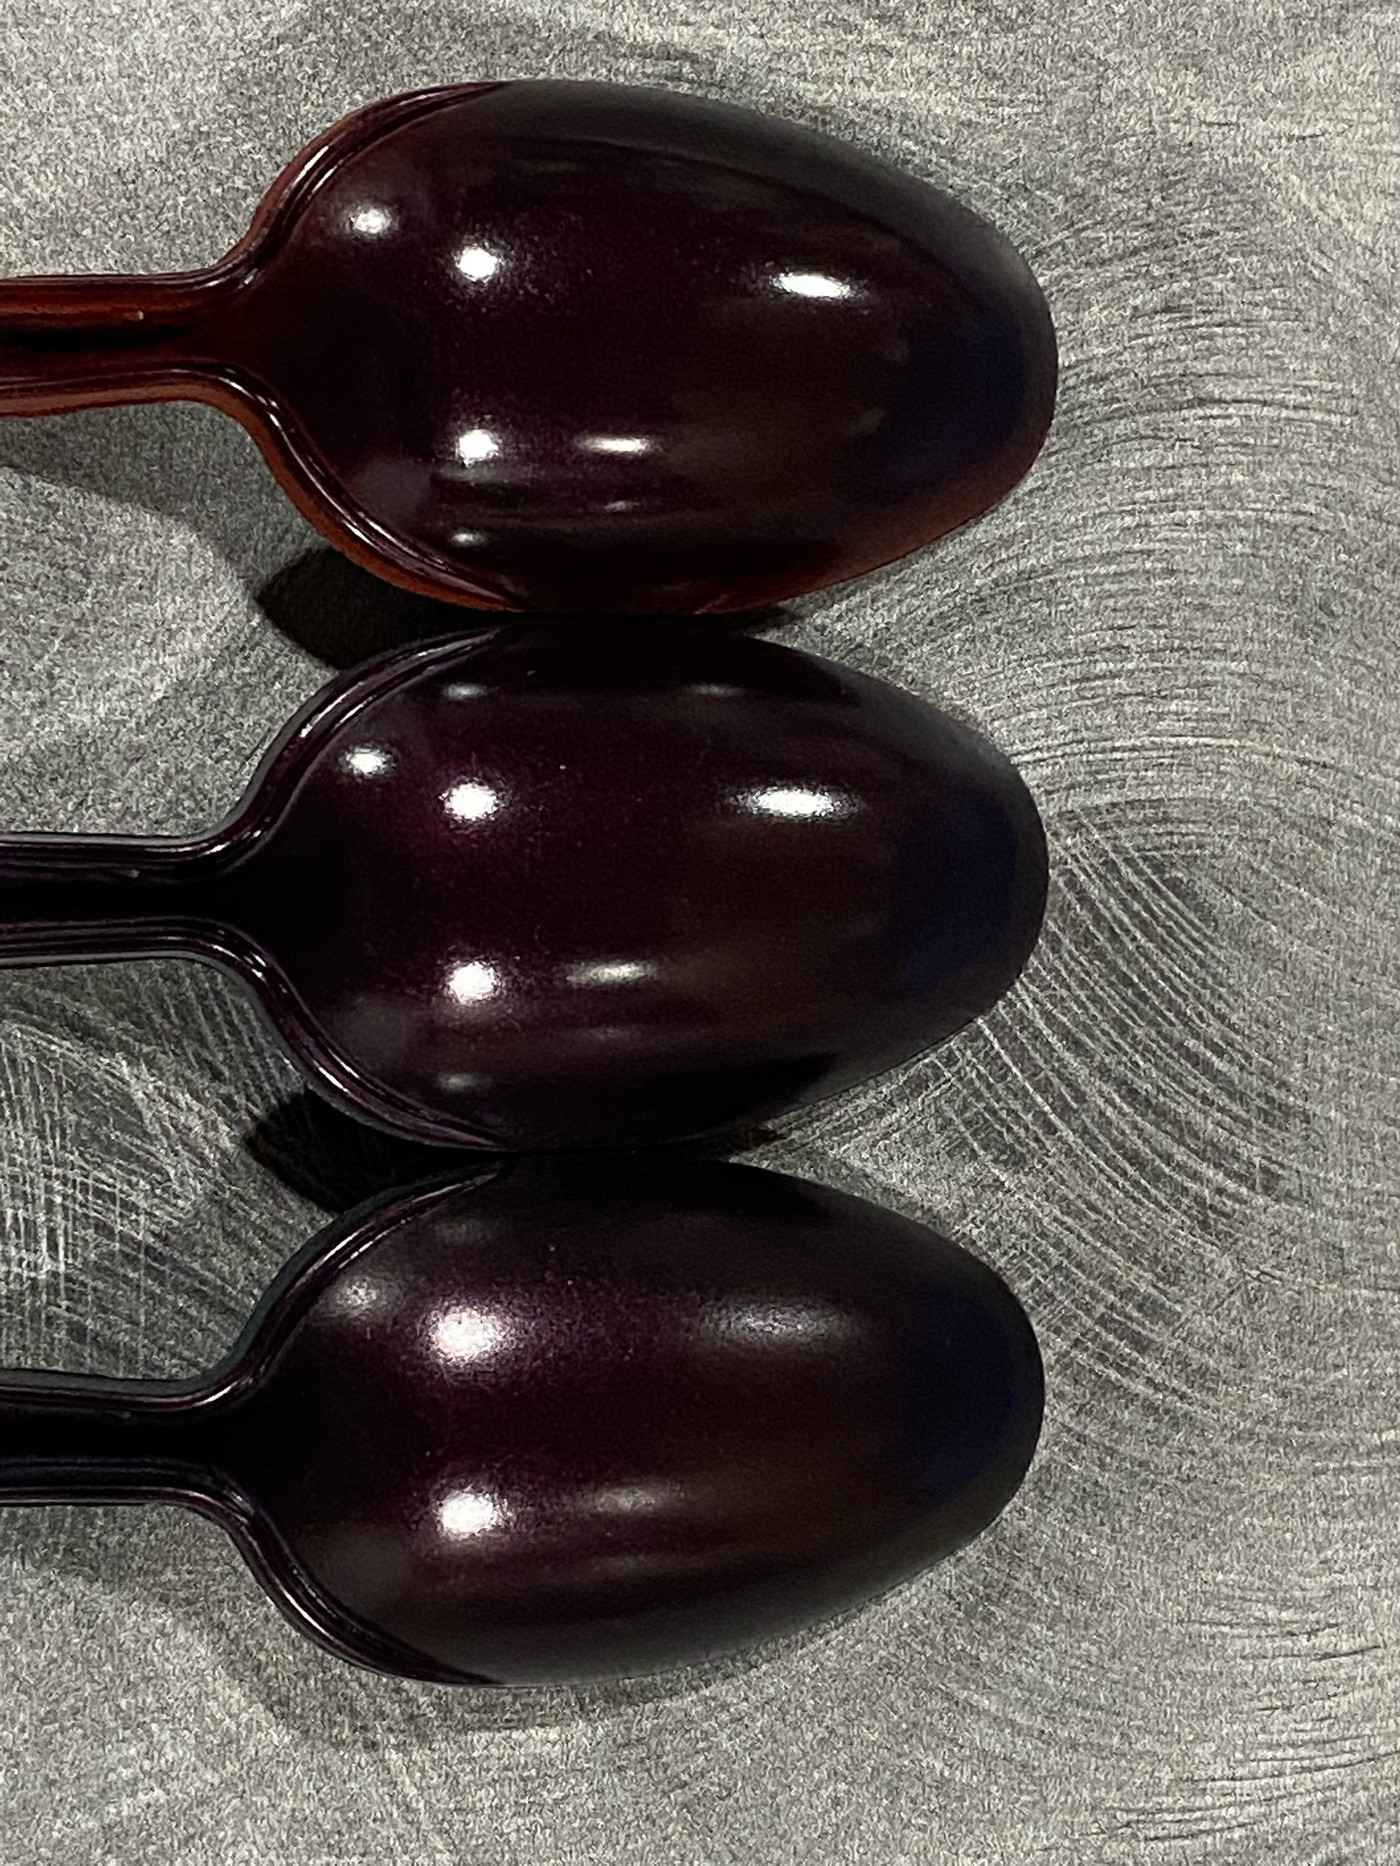 |
|
|
|
Post by Dave from Pleasanton on Mar 7, 2022 11:10:11 GMT -5
On my monitor they all look close to the same. Did you think about a white primer or a silver base? Just curious. I'm sure it will look great with the Dark Cherry over gray primer.
|
|
|
|
Post by Mr. Metallic on Mar 7, 2022 11:58:35 GMT -5
On my monitor they all look close to the same. Did you think about a white primer or a silver base? Just curious. I'm sure it will look great with the Dark Cherry over gray primer. Thanks Dave. In real life they are nearly identical too. I did think about silver, but that would accentuate the metallic in the paint, which normally I would want. But on this build I'm trying to go subtle |
|
|
|
Post by skip on Mar 8, 2022 0:43:28 GMT -5
That color will look great all polished and clear coated until its nice and shines like crazy!
|
|
|
|
Post by Mr. Metallic on Mar 10, 2022 9:44:50 GMT -5
Primed and ready- Finally got everything necessary into primer last night after much procrastinating. The holdup was I was mostly worried about burying the louvers in paint, so whether to try to mask them off and prime the body. But then i feared i would mask it and pull the louvers off. I decided to just wing it. And happily, so far so good. 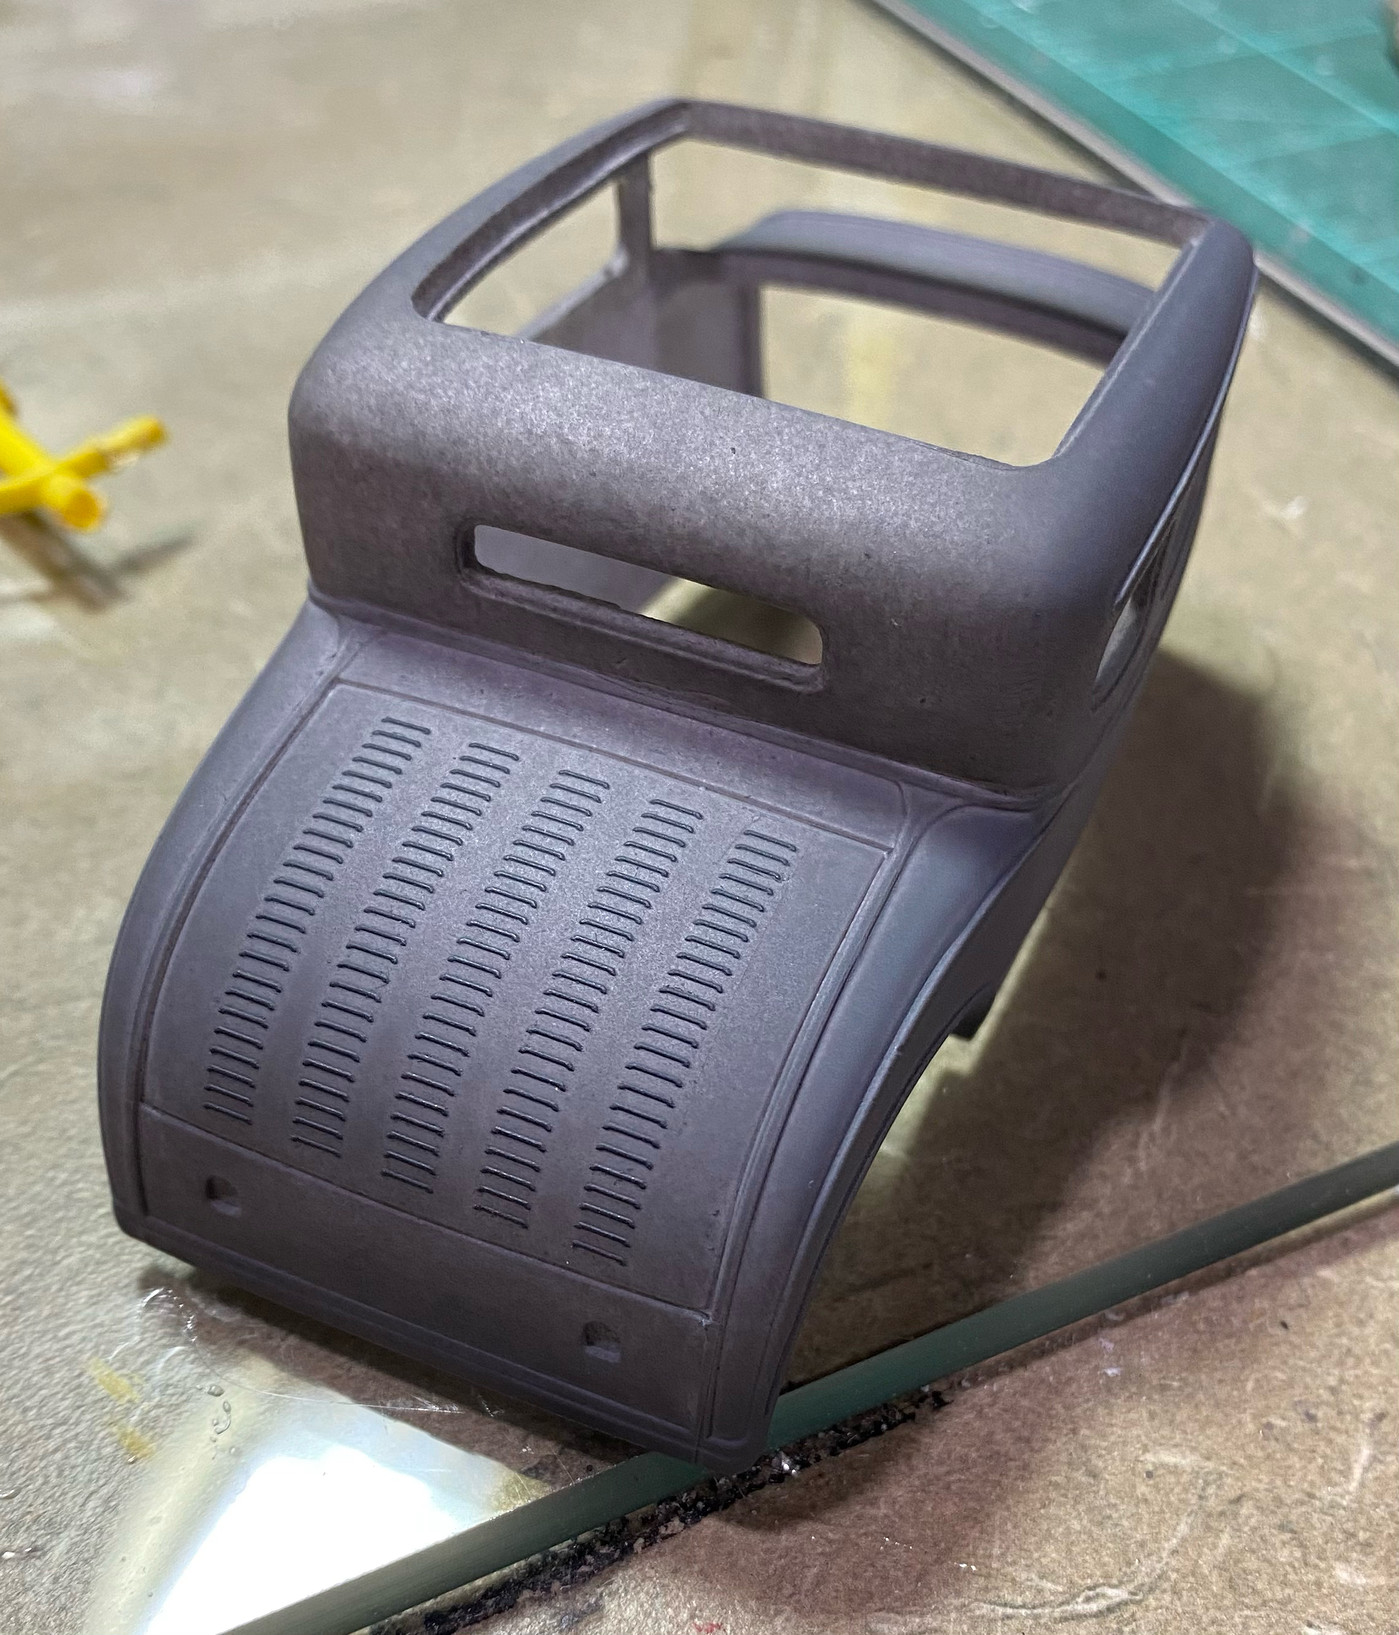 Ready for paint, hopefully this weekend. |
|
|
|
Post by Dave from Pleasanton on Mar 10, 2022 19:52:17 GMT -5
Louvers look fantastic.
|
|
|
|
Post by skip on Mar 11, 2022 1:45:13 GMT -5
Agree, louvers look great, even the primer layer gives them more definition! Is the speckled finish on the back of the roof from shooting light primer in that area or just something the camera picked up?
|
|
|
|
Post by Mr. Metallic on Mar 11, 2022 6:36:33 GMT -5
Agree, louvers look great, even the primer layer gives them more definition! Is the speckled finish on the back of the roof from shooting light primer in that area or just something the camera picked up? I was worried about building up too much primer, so I went very light on most areas. Started painting parts last night, so should have a live and in color update this weekend. |
|
|
|
Post by Mr. Metallic on Mar 14, 2022 6:24:50 GMT -5
Live and in color The louver experiment was successful. Archer smartly molded them in black to give them a look of a natural shadow line, so that helps sell the 3D effect, even though they aren't very tall. I'm quite happy with how they came out. 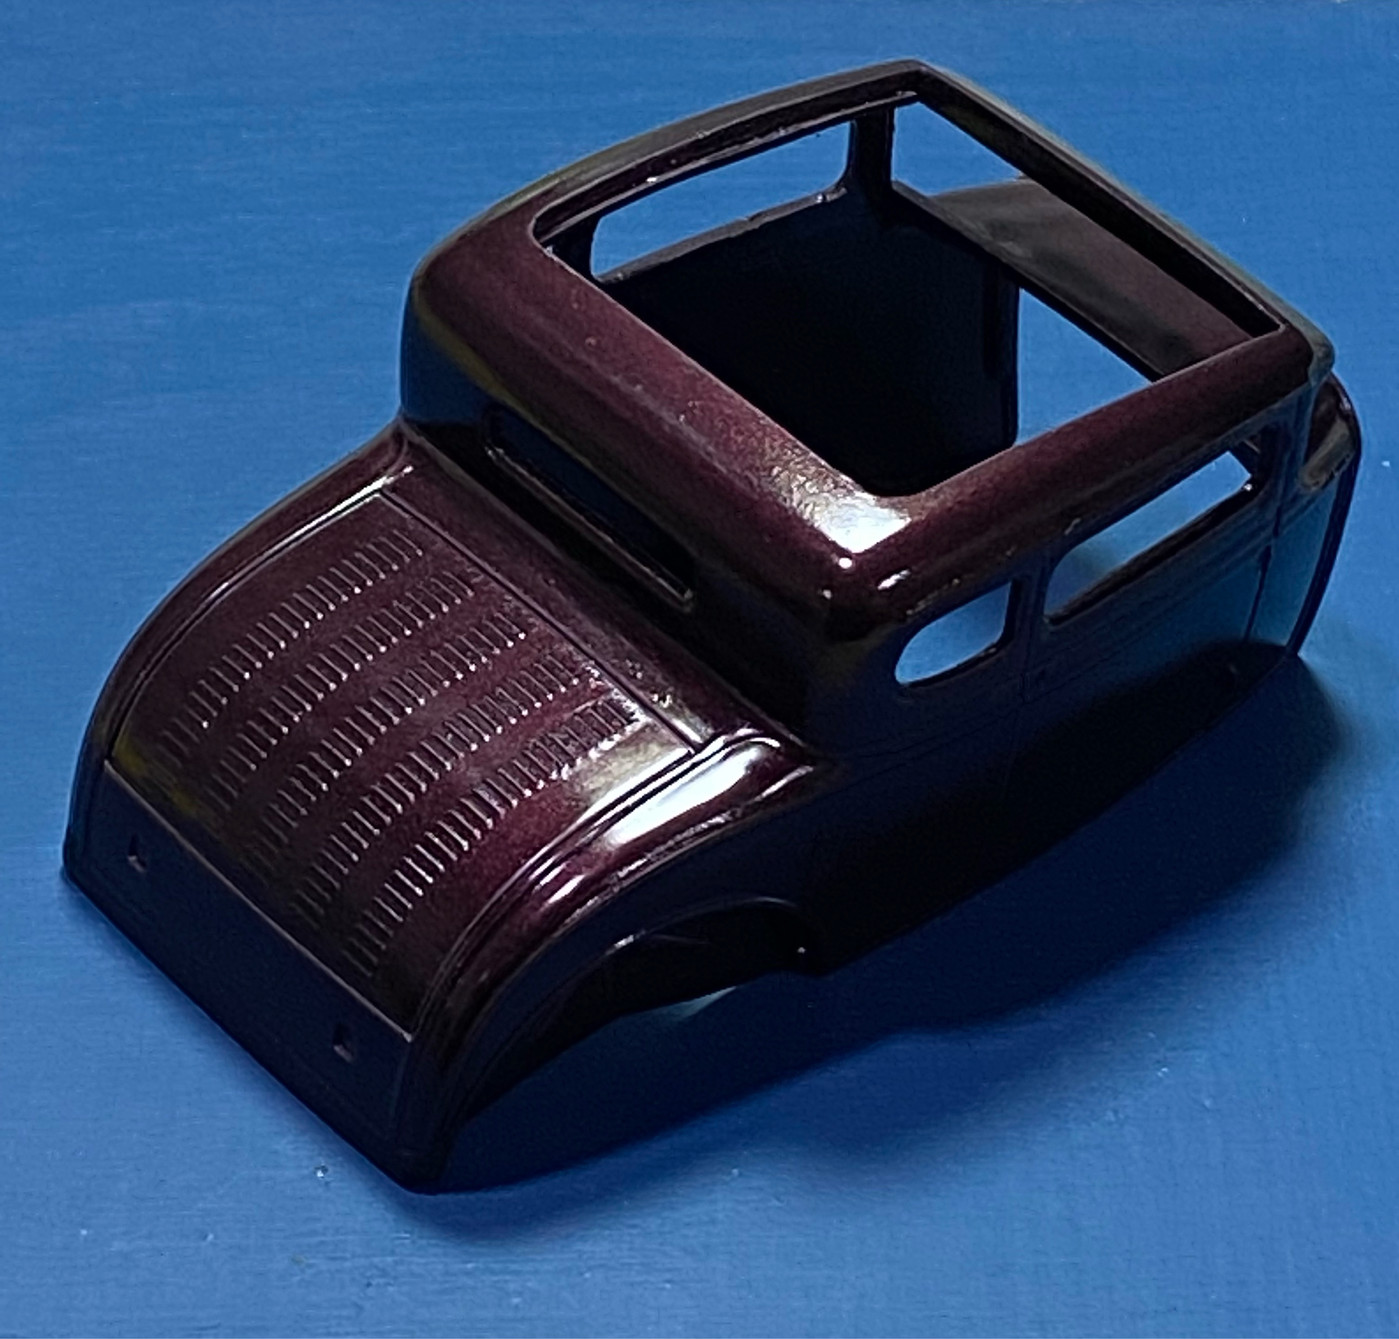 And of course, fresh out of the dehydrator I couldn't help but do a quick mockup. I love the color. It's Testors Dark Cherry Metallic lacquer. 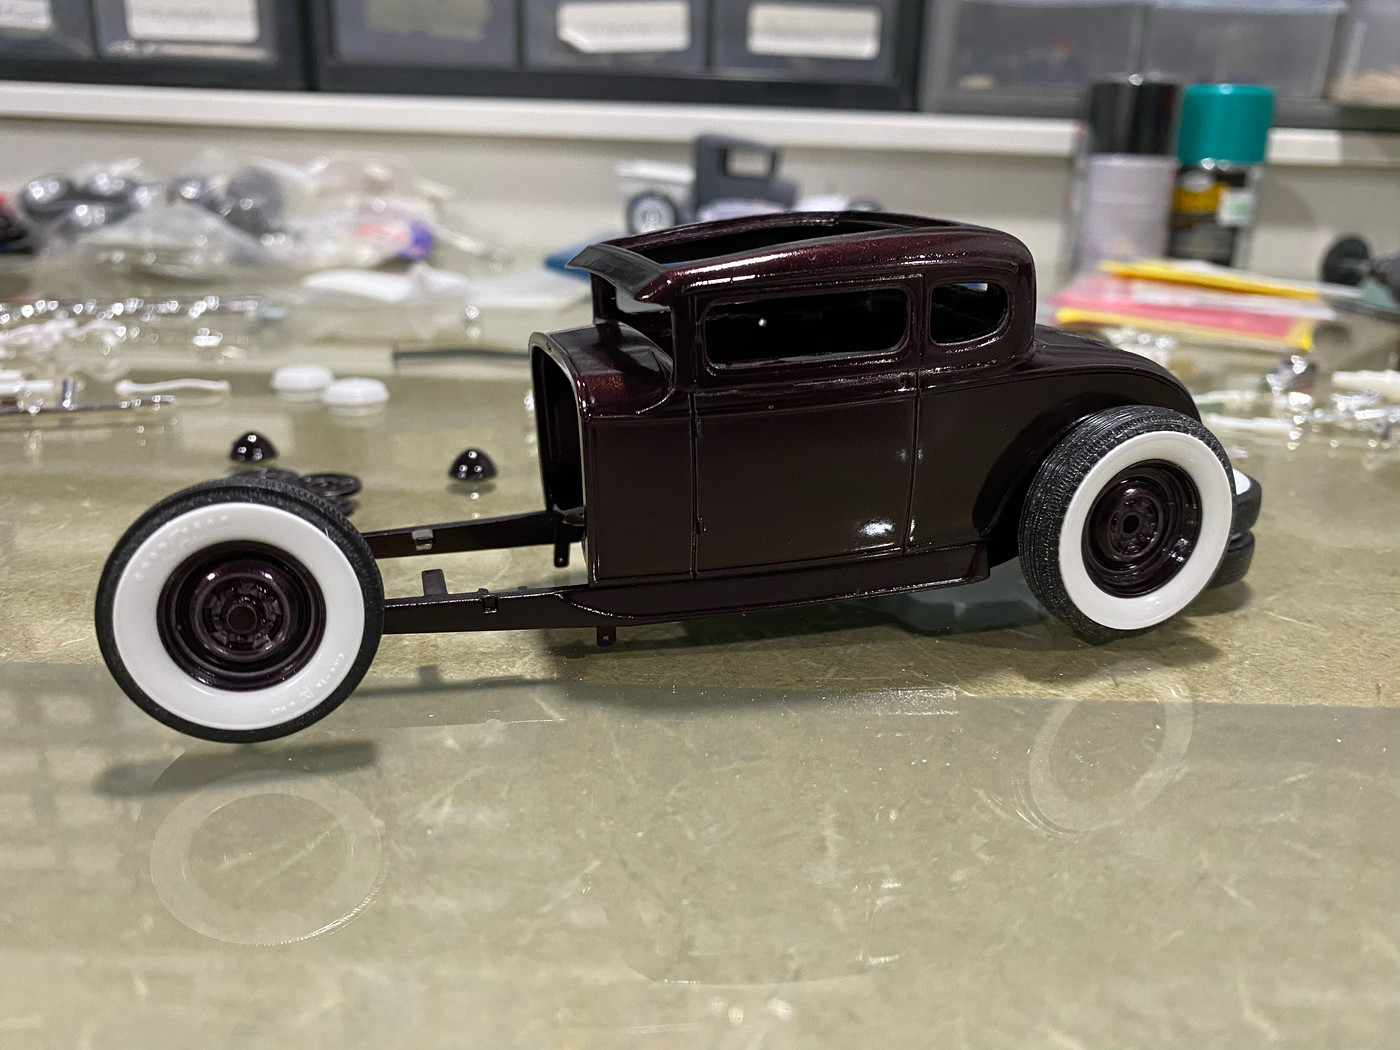 |
|
|
|
Post by skip on Mar 14, 2022 6:49:23 GMT -5
WoW Craig, That's such a great color for a Hot Rod Coupe! Wheels and White Walls loop swell together!
|
|
|
|
Post by 41chevy on Mar 14, 2022 11:23:59 GMT -5
Great color for the build! Most people don't realize that not all rods were red , black or blue. Paul
|
|


