|
|
Post by Jared on Feb 21, 2023 21:26:45 GMT -5
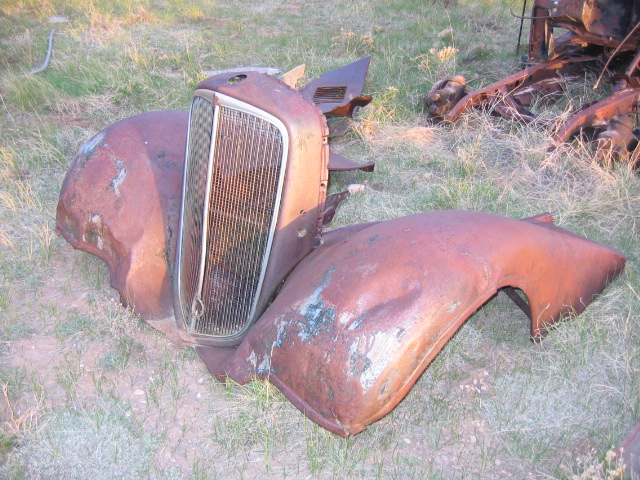
Well, I’m going to try and get myself back into gear once again on building. I’ve been off and on for years now. Always lots of passion, collecting and planning but never sitting and building. That’s the hard part! That being said, I feel like I have a space good enough for building again and have the time and drive for it. That brings us to this kit. I’ve always been a model A roaster fan and finally have a few of these kits. Now the plans for this are still very loose but trying some different wheels, engines and ride heights. My issue is being “out of the hobby” for so long, I now get nervous for hacking and wacking on plastic. So I’ll be starting slow and really making sure I don’t let myself get out of hand. Anyway, enough blabbering! I’m open to suggestions or criticism! 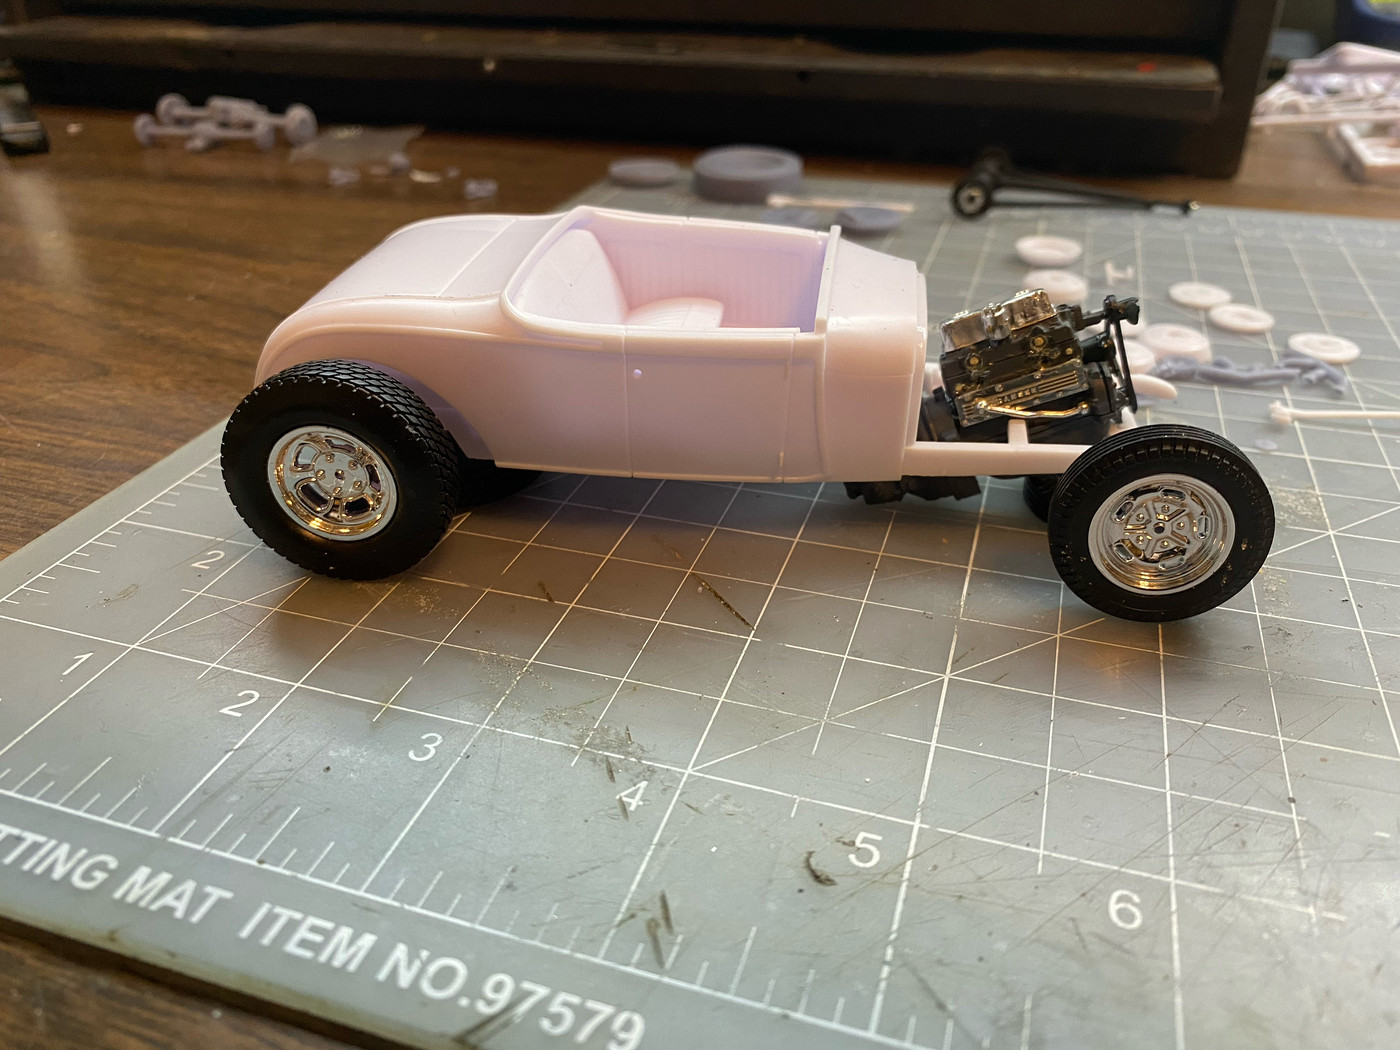 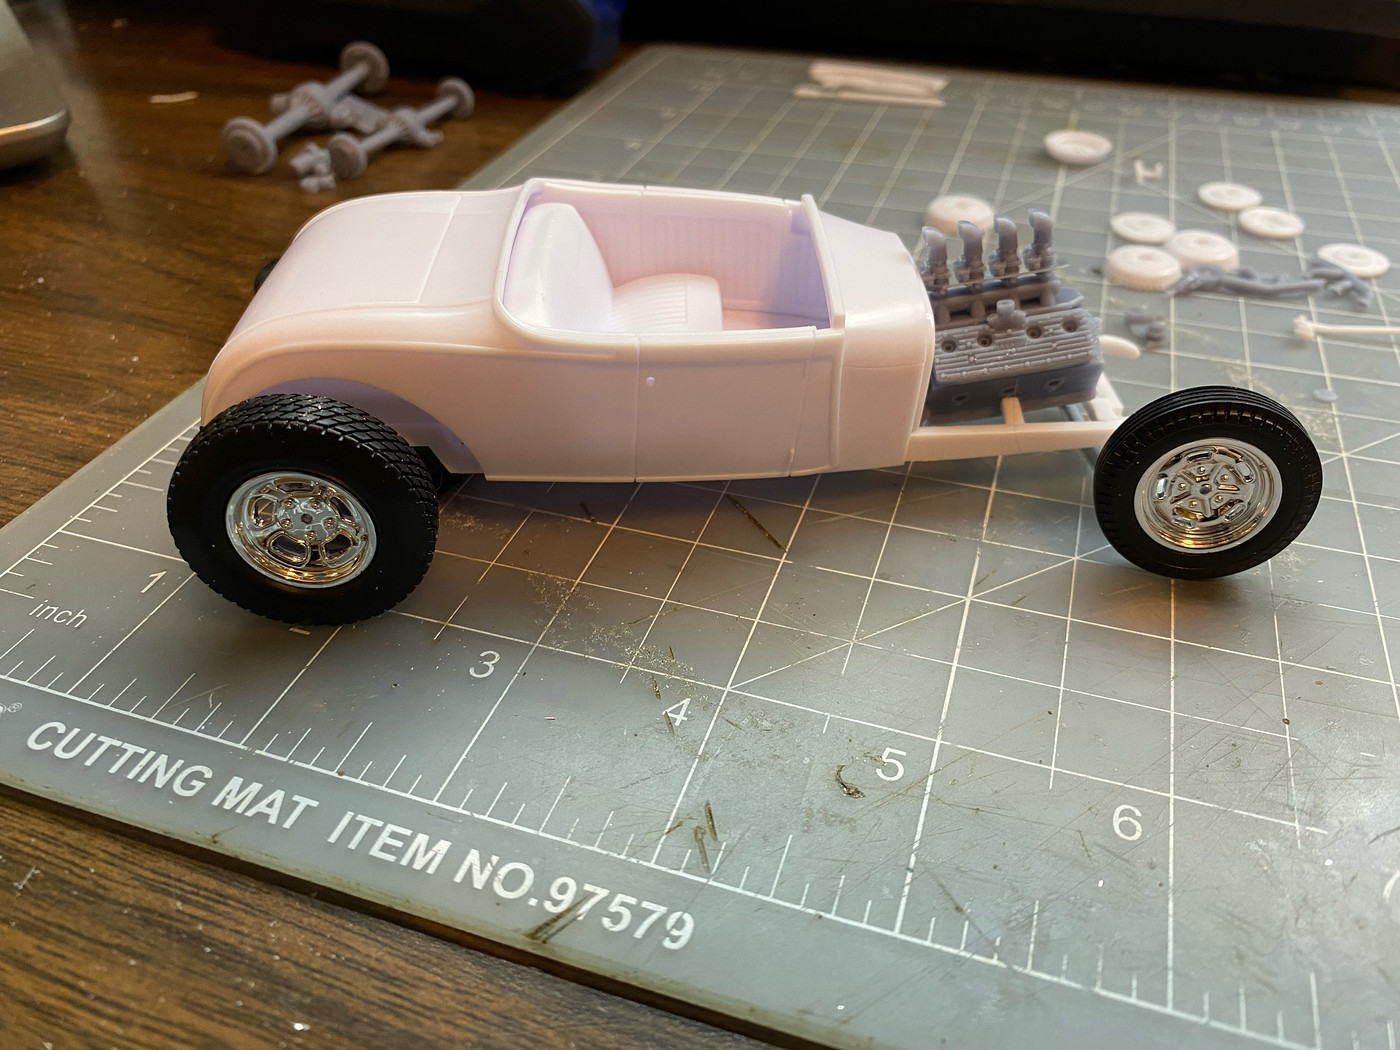   |
|
|
|
Post by 41chevy on Feb 21, 2023 22:51:37 GMT -5
Wow, that a issue Flathead or Banger! I'm partial to the banger as you hardly ever see them and the make decent power. Keep us posted on your progress. Paul
|
|
|
|
Post by Mr. Metallic on Feb 22, 2023 7:00:39 GMT -5
That last set of wheels/tires with the smooth center, where are those from?
|
|
|
|
Post by Dave from Pleasanton on Feb 22, 2023 17:41:21 GMT -5
Great start Jared. With the flathead or 4 banger the chrome shiny wheels look a bit out of place. A coat of flat clear might make all the difference. The smooth mags really look right to me. Sort of a salt flat vibe. My 2 cents. I want to see more.
|
|
|
|
Post by skip on Feb 24, 2023 12:57:34 GMT -5
Good looking Hot Rod! My vote, if it counts for anything, is for the banger and smoothie Halibrands
just like it's set up in the third picture. The engine chrome needs to be flattened from polished
chrome to polished aluminum on the valve covers and the side cover, most prototypes that I have seen
were hand polished aluminum. Great start for a period-correct Hot Rod, will be watching this one
come together.
In regard to cutting-it-up. just make sure that you have a clear idea in mind before making any
modifications, as in a vision of the finished Hot Rod. I have been known to take to pencil and paper
to make sure I am thinking and what I am doing is going to look like it should in the first place.
This always helps me to go from point A to B with the leastest number of hiccups!
Those Halibrands and Tires, I'm also interested in their origin, where did you get them!?
|
|
|
|
Post by Jared on Feb 24, 2023 18:10:41 GMT -5
That last set of wheels/tires with the smooth center, where are those from? It's a set it quickly printed from a file online. they are a really good-looking set of wheels for slat flat style. I can post the file up if you want it. |
|
|
|
Post by Jared on Mar 3, 2023 21:57:48 GMT -5
Alright, I found some time to start getting the chassis and stance lined up. I like the salt flat style wheels but hate the tall "tippy toe" stance it has. Now I'm not wanting this car into the ground, but it needs to come down a bit. So, let's start with the rear. The Revell 29 kit has a bit more modern style suspension which will be going away. This also leads to the rear of the frame being a bit too modern as well. I grabbed a rough model A frame from the stash to cut the rear spring perch from. But it needs its own clean up and dialing in before that happens. The other major thing that will change is a slight frame notch from grafting the old red frame into this new kit. This lends itself to being able to be dropped without looking weird or having the axle setting straight on the frame. 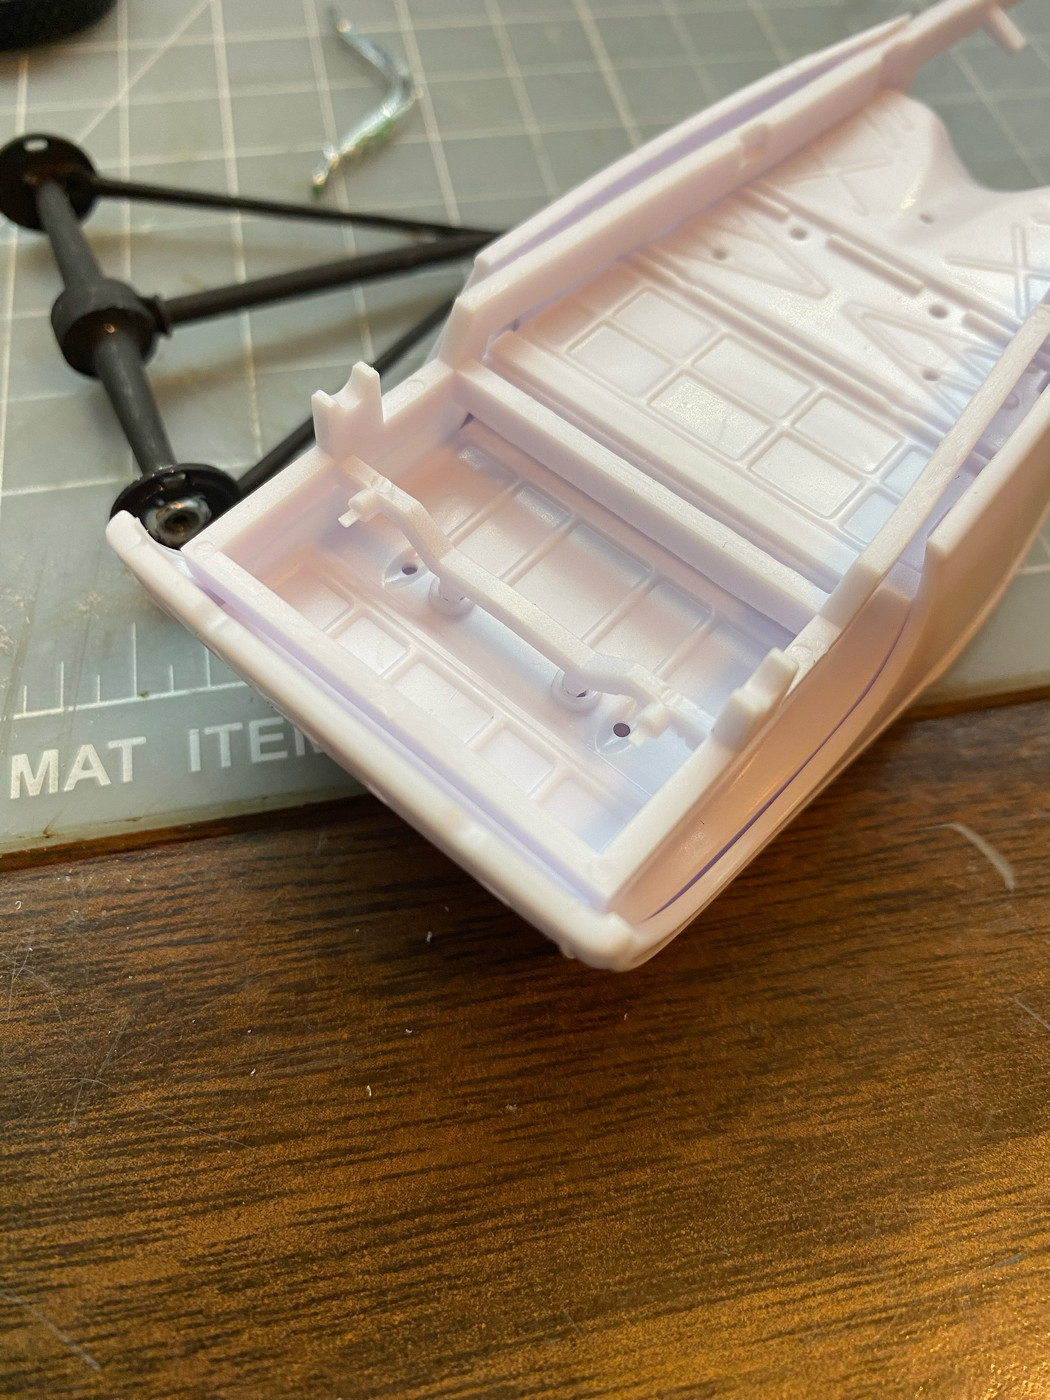  While the red frame dries from a glue fix, we can move onto the front and see how to drop this more. The kit comes with a nice drop axle, but again, the wheel choice just makes everything sit tall. I did lots of poking around to see what popular and what methods were done way back then. The two major ones are to "Z" the frame or to pie cut it. The overall vision I'm going for wouldn't lend itself to the "Z" style. SO! Pie cut it is. This it simply done by making a quick mark where the firewall is. The keeping a razor saw straight, you cut ALMOST all the way through. Slap some glue in and put some weight on it to hold the new shape.   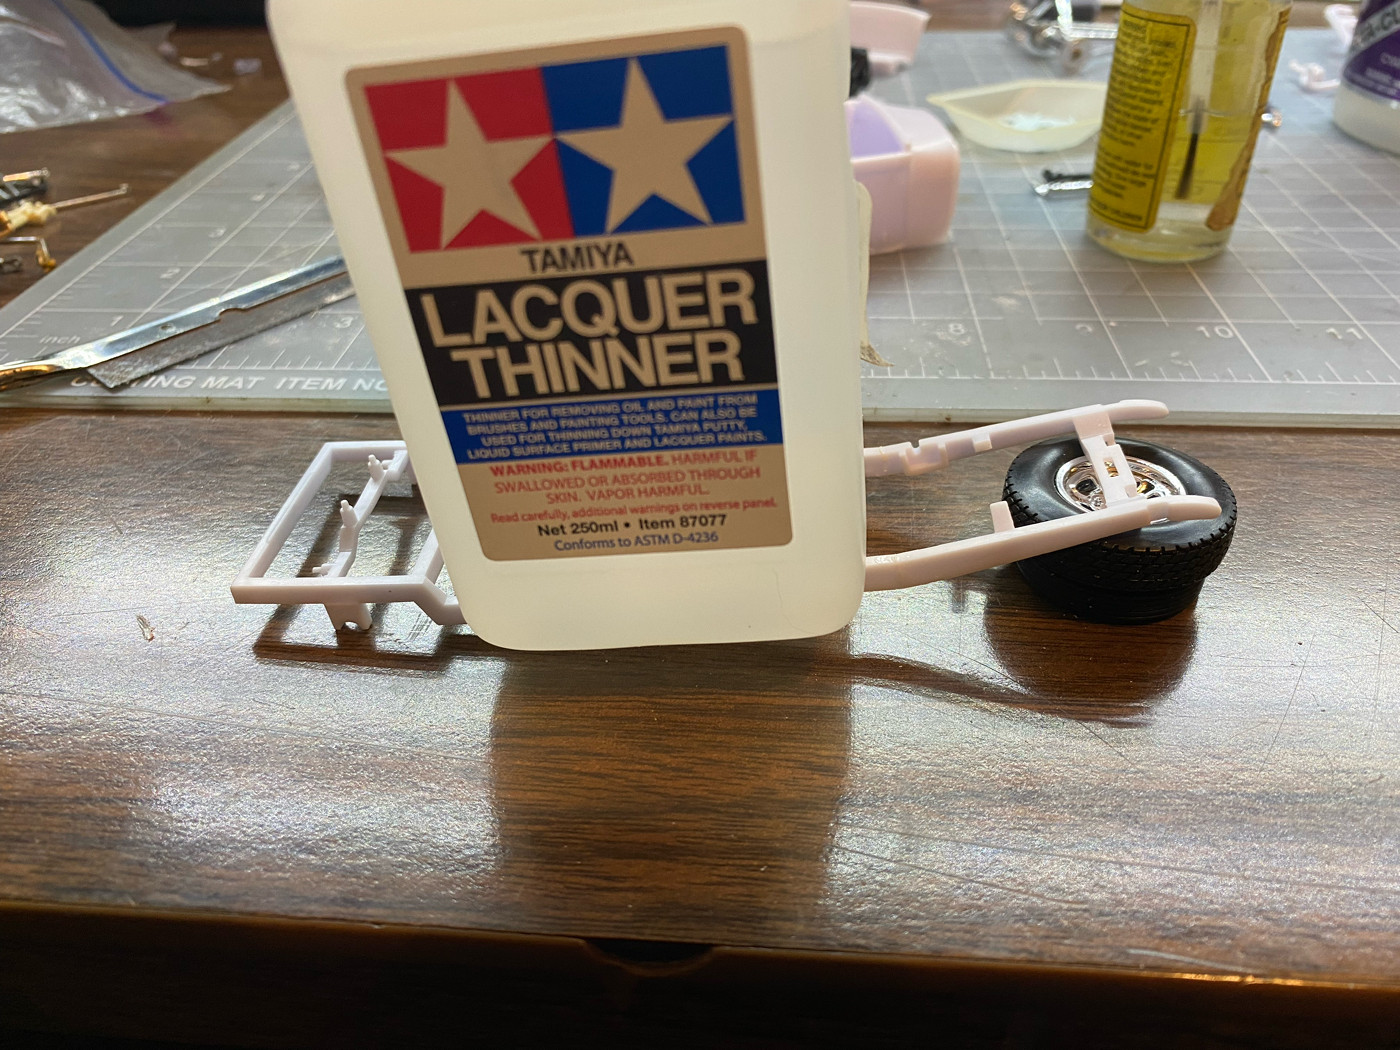 Thats all the excitement I have for now. While the frames set up, I'll work on getting the 4-banger stripped and cleaned up and maybe some new engine parts printed up. |
|
|
|
Post by RodBurNeR on Mar 3, 2023 23:39:01 GMT -5
smart moves, let's see the 4 banger !
|
|
|
|
Post by daniel51 on Mar 4, 2023 7:27:57 GMT -5
Great start! I vote for the 4 banger too. This will be fun to watch!
|
|
|
|
Post by Bernard Kron on Mar 4, 2023 10:45:49 GMT -5
Nice work! In the past few years I've built a boatload of Model A's for some reason, both AMT- and Revell-based. As nice as many of the parts of the Revell kit are, and many are especially nice, for me the high stance, regardless of the version you build, is a total turn off. So much so that my Model A projects have evolved to be mainly AMT based. The channeled variant such as yours is especially awkward looking because you don't have the frame rails to balance things out. So the work you're doing to bring it down will be well rewarded IMHO. Once you've got the front end where you want it you might consider increasing the Z at the rear, too, depending on the rolling stock you choose and the amount of rake you want.
Build on!
|
|
|
|
Post by Jared on Mar 4, 2023 17:26:31 GMT -5
OK! Here is a small look at the end goal. I wasnt a fan of the kit grill. The radiator being molded into the shell was......a turn off but the engine side was a big thumbs down because it uses a new electric fan and looks bulky. So, i grabbed on from the stash that looked clean and could be reworked decently. The next thing was wanting to know if i should chop this or not. I mocked up the kit windshield frame and remembered I've been hoarding a bunch of "up-tops" from Ed. So out came one from that box. Here is the end result for a mockup. Enjoy Boys!!  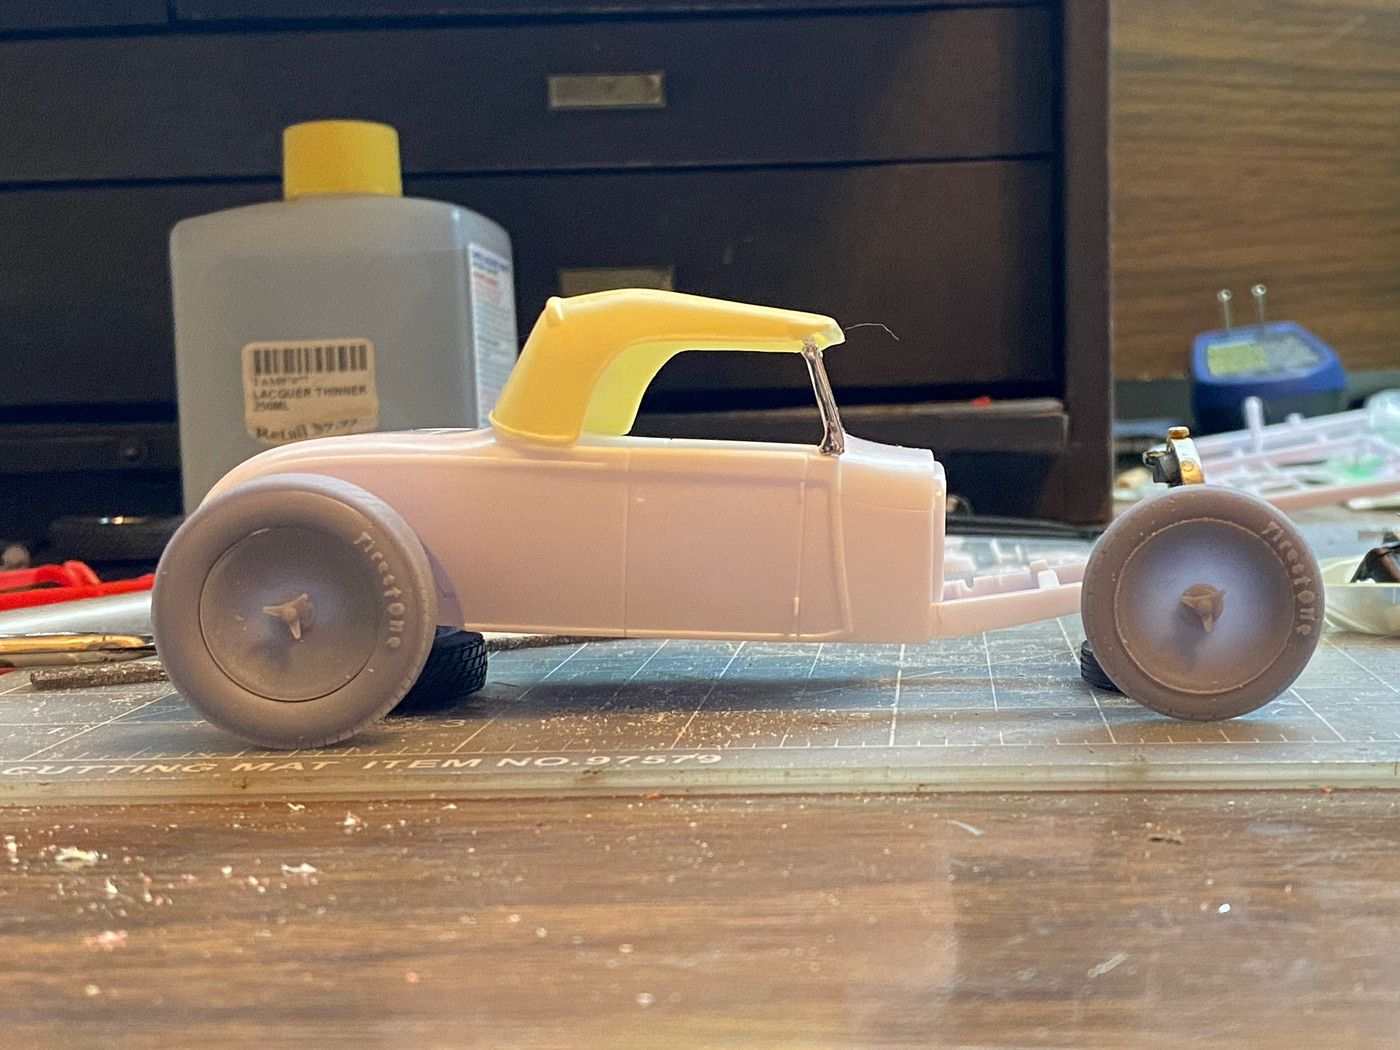 And the banger in pieces ready to be cleaned up better and fixed up. 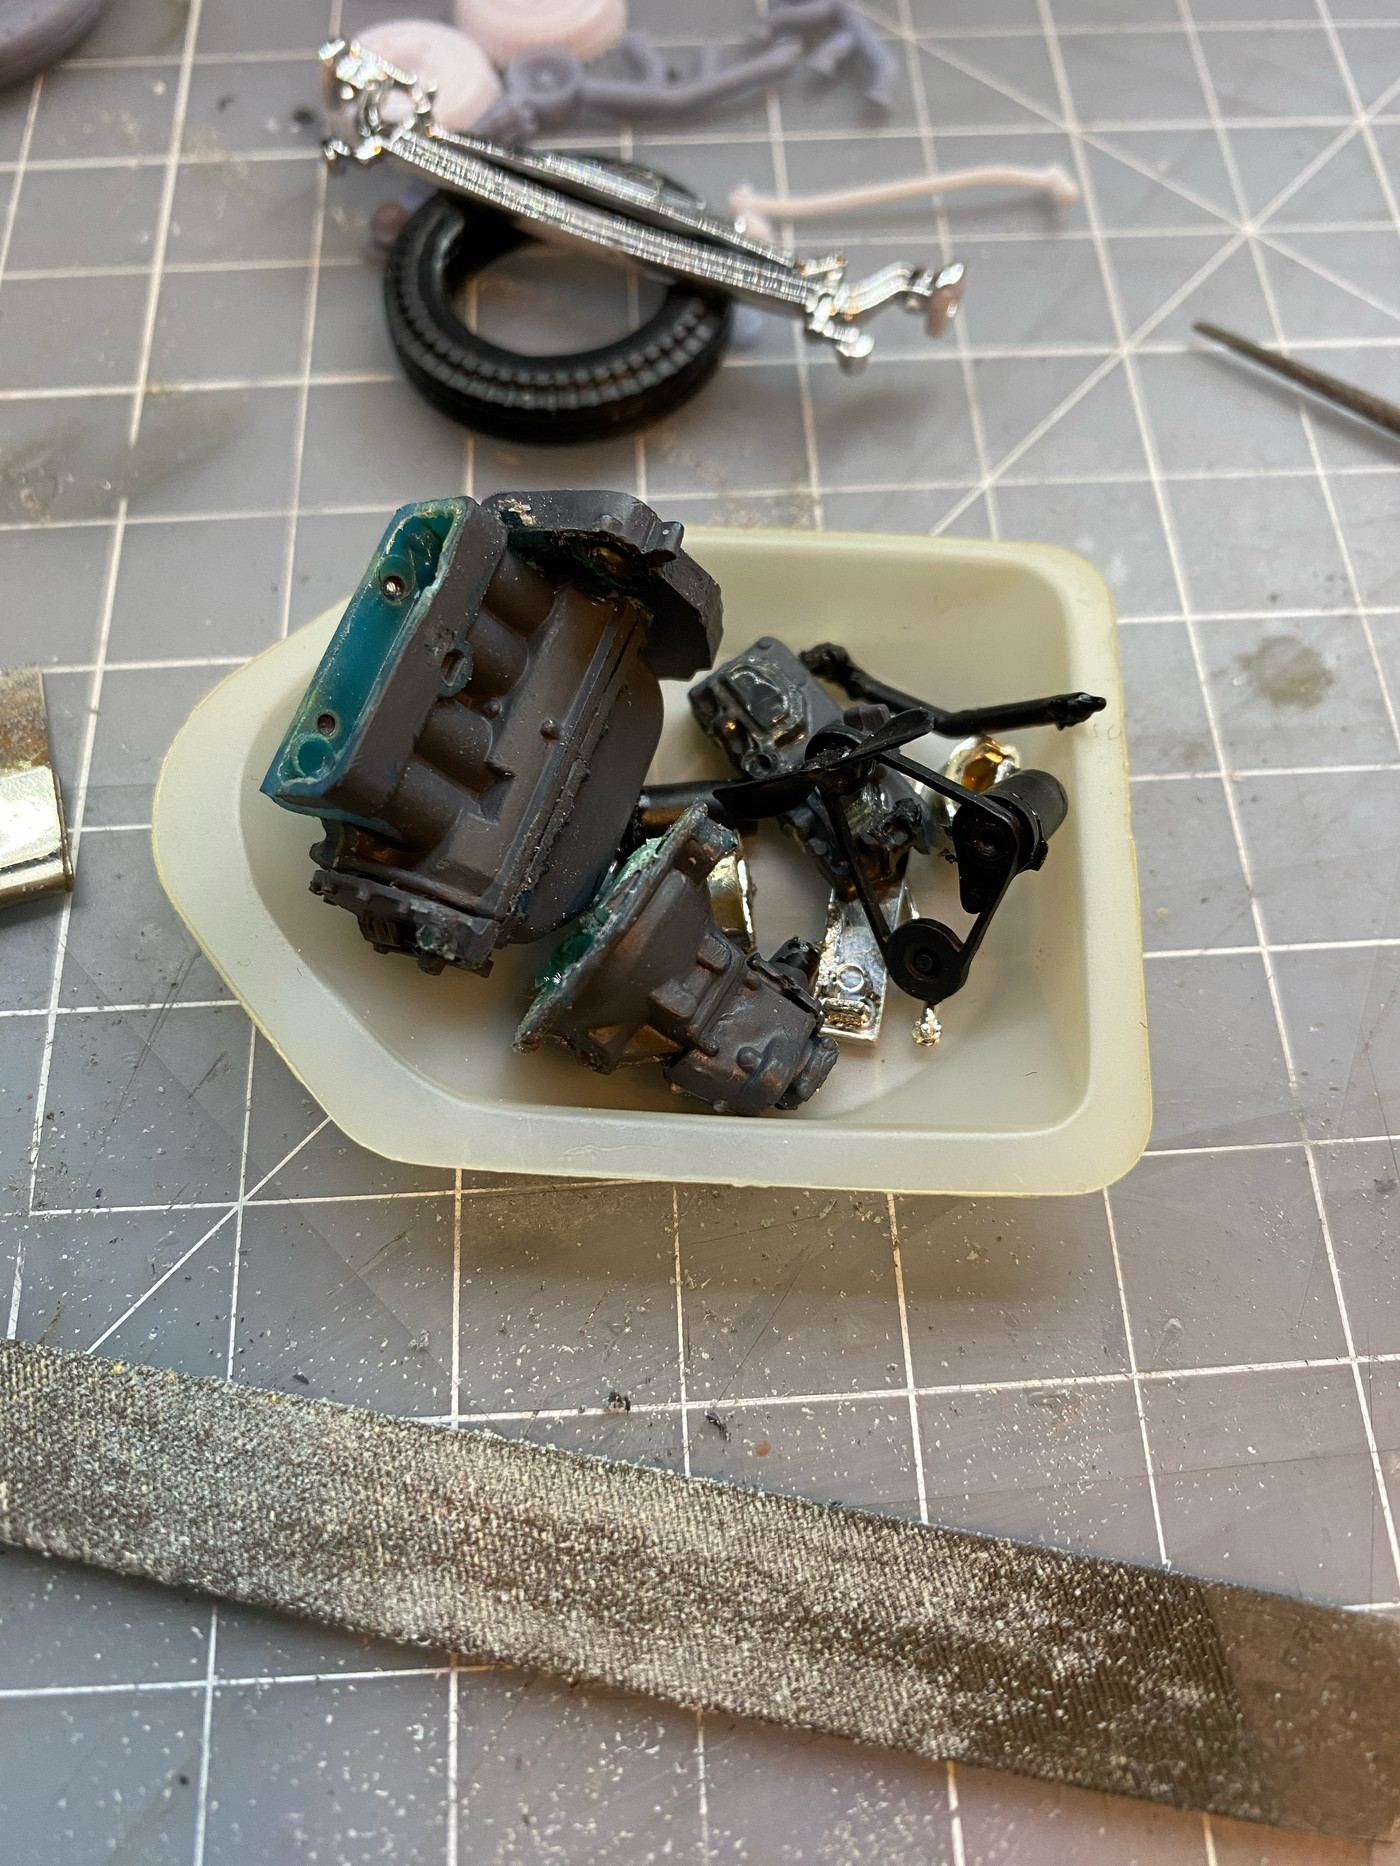 Once you've got the front end where you want it you might consider increasing the Z at the rear, too, depending on the rolling stock you choose and the amount of rake you want. Thats what I'm working on now. Reworking the "Z" in the rear is more work but easier to do. wanted to get the front down as its harder to make that look clean. |
|
|
|
Post by lo51merc on Mar 4, 2023 18:55:08 GMT -5
I'm confused, is the file in the picture going to be used to "clean up" the parts for the engine?
By the way, I've been really confused lately. By the way, I've been really confused lately.
Gary
|
|
|
|
Post by 41chevy on Mar 4, 2023 19:11:15 GMT -5
You are capturing the look and stance of a pre 1948 "GOW" job. Sweet!
I use a file like that also to get dead flat engine surfaces also.
|
|
|
|
Post by Dennis on Mar 4, 2023 22:45:55 GMT -5
That’s an aggressive pie cut but the stance and proportions looks excellent! I think it looks just right with the kit windshield and DCC top but, I could be biased!
There’s a lot of good things about the Revell A kits but the stance isn’t one of them…
|
|
|
|
Post by Jared on Mar 5, 2023 0:43:15 GMT -5
I think it looks just right with the kit windshield and DCC top but, I could be biased! This build will be leaning a lot onto your 29 build you did last. Only thing I'm unsure of is using a model A grill or getting a chopped 32 grill. You are capturing the look and stance of a pre 1948 "GOW" job. Sweet! I use a file like that also to get dead flat engine surfaces also. Thats exactly the look and style I'm after. |
|