|
|
Post by froghawk on Jul 3, 2014 11:13:35 GMT -5
Thanks, guys. Finished mending the roof last night. Hope to get it permanently mated to the body tonight or tomorrow. Also drilled out the headlights after an hour and a half of careful grinding with a dremel, to accommodate lenses from the AMT '58 Impala.
|
|
|
|
Post by steveb on Jul 9, 2014 12:52:38 GMT -5
Glad that you were able to fix the crack. That side window channel is something that many people overlook, & it adds so much to the realistic look.
|
|
|
|
Post by ckourouklis on Jul 9, 2014 16:53:16 GMT -5
^^THIS^^ Really love touches like those, John (and it figures Steve would be the first to point 'em out).  Can't believe how pristine that shell was after the first cleanup... |
|
|
|
Post by froghawk on Jul 10, 2014 10:45:16 GMT -5
Finally got the hardtop roof permanently attached after repairing the crack shown last post with Plastruct cement for ABS and styrene flowed in from the inside. I reinforced the repair on the inside with some 1/32" ABS plastic. Plastruct cement was also used to cement the roof on, with the joint between the front edge of the roof and the convertible windshield header reinforced on the inside with a narrow strip of 1/32" ABS. Some minor gaps at the header were filled with thin cyano then the windshield header was filed down and the front edge of the roof shaped before the panel line for the upper windshield molding was scribed in. The damaged driprails were shaved off and replaced with some Evergreen strip. 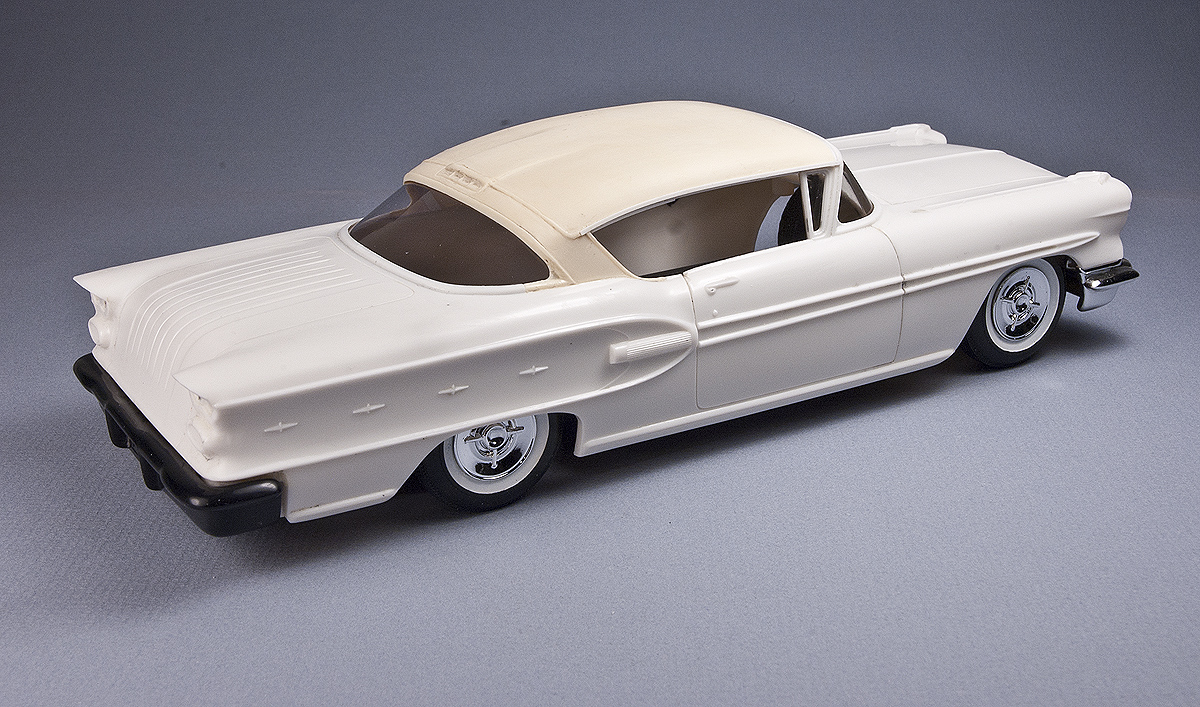 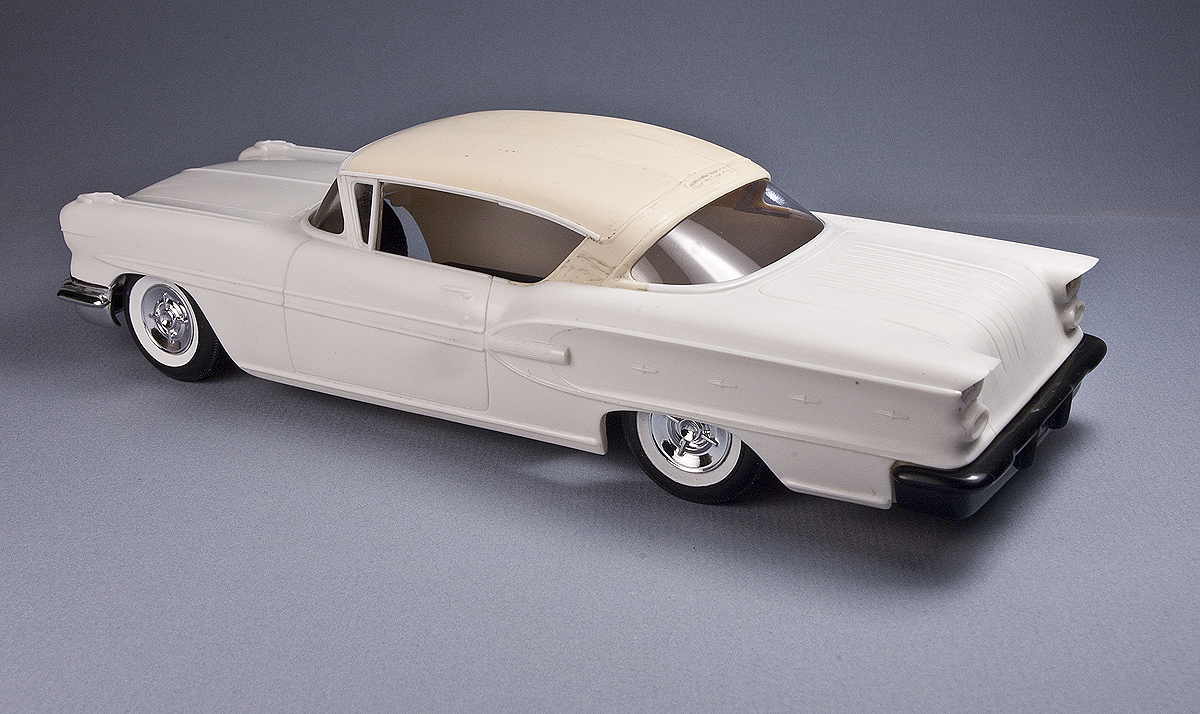 Also managed to scratch a rear window from clear PETE plastic from an egg carton. I made a pattern from a '58 Impala window, then the pattern was adjusted to fit the Bonneville. The pattern was used to cut a mockup "window" from a business card and further adjusted. The dummy window was used as a pattern to cut the final piece from the PETE. To protect the clear plastic during the cutting process I covered both sides with masking tape. Now I just have to decide whether to replace the windshield with a matching piece!  Trim removal continued with shaving of the "Pontiac" lettering from the decklid along with the chrome fake handles. More kit inaccuracy trivia – AMT's kit spells out "Pontiac" on the hood and deck while the lettering spelled "Bonneville" on the real car! 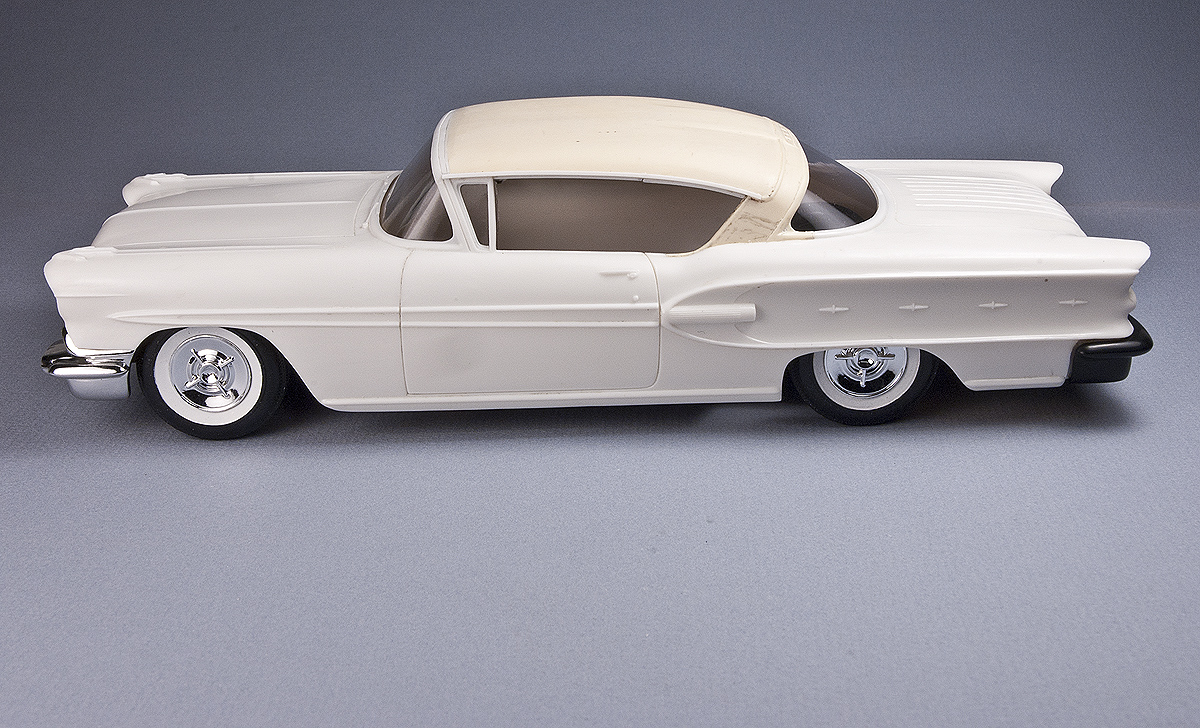 I finished shaving the fake vents off the passenger's side front fender, along with lettering from the hood. Next up for removal are the "flying wing" fender ornaments! 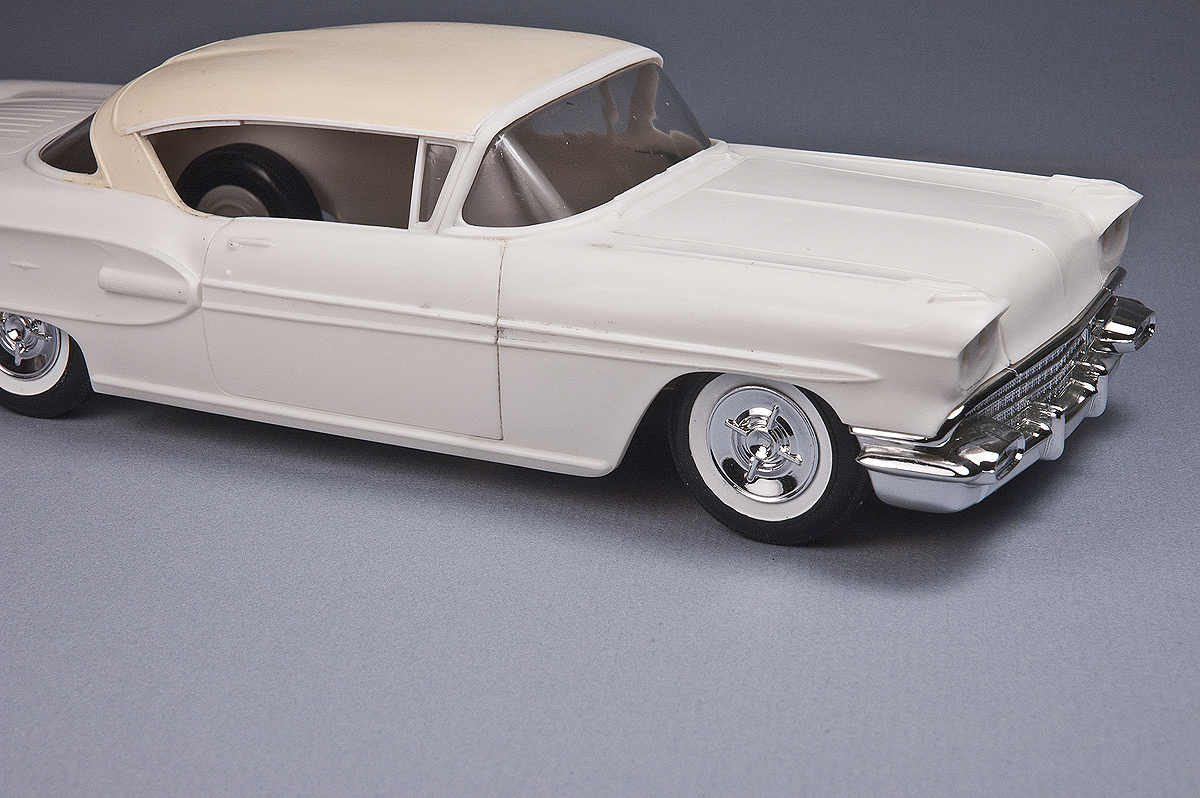 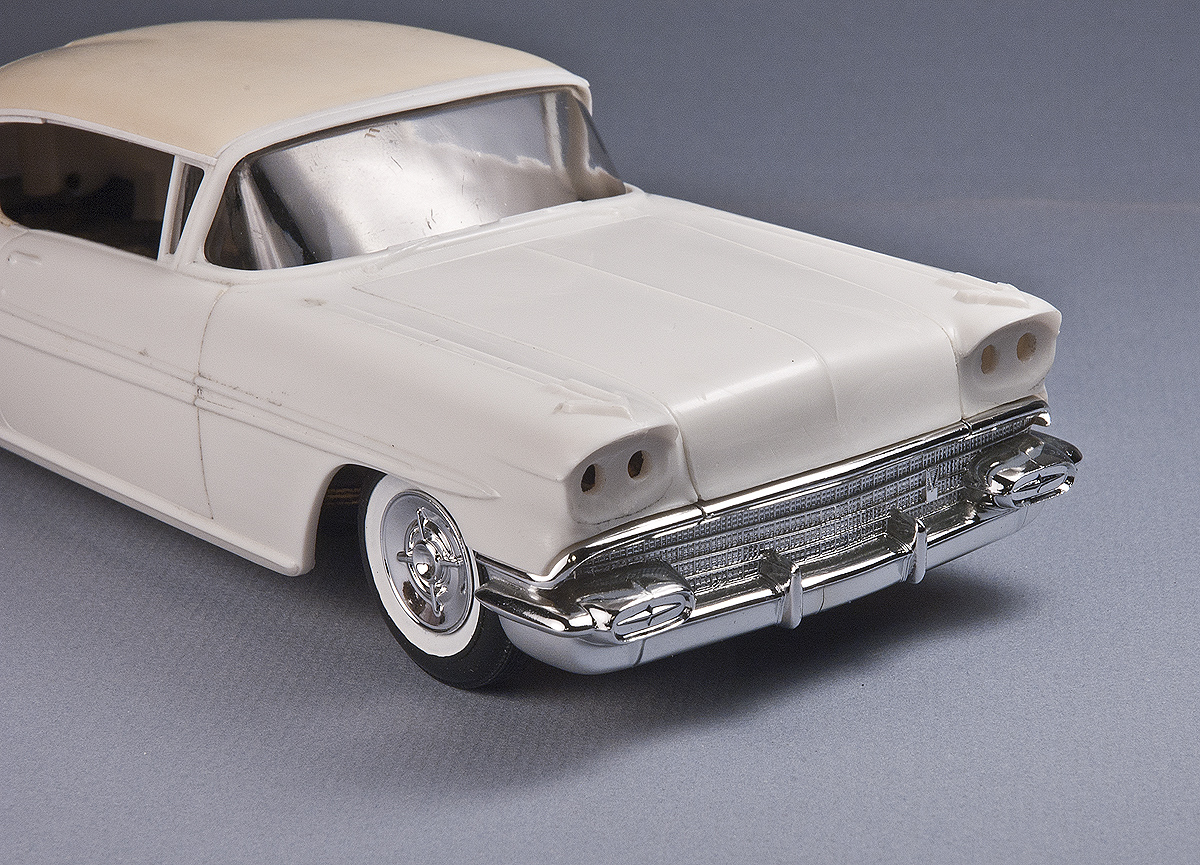 What turned into the most challenging project with my worsening hand and arm tremor was using a Dremel to ream out the molded-in headlights for replacement with lenses from a Monogram (now Revell) '59 Eldorado ragtop kit. These are the most accurate GM quad lenses available, complete with nicely- done fluting and a representation of the Delco T-3 logo. After a little cleanup the housings can go to the plater. Hopefully I'll manage to get the lenses in straight during final assembly! 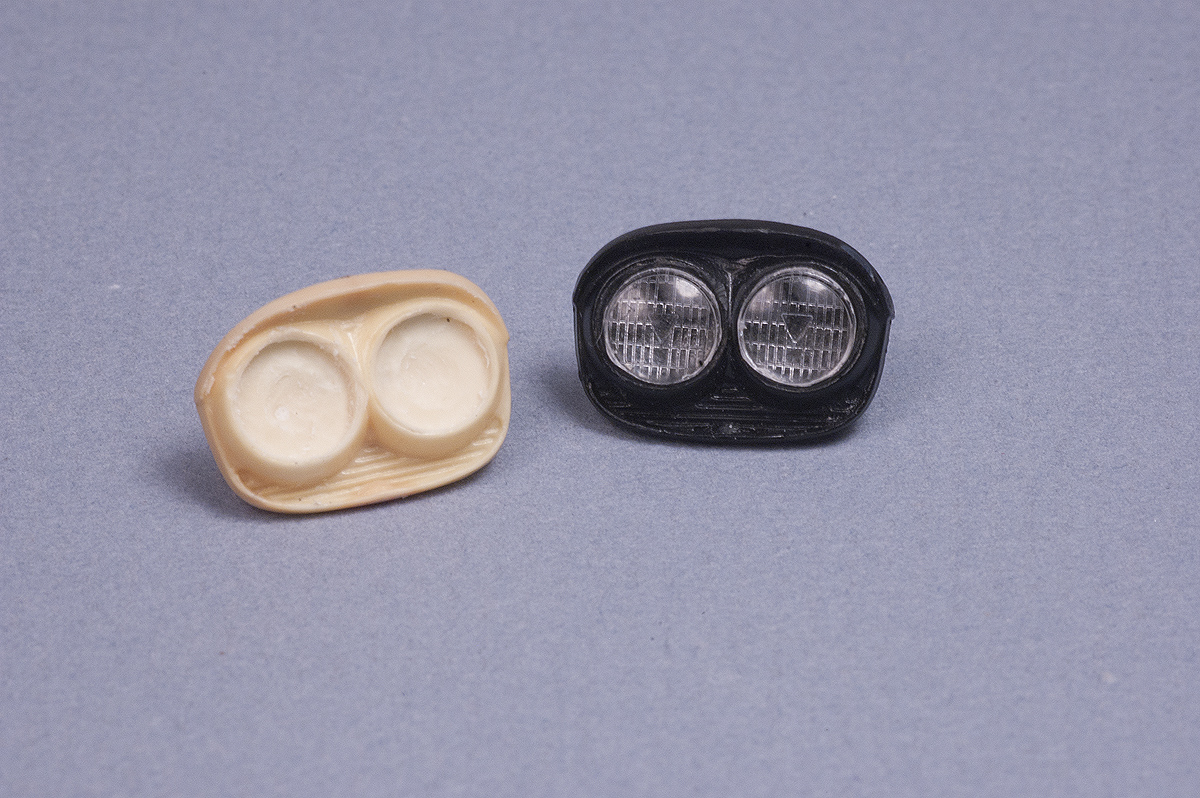 |
|
|
|
Post by Duane on Jul 10, 2014 12:33:12 GMT -5
beautiful work John !!!!...i'm lovin it !!!!
|
|
|
|
Post by dodgefever on Jul 10, 2014 12:36:41 GMT -5
Such attention to detail... your WIP threads are always a treat.
|
|
|
|
Post by steveb on Jul 10, 2014 21:12:55 GMT -5
Looks great! Can't turn back now, try .007" or 010" clear PVC for the windshield. It's able to take bends better than clear styrene.
|
|
|
|
Post by lo51merc on Jul 10, 2014 21:59:49 GMT -5
Stunning. I remember a lady on my newspaper route had a brand new 58 Bonny. I thought it was just about the most beautiful car I had ever seen. One of GM's most beautiful period! Gary
|
|
|
|
Post by froghawk on Jul 11, 2014 10:24:42 GMT -5
Looks great! Can't turn back now, try .007" or 010" clear PVC for the windshield. It's able to take bends better than clear styrene. Thanks for the comments, guys! I'm enjoying this project! Thanks for the recommendation on the PVC, Steve. I think PET (or PETE [Polyethylene terephthalate]) is also more forgiving than polystyrene of being bent to shape. It's the same stuff they use to make water bottles and blister packs. Though I was a bit apprehensive about doing the back window, it was actually much easier than expected. The only other time I'd done a wraparound window was a windshield for AMT's old '62 Corvette, but I think that was such a frustrating process because the windshield frame also needed considerable surgery to be whittled down to somewhere close to scale thickness! |
|
|
|
Post by spex84 on Jul 12, 2014 0:59:18 GMT -5
Looks fantastic! I'm curious to know how you manage to bend a flat sheet of styrene or pvc and hold it in place/glue it down. Looks like you've build a bit of a channel or some corner-pockets to hold it in?
|
|
|
|
Post by froghawk on Jul 12, 2014 11:00:24 GMT -5
Looks fantastic! I'm curious to know how you manage to bend a flat sheet of styrene or pvc and hold it in place/glue it down. Looks like you've build a bit of a channel or some corner-pockets to hold it in?Precisely! The idea is to get it to snap into place and fit in the channel while tension and the corner pockets hold it in place. No glue needed! In some cases one can carve a channel if there's enough material on the inside to be safely removed without thinning the edges too much. Steve Boutte and Juha Airio are the masters of this technique. That wasn't the case here, so I cemented some styrene strip around the inside upper window edge and added short horizontal pieces at the inside bottom corners. You can see the strips in this earlier mockup photo. In hindsight I realize I could have cemented the strips closer to the edge of the window opening for a cleaner, more finished look through the side window opening, however, I'm not usually in the habit of spending a lot of time detailing the inside of the roof on my models, beyond basic painting. Seems like a slippery slope that can only lead to chrome-plated garnish moldings and scratchbuilt vent window latches! 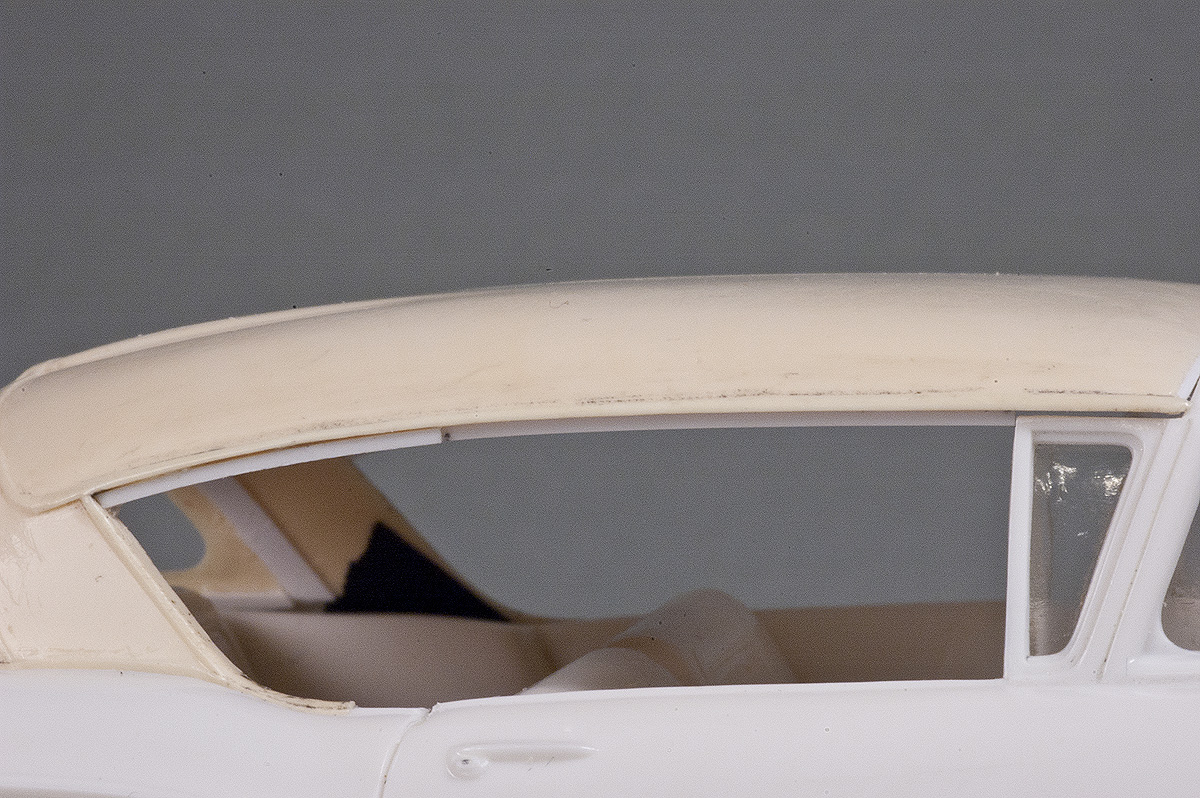 |
|
Deleted
Deleted Member
Posts: 0
|
Post by Deleted on Jul 13, 2014 14:52:55 GMT -5
Thanks John. I always learn a lot from watching your build threads and this one is no exception. Nice work.
|
|
|
|
Post by Bryce on Jul 14, 2014 5:55:18 GMT -5
Amazing and beautiful work as always. What colour/s are you going for?
|
|
|
|
Post by froghawk on Aug 15, 2014 9:49:17 GMT -5
Been tough to get to the bench lately, but did get a little bit done on the Bonneville. Scribed the panel lines where the front fenders meet the cowl... 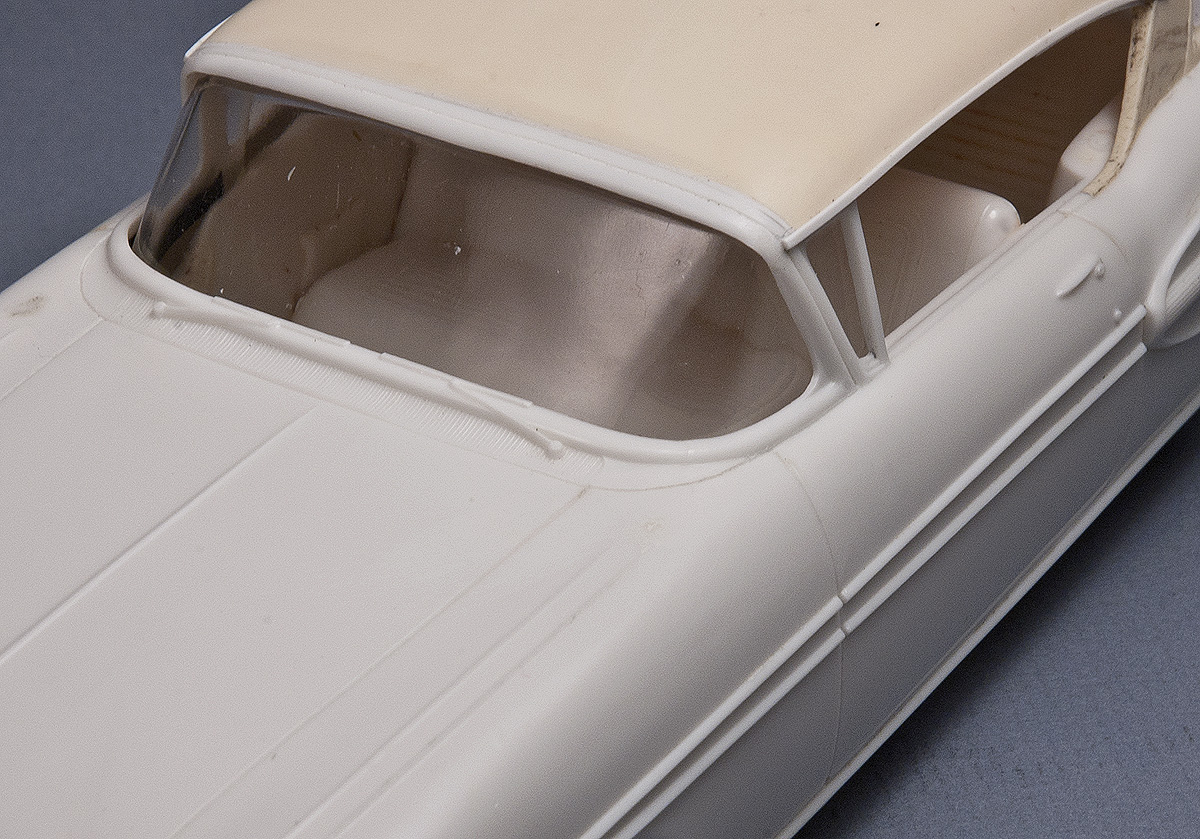 Starting shaving off the fender ornaments... 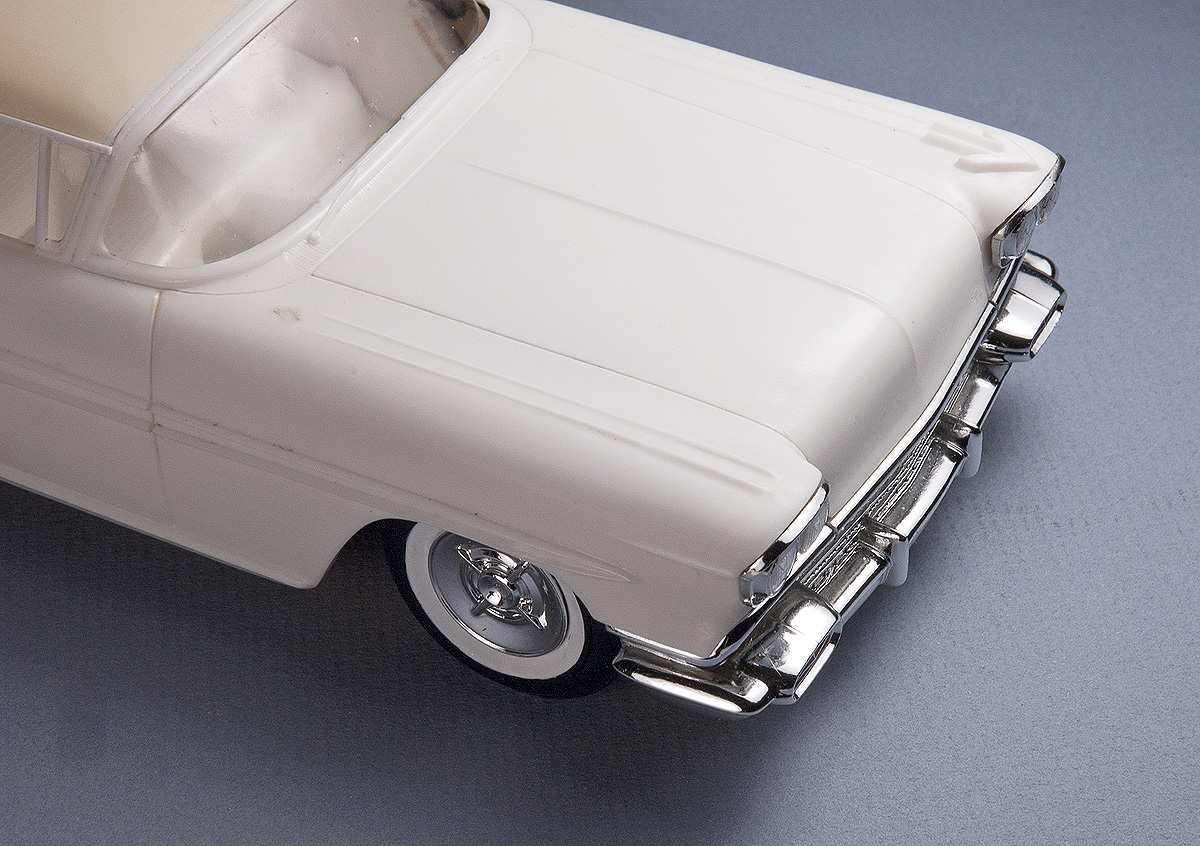 Got the headlights, taillights, and rear bumper back from plating at Little Motor Kar Co... 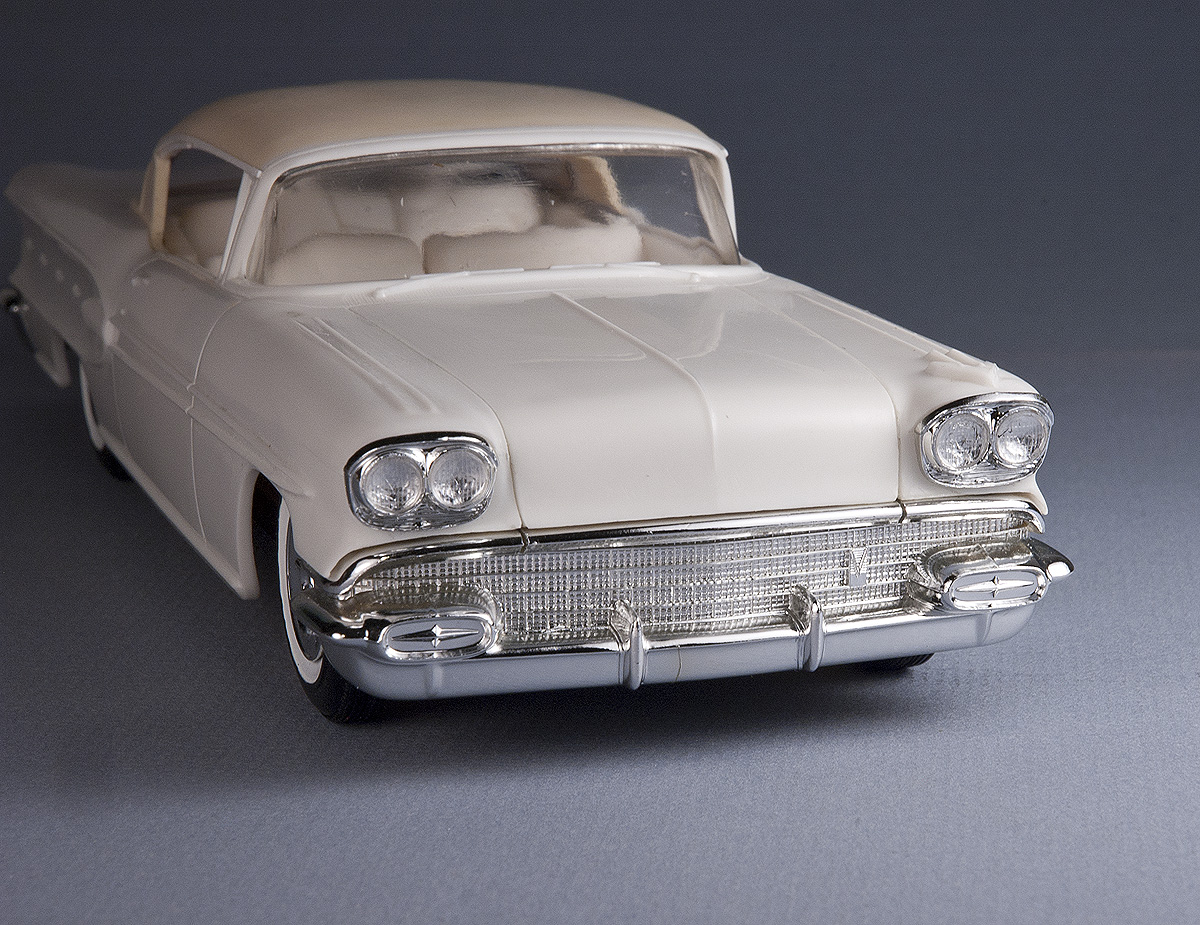 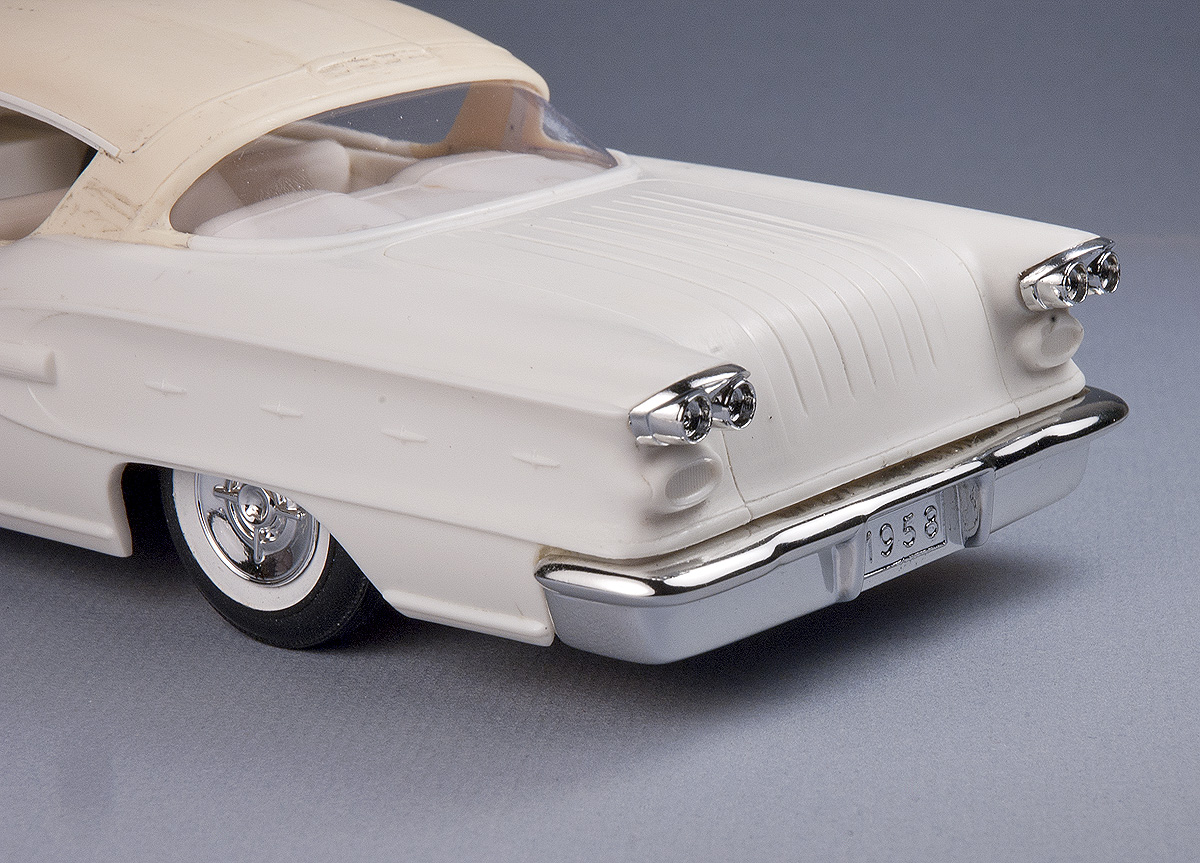 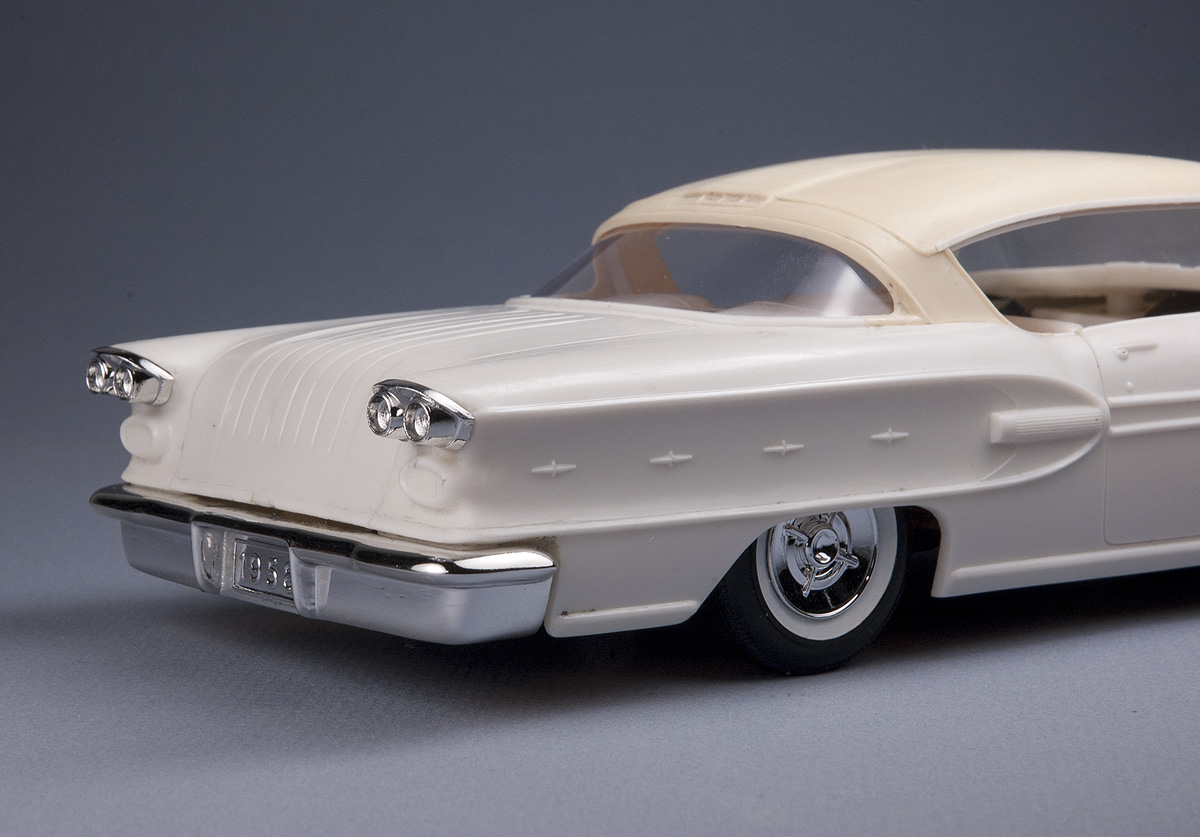 I also had Dale plate the dash and steering wheel to save foiling work down the line! 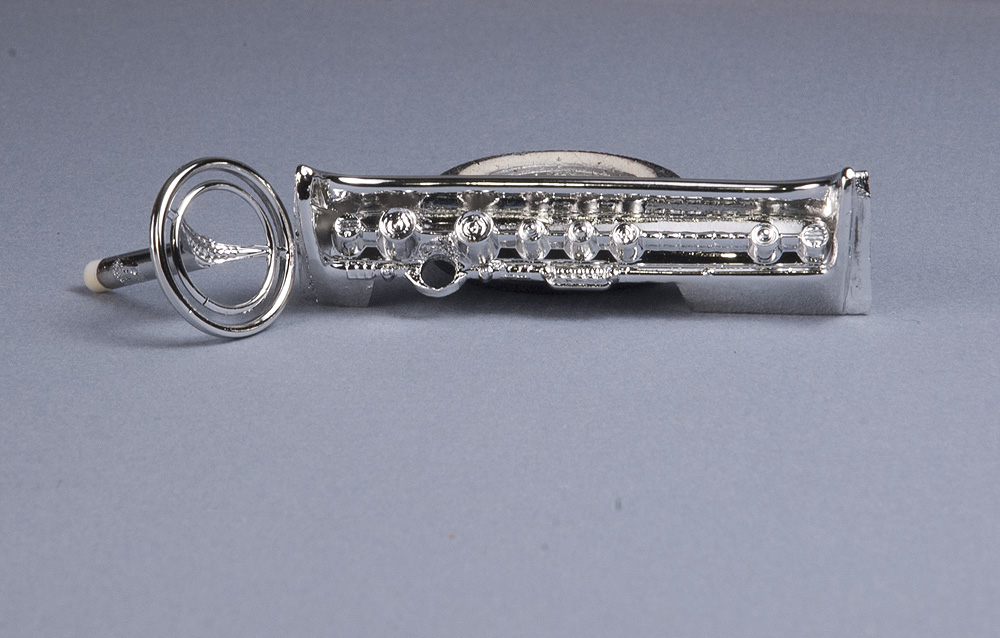 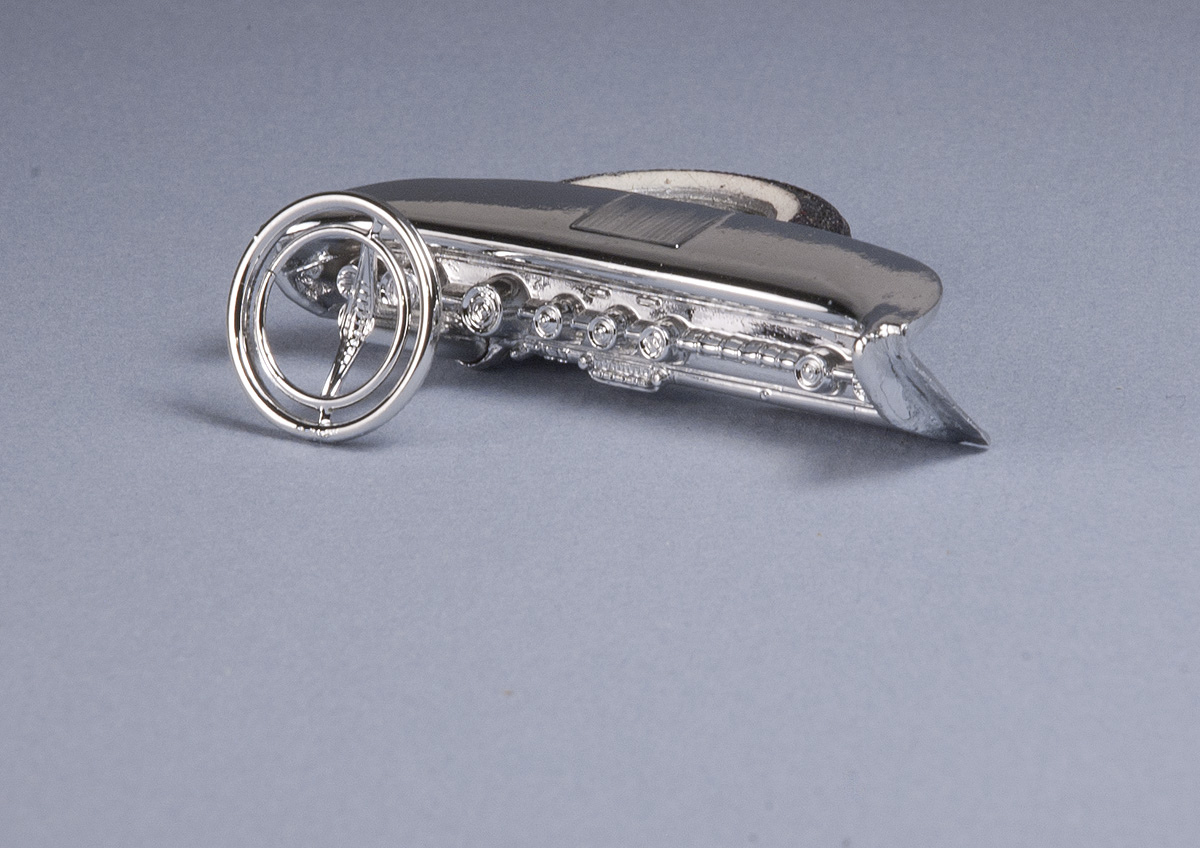 |
|
|
|
Post by mack2856 on Aug 15, 2014 19:39:59 GMT -5
This is going to look soooooo............cool!
|
|