|
|
Post by sharp on Mar 10, 2022 8:58:18 GMT -5
That's a cool looking Kustom.
|
|
|
|
Post by 41chevy on Mar 10, 2022 13:02:35 GMT -5
I rather like this one and the body work on the bubble top inspired by this one, both are pretty TRAK friendly builds as well asa looking pretty cool too! "Kustum Korvettes"! First observation On the Eckler Corvette "wagon', the transition from the stock windshield header to the "B" Pillar, looks rather wonky going downhill through the top of the door glass line. I prefer the look of your Custom Corvette, the way that you have transitioned from the top of the windshield header to the "B" pillar. ABS glue - I think that regular brush on plumbing glue for white ABS plumbing should work. Check with TAP Plastics www.tapplastics.com/ to see what they recommend using on ABS sheet. Not sure what to use to bond styrene to ABS though unless there is some sort of universal solvent somebody knows about. Second observation look at the Eckler Corvette, then look at yours; what I see missing is the rain gutter, which should be continued to the back of the car in wagon like fasion. I think with that little modification to what you already have you will make things pop again! Not to say that some additional fitting and fairing in of the top to the windshield header might be in order, but if the rain gutter were on the top, it would look more better. Third observation I will assume that you did the bodywork with solvent-based filler. If so, this is a case for the nay-sayers over at that other board. (You know, the one with the "Newly Re-Launched Magazine"). Particularly one or two of the self-proclaimed "Ex-Spurts" who know everything there is to know about fillers, composites, resins, or other material mentioned... The ones who claim that you can't use solvent base fillers on custom work, or it will crack off the body!! I have custom work in the collections of others that were built up with solvent base fillers both testers and lacquer spot putties as well as some with CA Glue and Baking Soda, CA Glue and Acrylic powders. Some of these well over 20 - 25 years old, that have yet to crack, the fault is in the "expertise" of the builder not the material being used as the "Ex-Spurts" over there seem to rant on about! I've been told several times that only two-part putties will stand the test of time, even from "Major Ex-Spurt Putty-Slinger" his-self!! (In print!) All I can say, is your bodywork in the raw and the stuff that I've done years ago is living proof that the "Old Techniques" still work as well as stand the test of time. My wife doesn't like the smell of two-part putties, gives her migraines. I use two-part putties, but not often because the odor lingers, then I get in serious trouble!! LoL! Mostly use it in the warmer months either outside or in the garage with the doors open so it airs out quicker. Two-part putties have their uses and drawbacks just like the solvent-based putties do, you just have to work around the short comings of what-ever material you are using. Use what works for you, last I heard, we weren't building models by committee! I just quit arguing with them guys over there, they believe what they believe, and I know what I know from using the techniques that I've used for eons! Bottom line is, build the way you want to build, and I'll build the way I want to build, maybe we can both be happy minding our own business!! LoL! Good Golly, no one even mentioned putty, it's got me all stirred up almost into full rant!! Wow
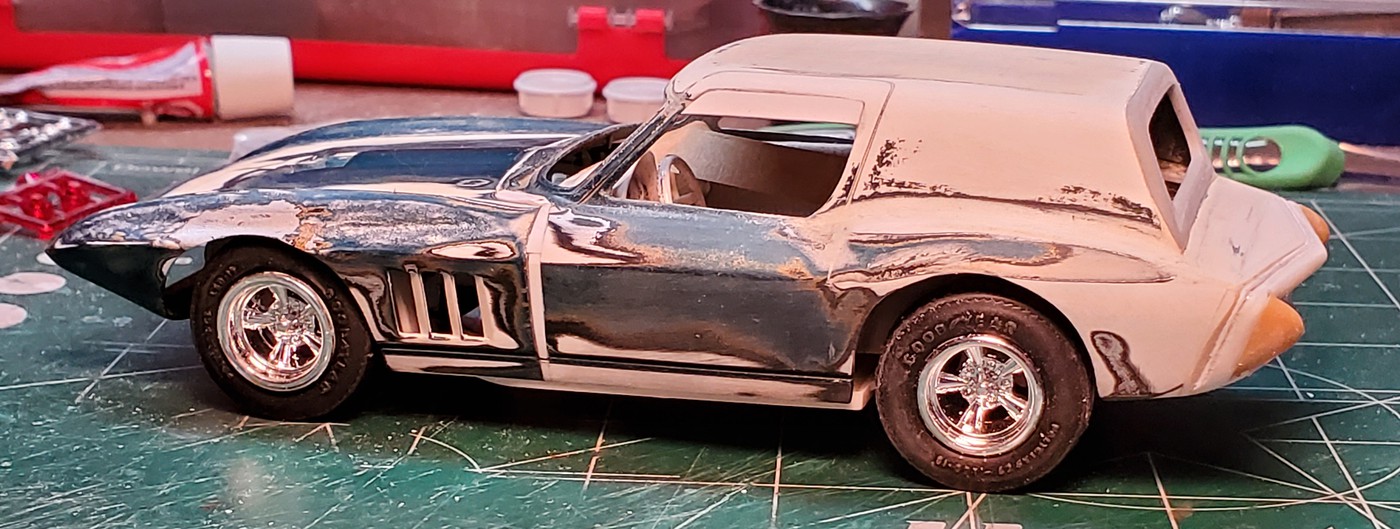
1) PLasTRuct Bondine Liquid cement is good for ABS to ABS and ABS to Styrene. I get it from Walthers but most Hobby Shops have it or can get it.
2) My Aztec body is a mix of Squadron Putty, Bondo, Nitrostan and 2 part epoxy. Some of the work is over 20 years old. Yes the "EX spurt his self gave me the run down of all the things on it that will only last for a few months before "falling off" HAR HAR HAR.
|
|
|
|
Post by 41chevy on Mar 10, 2022 13:12:23 GMT -5
Do the tapered chop!! 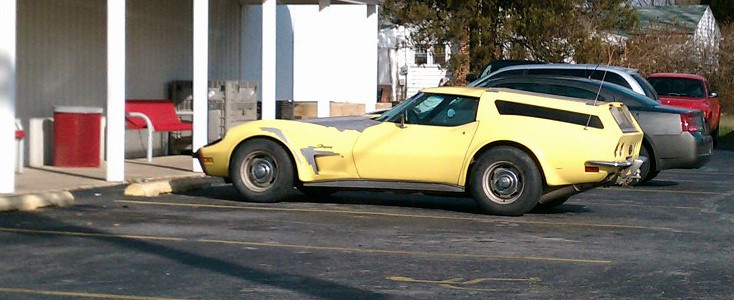 |
|
Deleted
Deleted Member
Posts: 0
|
Post by Deleted on Mar 11, 2022 12:31:07 GMT -5
Mark, your comment regarding the height of the side "windows" relative to the height of the windshield is something I noticed this morning when I posted the pictures here. They certainly are too high. Are you thinking I should reduce the height of the opening? That could be an easy fix with some .062X.125 strip stock. Bingo, instant 3" reduction. Back to you, Mark. Gary Ok, compare the height of the roof at it's leading edge next to the windshield to that of a C3, (68 on), Vette. That height would look about perfect I think. I realize that this is a C2 Vette, but the slope of the roof would best benefit being more like the C3. And reduce the DLO, (daylight opening), of the roof above the doors to that of the top part of the windshield frame & even it up. Right now, there's an awkwardly large gap showing there that doesn't flow with the roof at all. The backlight would look best trimmed out to the area you marked off. Perhaps some half round strene rod of the proper size around the opening, with the backlight "glass" inset there would work well. The overall look of the roof is very nice, it just needs a bit of fine tuning & shaping. EDIT: Gary, I somehow missed your comment about adding the strip styrene. That of course will help a great deal, (thus my mentioning the DLO), but to me the overall crown of the roof looks a bit too high, & that's where I think adapting the roof, (in height), from a C3 will work better, as it's got a lower crown. If you have a C3 kit & a set of calipers handy, you can check that & transfer the measurements to your Vette. From there it's just a bit of sheet styrene away to fix it. Heck, you could even scribe in some T-tops if you desired, or even make working ones! You'll want to lower to entire roof to that height for it to work, but it would look stunning. |
|
|
|
Post by lo51merc on Mar 19, 2022 10:48:55 GMT -5
|
|
Deleted
Deleted Member
Posts: 0
|
Post by Deleted on Mar 19, 2022 11:09:11 GMT -5
Looking damned good! If you cut the shape of the arch seen in the upper part of where you reworked the doors I think you'll have that nailed. New height there is perfect front & back, a gentle arch added there would make it pop.
I'm digging your work on the back end, & removing the flares seems to work better.
|
|
|
|
Post by lo51merc on Mar 19, 2022 12:19:35 GMT -5
Mark, thanks for your suggestions and comments, but I can't quite get what you mean in your first paragraph. Please clarify it for me! Thanks.
|
|
Deleted
Deleted Member
Posts: 0
|
Post by Deleted on Mar 19, 2022 12:48:40 GMT -5
Mark, thanks for your suggestions and comments, but I can't quite get what you mean in your first paragraph. Please clarify it for me! Thanks. No problem. You can see where you added the styrene above the doors, & it's straight. Where you attached it there's a gentle arch showing where the two are attached. Keeping the styrene & the height of the new DLO, (daylight opening), you've created, file a subtle arch in the DLO on each side to open it up just a touch, & getting rid of the straight across lines created with the styrene strip. |
|
|
|
Post by cturner on Mar 19, 2022 13:37:21 GMT -5
Now it's lookin better!
|
|
|
|
Post by 41chevy on Mar 20, 2022 10:00:39 GMT -5
I like your mods to the doors and tailgate, makes it look much better. Full width tail light? Paul
|
|
|
|
Post by lo51merc on Mar 20, 2022 11:24:52 GMT -5
I've been thinking about a full width taillight. Perhaps because I can't come up with anything that looks right between the taillights that I already cut into the rear "opening". It feels like I've boxed myself into a corner. I also don't think I have anything I can use for a new lens.
|
|
|
|
Post by lo51merc on Mar 21, 2022 12:01:56 GMT -5
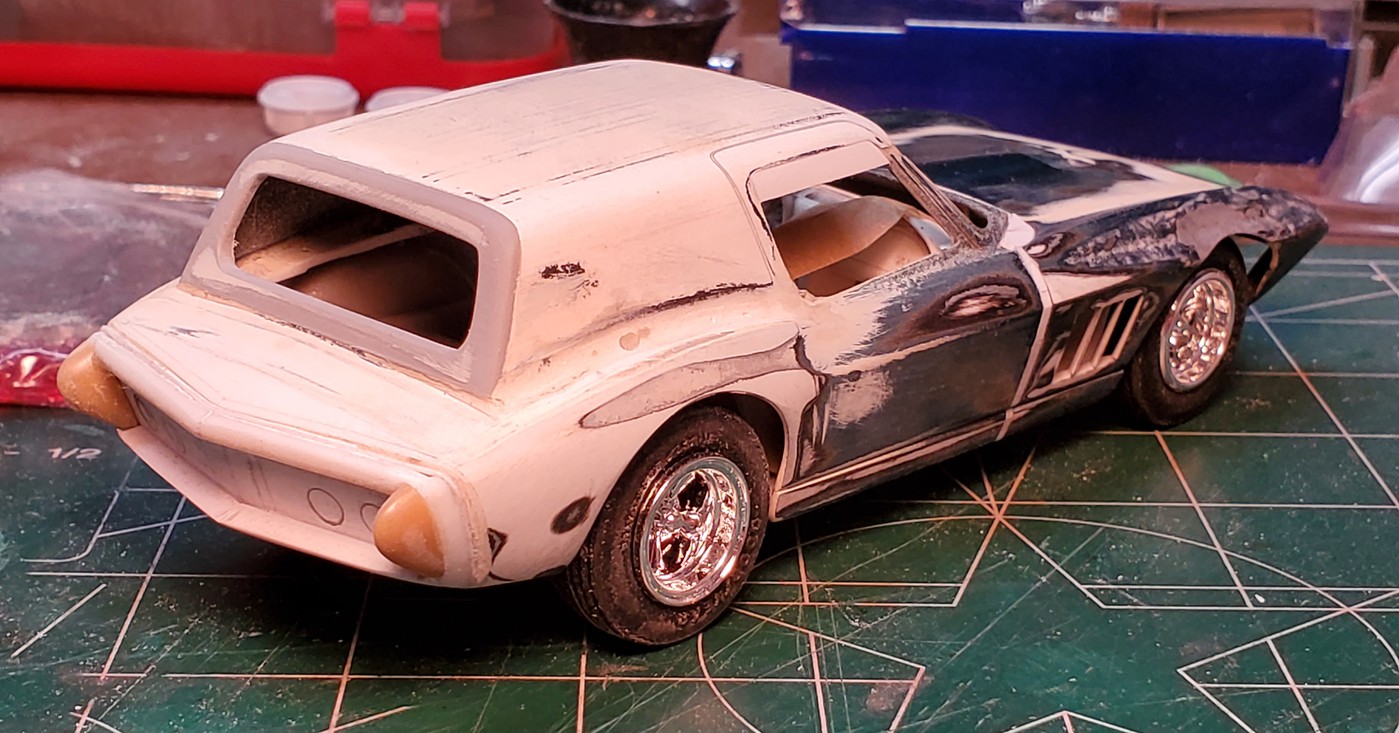
I've opened up the side windows to where they belong, and also added the slight arch to the top of the openings as Mark suggested. What's not clear in the first picture, because I took the picture from above the beltline, is that I have been working on lowering the crown of the roof above the windshield frame. 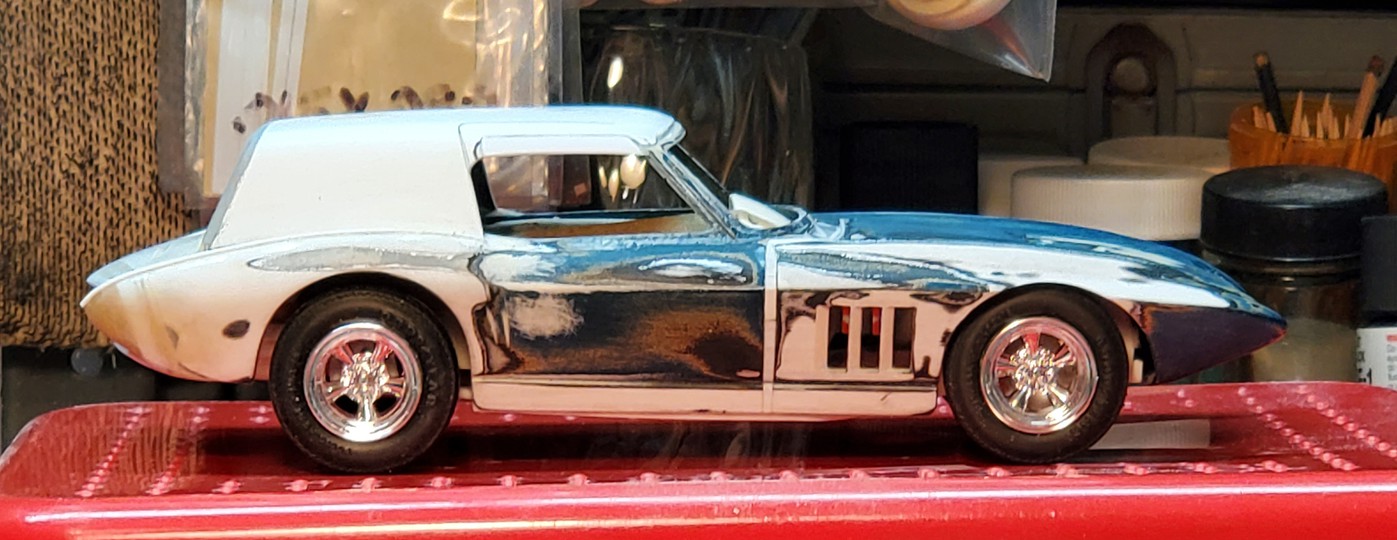 Hosted on Fotki Hosted on FotkiNow for the part I really don't like, and am really at a loss as to how to proceed. Paul suggested a full width taillight but I have not found anything for that yet. 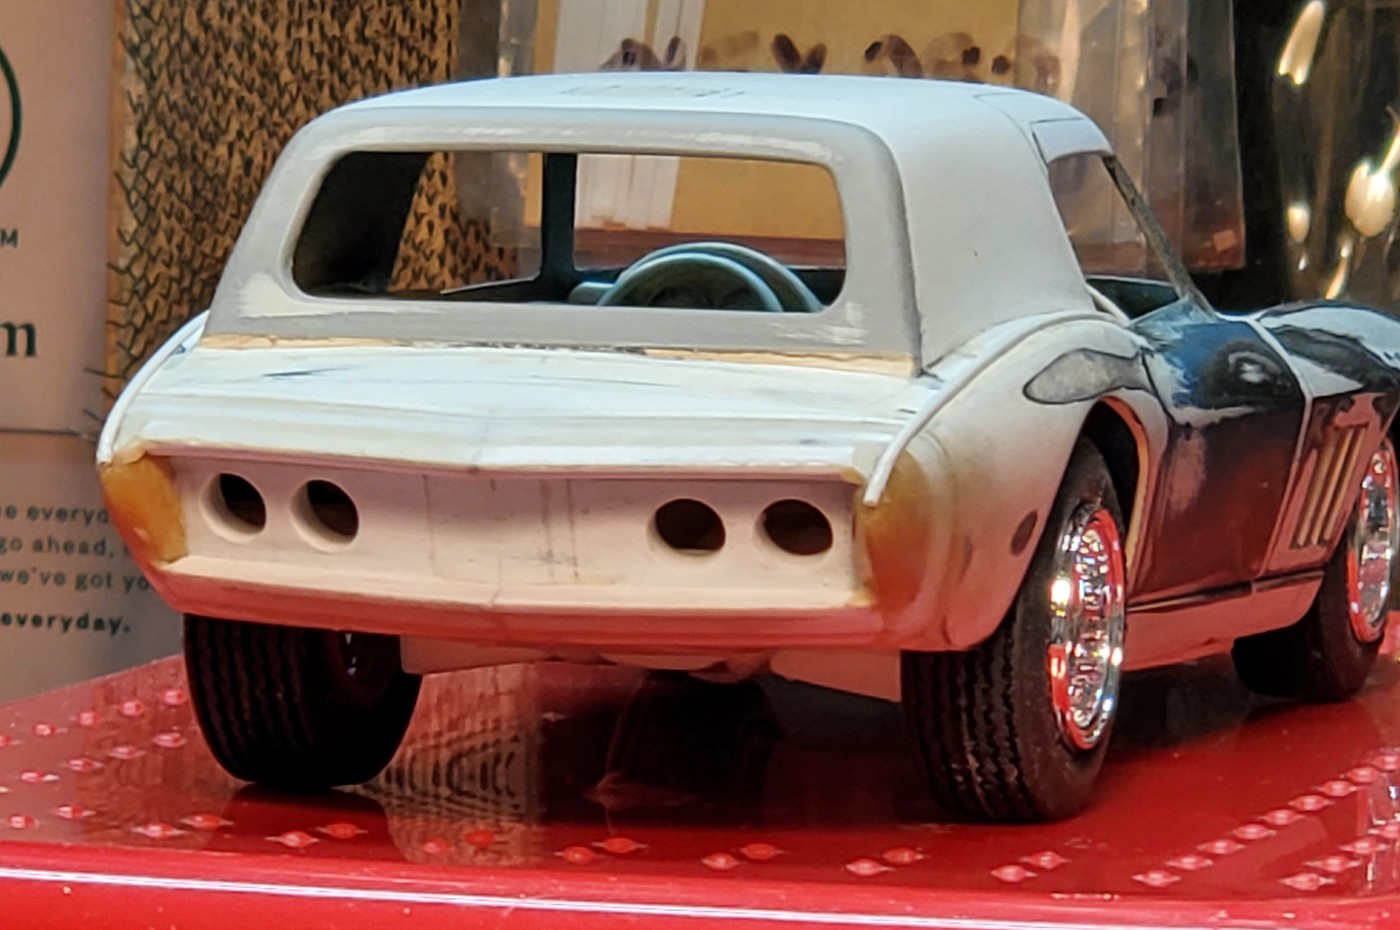 Hosted on Fotki Hosted on FotkiAnother issue back here is the rear window shape. It's all wrong and just fights with the shapes of the rear of the body. The window panel is ABS and I could probably pop it off easily and start over with a styrene replacement. That's a strong possibility, but then the shape of the window?  ? Gary |
|
|
|
Post by 41chevy on Mar 21, 2022 20:09:51 GMT -5
I use clear 15 minute epoxy tinted with Tamiya red over chrome foil, you could also use clear red acetate from Staples or other business supply.
As for the roof issue, how about a set of 1968 to 1972 El Camino style shallow buttresses? Paul
|
|
|
|
Post by lo51merc on Mar 22, 2022 12:40:04 GMT -5
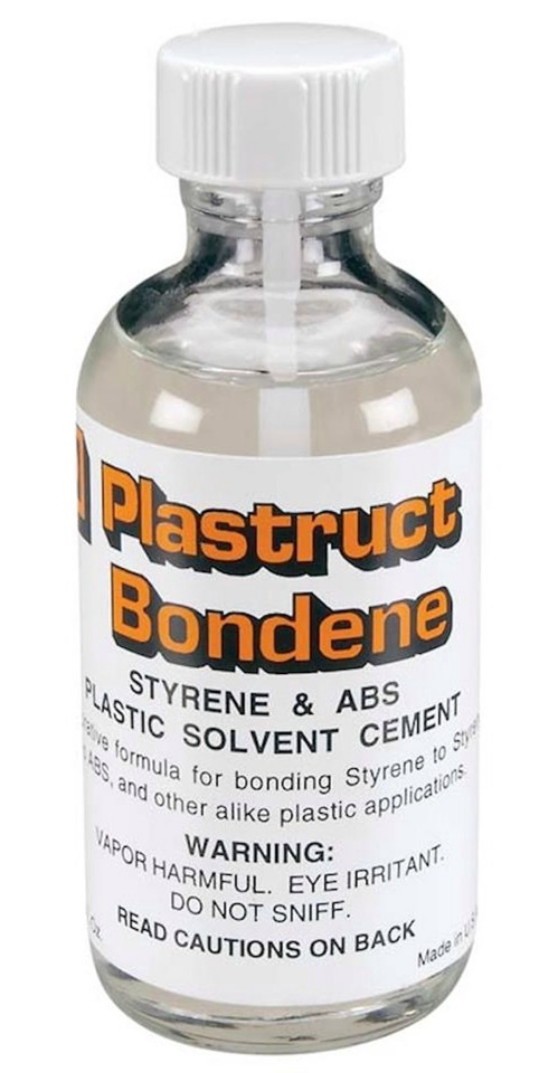
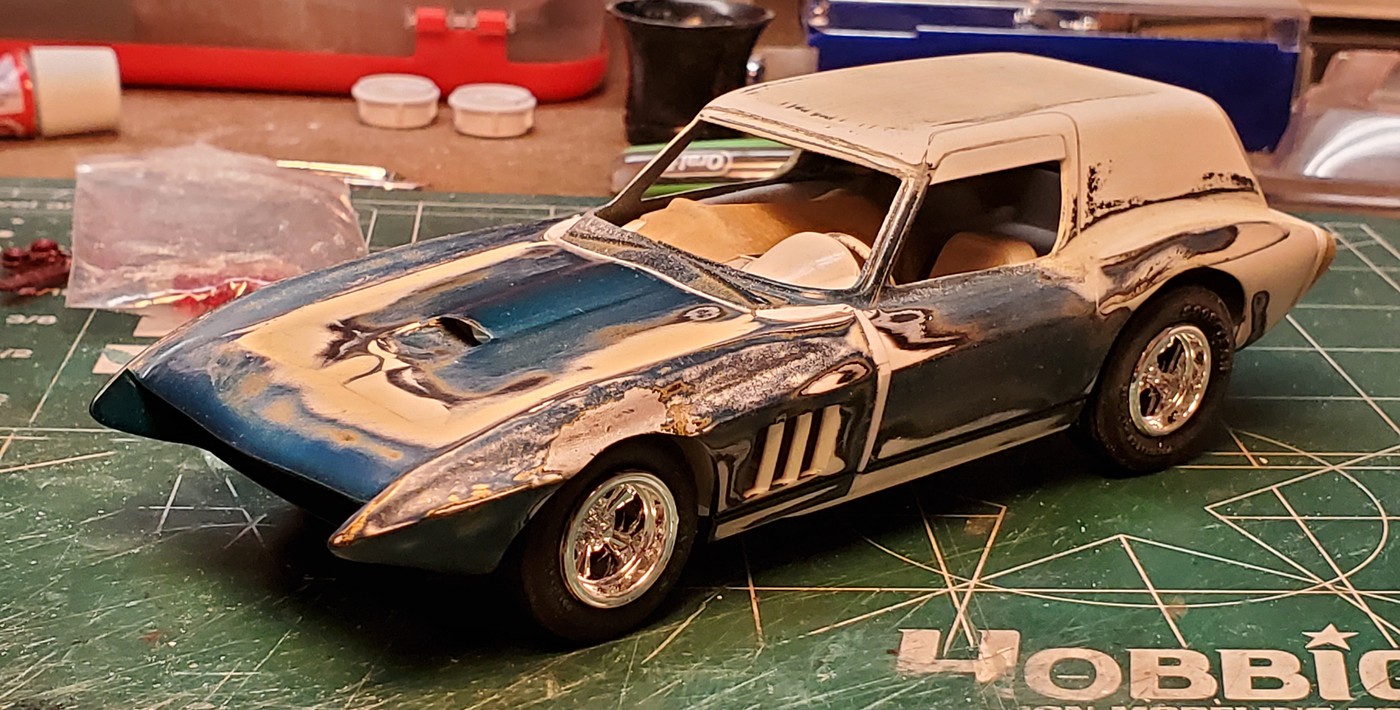
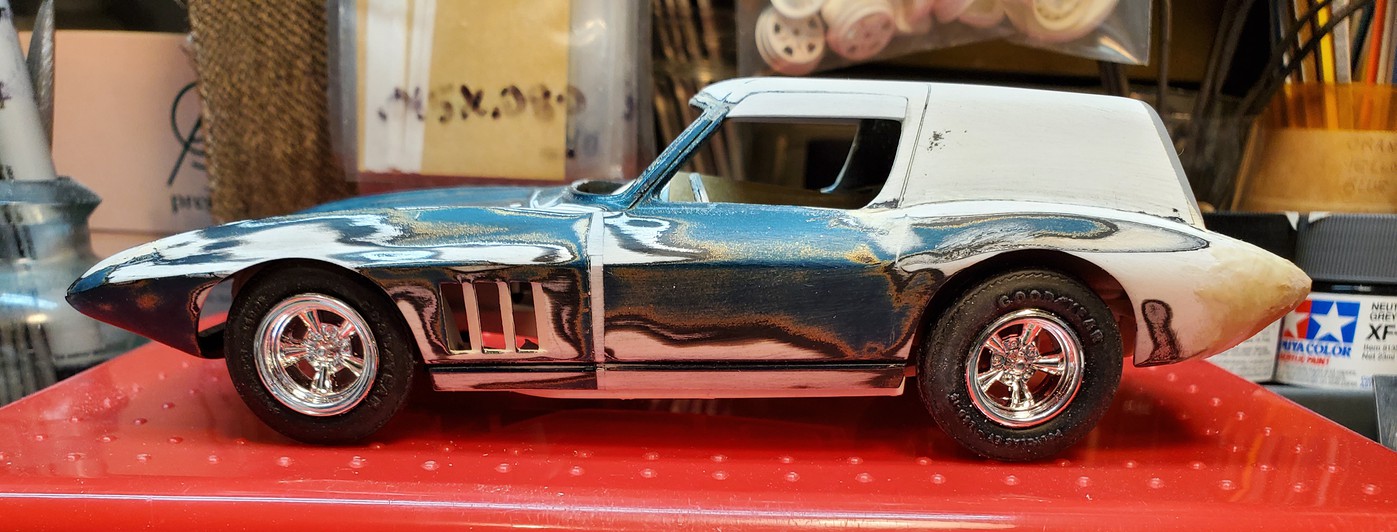
I've been constantly looking through my junk, for what I didn't know. This trunklid faired in license plate piece somehow popped into my head as something I could integrate into the tail section here. So out came the files and after a while it fit in as tight as OJ's glove. I like the look, and the taillights will be framed all around now. I had been thinking about adding some sail panels, still in consideration right now. We'll see. I lowered the camera (phone) to get a better side view where the leading edge of the roof has been cut down. Better I think. 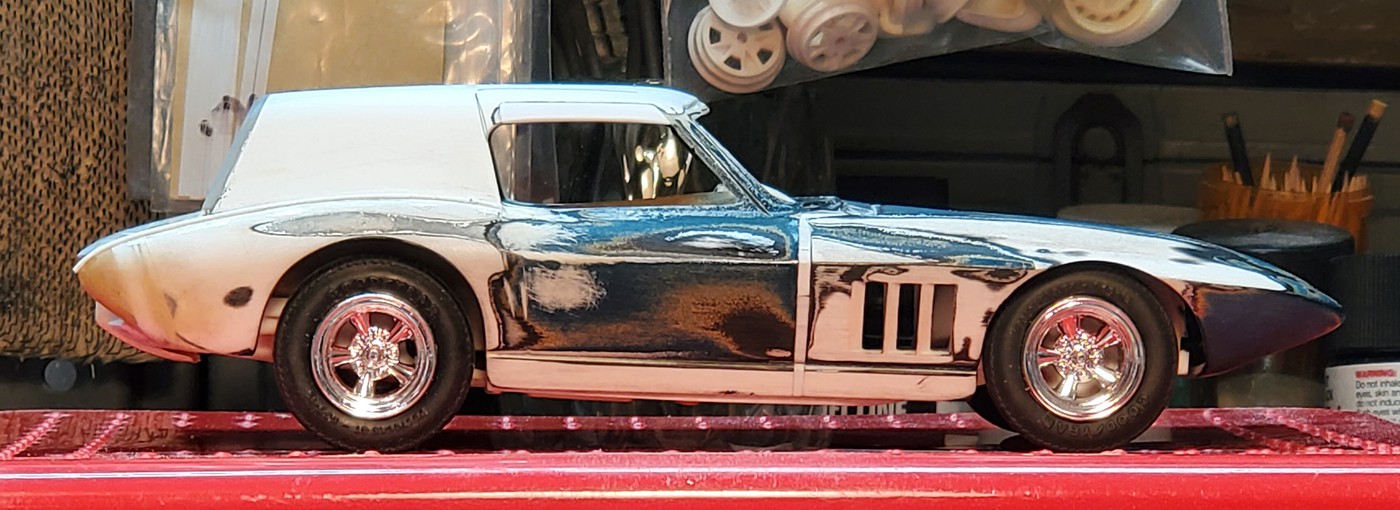 Hosted on Fotki Hosted on Fotki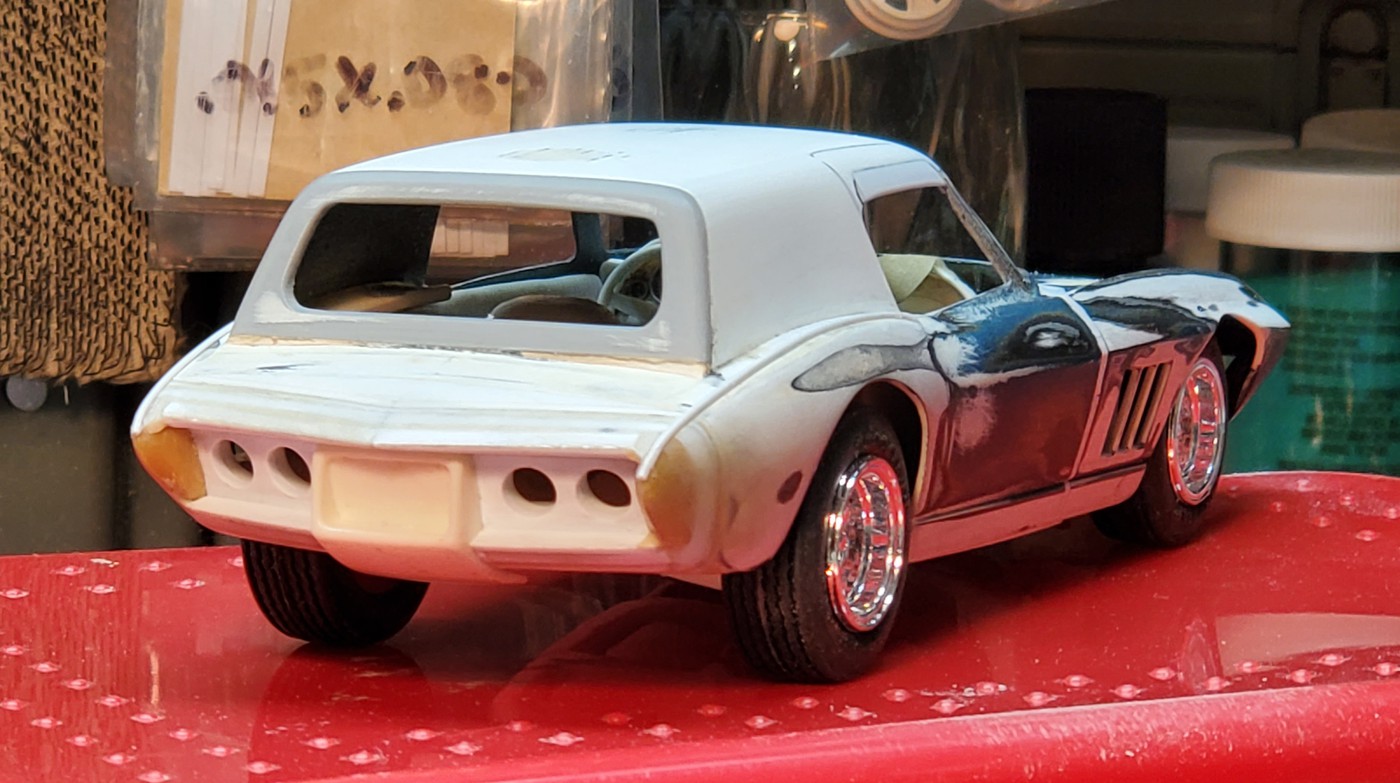 Hosted on Fotki Hosted on FotkiYou guys can see I've been listening to your suggestions. They're a part of this model now. Thanks, Gary |
|
Deleted
Deleted Member
Posts: 0
|
Post by Deleted on Mar 22, 2022 14:03:01 GMT -5
That license plate fairing works great. I like the idea of sail panels, but the height of the back of the roof & the shortness of the deck makes me think you're gonna have to make the cut down extremely sharply from the roof to the deck & that might look too jarring. Let's ruminate on this; take the roof all the way back to the rear, maybe leave 1-3 millimeters between the bottom of the hatch & the trailing edge of the body, (1 millimeter equals 1 scale inch in 1/25th), & as you extend the roof backwards, taper it from where it is now to the new back edge of it 1-3 millimeters from the height where it ends now. Lean the hatch in a touch, (again about 1-3 millimeters), at the top. You've got the leading edge of the roof looking really good BTW! No only do I, (& the rest of us as well, I'm sure), appreciate the fact that you've incorporated our suggestions into your build, I, (& again I'm sure everyone), appreciates the fact that we can give suggestions & constructive criticism here, & have it taken in the positive spirit that it's made in. Can y'all imagine if we'd been doing something like this at MCM or in one of the Facebook modeling groups? Anger, tears & chaos would ensue! This place rocks! Not to hijack your thread, but this is making me wanna dig out the 63 Vette custom I'm working on. Here's the link if you're curious: trakinscale.proboards.com/thread/18520/99-trakable-caseI've done more work & taken more pics since posting that, so when I get it back out, I'll start a thread on it. Great work Gary! |
|


 ?
?