|
|
Post by Greg Pugh on Dec 8, 2017 14:51:50 GMT -5
And that is where it's at as of now. I will continue to post updates as they unfold. Thanks for watching.
|
|
Deleted
Deleted Member
Posts: 0
|
Post by Deleted on Dec 8, 2017 15:28:33 GMT -5
Looking good so far. I like the front and rear styling you've done with it and the T-Bird scoop looks great. Somewhat amazed at how relatively clean that body was underneath all that "stuff"!
|
|
|
|
Post by constructionbob on Dec 8, 2017 16:03:39 GMT -5
Tnx. Talented design and tool skills!
|
|
|
|
Post by kustom on Dec 8, 2017 16:03:47 GMT -5
Nice work!
|
|
BUCKY
Hoodlum
 I can't find my glue!!!
Posts: 199
|
Post by BUCKY on Dec 8, 2017 17:51:36 GMT -5
It's definitely looking much more refined, now!!
|
|
|
|
Post by spex84 on Dec 8, 2017 18:28:39 GMT -5
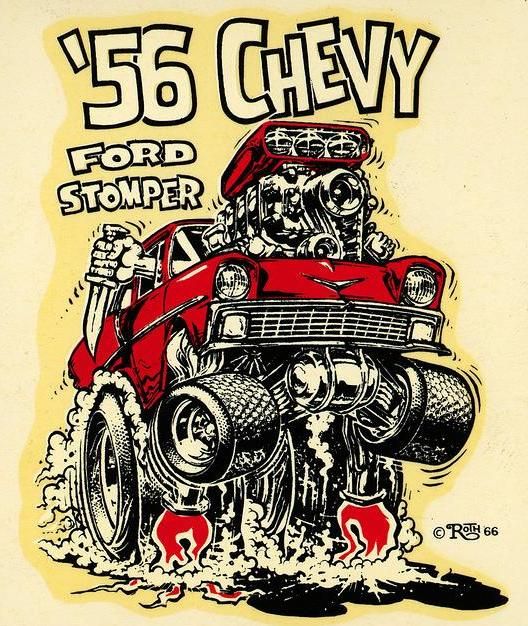
Way cooler now! I too am amazed at how the original body was intact under all that mud!
The Tbird hood scoop is a nice touch. That blue is going to be stunning.
|
|
|
|
Post by randfink on Dec 8, 2017 20:09:42 GMT -5
I am seriously loving this. Can't wait for more updates!
|
|
|
|
Post by lo51merc on Dec 9, 2017 10:36:41 GMT -5
This is a very cool ride. I really like the 'Bird scoop on the hood. Really looks like it belongs there!
Gary
|
|
|
|
Post by Mr. Metallic on Dec 10, 2017 18:49:08 GMT -5
The mods you’re making are very cool. Nice rescue
|
|
|
|
Post by gearface on Dec 10, 2017 20:49:49 GMT -5
The T-Bird scoop on the hood is absolute genius. This is shaping up to be a a really cool model.
|
|
|
|
Post by Greg Pugh on Dec 11, 2017 11:37:21 GMT -5
Thank you all! I hope to be able to spend some time with it this week.
|
|
|
|
Post by Greg Pugh on Dec 14, 2017 17:15:06 GMT -5
After removing all of the putty that the original builder put on the body, I was left with these holes right behind the doors on both sides. I could easily fill them but I thought it would be cool to french in dual stubby antennas instead. I'm sure there are a 100 ways to do this but this is how I did it. The original hole: 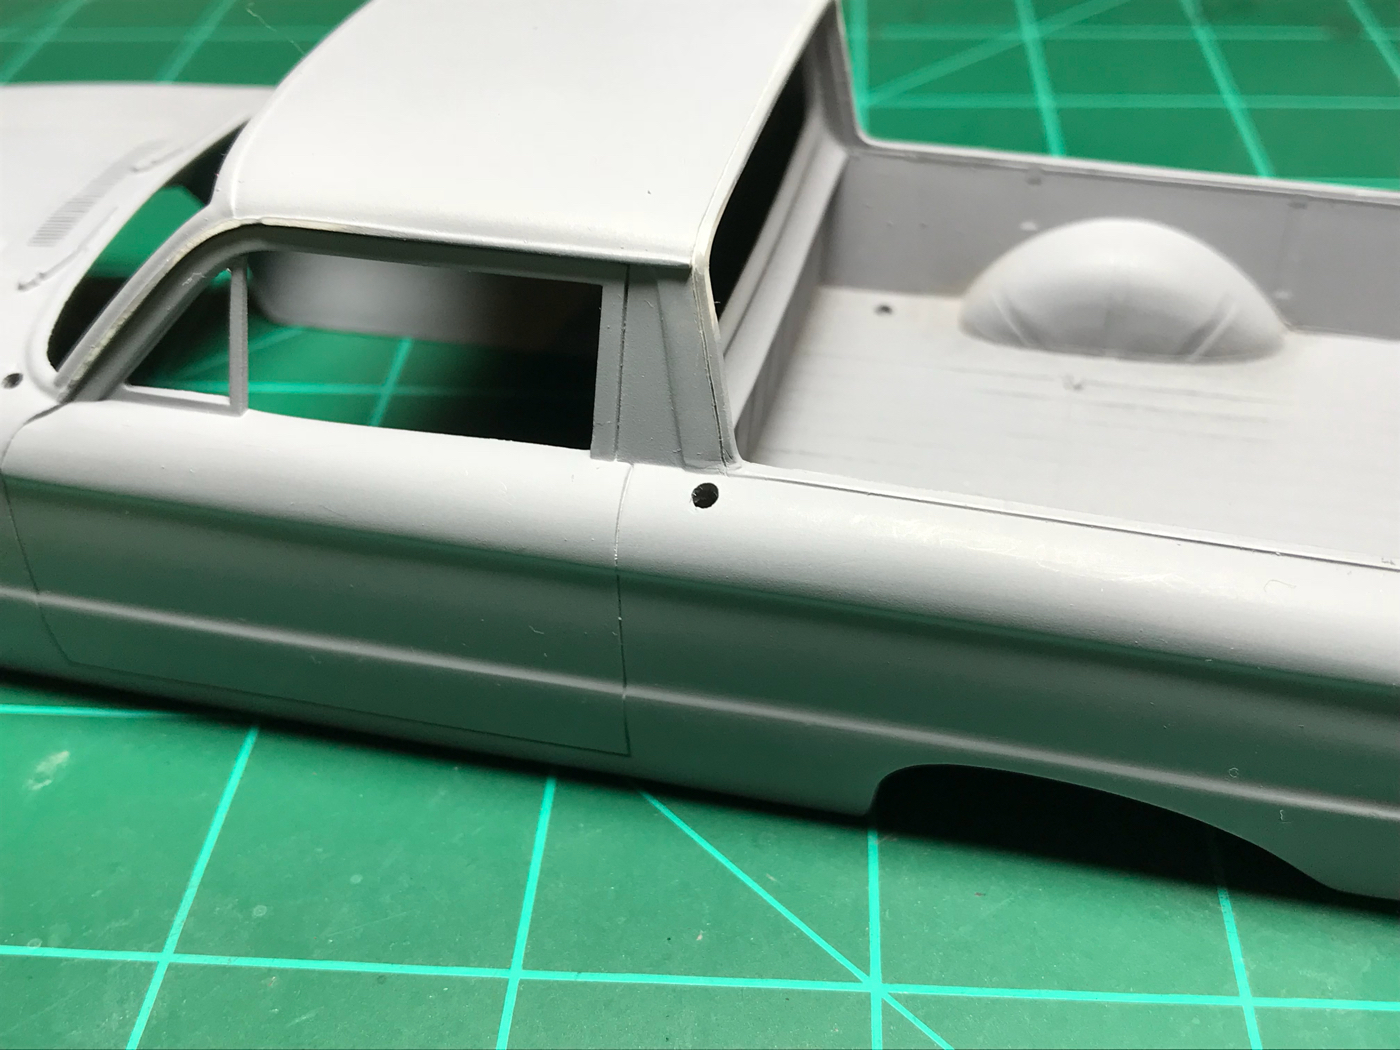 I had to make the hole just a tad larger and then inserted this styrene tube I had. The tighter the fit, the better 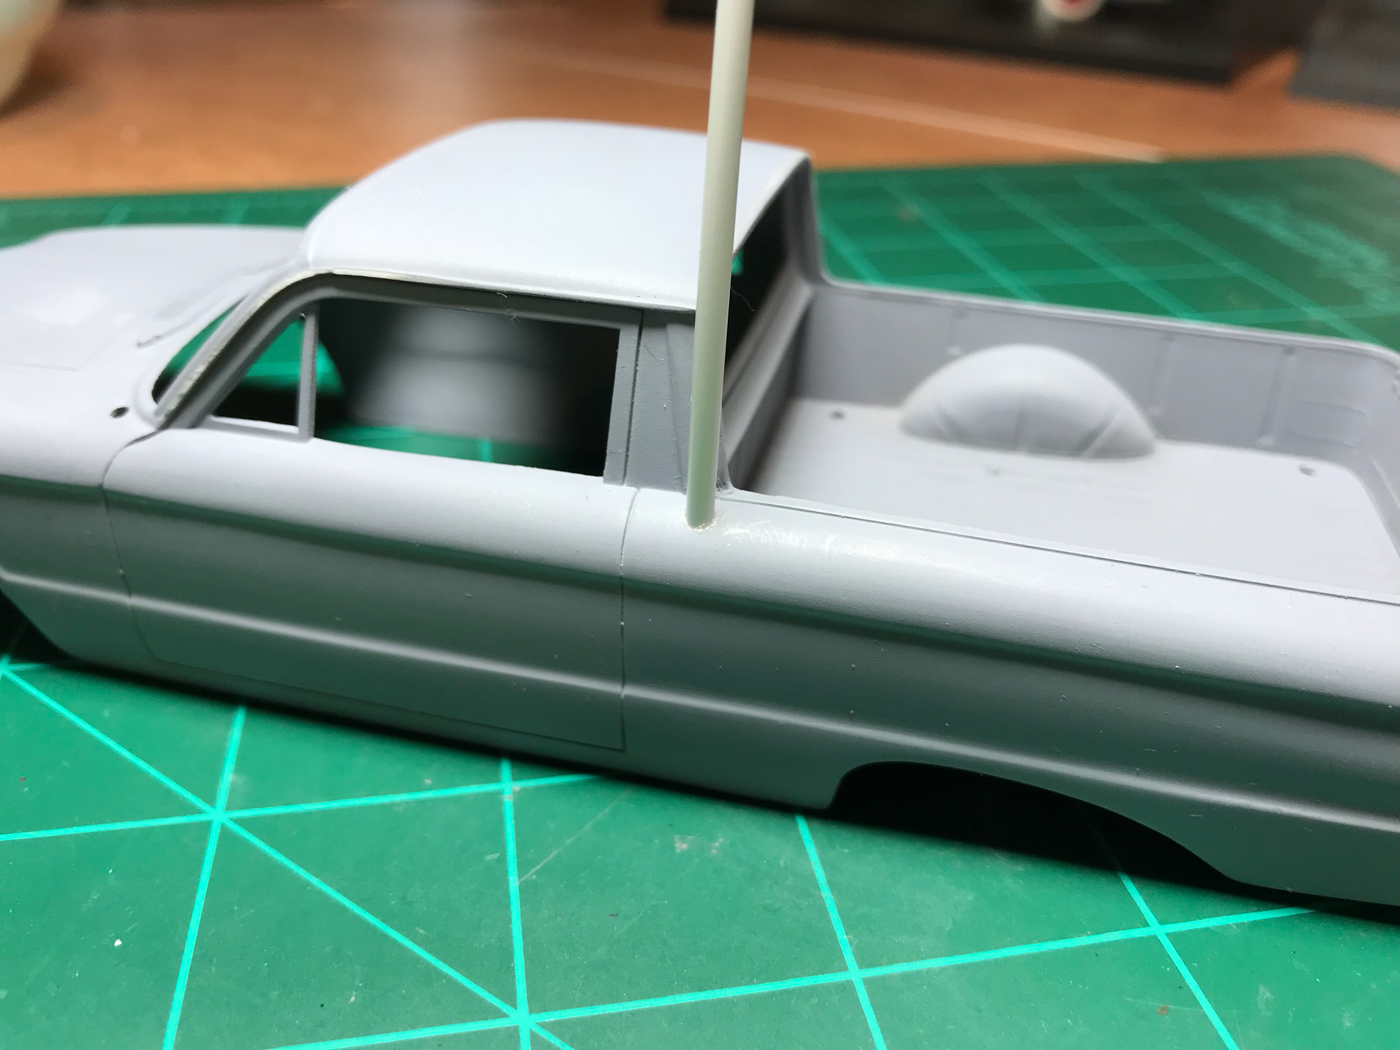 I pushed it through the bottom far enough that I could attach sheet styrene to the bottom of it.  Then I pushed it back up through and glued it in place.  The combination of the snug fit of the styrene tube and CA glue makes for a seamless joint. After sanding and primer, this is the result.  |
|
|
|
Post by krassandbernie on Dec 14, 2017 17:57:57 GMT -5
Looking good Greg! The dual antennas will be a neat touch!
|
|
BUCKY
Hoodlum
I can't find my glue!!!
Posts: 199
|
Post by BUCKY on Dec 14, 2017 22:52:45 GMT -5
I like that idea!
|
|
|
|
Post by dodgefever on Dec 15, 2017 19:05:09 GMT -5
This is great - keeping the original vibe but improving on the appearance and build quality. I can't believe how cleanly that stripped off, especially with all that putty plastered onto it.
|
|