|
|
Post by Greg Pugh on Dec 8, 2017 13:44:01 GMT -5
So I started this build back in May but totally neglected to post any of it here for whatever reason. There has been quite a bit of progress so I'll just get started. I happened upon this poor '61 Ranchero in a vintage kit score I purchased. I took it to a club meeting because I thought it was cool to see somebody's unfinished custom from back in the 60's, but I also wanted to offer it up to anyone in the club that wanted to take on the challenge of finishing this bad boy up! No one stepped up. And I can't blame them! Lmao! I was literally walking it to the trash can the next morning when the voice in my head ...said "Oh hell..." There was something about it that spoke to me. I can't really explain it. So in the tank it went and I'll be danged if it didn't clean up pretty good! The plan is to follow the original builder's vision but to do it up right this time and add a couple of things here and there. I feel like the original builder had a cool enough design in mind but lacked in the execution department. Lol Here are some pictures of what I started with and also right after it went for a swim in the pool:  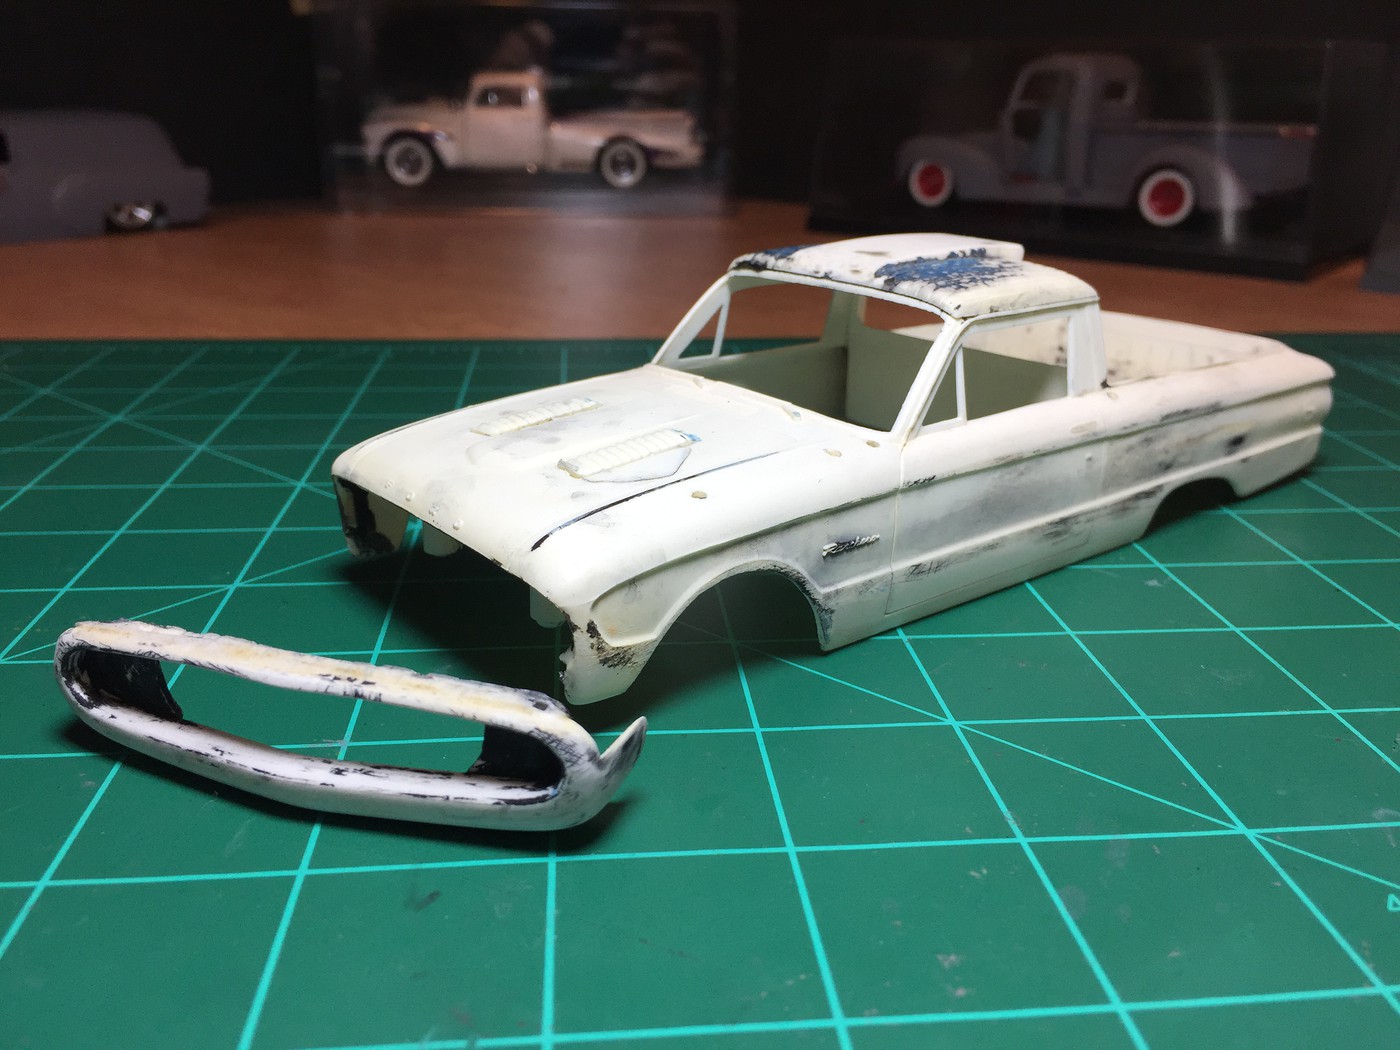 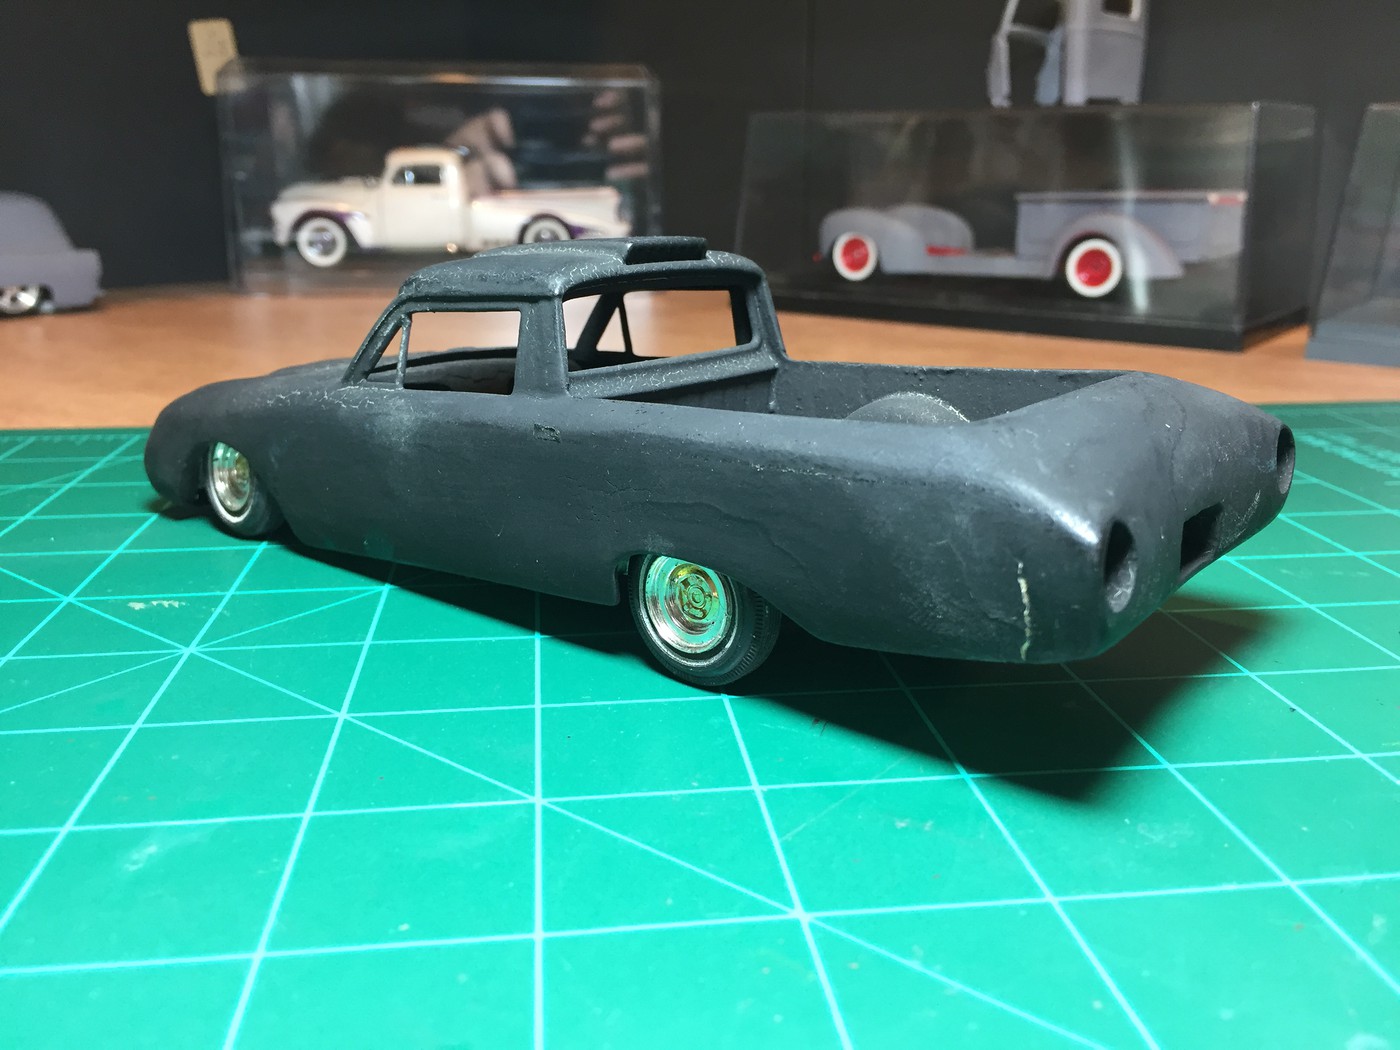  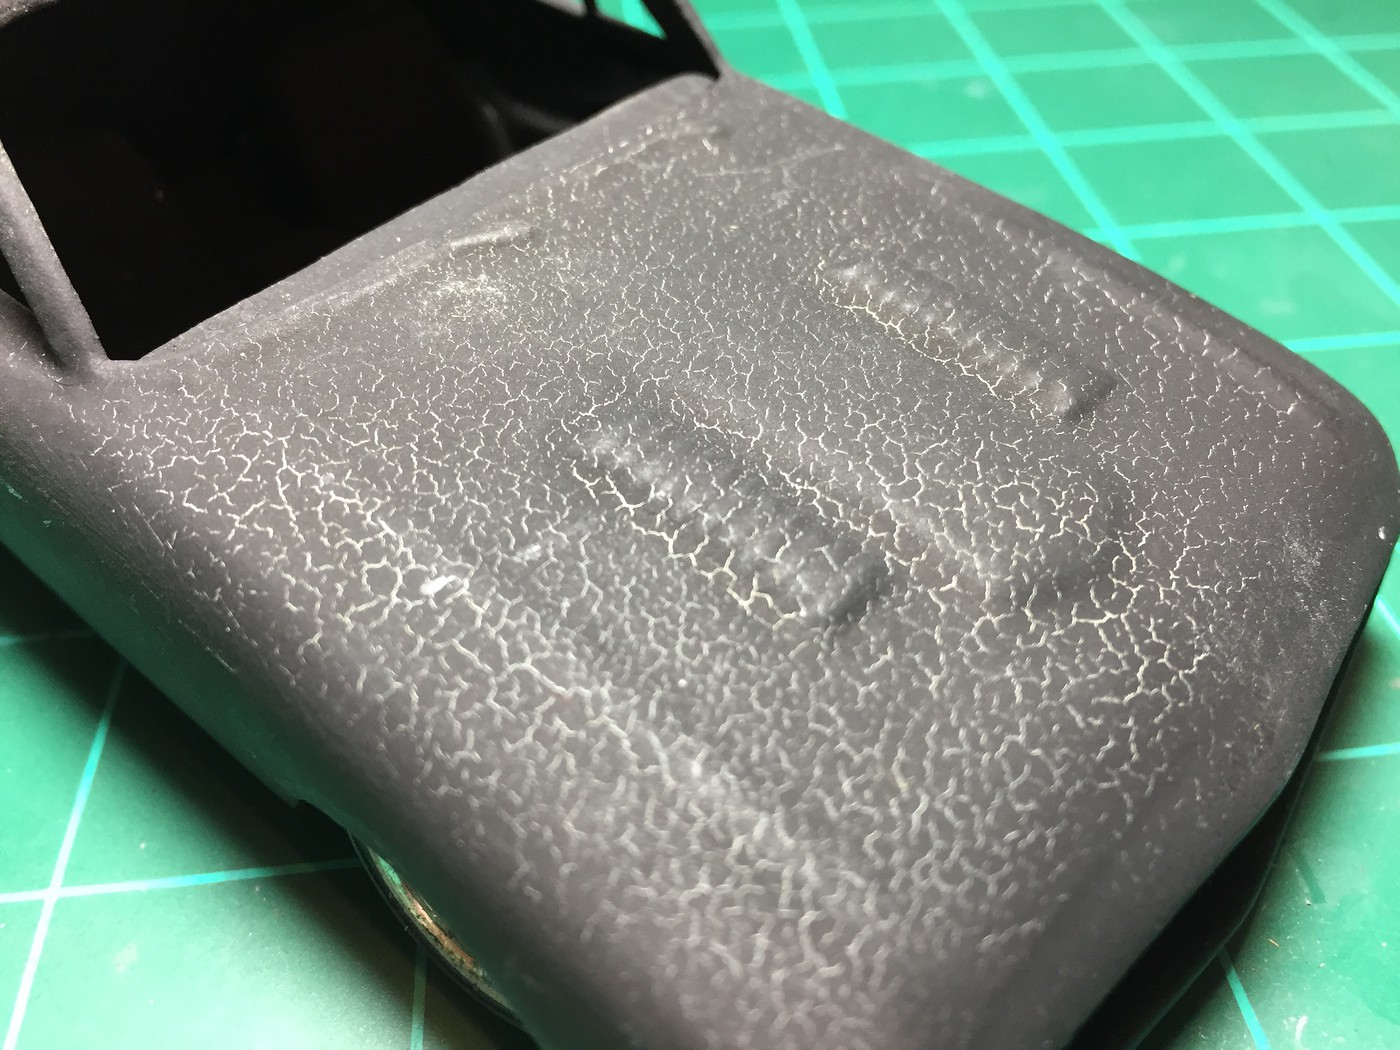   |
|
|
|
Post by Greg Pugh on Dec 8, 2017 13:47:56 GMT -5
The front grille piece is from AMT's '57 Chevy and the rear piece is from a '61 Thunderbird custom option I believe. They were both wider than the Ranchero body by a good 1/4" on each side if that gives you any idea how much putty they used! They completely smoothed the sides out to where I didn't see any of the coves on the sides, door handles, scripts...nothing! There must've been a good quarter of a cup of mud-like putty at the bottom of my container when I pulled this poor thing out! In this picture, you can see how the front grille/bumper was married to the car. The sides protruded out from the fender. That wasn't going to work.  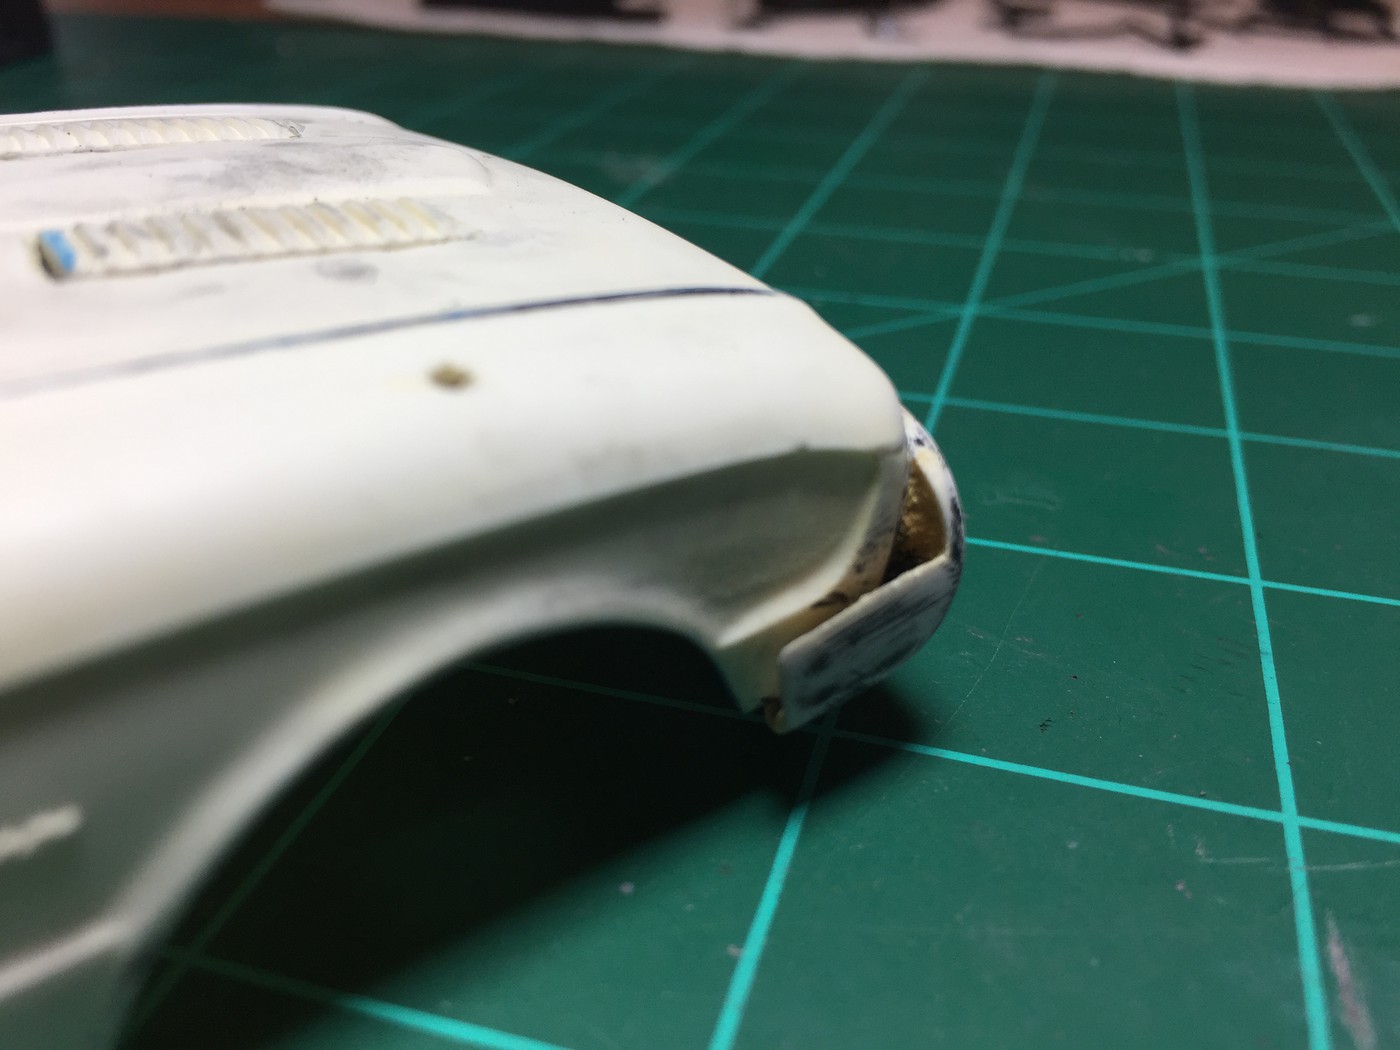 |
|
|
|
Post by Greg Pugh on Dec 8, 2017 13:54:02 GMT -5
|
|
|
|
Post by Greg Pugh on Dec 8, 2017 13:57:03 GMT -5
I started working on getting the front end smoothed out. You can also see that I filled in four of the holes that were in the tops of the front fenders. 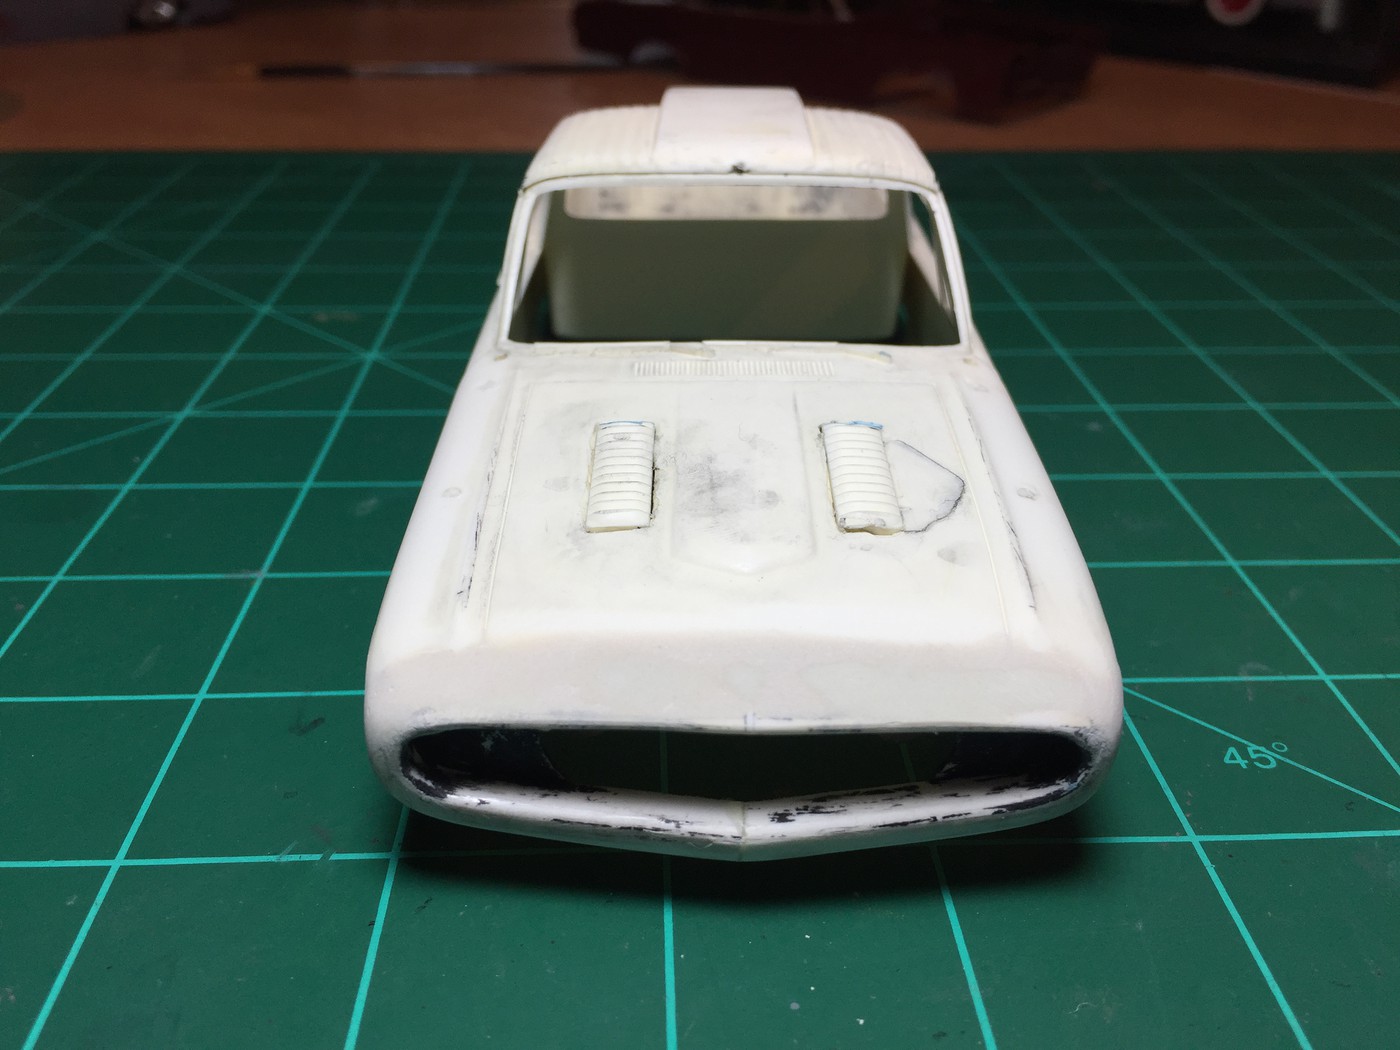 Hard to believe that this is the same car! 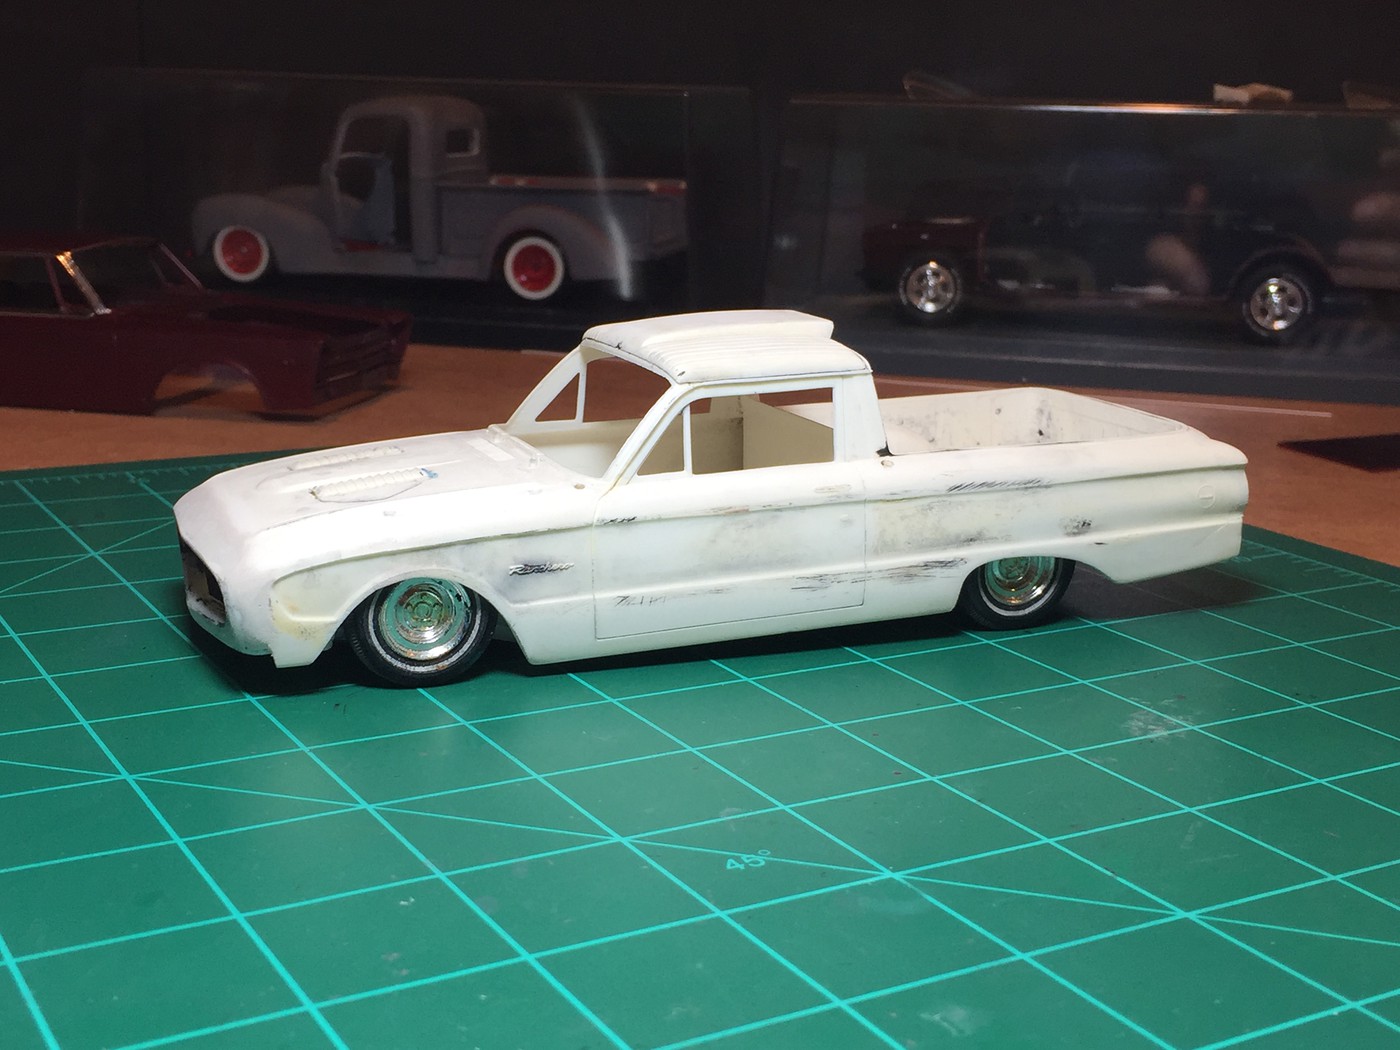 |
|
|
|
Post by Greg Pugh on Dec 8, 2017 14:02:20 GMT -5
Now onto the rear! 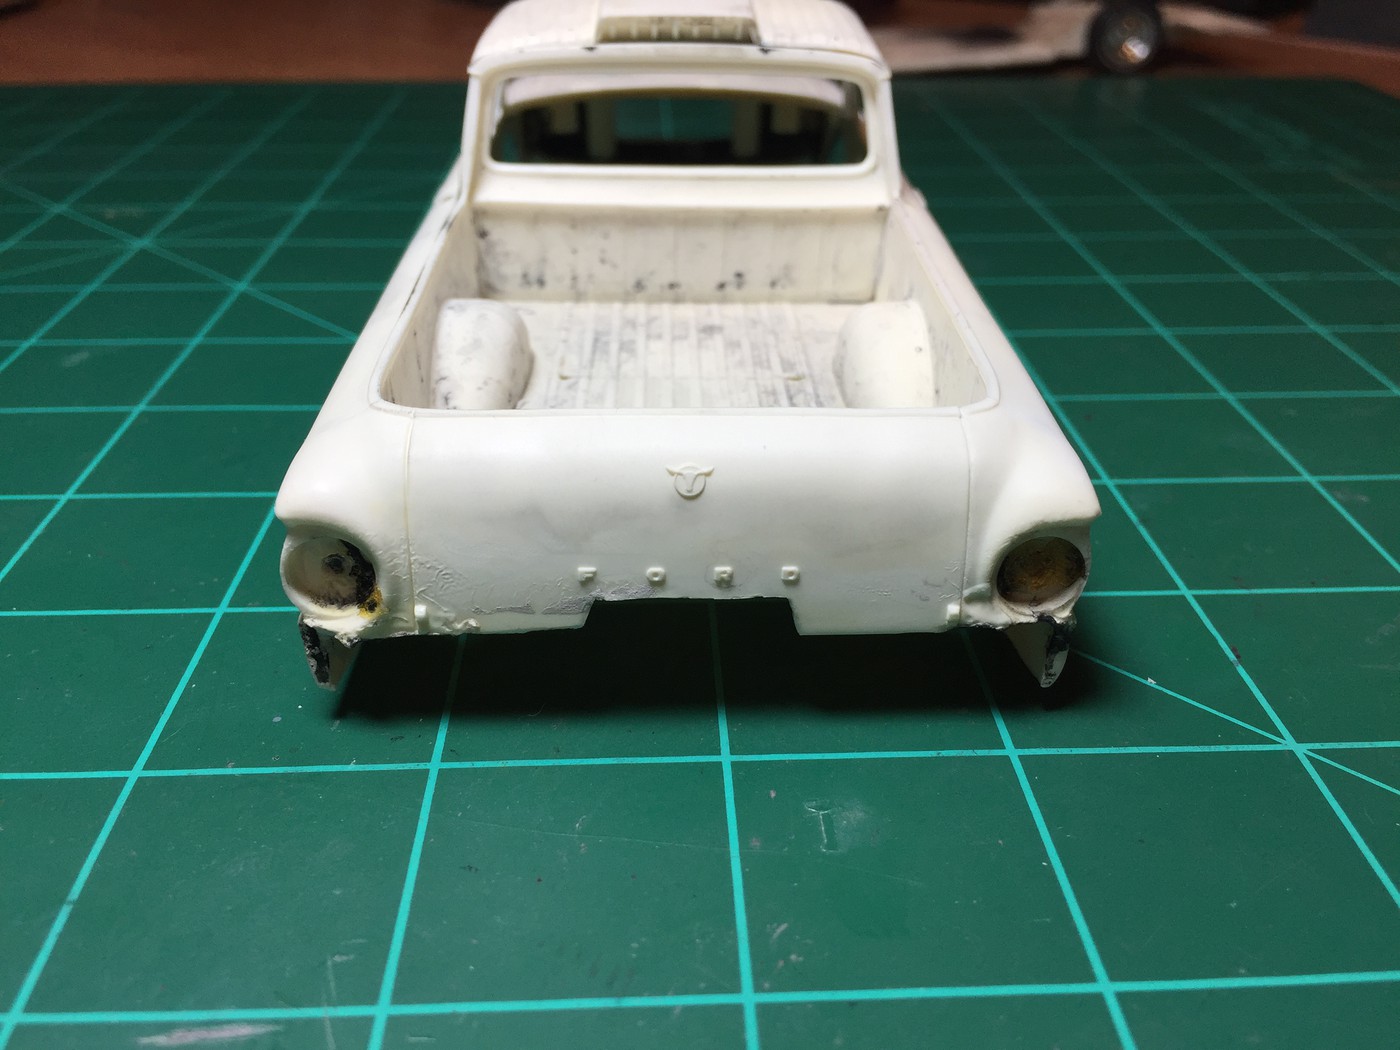 I started with smoothing out the tailgate by shaving the emblems. I also closed up the molded tailgate lines to make it look like it was welded shut and molded to the body.  While I was at it, I removed all of the emblems, badges, and door handles from the sides as well. 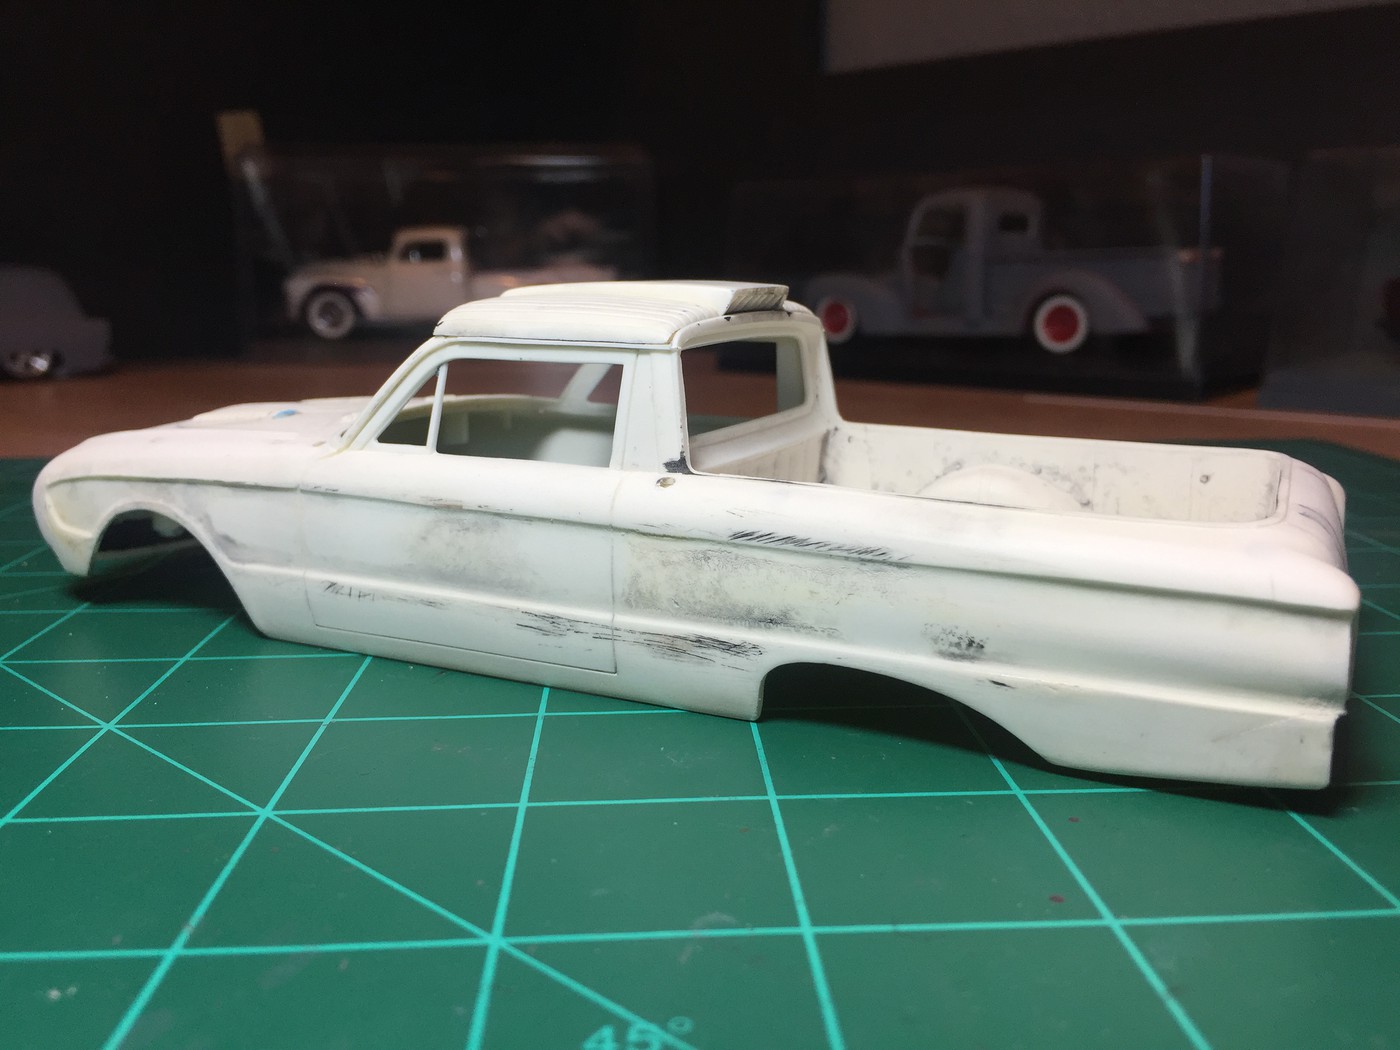 |
|
|
|
Post by Greg Pugh on Dec 8, 2017 14:10:12 GMT -5
|
|
|
|
Post by Greg Pugh on Dec 8, 2017 14:14:32 GMT -5
|
|
|
|
Post by Greg Pugh on Dec 8, 2017 14:18:18 GMT -5
Moving back up front, I settled on using '59 Chevy headlights and a tube grill that will also require some shortening... 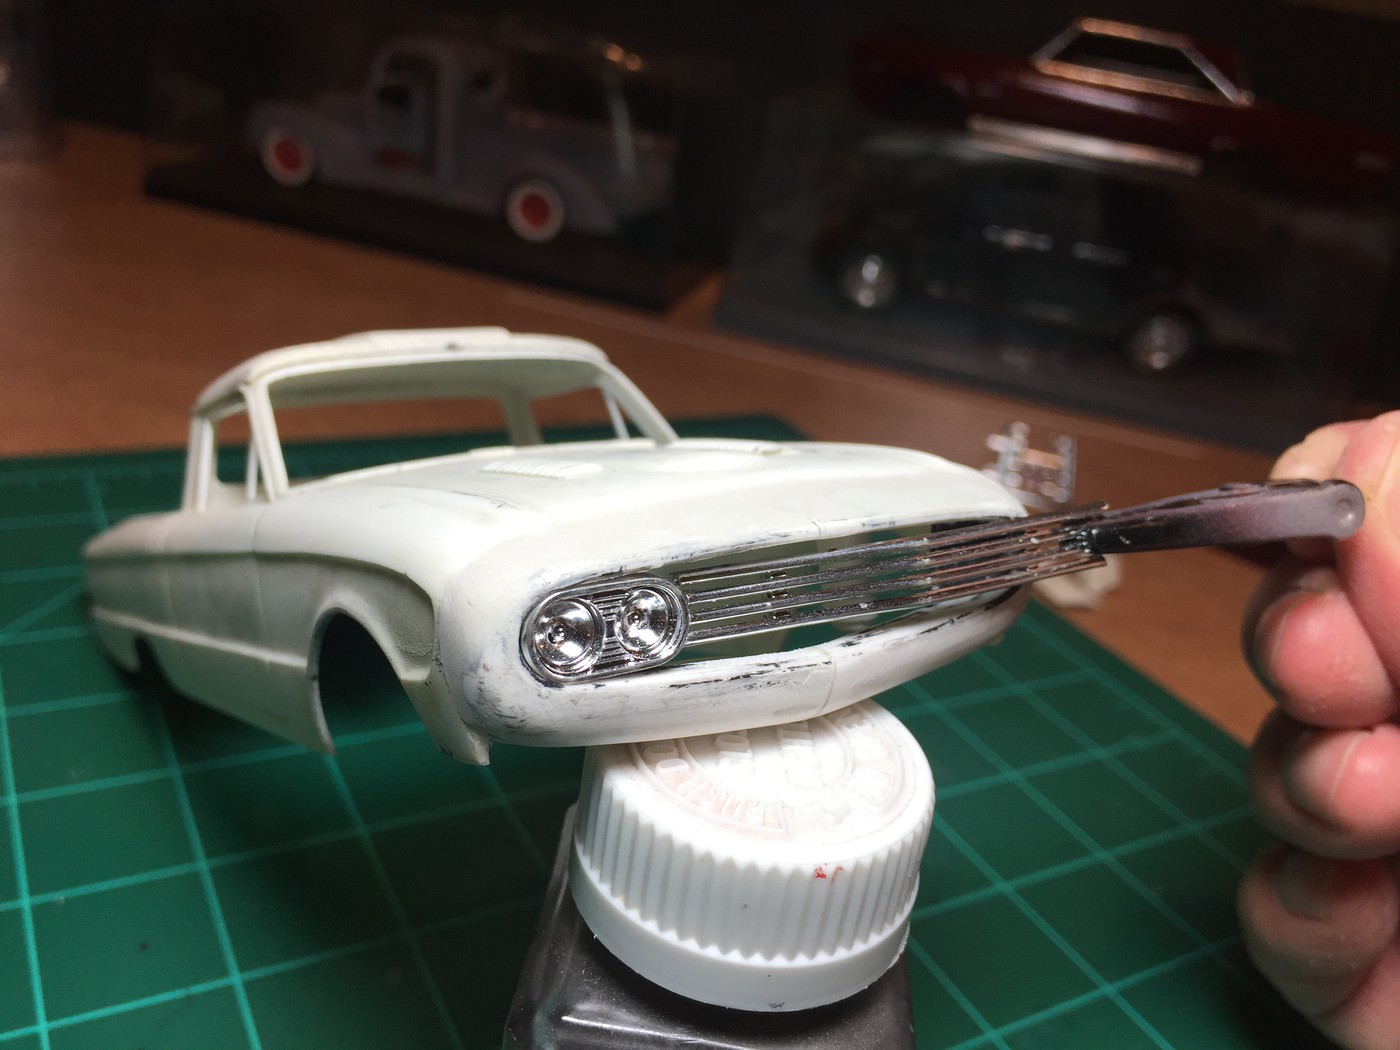 Chillin' with some spots, just making sure I dig the headlights. 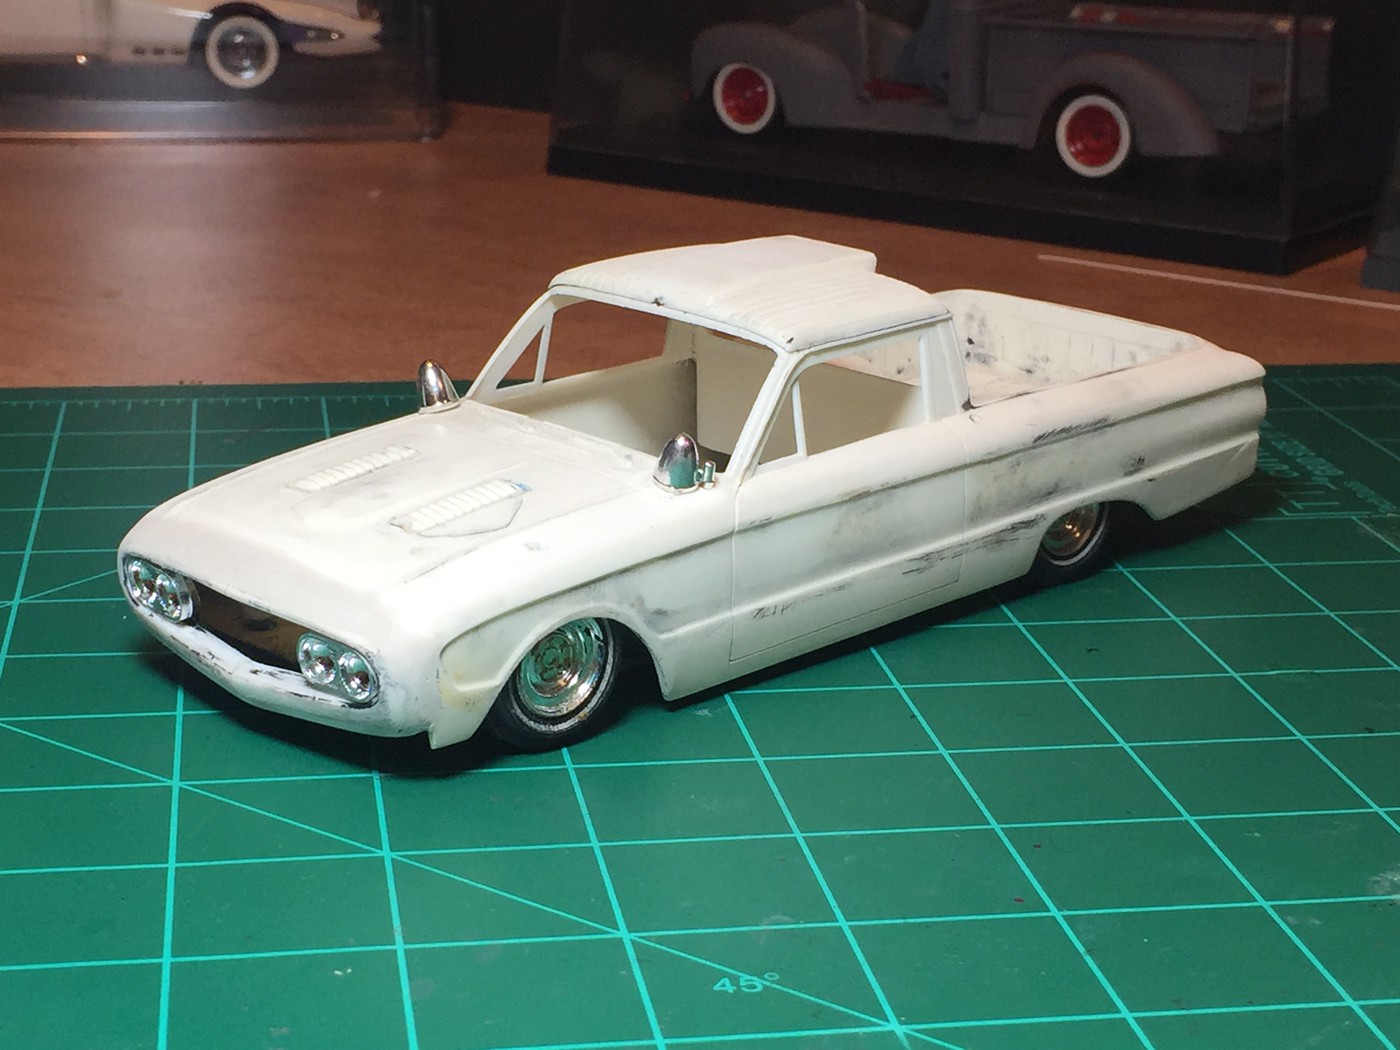 |
|
|
|
Post by Greg Pugh on Dec 8, 2017 14:23:49 GMT -5
|
|
|
|
Post by Greg Pugh on Dec 8, 2017 14:30:04 GMT -5
|
|
|
|
Post by Greg Pugh on Dec 8, 2017 14:32:55 GMT -5
Got the interior finished up. Not too much trickery here. I removed the horn ring from the steering wheel because it was way too thick. I entertained making a new one but saw the base models didn't have one and I kind of liked the clean look so...no horn ring. The instrument cluster and radio face came way of Best Model Car Parts. I cut the shifter and turn signal levers off and added my own. I purposely installed the shifter low so that it looks like a 3-on-the-tree dropped in 1st gear. The shifter lever was made from a pin, bent to shape and I added a knob using putty. The turn signal lever is .010" wire. I used embossing powder for carpet and then painted it. A combination of foil and Molotow handled the chromework.   |
|
|
|
Post by Greg Pugh on Dec 8, 2017 14:38:12 GMT -5
|
|
|
|
Post by Greg Pugh on Dec 8, 2017 14:45:54 GMT -5
Also somewhere in the there, the car got a haircut. I was able to carefully remove the klingon thingey without doing any damage to the roof. 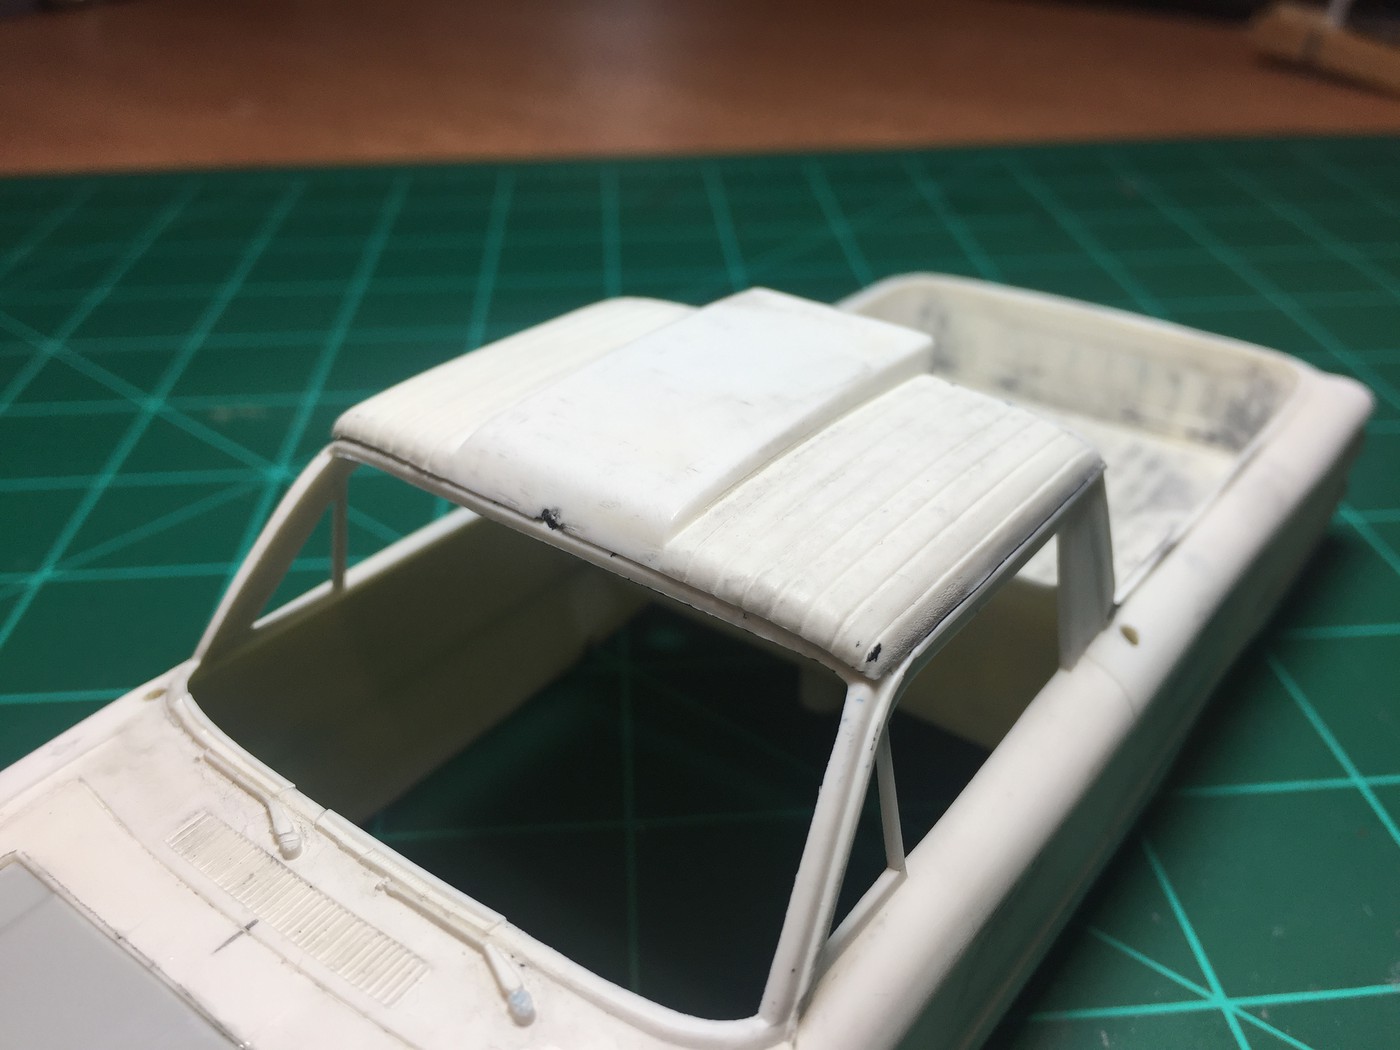  I intend to still use the scoop portion of it so I removed the upholstered sides so that I just have the scoop to work with. I will be making this much smaller before attaching it back to the body.  |
|
|
|
Post by Greg Pugh on Dec 8, 2017 14:47:56 GMT -5
The original wheels and tires were too far gone, so in keeping with the original builders vision, I went back with chrome reverse wheels and thin whites, courtesy of Pegasus. I didn't have to do much to get the ride height dialed in as it was already set up "just right". I just had to make sure all four tires were on the ground this time around.  |
|
|
|
Post by Greg Pugh on Dec 8, 2017 14:50:59 GMT -5
I went through and did some more body work and also did some more work to the front end, smoothing the lower corners.  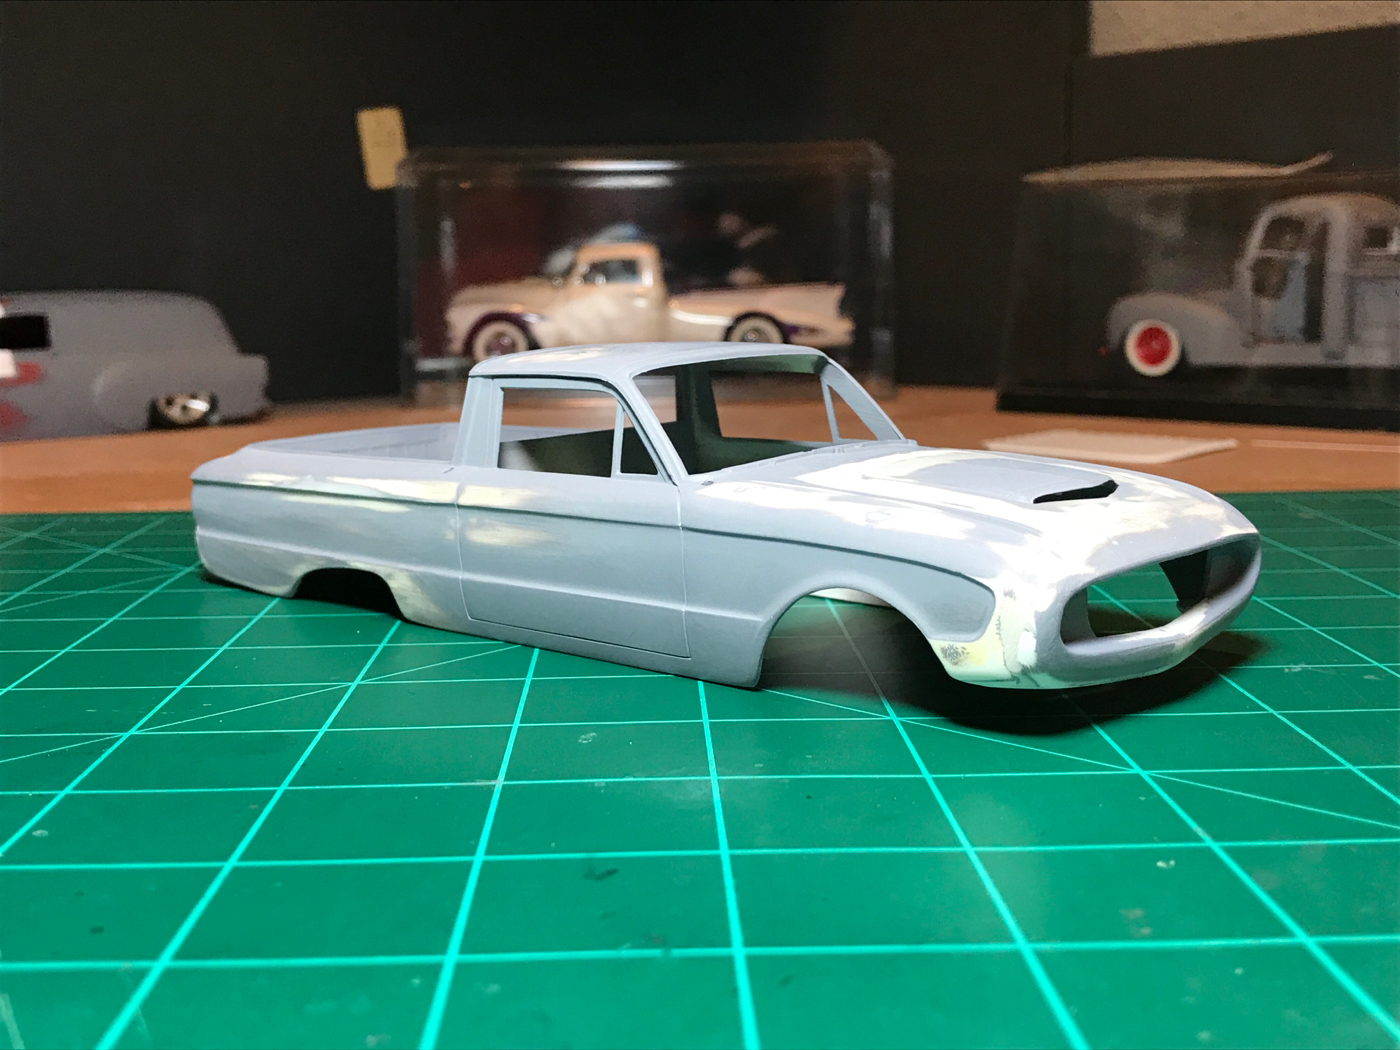 |
|