|
|
Post by Mr409 on Jan 1, 2024 14:06:23 GMT -5
Well here's a small update. Engine dipstick was one of the details I needed to add because the kit didn't come with one. For the dipstick tube I didn't have a proper size round plastic rod, but luckily I had hex-shaped plastic rod that was about the right size. So I sanded it round and bent to shape. The end of the dipstick itself is made of photo etch material that I just bent to match the shape of a dipstick end. 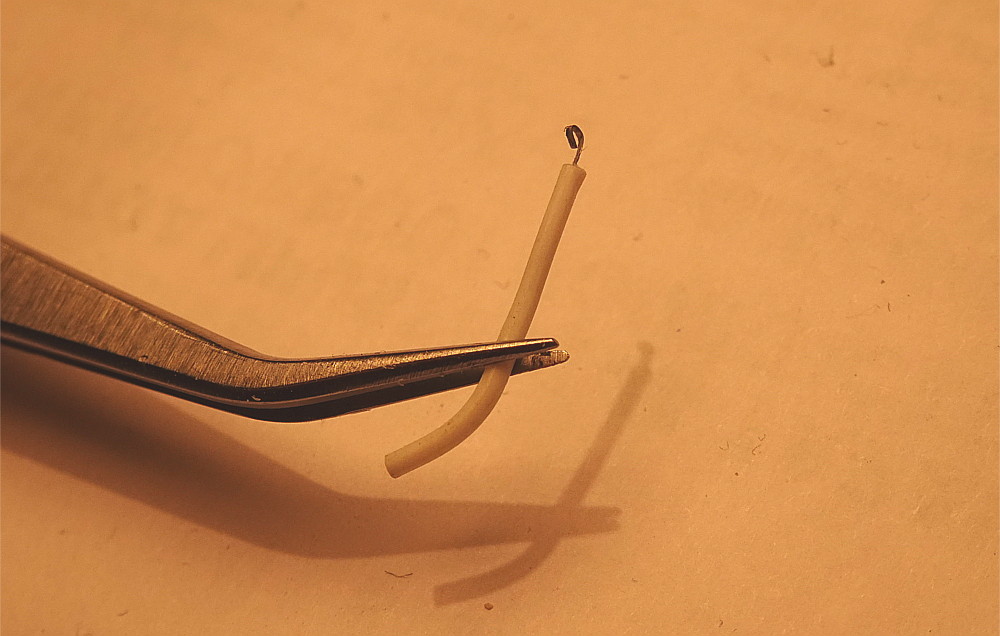 Testing, fits like it should: 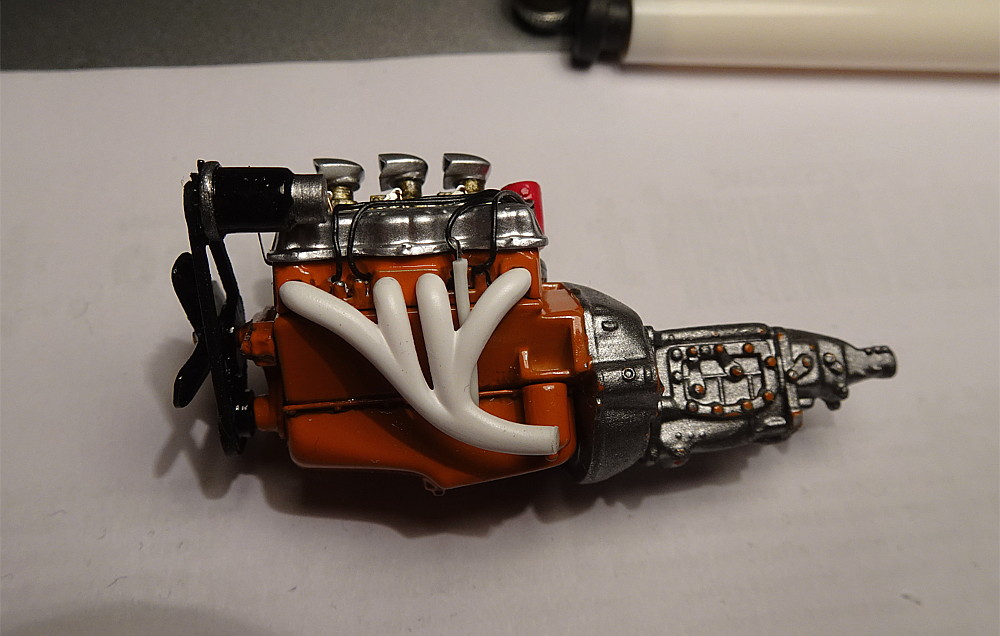 Then I painted the whole thing with gloss black. It's kind of hard to photograph it now that it's painted, but I think it was a good addition. 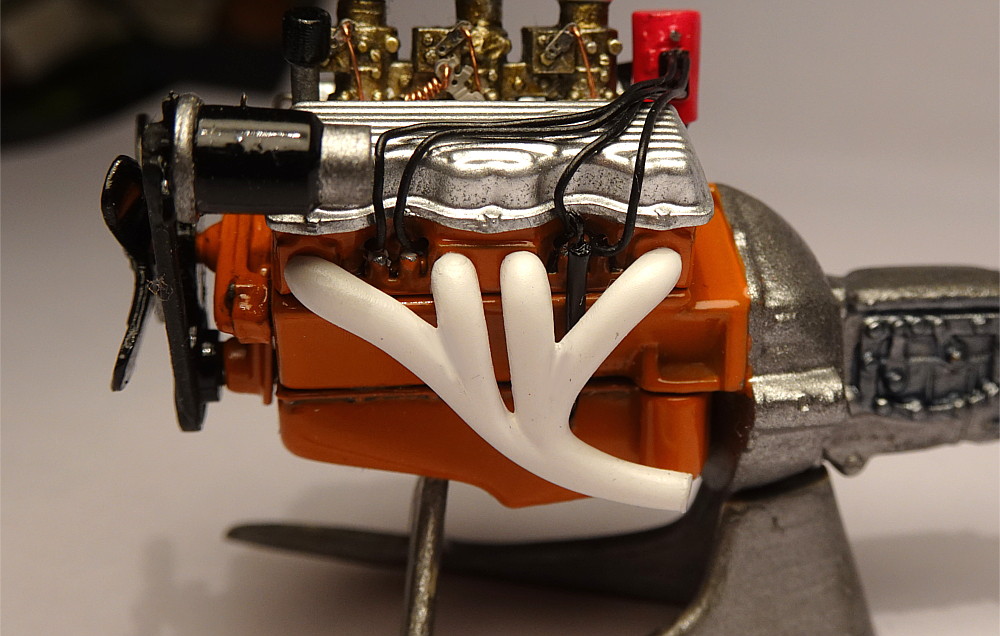 Then I did some work with the chassis. I mocked up the engine and found out that co-driver's side header was hitting to the crossmember making the engine not fit properly on place. I sanded some material off from the crossmember and now everything fits on place. But obviously, some repainting needs to be done. 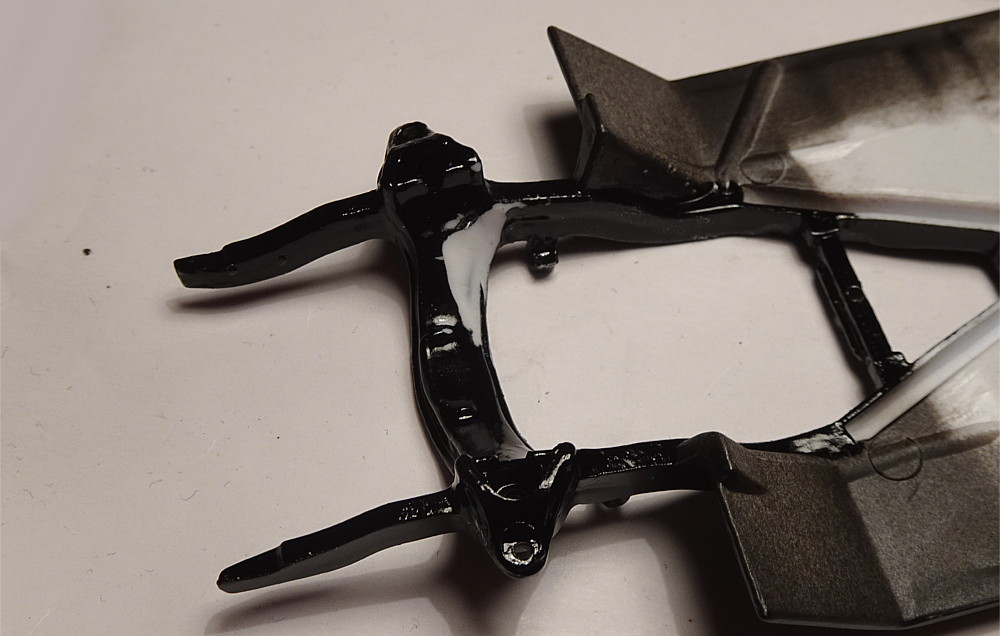 Then I moved on to the rear suspension and started by adding a brake line to the rear axle. 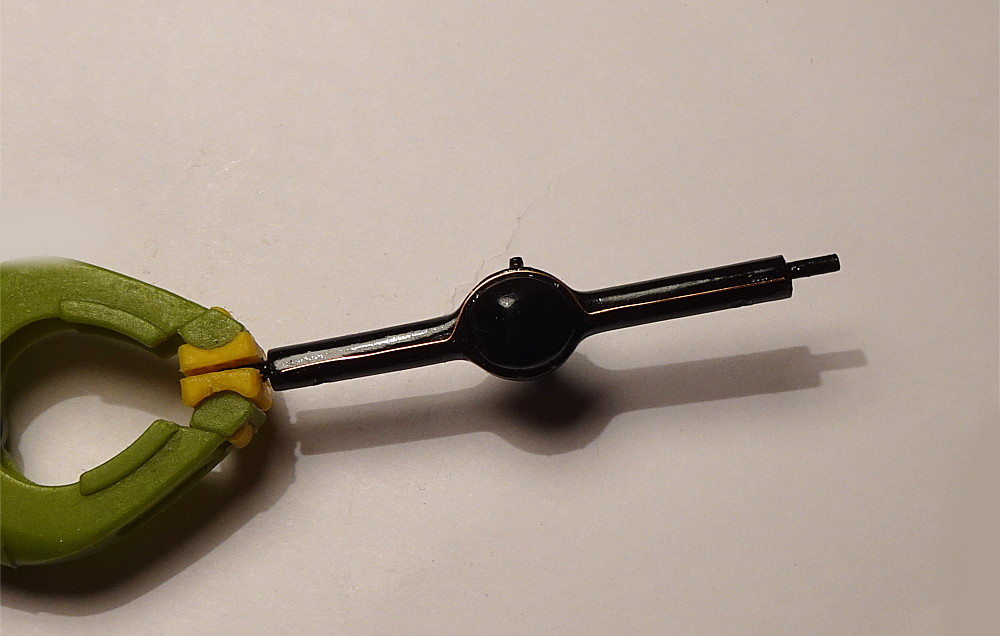 Control arms and rear springs were painted gloss black and now the axle is glued on place. I need to fabricate brake lines and handbrake cables next. Damn how dusty the chassis looks in the picture. Need to clean it up before the next photos.  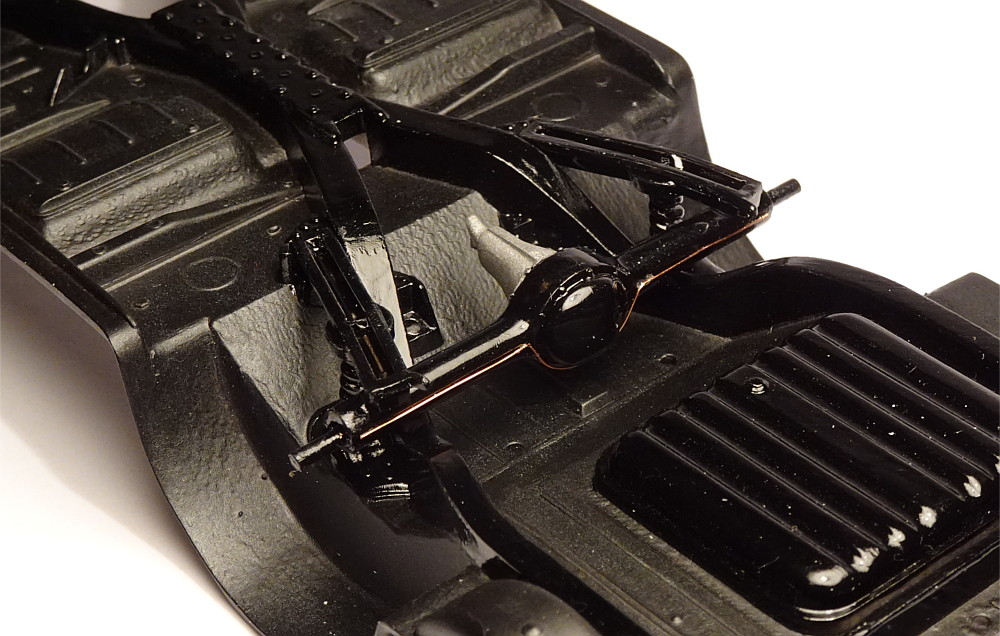 Then I did some finishing touches on the engine and I think now it's ready to be installed to the chassis. Headers were painted flat white and installed on place, then I just painted some nut and bolt ends with silver, added a bit of black washing here and there to give some depth to certain areas and did a few touch-ups. More details will be added during the final assembly, but for now I think it's pretty much done. 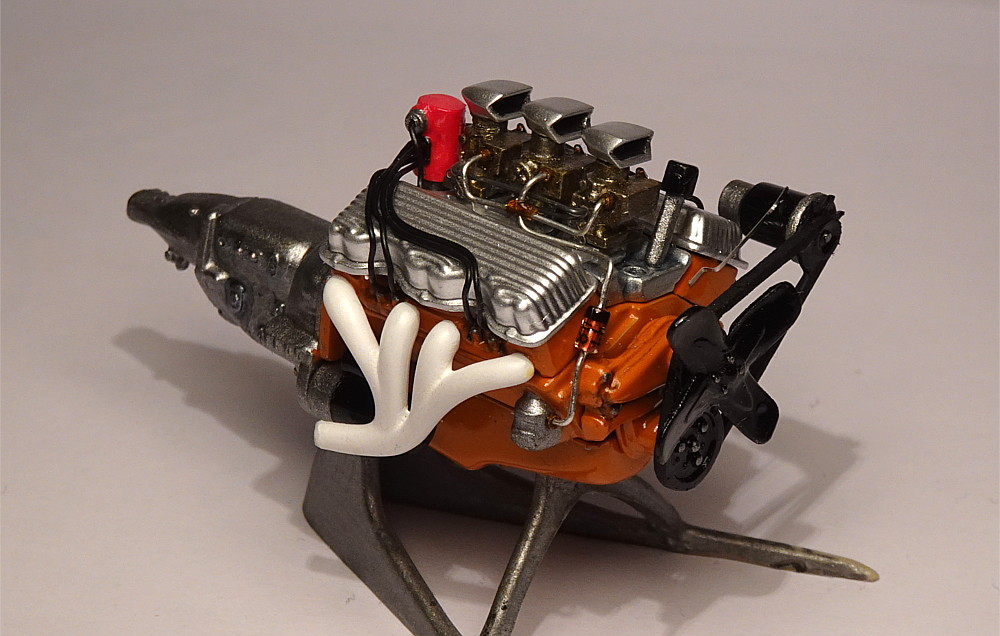 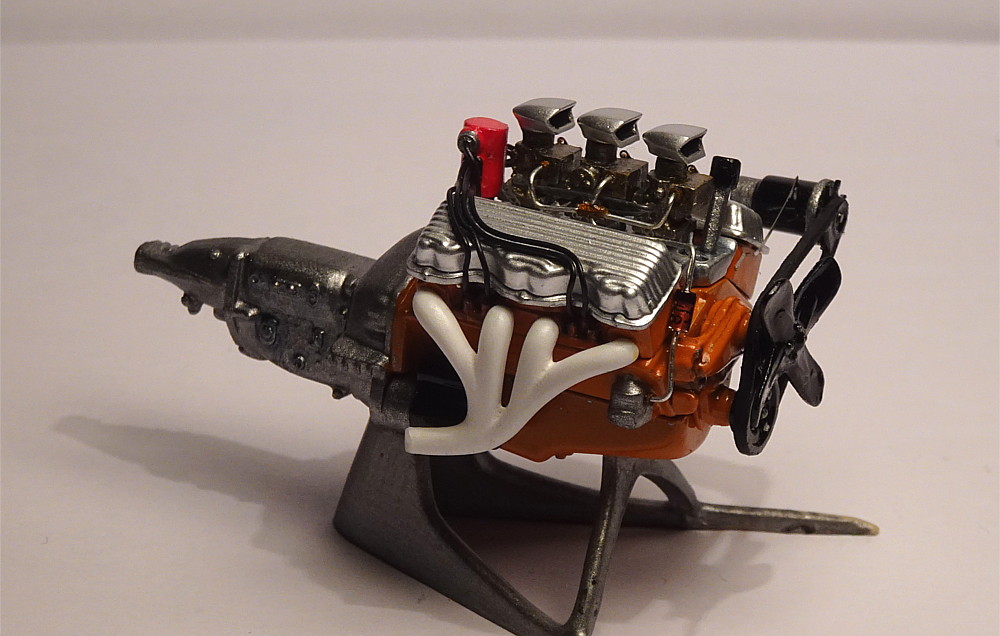 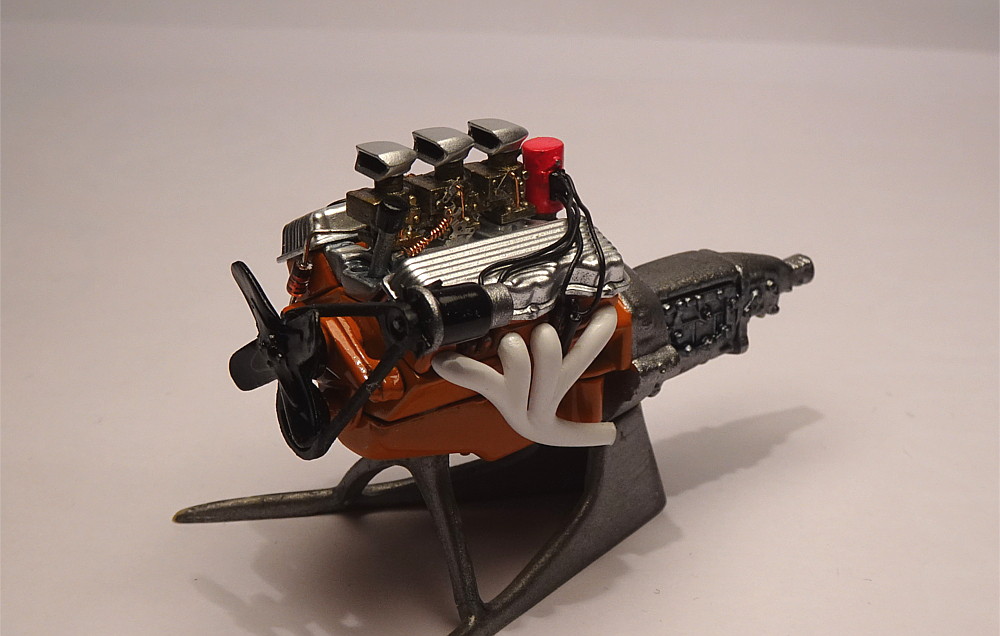 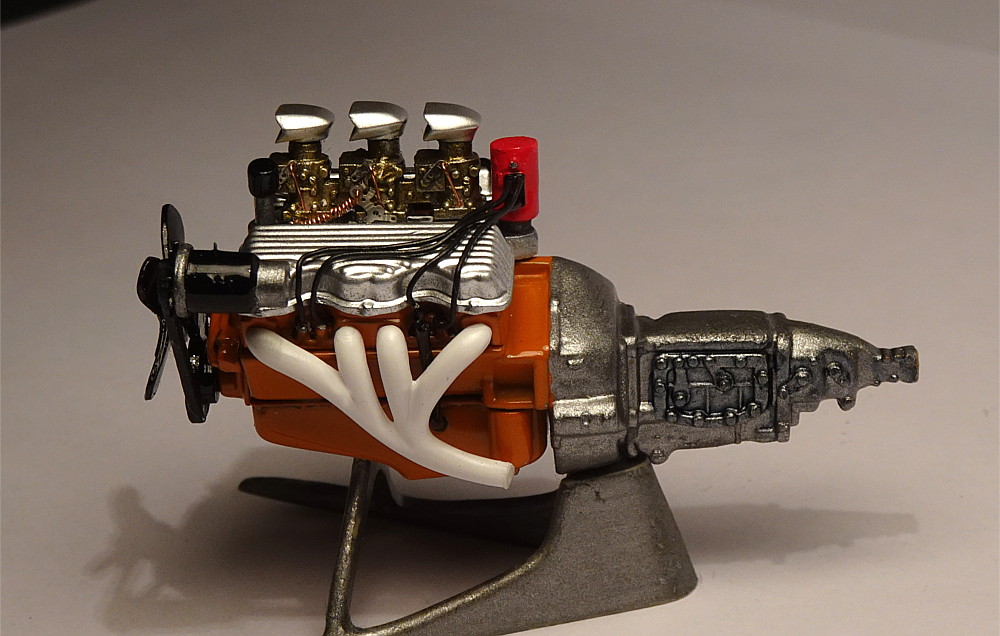 |
|
|
|
Post by Mr409 on Jan 21, 2024 16:04:10 GMT -5
|
|
|
|
Post by Mr409 on Jan 23, 2024 15:16:41 GMT -5
Now that I'm on my Winter Vacation this week from work, I've had some more bench time as usual. And I'm making decent progress with this thing! Brake lines were the next task. '58 Impala has a single circuit brake master cylinder, so I had to build a couple of distribution blocks to the frame to get brake fluid on all tires. They were made out of hex-shaped plastic rod. Brake lines theirselves are thin "copper-wire" and brake hoses that go to both wheel cylinders are made out of Scale Productions' spark plug wire material. Fittings between the brake pipes and hoses are also made out of Hex-shaped plastic rod. 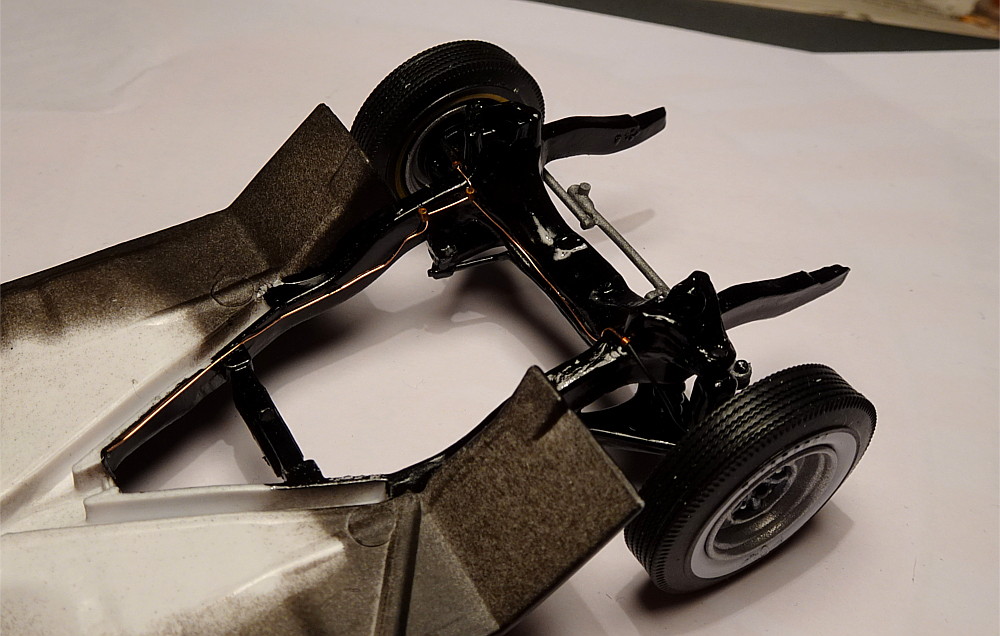 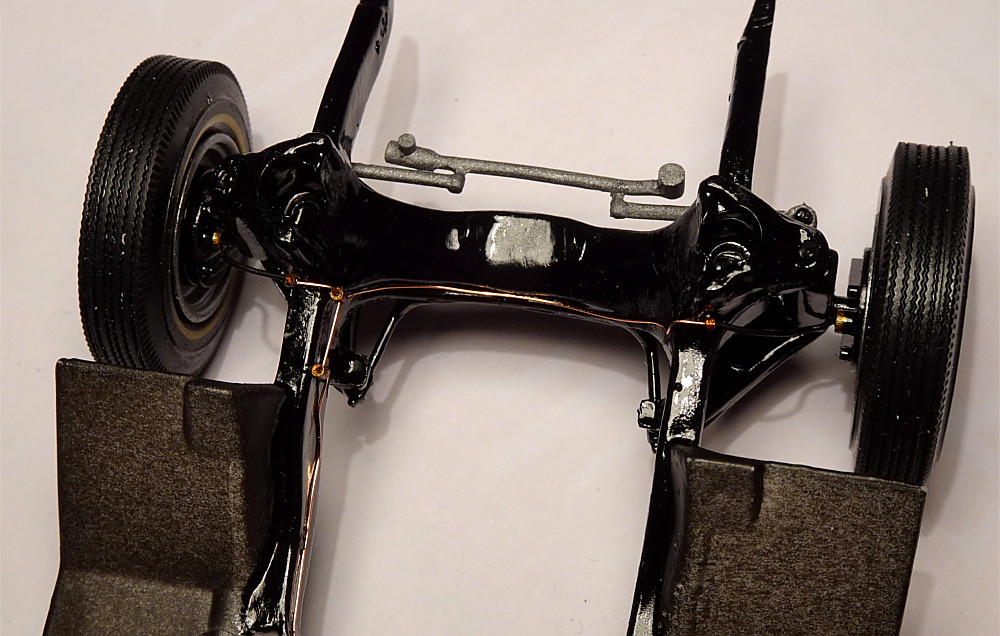 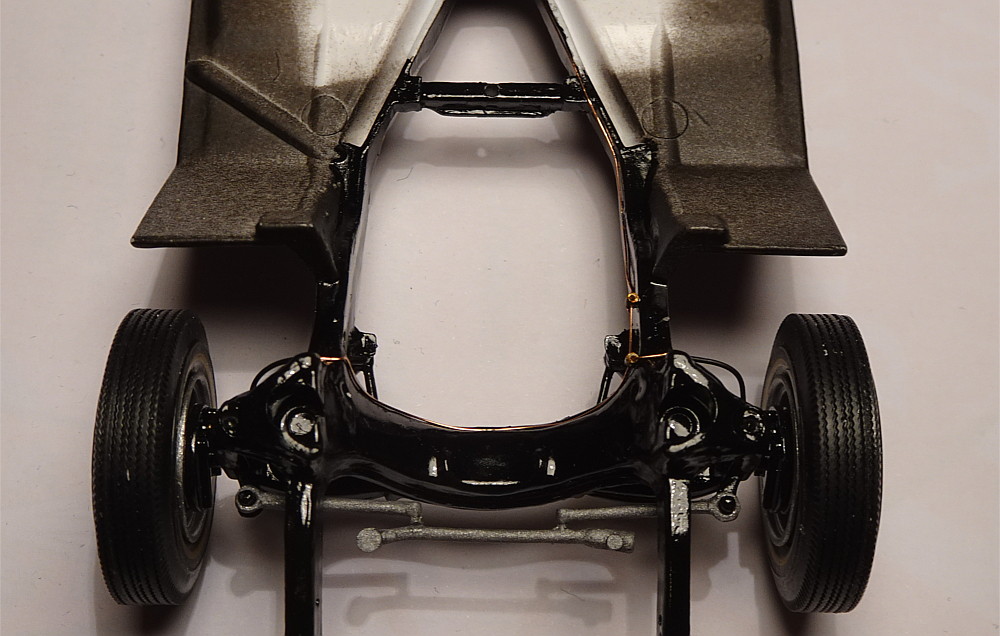 In the back everything was done the same way, except that it was just much more simple... Brake pipe is copper wire, brake hose is spark plug wire material and the fitting in between is made from Hex-shaped plastic rod. In 1961 NHRA required Gassers to have a parking brake. So I had to fabricate parking brake cables as well. They are quite simple actually on an X-Frame Chevy (it's easy to check for reference material as we have a '60 Impala 2D HT in the garage). So the cables were made out of the same spark plug wire material as the brake hoses. The cables have a rubber/plastic covering on the rear, but they don't have that in the part that goes inside the X-part of the frame. This was replicated by simply painting the spark plug wire material silver where necessary and the fittings in between are also hex shaped plastic rod. 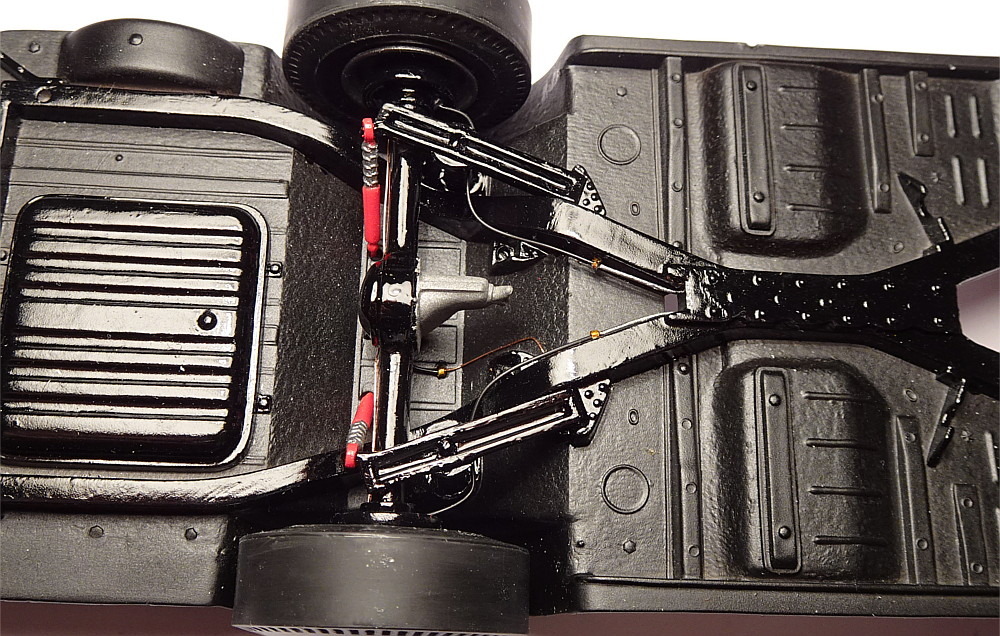 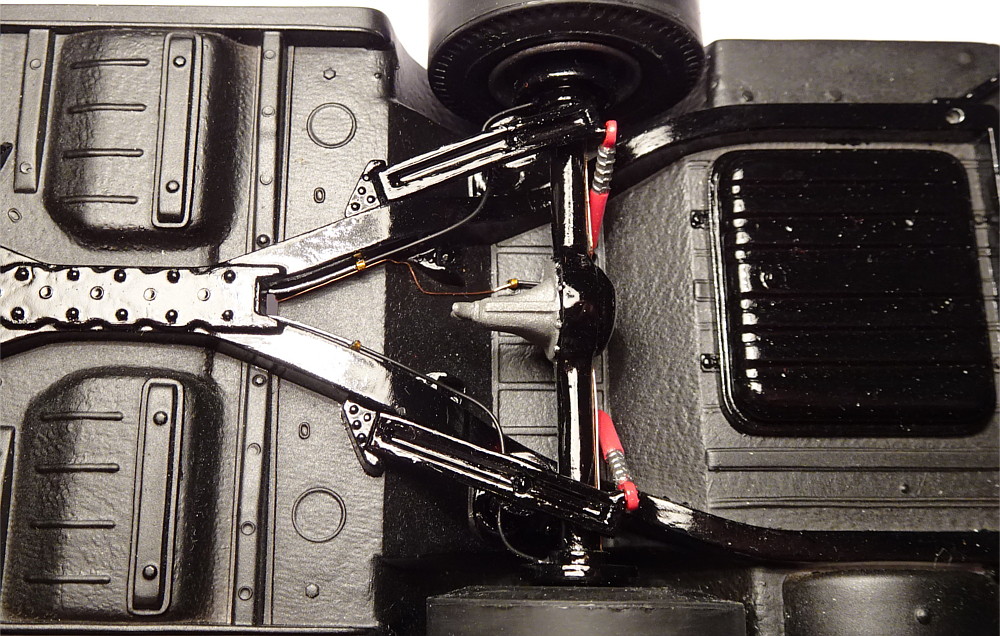 The chassis is coming together pretty good. Tie rod was a little too narrow, but I cut the other inner tie rod end apart from the rest and glued it to a new position, making the assembly a bit wider. That fixed the problem... 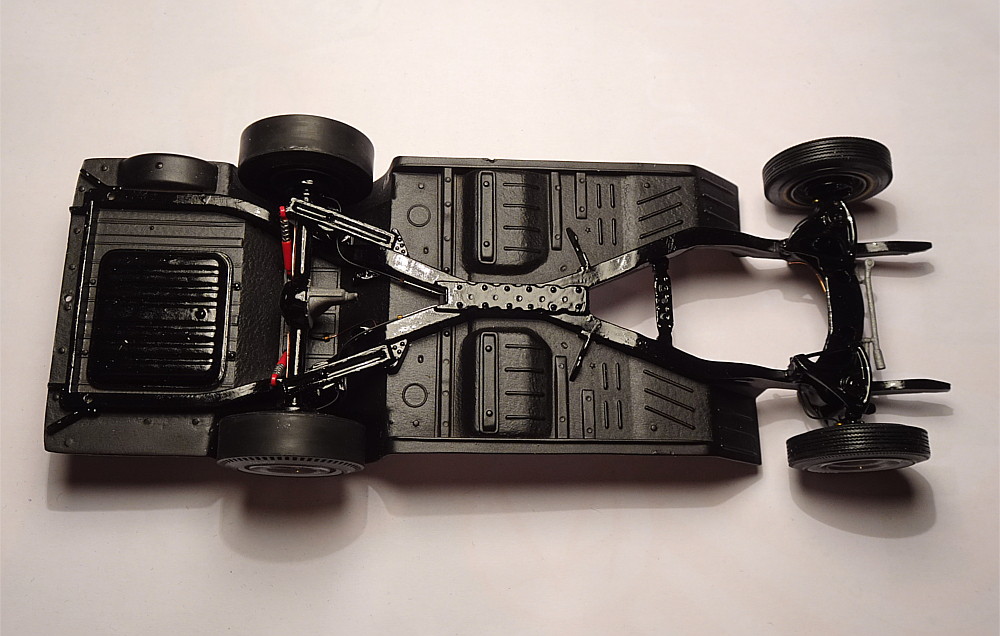 |
|
rickyc
Soc
 Addicted to plastic since mid last century
Posts: 46
|
Post by rickyc on Jan 24, 2024 10:30:14 GMT -5
Excellent chassis work, looking forward to more updates. I know it is a bit late for engine pictures, but I thought you may enjoy this one. It is from a 61' Chevy SEGA Gasser.  |
|
|
|
Post by Mr409 on Jan 24, 2024 14:24:15 GMT -5
|
|
|
|
Post by Mr409 on Feb 26, 2024 17:03:07 GMT -5
Well, the progress continues. I started working on the body, and the first thing to do was to glue the doors shut. Someone might wonder why I did that, but honestly the opening doors usually don't fit as well as they should and the detail in the door jamb is not up to the level it should be if the doors did open. Sure, that all can be fixed, but I don't want to go through all that work with this project, I much rather have it finished sooner than later... Plus that the doors have incorrect type hinges anyway so they would need to be scratchbuilt as well. Anyway, after a bit of sanding and smoothing out mold lines and mold flash, I was able to glue the doors on place. This required a bit of work for the door panels so that they could be installed from the inside. See the original one on left, modified one on the right. 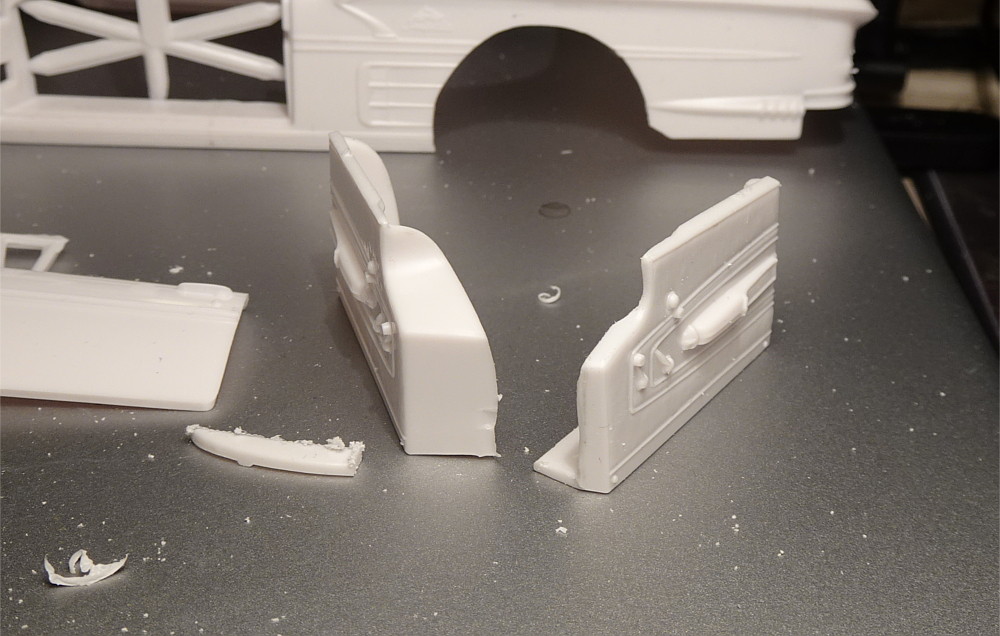 Now the door panel goes on place even with the door closed. 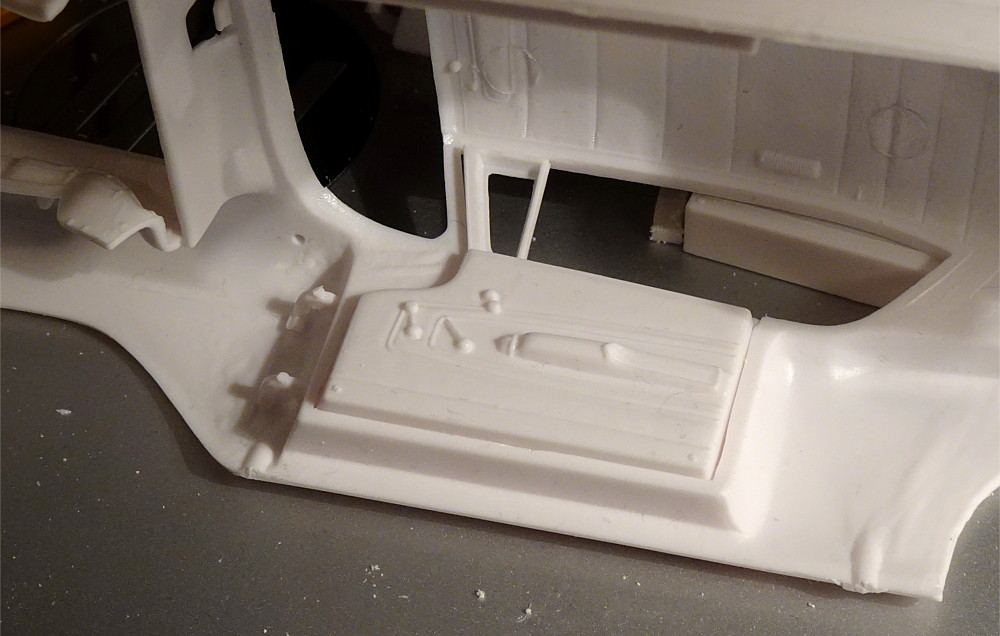 Then it was time to do a mock up to see how it looks. 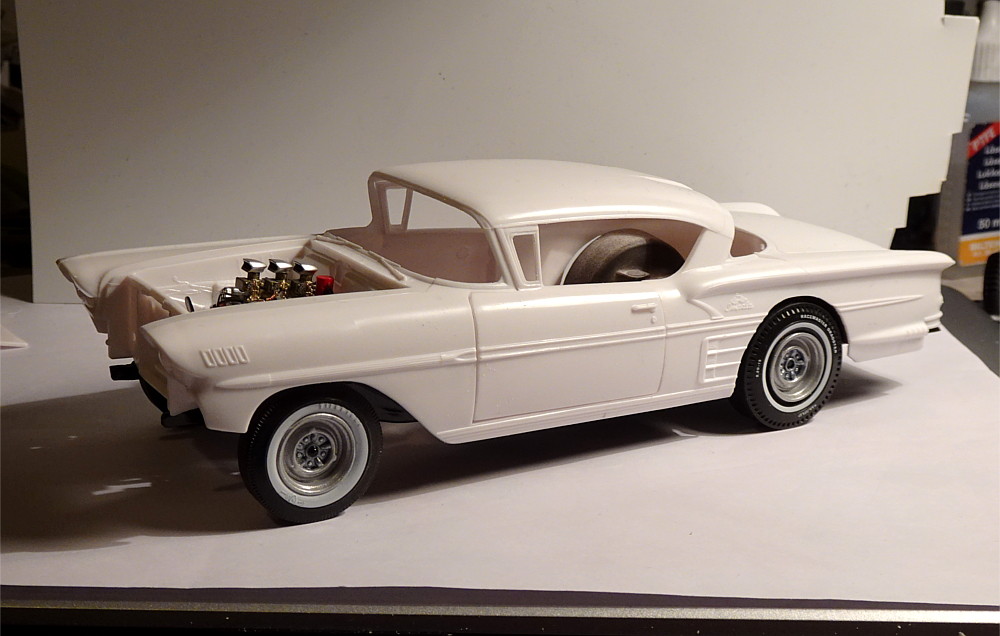 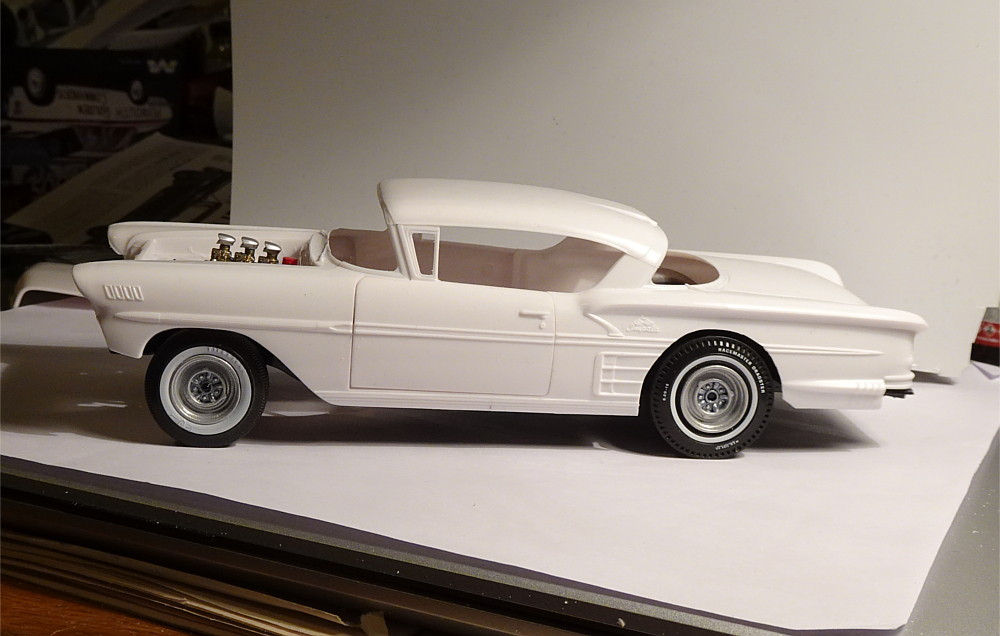 I was also going to test fit the hood, but soon I realized that the Cal Custom scoops are not going to clear the hood. So, after some measurements I had to cut a hole to the hood... 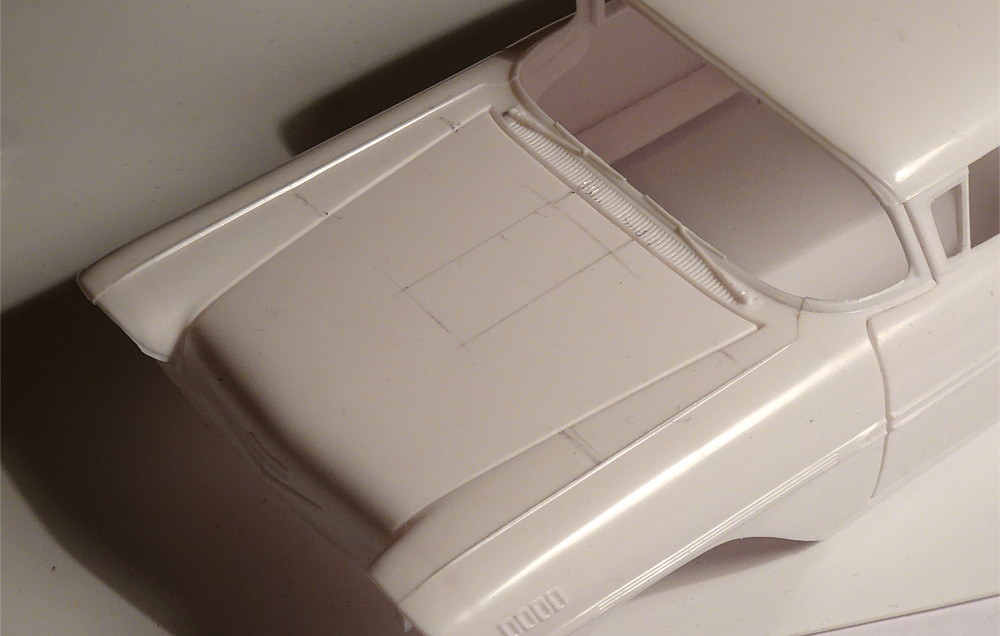 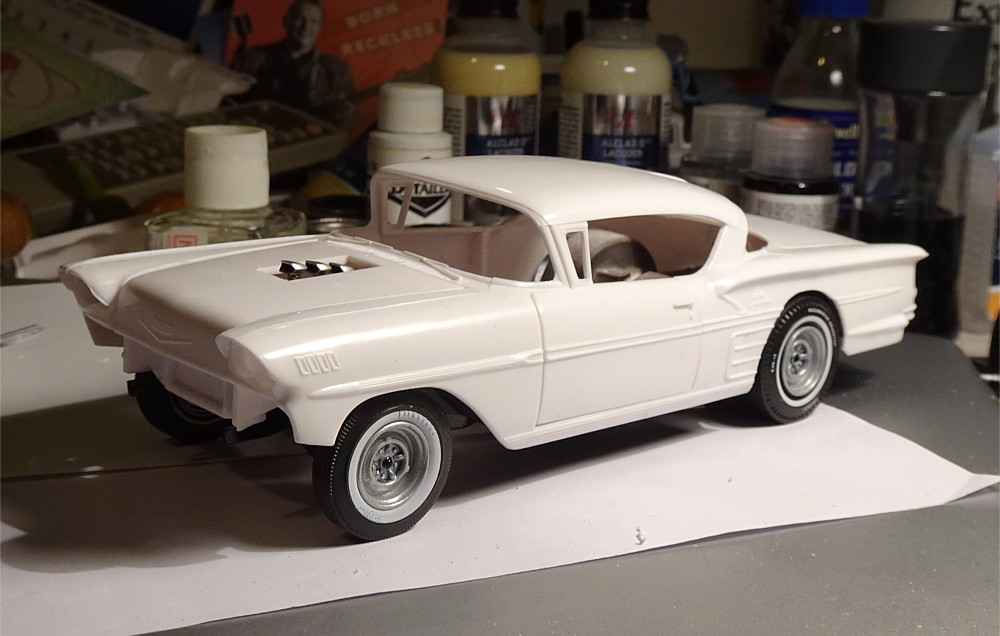 Starting point for the hood scoop was found in my parts box. I believe it's from an old Monogram kit. It required a bit of shortening to make it fit the Impala, but after that I think it'll work so I glued it on place. 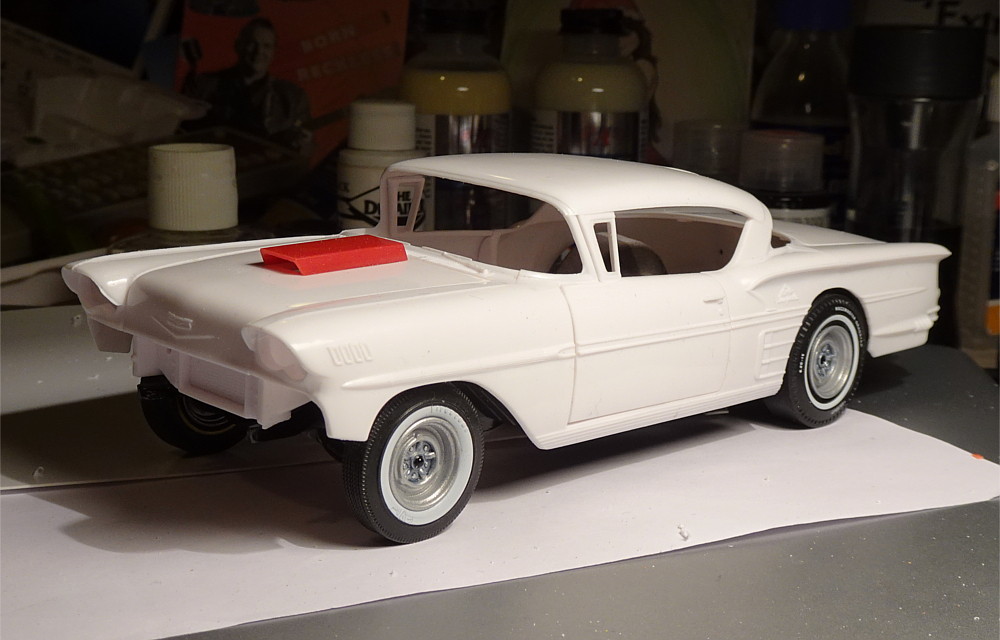 Now I think I can start cleaning up the mold lines etc from the body to get it ready for paint. |
|
rickyc
Soc
 Addicted to plastic since mid last century
Posts: 46
|
Post by rickyc on Feb 27, 2024 11:06:08 GMT -5
Keep those updates coming. This build is turning into one beautiful Gasser. Got just the right stance, especially since you are using stock front suspension rather than a tube axle.
|
|
|
|
Post by sharp on Feb 28, 2024 0:03:24 GMT -5
A good friend of mine gave me the same kit about a month ago. You're doing an awesome job on yours. Great job on the chassis and engine details.
|
|
|
|
Post by Mr. Metallic on Feb 28, 2024 6:42:52 GMT -5
That stance is killer.
The AMT engineers really worked wonders when designing the 58 Chevy, 56 and 57 Fords. But like the inaccuracies you noted, this was the best move for this build.
|
|
|
|
Post by RodBurNeR on Feb 29, 2024 23:29:19 GMT -5
looking good! nice stance, wheels too!
|
|
|
|
Post by Mr409 on Mar 6, 2024 10:38:24 GMT -5
Thanks guys, I appreciate the kind comments! The opening doors are definitely not the worst ones that I've seen and I remember building one AMT '57 Fairlane as a kid and the fitment on those doors was not that bad either. But yes, with the inaccuracies they have, I think gluing the doors shut is the best option. Especially as I would not present the car with doors open on the display shelf anyway.  |
|
|
|
Post by ChrisV on Mar 6, 2024 13:55:54 GMT -5
Thanks guys, I appreciate the kind comments! The opening doors are definitely not the worst ones that I've seen and I remember building one AMT '57 Fairlane as a kid and the fitment on those doors was not that bad either. But yes, with the inaccuracies they have, I think gluing the doors shut is the best option. Especially as I would not present the car with doors open on the display shelf anyway.  Another option is adding small neodymium (rare earth) magnets embedded in the inner doors/door jambs to keep the doors securely in place. |
|
|
|
Post by Mr409 on Mar 6, 2024 15:19:27 GMT -5
That would probably work also.  Actually, those magnets could be helpful in some other applications as well, I've been wanting to try them out for a while... |
|
|
|
Post by Mr. Metallic on Mar 7, 2024 6:56:35 GMT -5
That would probably work also.  Actually, those magnets could be helpful in some other applications as well, I've been wanting to try them out for a while... I highly recommend them. I would get a variety pack to get started that has several sizes. I've used them so far in a few applications. One is to make a pair of air cleaners removable since they interfere with the hood closing. 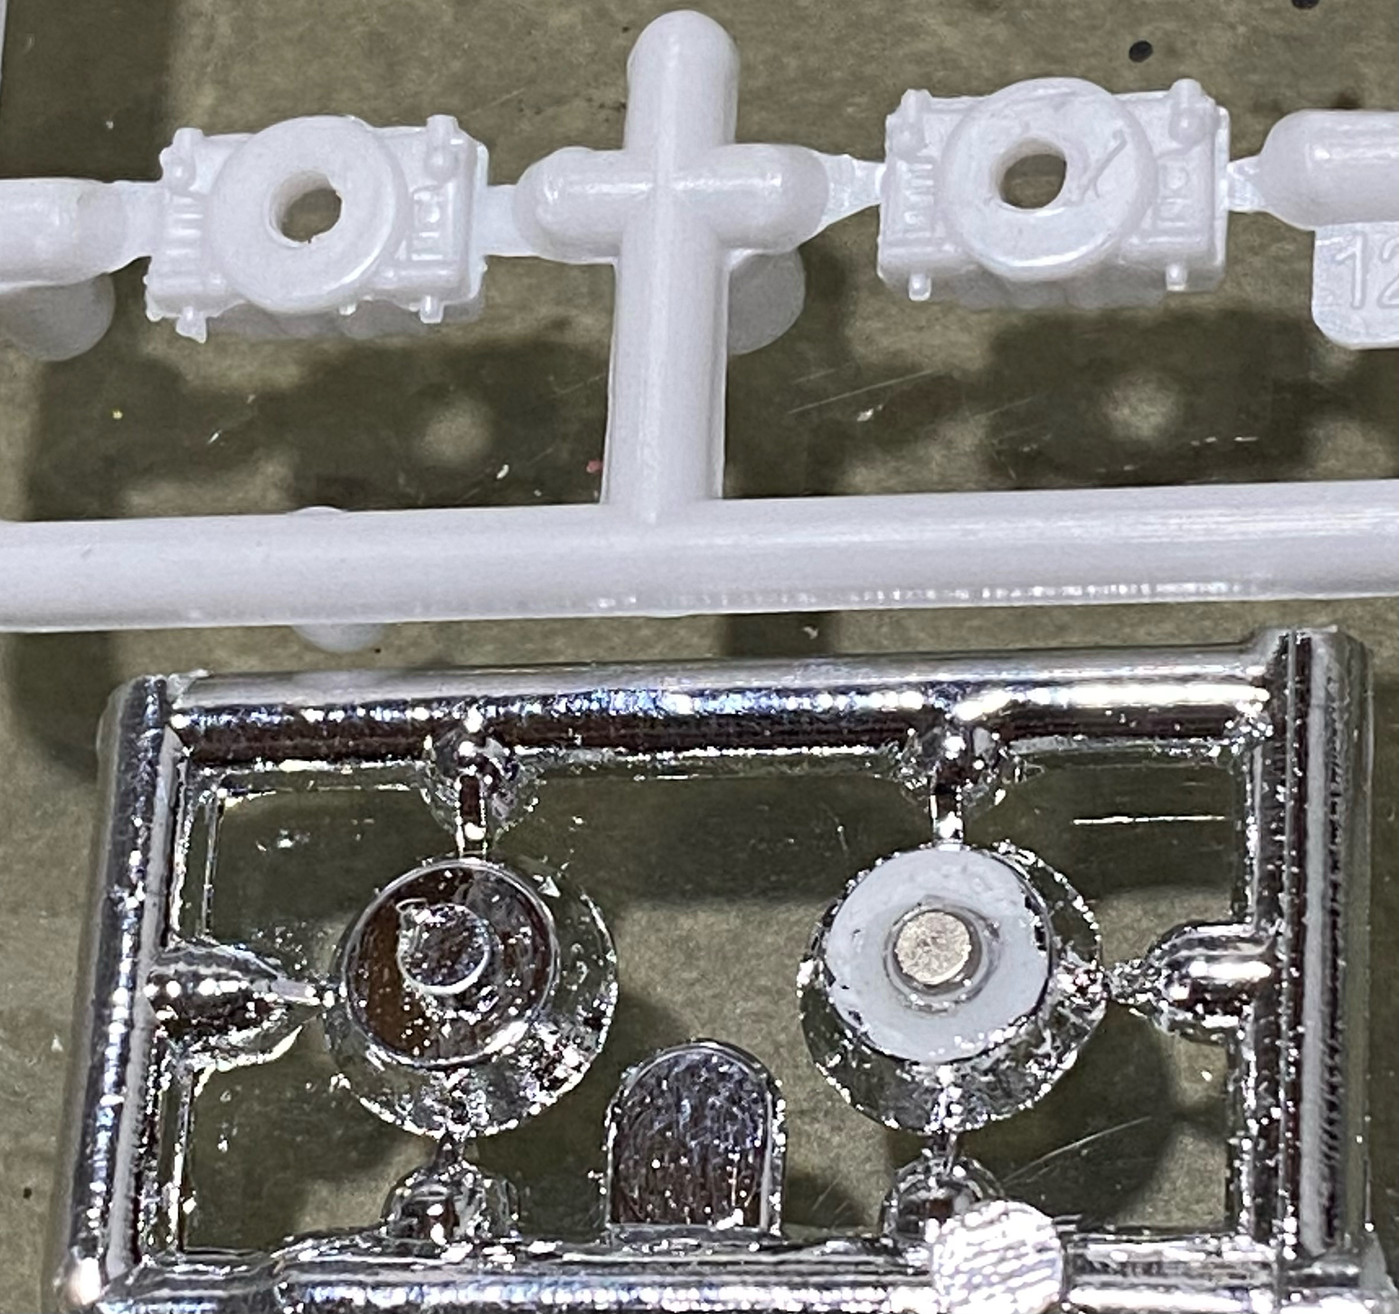 Another was to make the spare tire holder removable. The magnets are tucked into the ends of the frame and then there are metal pins coming out of the end of the spare holder. 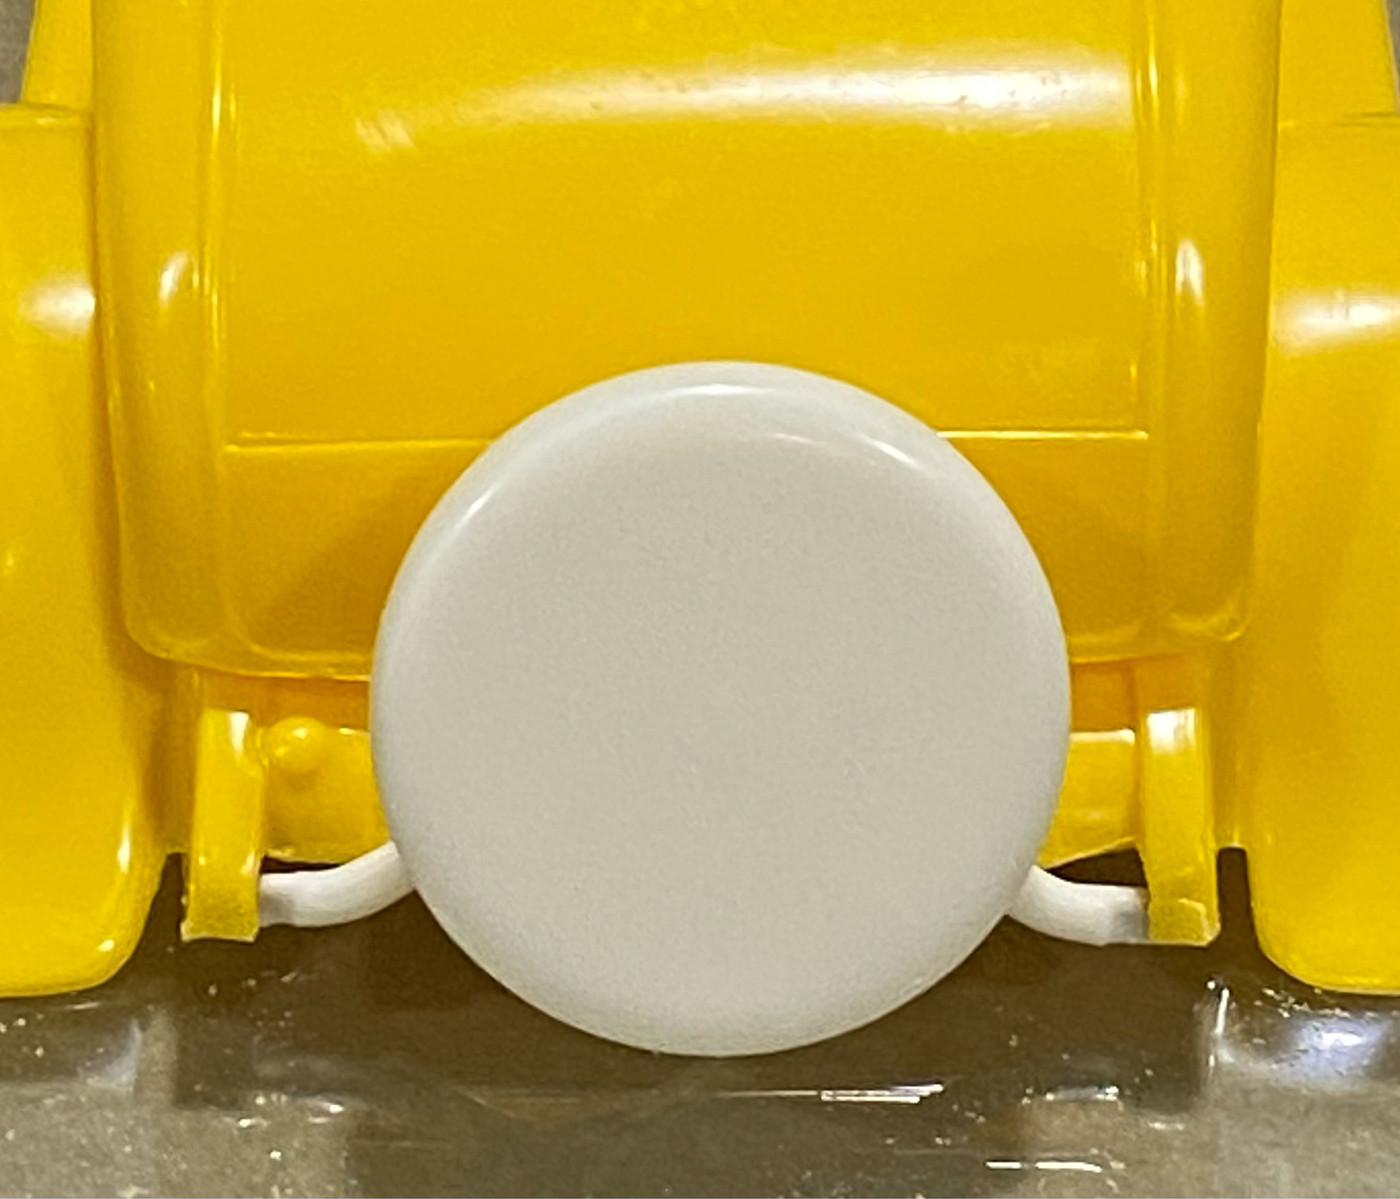 And the biggest one for me was building my SweeTee. I wasn't sure it was TraK-able so I haven't shared it here. But I wanted to be able to switch back and forth between the turtle deck and pickup box, so I discreetly hid magnets in the frame, turtle deck and box to make it all happen. Very happy with how it came out. 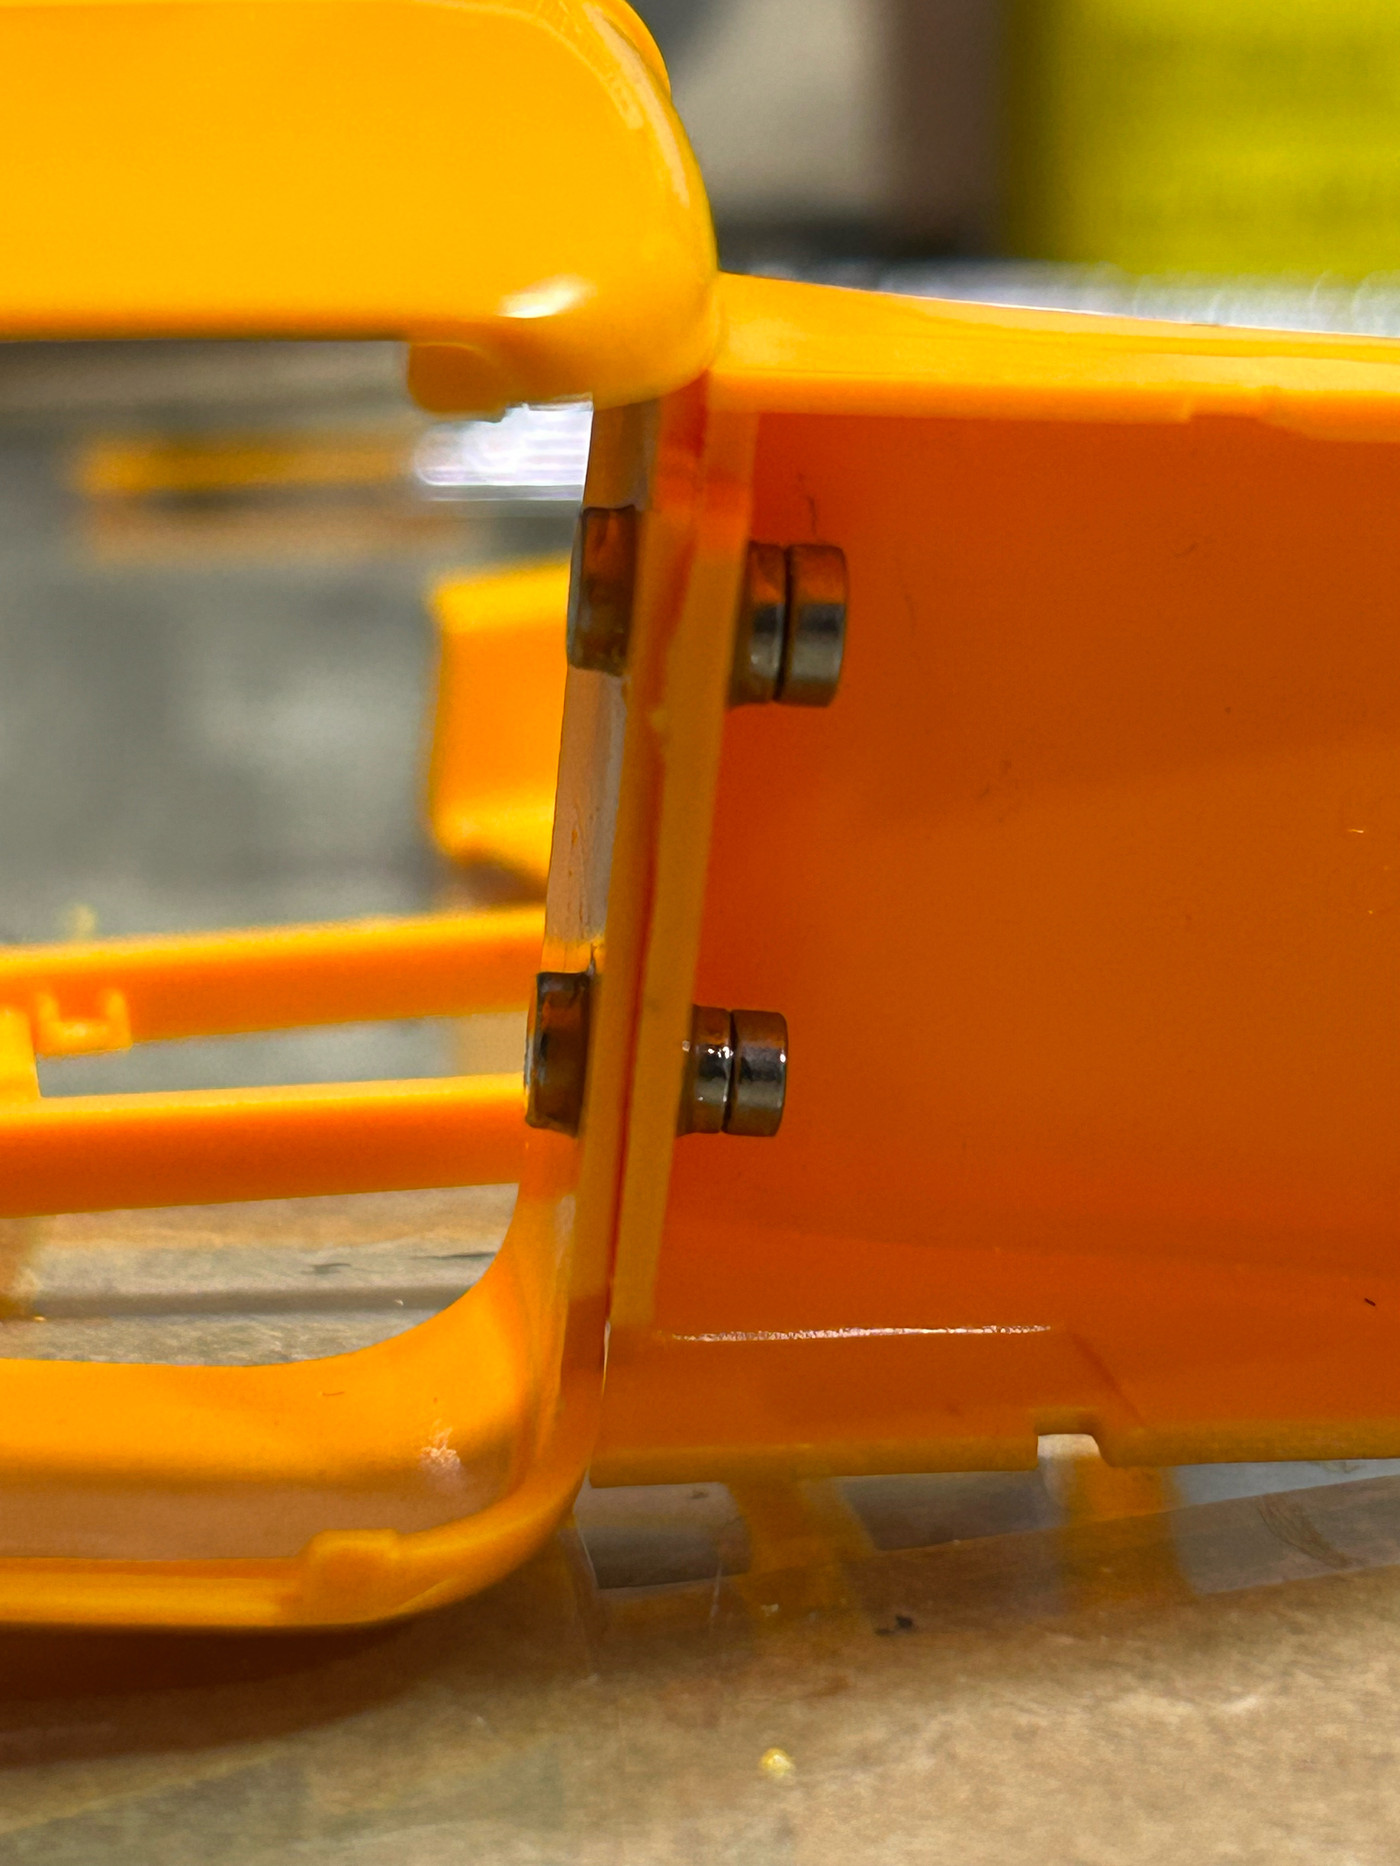 |
|
|
|
Post by Mr409 on Mar 7, 2024 9:56:23 GMT -5
Yep, exactly! That kind of ideas came to my mind as well. Will definitely buy a set and use them on some future build where needed.  |
|