Deleted
Deleted Member
Posts: 0
|
50 Ford
Jan 19, 2015 14:06:02 GMT -5
Post by Deleted on Jan 19, 2015 14:06:02 GMT -5
Thanks all for your suggestions! I'm still struggling with the decision on which top to use. I agree that the body is a little "heavy" looking for the hard top while it lends itself nicely to the more closed in style of the Carson top. Short of sectioning I was thinking of running a thin chrome trim strip down the side just above the skirt to break up the slab side. As far as the rear glass for the hard top goes....the issue of the kit I'm using as a base.... 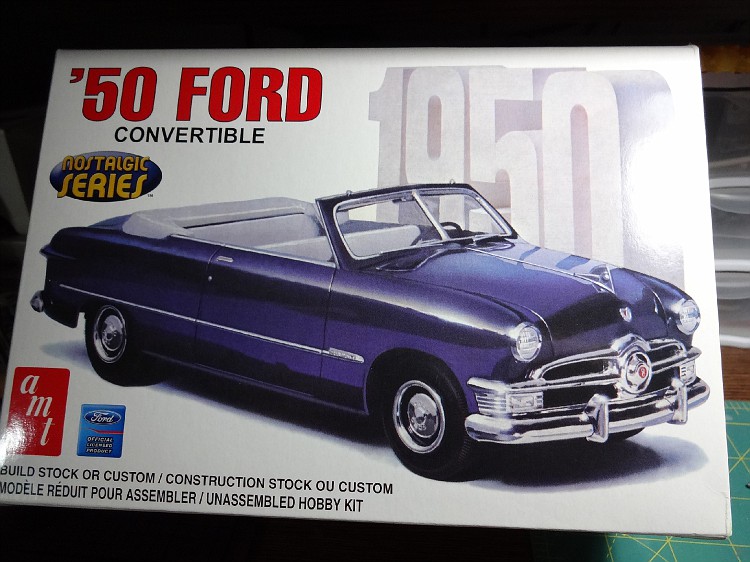 .....looks to have it conveniently on the clear tree! 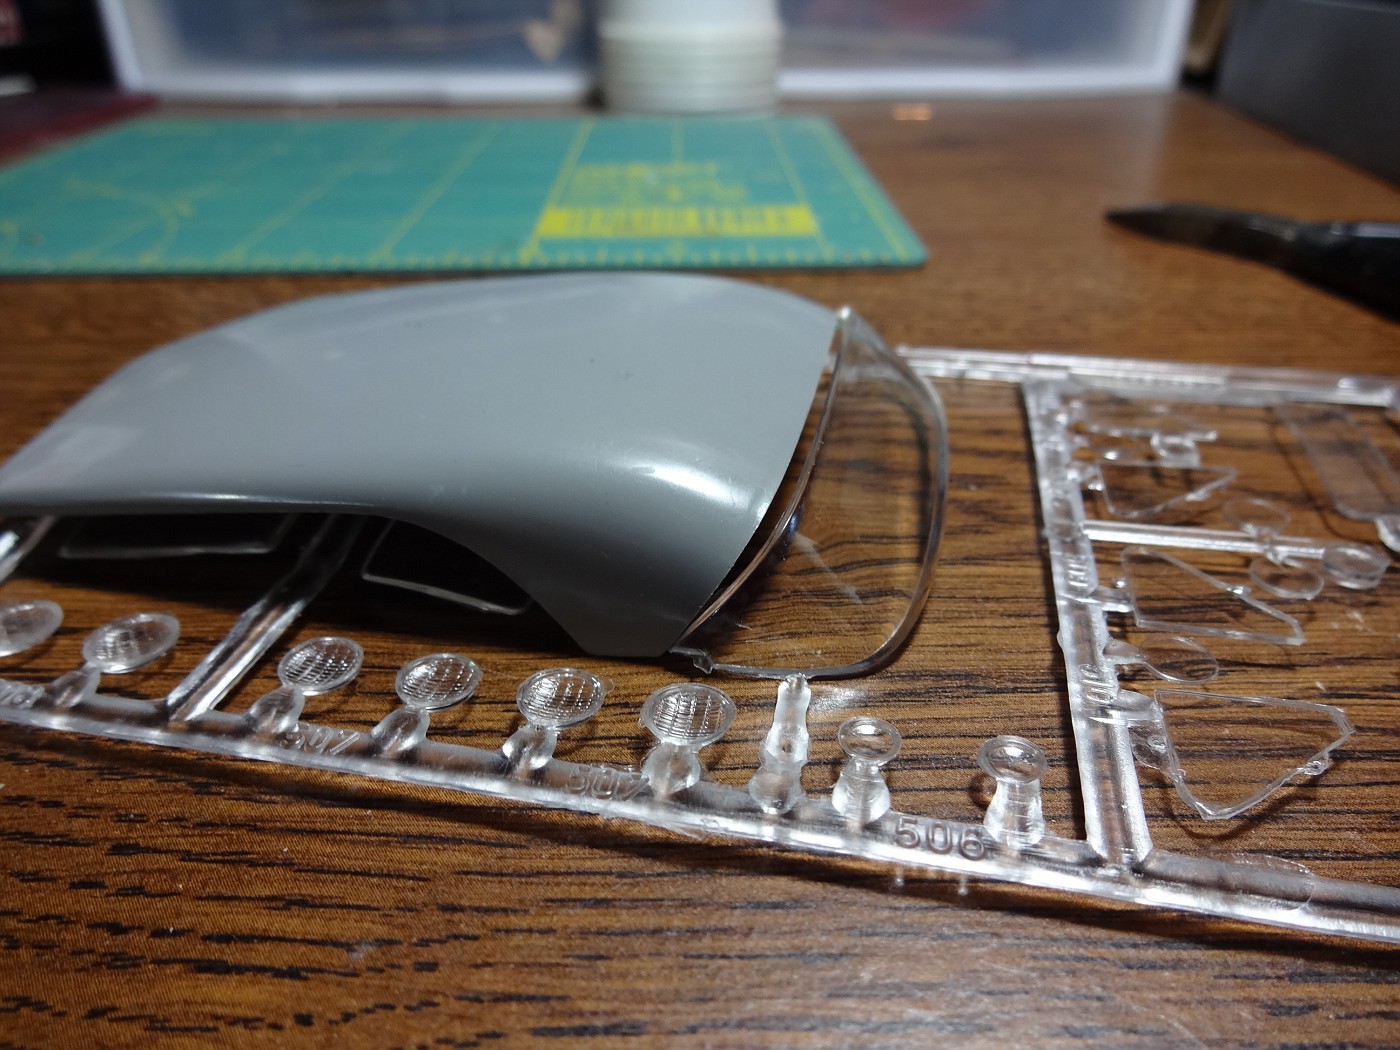 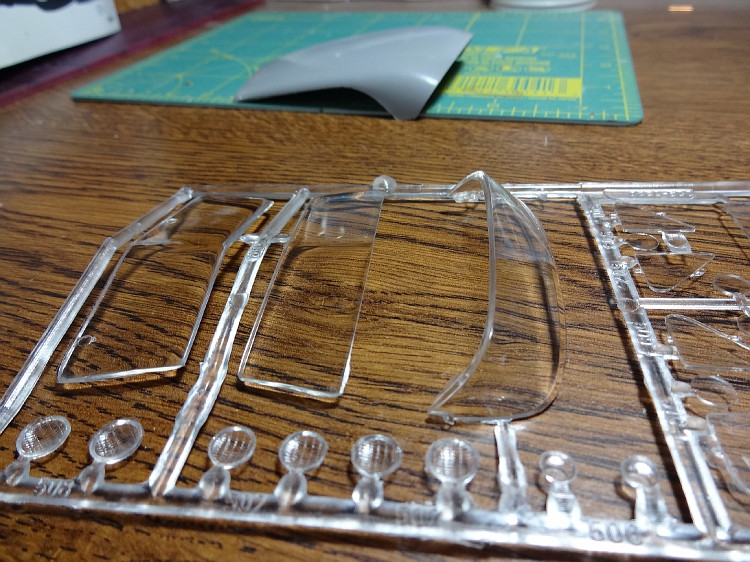 Just goes to prove you just never know what parts you'll find in some of these reissues of old kits!  |
|
Deleted
Deleted Member
Posts: 0
|
50 Ford
Jan 19, 2015 14:18:17 GMT -5
Post by Deleted on Jan 19, 2015 14:18:17 GMT -5
For the back light, (rear glass), that's a fairly easy fix. Go by Hobby Lobby, (or any other hobby/craft store), & in the models aisle, (on the side of the aisle that has the glue, tools, paint, etc), is clear plastic under the name of "Clear-Lay Film". There are four 8.5"X11" sheets in a pack, & they come in clear & tinted packs. The clear packs come in either single thickness or a variety pack of different thickness. I always use the .005" thick sheets, either clear or tinted.
Now to install these on your model, do the following steps:
1-Precisely measure all around the window opening once the roof part is installed & ready for the "glass". I'd recommend using a set of calipers to get every different measurement you need. Make notations. Transfer these measurements to a sheet of the "Clear-Lay". Cut it out & trim to a precise fit.
2-Attach the "Clear-Lay" to one corner of the roof/body, preferably on one side where they meet. I'd use Aleene's Tacky Glue, which is a clear white glue with good bonding strength, or the Aleene's Clear Gel version, or Microscale's Micro Krystal Klear. All three of those are my main glues for clear parts.
3-Proceed placing dots of the glue around the outer perimeter of the clear film to hold it in place, as you carefully curving the clear film to follow the contours of the opening. Once you get it all aligned & the glue sets, follow up by running a bead of glue around the outer perimeter of the film.
That's it!
Now, if your don't have a set of calipers, an alternative is to make a paper template of the back light opening & transfer that to the clear film.
|
|
Deleted
Deleted Member
Posts: 0
|
50 Ford
Jan 19, 2015 14:39:15 GMT -5
Post by Deleted on Jan 19, 2015 14:39:15 GMT -5
Thanks all for your suggestions! I'm still struggling with the decision on which top to use. I agree that the body is a little "heavy" looking for the hard top while it lends itself nicely to the more closed in style of the Carson top. Short of sectioning I was thinking of running a thin chrome trim strip down the side just above the skirt to break up the slab side. A thin strip of chrome will work very well as an alternative to sectioning if you chose the chopped top. Another idea is a set of slightly taller skirts, but since you already have a set attached, (& a set I really like!), that's not as viable. |
|
|
|
50 Ford
Jan 19, 2015 16:12:24 GMT -5
Post by Johnny on Jan 19, 2015 16:12:24 GMT -5
Sorry for the crappy pics, but might be some guidance. On the left is a unmolested kit and on the right is a sectioned build I started many years ago. It's been sectioned by the width of the saw blade, approx. 2 mm. That's not much, but that was what I was aiming for, a subtle section job. I have paired them with both roof options:   Pic number 2 isnt the best, since the unmolested windshield frame was not trimmed to fit. But still, might be helpful. |
|
Deleted
Deleted Member
Posts: 0
|
50 Ford
Jan 19, 2015 16:54:29 GMT -5
Post by Deleted on Jan 19, 2015 16:54:29 GMT -5
That does look good with a slight section. You should finish it.
|
|
|
|
50 Ford
Jan 19, 2015 17:40:07 GMT -5
Post by Johnny on Jan 19, 2015 17:40:07 GMT -5
Thanks Ron, I'll think about it. The reason it got stalled was too much work involved and lost interest of customs at the time. I often think about it and I might give it a try later. I'll keep my eyes on yours first, that might be the fire to lit my interest  |
|
|
|
50 Ford
Jan 19, 2015 20:16:44 GMT -5
Post by Kustoms Illustrated on Jan 19, 2015 20:16:44 GMT -5
'49-'51 Fords absolutely need side trim whether they are chopped, sectioned, stock or otherwise.
|
|
|
|
50 Ford
Jan 26, 2015 12:12:11 GMT -5
Post by froghawk on Jan 26, 2015 12:12:11 GMT -5
The '50 Ford ragtop kit I have is a relatively recent reissue. While it doesn't include the hardtop roof, the rear glass for it is included on the clear sprue. Check your boxes!
|
|
|
|
50 Ford
Jan 26, 2015 12:15:56 GMT -5
Post by froghawk on Jan 26, 2015 12:15:56 GMT -5
'49-'51 Fords absolutely need side trim whether they are chopped, sectioned, stock or otherwise. Most definitely! |
|
|
|
50 Ford
Jan 26, 2015 12:45:36 GMT -5
Post by Mr409 on Jan 26, 2015 12:45:36 GMT -5
'49-'51 Fords absolutely need side trim whether they are chopped, sectioned, stock or otherwise. I agree with this idea, it might make the body look "lower" so that it doesn't need sectioning. But whatever way you decide to go with this one, I bet it will look very good. |
|
Deleted
Deleted Member
Posts: 0
|
50 Ford
Feb 2, 2015 17:49:23 GMT -5
Post by Deleted on Feb 2, 2015 17:49:23 GMT -5
Thanks again all for your suggestions and encouragement. I've decided to go with the Carson top with a chrome trim strip down the side. I'm using the Caddy engine from the 49 kit and wanted a set of Cadillac lettered valve covers so I dug into this old built up 59 El Camino I bought for the body. Looks like the original builder followed the "scrape plating from chrome parts before cementing" to the letter. These things are welded on! 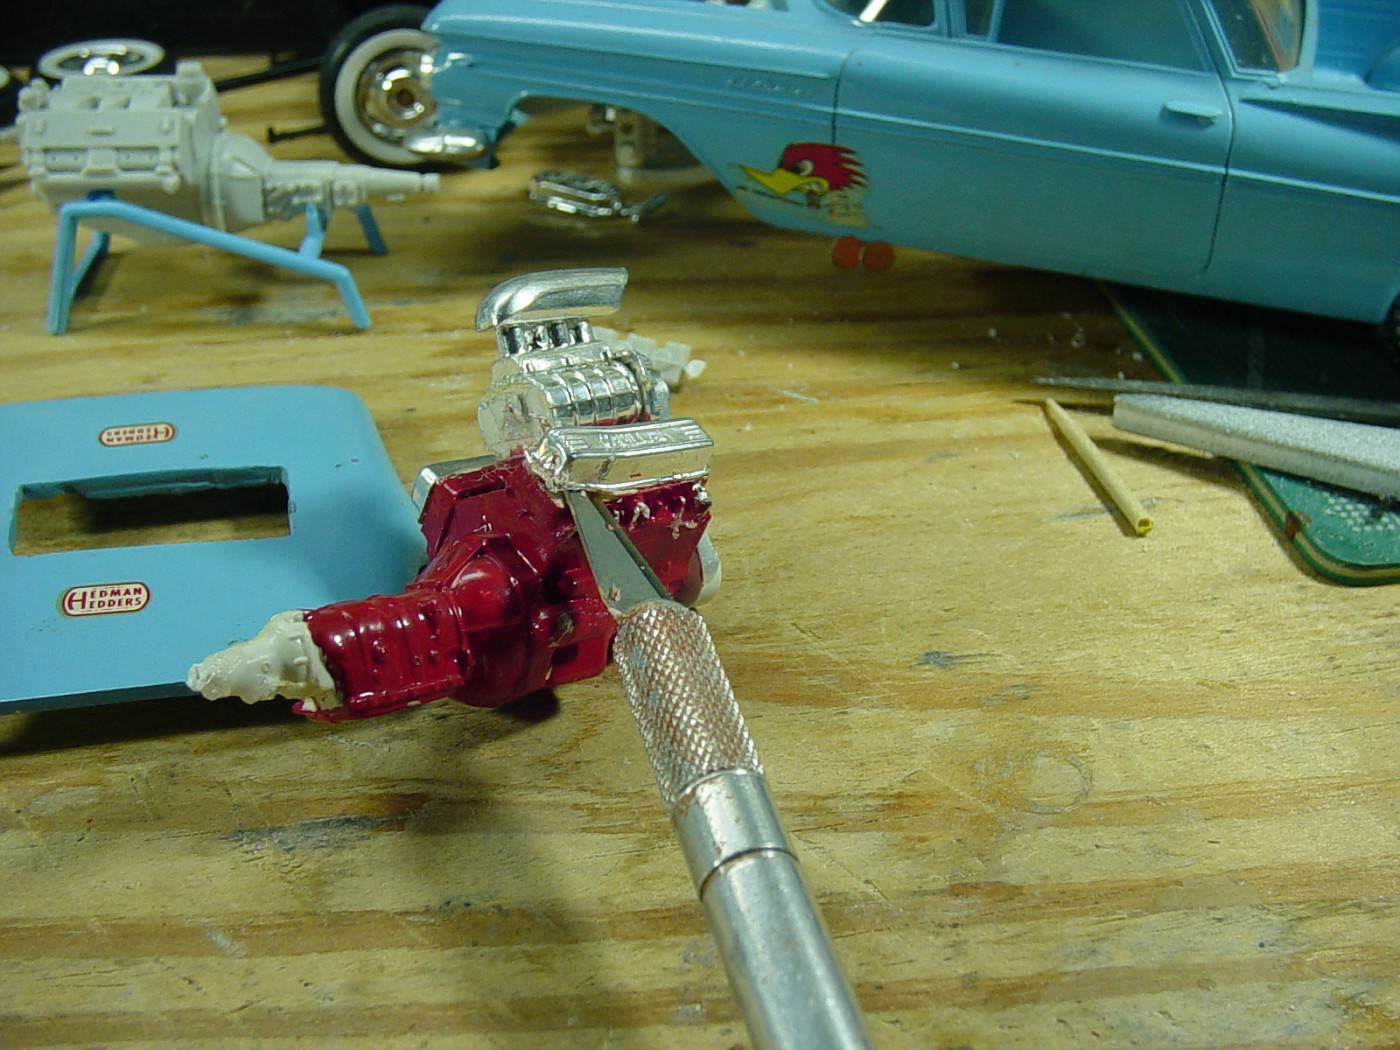 Also found this cool carved from Styrofoam interior in the El C. Never seen anything like this before.  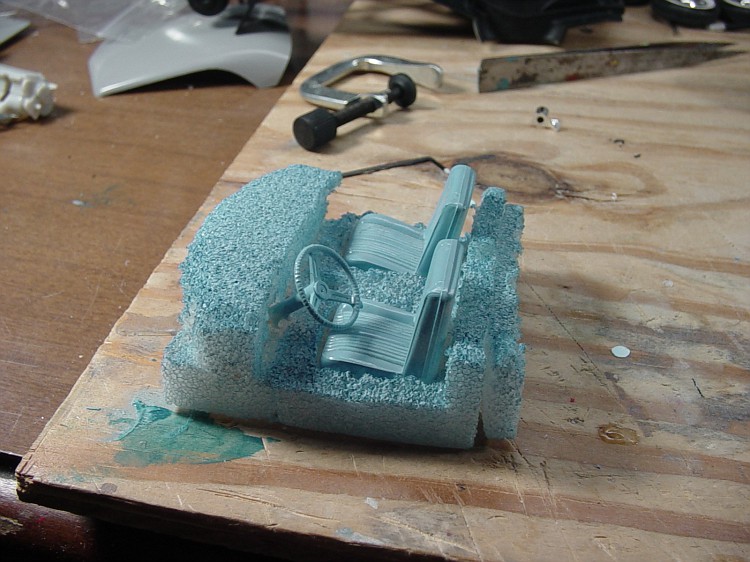 I could not separate the Caddy valve covers from the heads so I just cut the heads off and sanded the material down to recover the valve covers. Thinking about casting a few sets of these for future use. 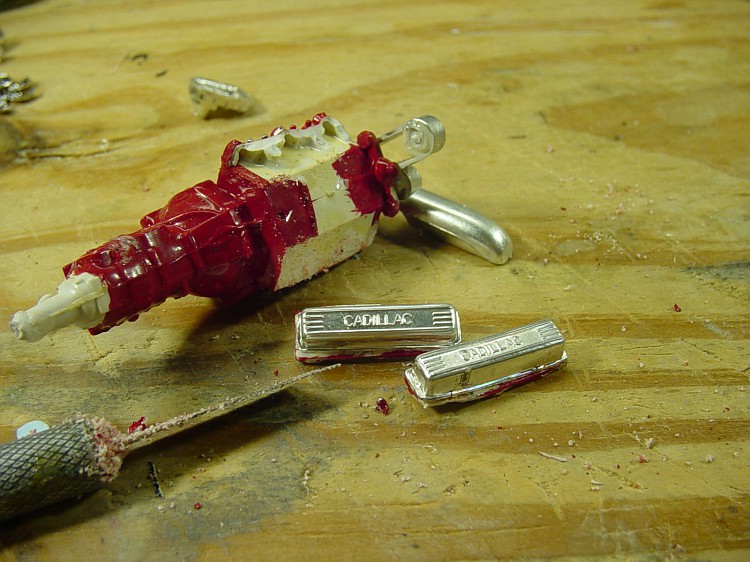 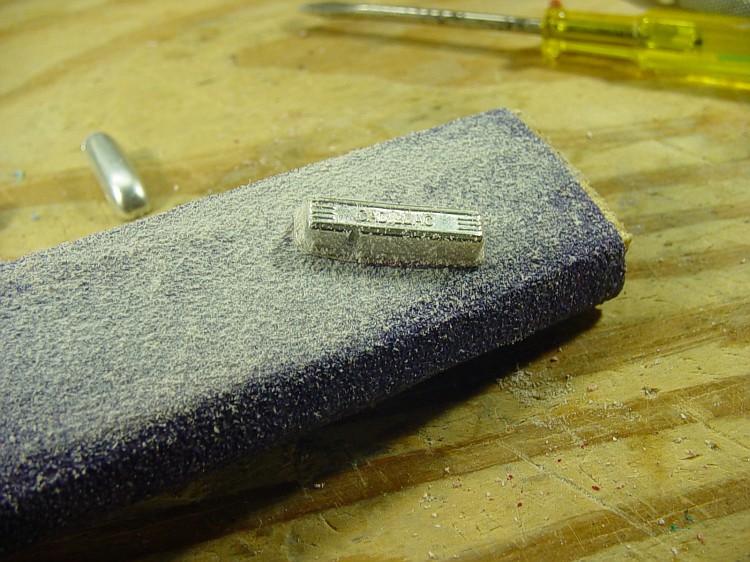 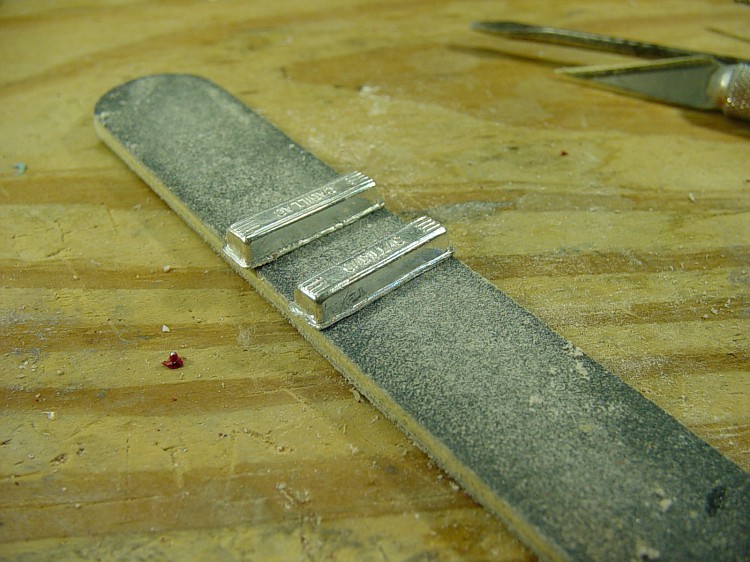 |
|
|
|
Post by Johnny on Feb 3, 2015 1:47:09 GMT -5
Great work saving the valve covers. But the interior...? Hmmm...  |
|
Deleted
Deleted Member
Posts: 0
|
50 Ford
Feb 10, 2015 13:18:10 GMT -5
Post by Deleted on Feb 10, 2015 13:18:10 GMT -5
After getting the valve covers ready to install I realized these were the only pair I had so I decided to make a mold. I started by using white glue to secure them to a piece of index card. 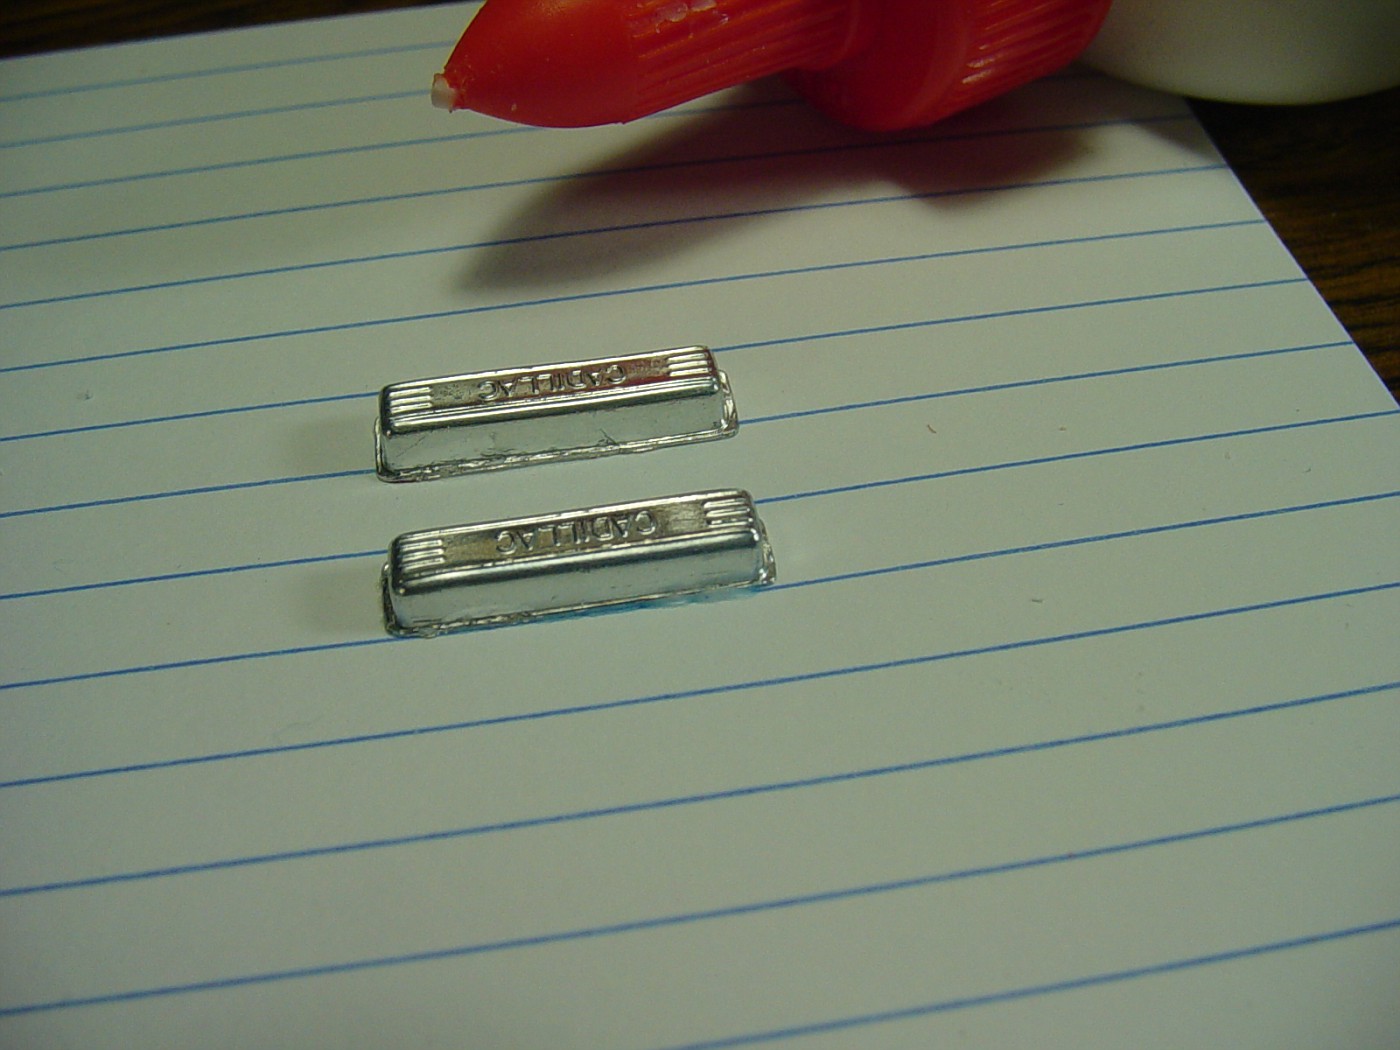 While I was at it, my original built up Blue Beetle arrived so I thought it would be a good idea to mold those heads too. 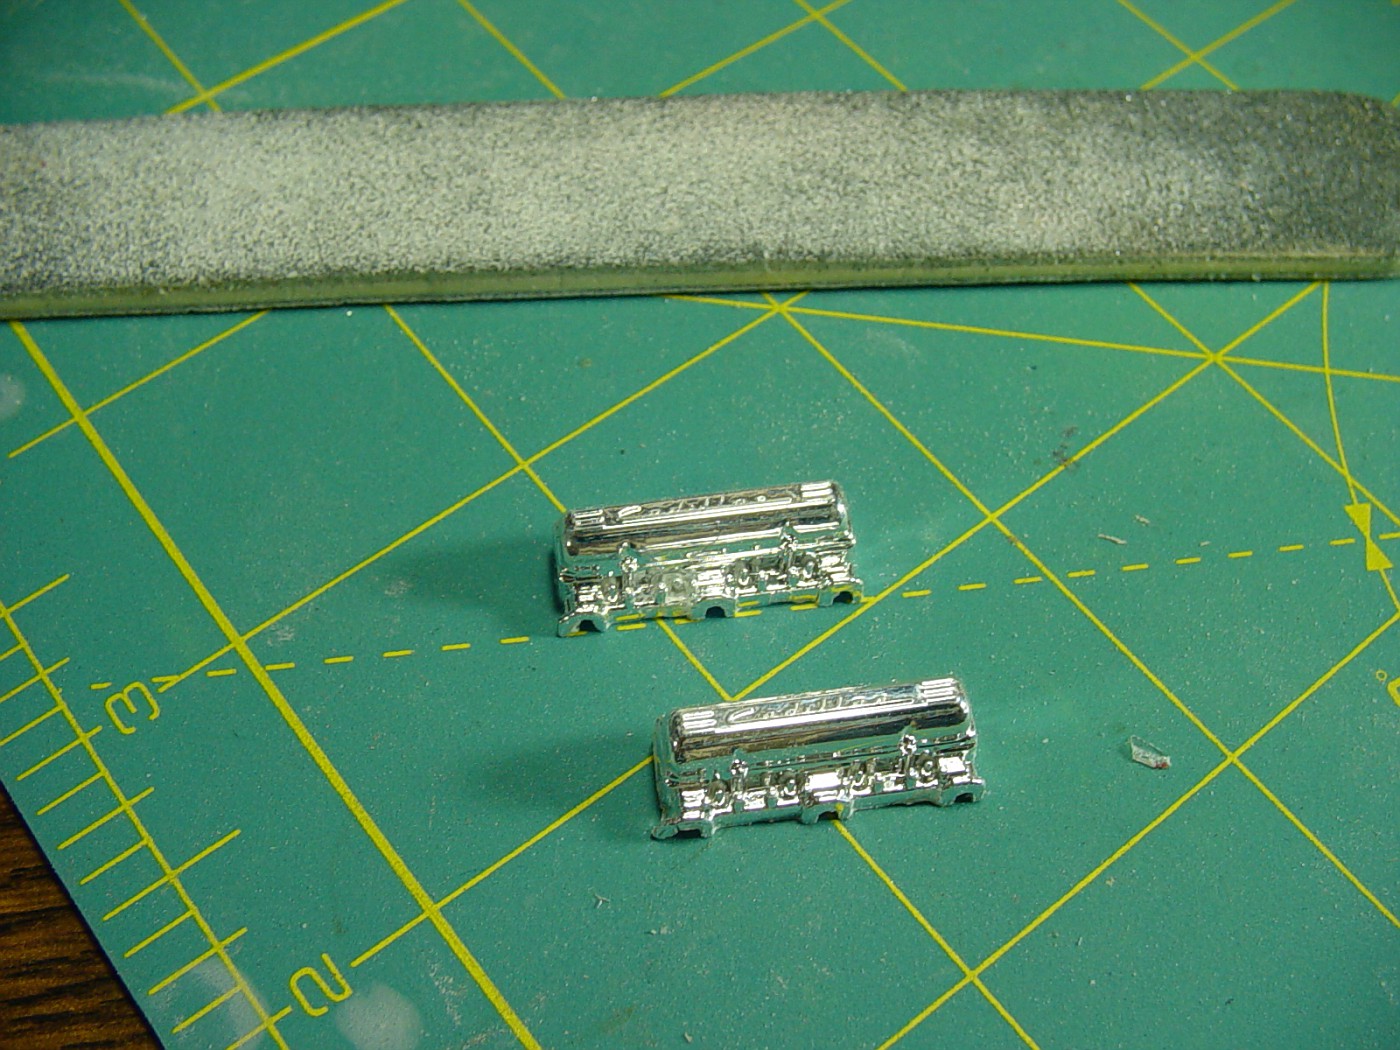 I built up a mold box with Lego blocks, again glued to the card with white glue with the book to hold it all in place until the glue set 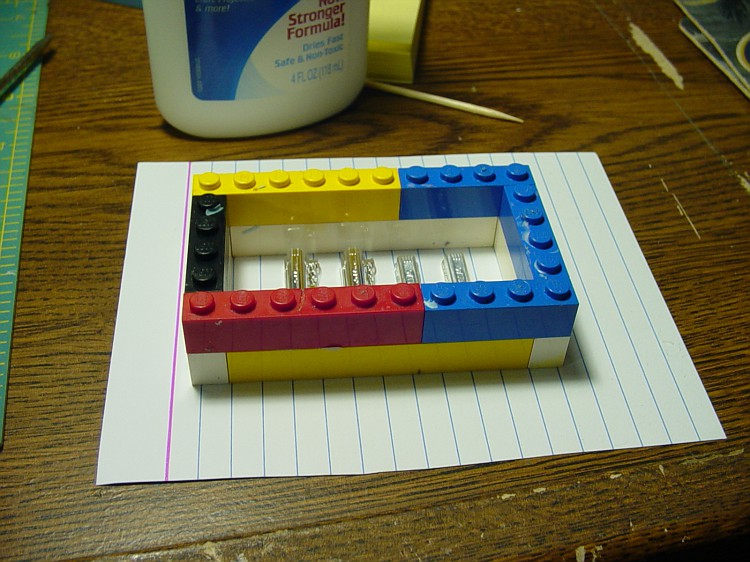 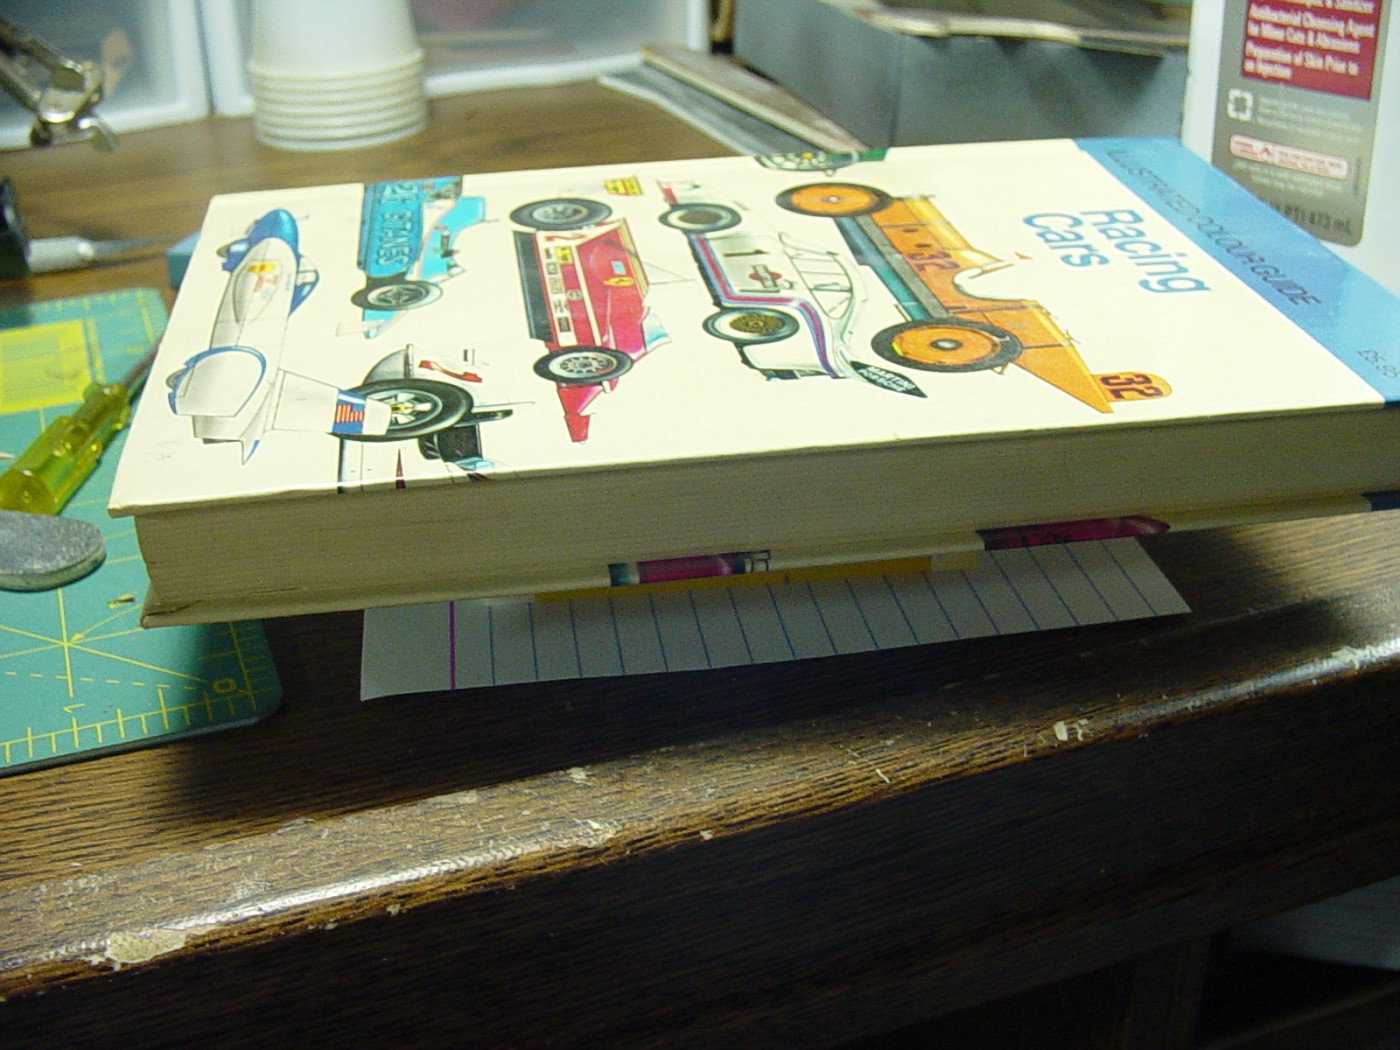 Time to pour rubber, I like this stuff. I follow the instructions to the letter 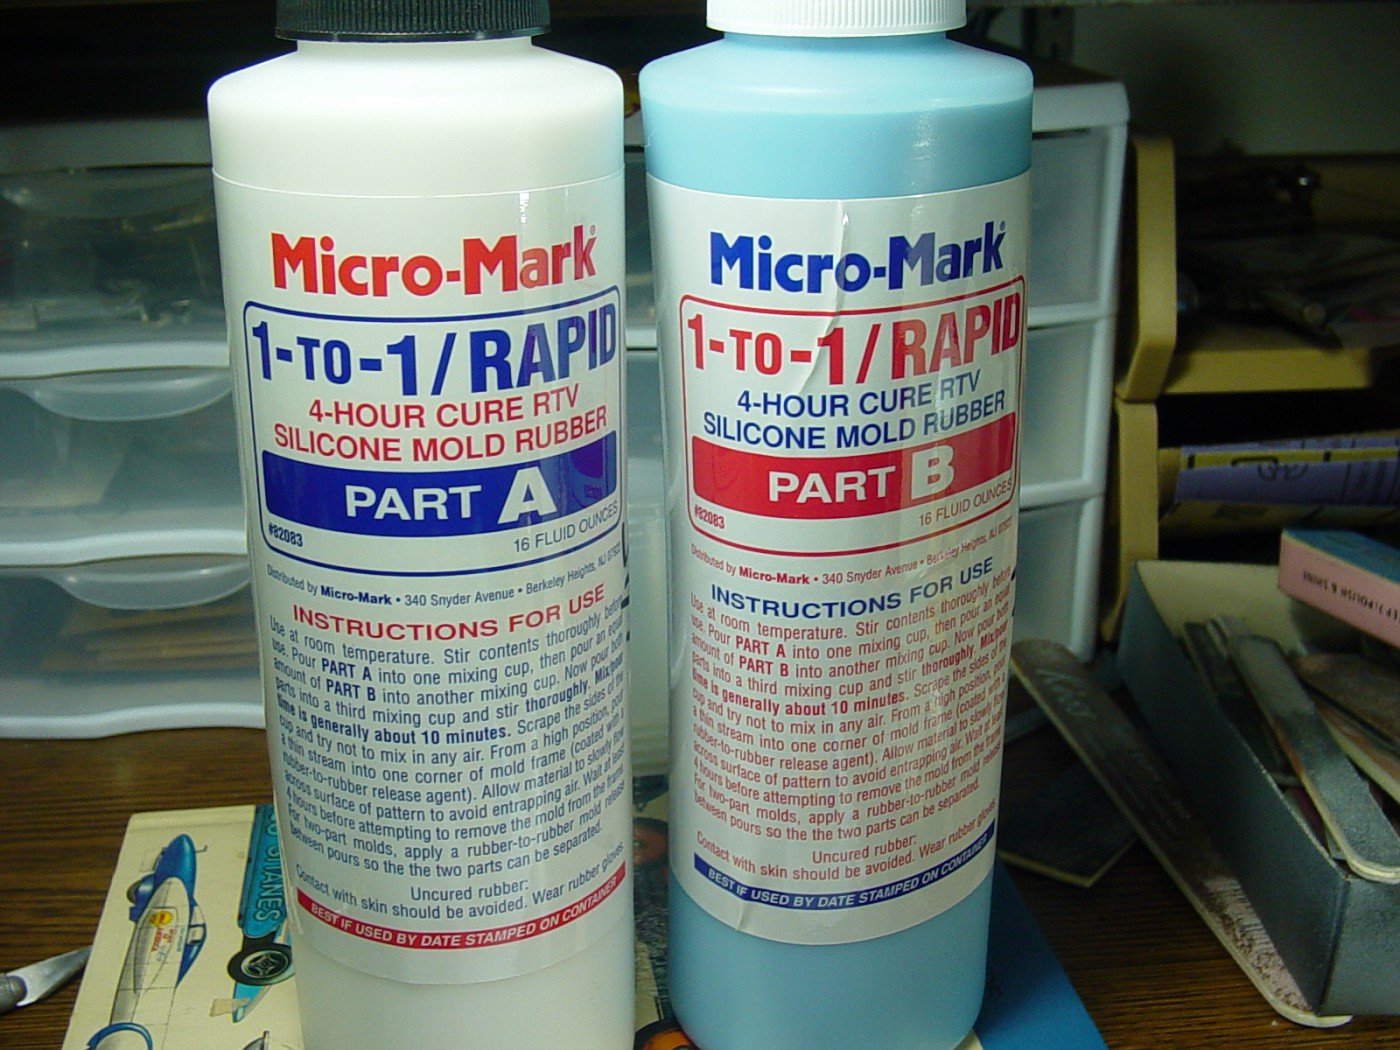 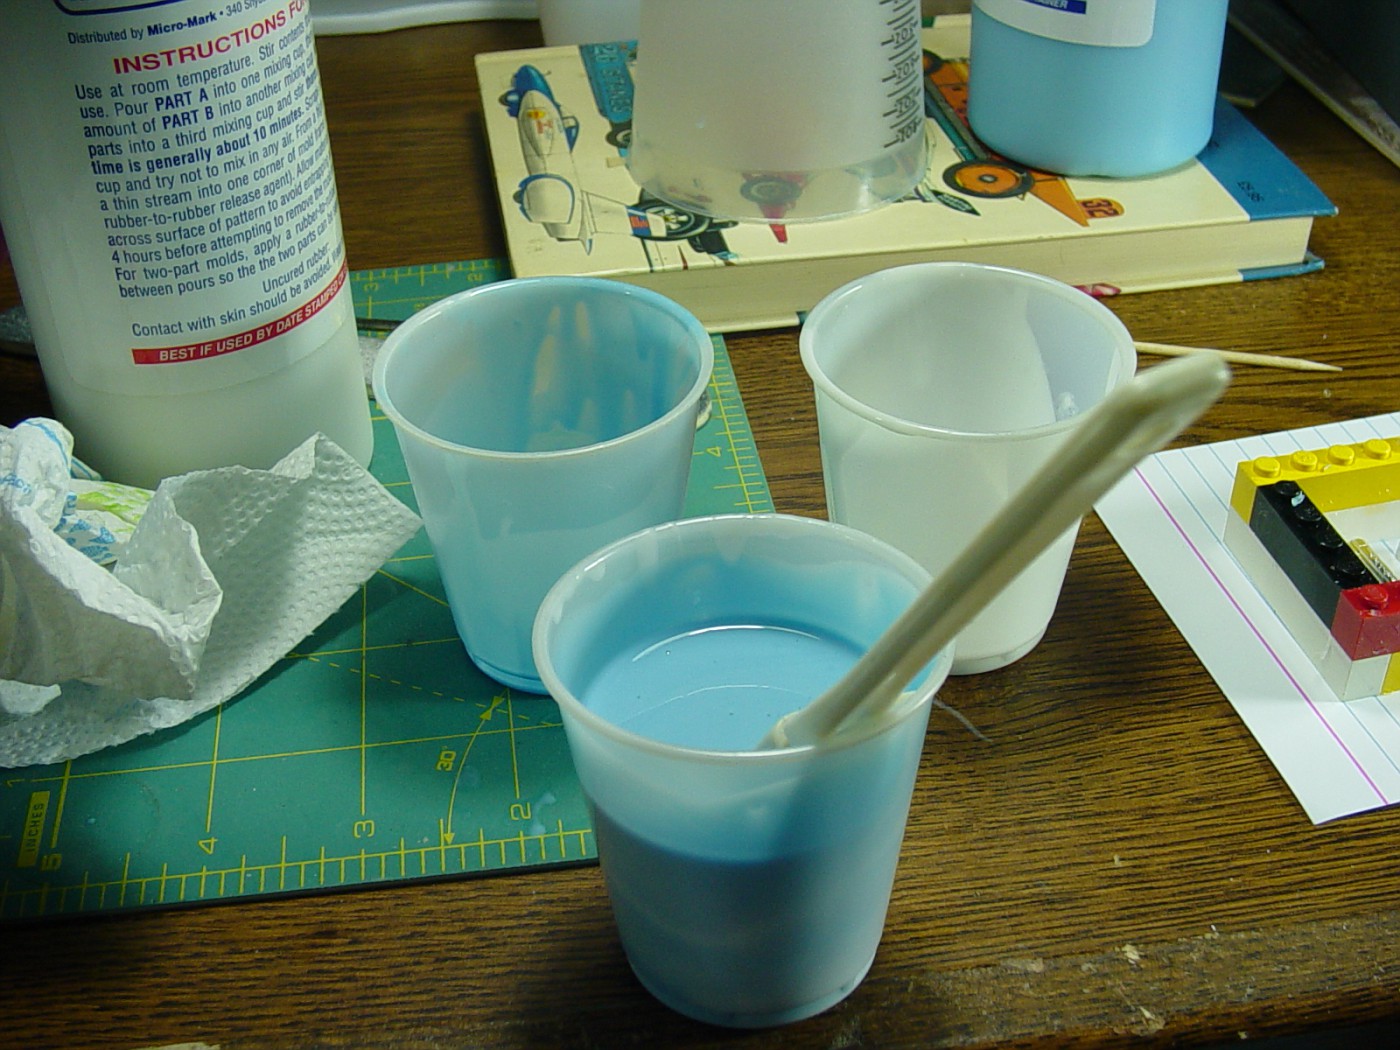 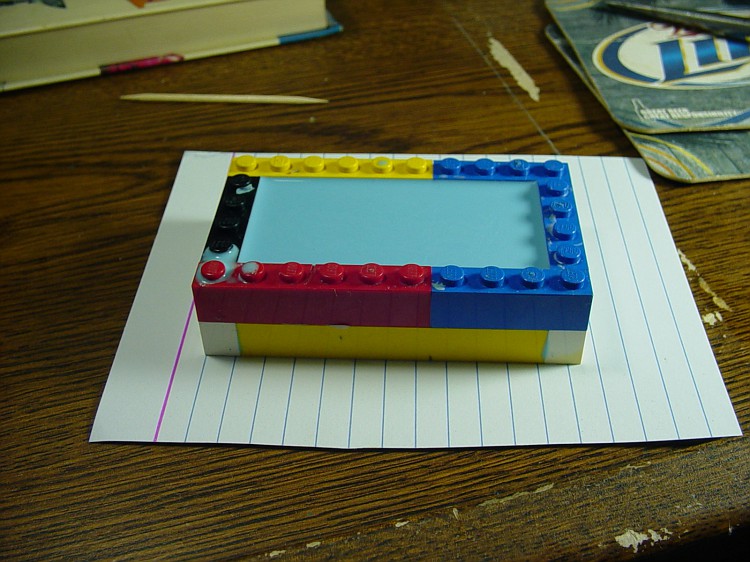 After curing overnight I broke down the mold box and popped out the masters. 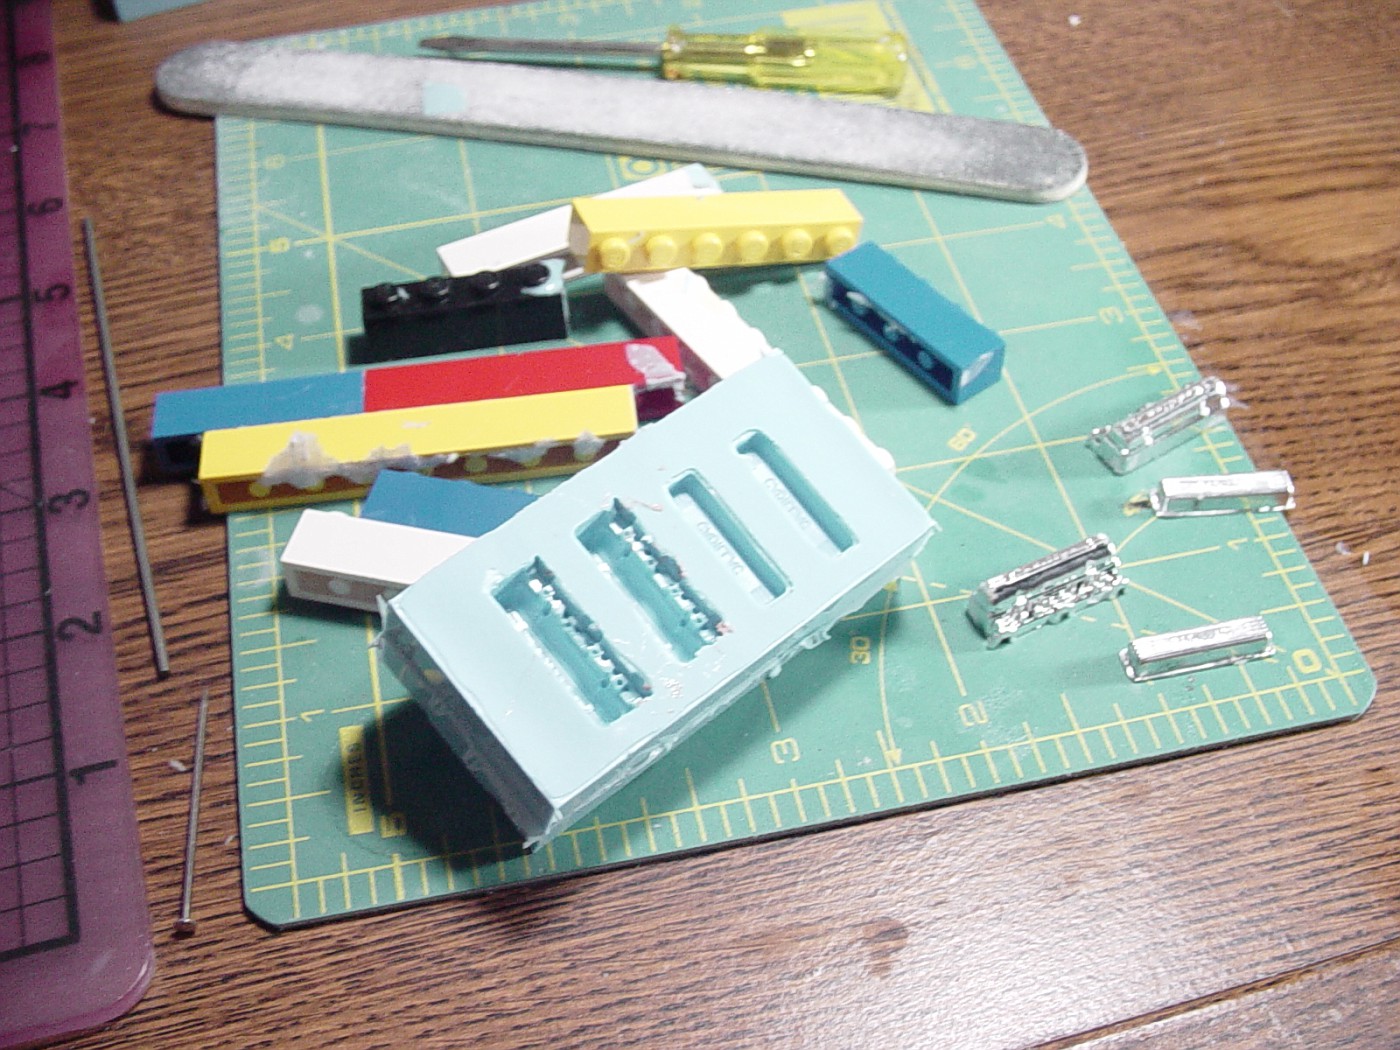 After a little clean up...ready to make resin copies. 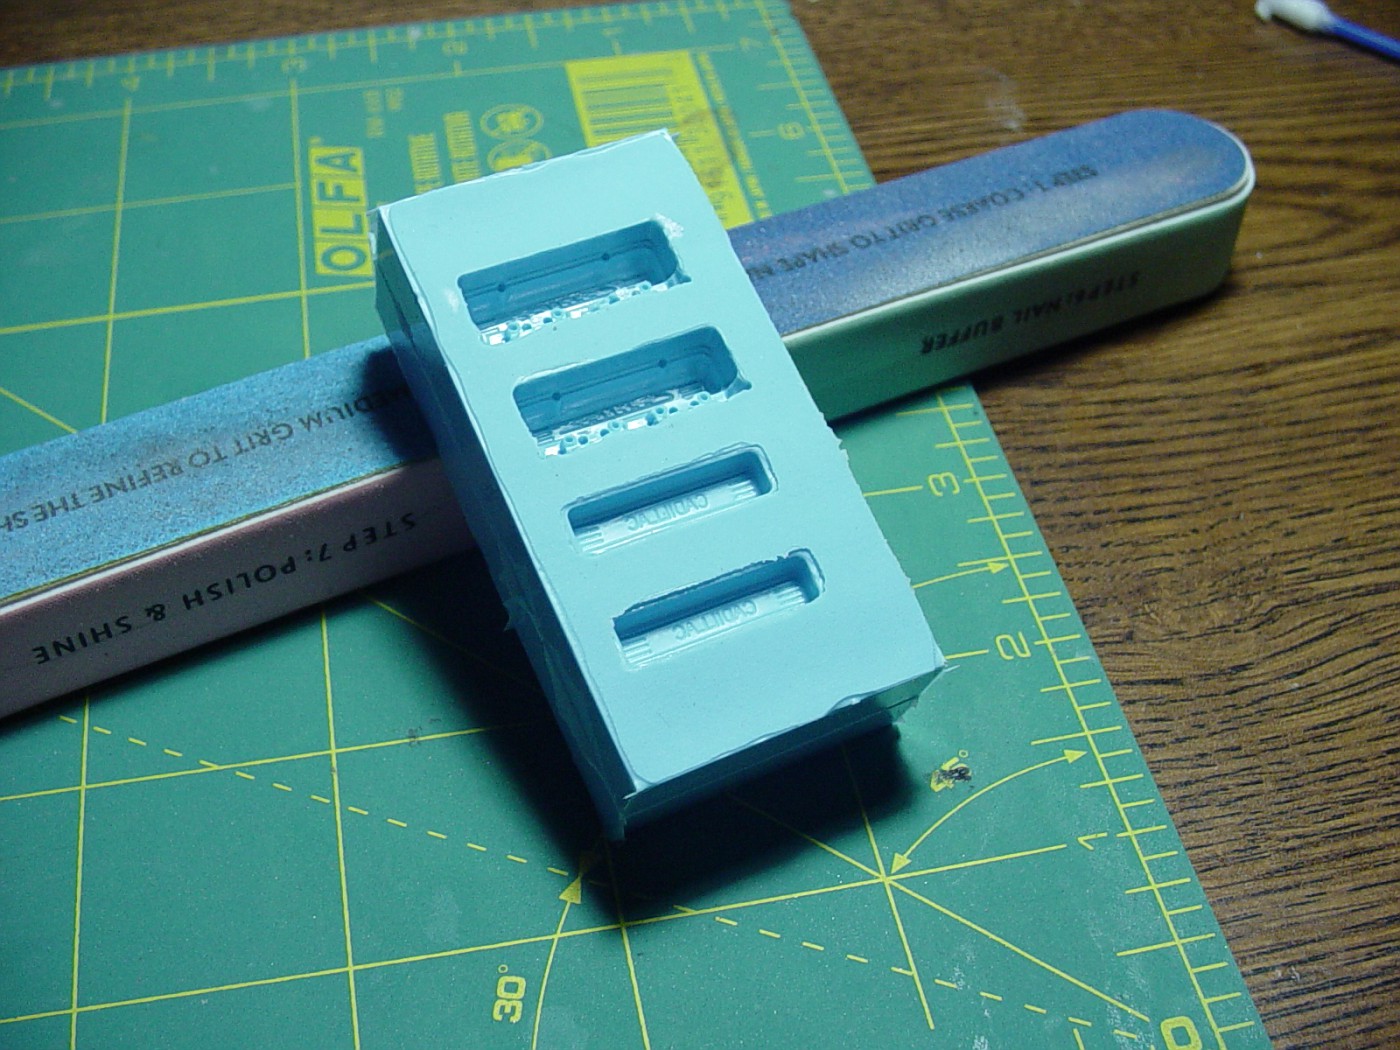 |
|
|
|
50 Ford
Feb 10, 2015 13:43:11 GMT -5
Post by steveb on Feb 10, 2015 13:43:11 GMT -5
Nice work on the mold!
|
|
|
|
50 Ford
Feb 10, 2015 15:17:12 GMT -5
Post by Johnny on Feb 10, 2015 15:17:12 GMT -5
x2 You make it look surprisingly easy Ron - can't wait to see the result of the resin parts.
|
|