|
|
Post by afx on Jan 22, 2019 15:13:58 GMT -5
Engine looks great Niko.
|
|
|
|
Post by Plowboy on Jan 22, 2019 15:33:12 GMT -5
The engine looks good. But, those stock heads just don't fit in IMO.
|
|
Deleted
Deleted Member
Posts: 0
|
Post by Deleted on Jan 23, 2019 9:25:13 GMT -5
I really like the home built style of this. NICE work.
Robert
|
|
|
|
Post by Mr409 on Jan 23, 2019 14:02:28 GMT -5
Thanx Guys, I appreciate the kind words!
Roger, I would also like to swap the heads to aftermarket pieces, but even more than that I want to stick with the G/G class which prohibits the use of aftermarket cylinder heads. The reason why I don't want to move to another class, I'm worried about the Flathead not being competitive enough in the faster classes, despite having the aftermarket heads.
|
|
|
|
Post by mod3llover on Jan 25, 2019 21:12:54 GMT -5
That's good thinking Niko! You want to be able
win some races I would think!?!
David S.
|
|
|
|
Post by constructionbob on Jan 26, 2019 3:40:09 GMT -5
Uouh.. fiddly work there. Looking sharp!
|
|
|
|
Post by Mr409 on Feb 3, 2019 13:52:08 GMT -5
Thanks David and Robert! Yep, being a Drag Racer in real life I need to try to build something that could win races as well.  This is a bit of a boring update, but at least something has happened. Unfortunately changing the stock oil filter to somekind of aftermarket unit didn't come to my mind before painting the engine block and heads. Now it's too late to fill the mounting spot for the stock oil filter on the cylinder head, so I'll have to use that. But I had to fill this hole on the stock filter: 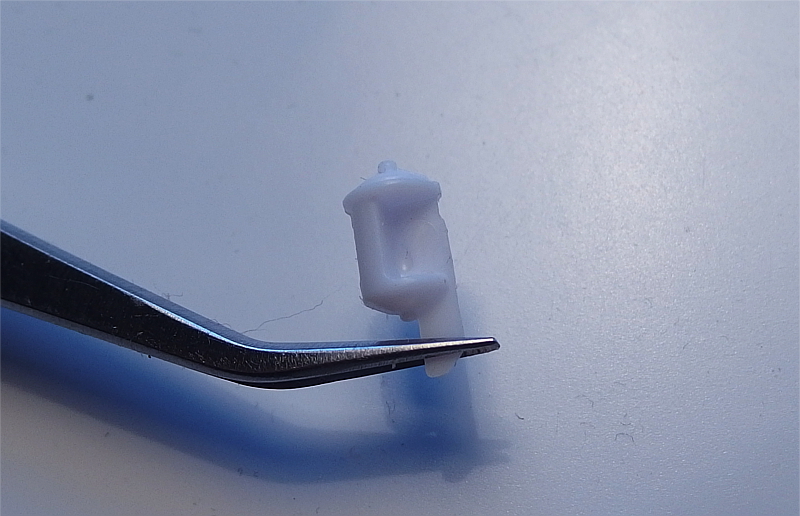 It was filled with a couple of pieces of sheet styrene that I sanded to correct shape after gluing them on. 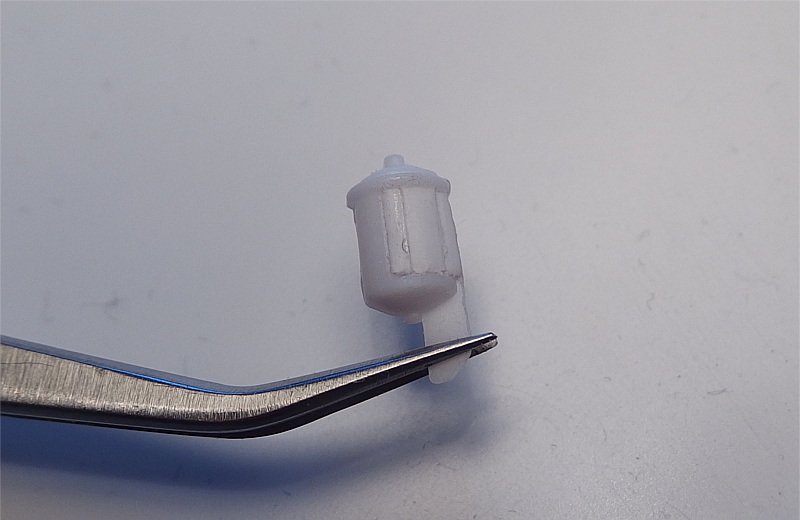 Just a bit of putty and sanding... Now it's ready for paint. 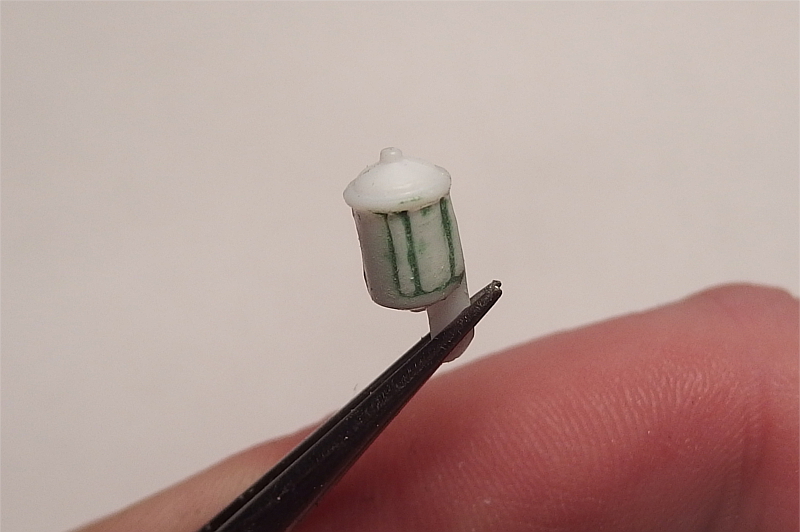 |
|
|
|
Post by Mr409 on Sept 17, 2019 9:31:17 GMT -5
The summer went fast and I had no time to build anything (except 1:1 scale). Now when the autumn is here, I hope I can find a bit more time for modeling as well. At least I was able to take the Plymouth back on the bench and do a little work with it. Front suspension parts needed some attention. Leaf springs had axle mounts on top of the springs, and instead on my version the axle has to go under the leaf springs. Also the stock upper A-Arms were molded to the chassis, so they had to go as well. 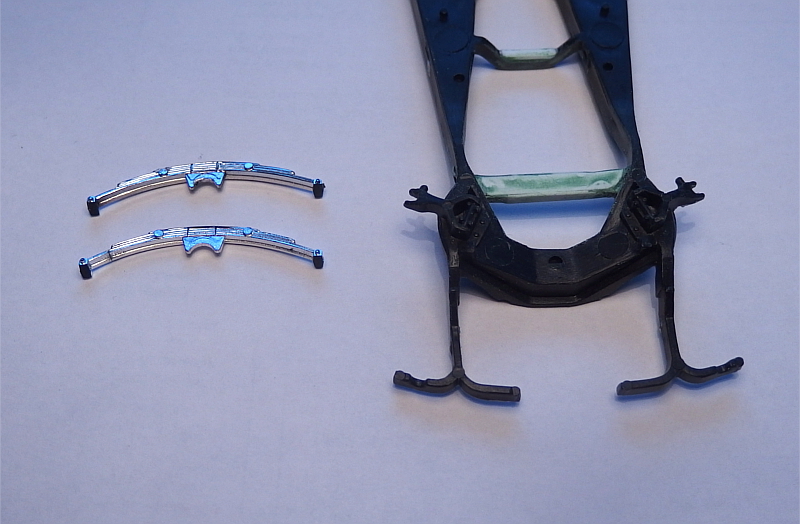 The axle mounts on leaf springs were easily removed. I also cleaned up the springs of all mold seams and all other unnecessary stuff, except that I accidentally broke the other sping in the process. Luckily it was easily glued back together, but that's why it's only half done in the picture. A-Arms were removed with a razor saw. 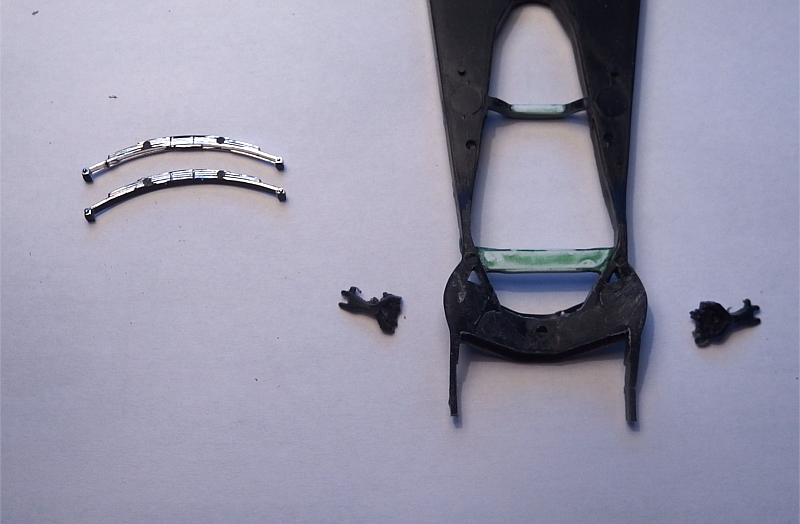 After a bit of putty the crossmember is good enough for the next step, which will be motor mounts. 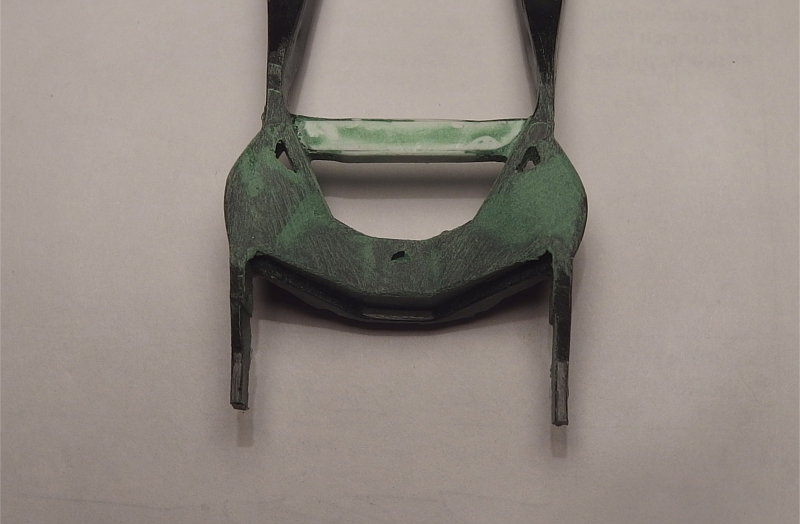 |
|
|
|
Post by Mr409 on Oct 7, 2019 15:03:46 GMT -5
Small update. The area where I removed the stock gas tank was sanded smooth and now it's ready for paint. The frame itself still needs some prep work before paint to get rid of mold lines and some flash. 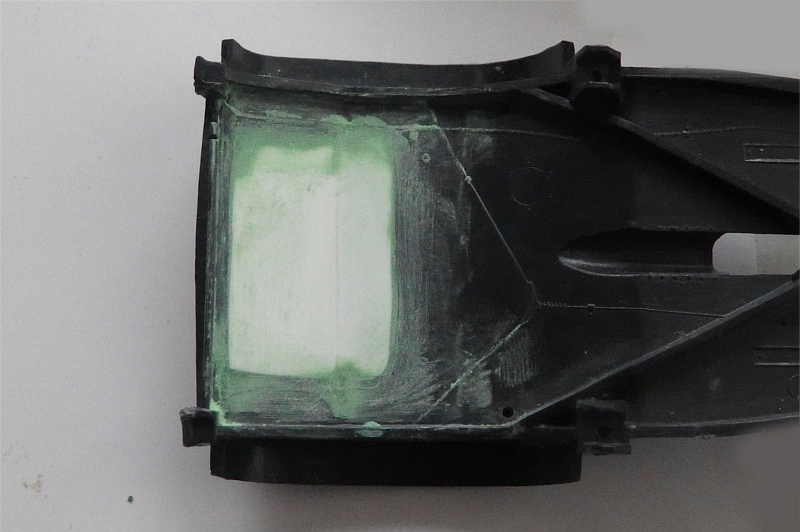 Next I scratchbuilt the motor mounts. They are quite simple actually, just some styrene rod and beer can aluminum. Once everything is painted, I will add a couple of bolt ends to finish it off. The mounts are definitely not perfect, but they're not going to be seen very well from the engine bay, either. 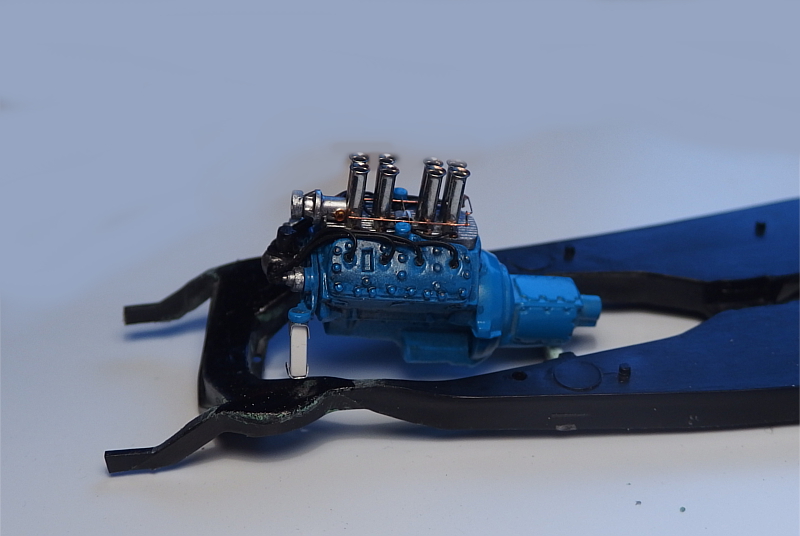 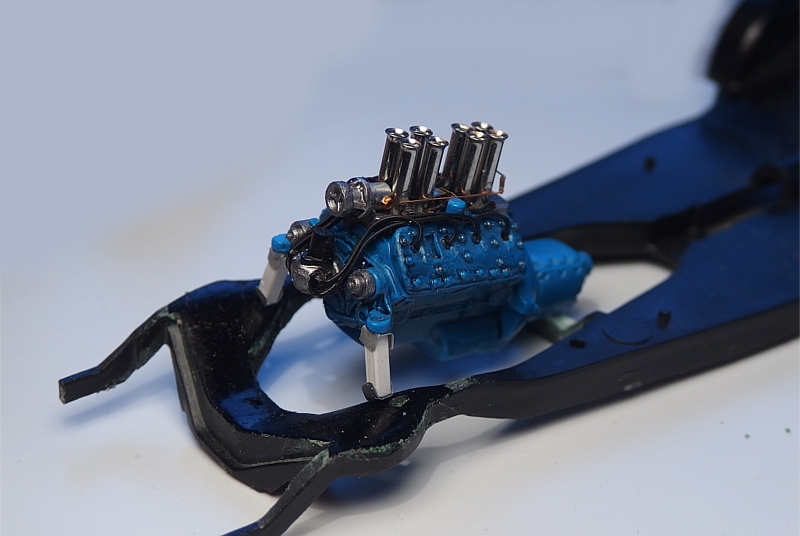 |
|
|
|
Post by mod3llover on Oct 12, 2019 13:13:35 GMT -5
I'm still digging this "big time" Niko!!
David S.
|
|
|
|
Post by Mr409 on Nov 5, 2019 15:51:55 GMT -5
Thanks David, much appreciated!
Progress has been slow as we spent two weeks in SoCal touring different car attractions and events. Now being back in Finland, I've done some work with the Plymouth too. I should have an update later this week...
|
|
|
|
Post by Mr409 on Dec 3, 2019 15:45:10 GMT -5
It took a while to be able to continue this. Next step was painting the chassis floor flat black and frame rails gloss black. Unfortunately my gloss black had dried and it wasn't until yesterday when I had the time to drive to the city to pick up some more of that. But now the frame and some other chassis parts are also painted gloss black. I hope I can get the axles and engine mounted pretty soon. 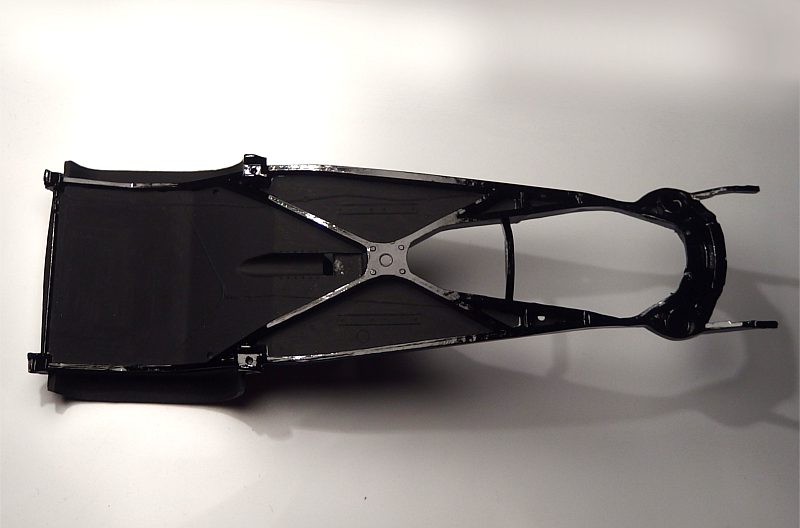 |
|
|
|
Post by mod3llover on Dec 3, 2019 18:04:34 GMT -5
The area in back where the gas tank was
looks really good now with paint on it!
David S.
|
|
|
|
Post by Mr409 on Dec 13, 2019 12:49:09 GMT -5
Thanks David! The gas tank removal turned out pretty good and it was actually a lot less work than I originally thought. Because usually when making modifications to chassis, there is huge amount of sanding and smoothing ahead with all of the tricky spots between the frame rails etc... But this one was fairly easy. Here's a little update on the Plymouth. I painted and assembled the wheels and tires. Front tires have separate white walls so I painted them flat white, sanded the tire treads and glued white walls on place. I'm not sure where are those tires from but I'm guessing they are pretty old. Rear tires are from AMT Parts Pack. Wheels are resin cast by a friend of mine and they are really nice quality. I painted them gloss red, added a bit of The Detailer's black wash to the holes on the wheels. After a bit of detail painting, I assembled the wheels and tires. 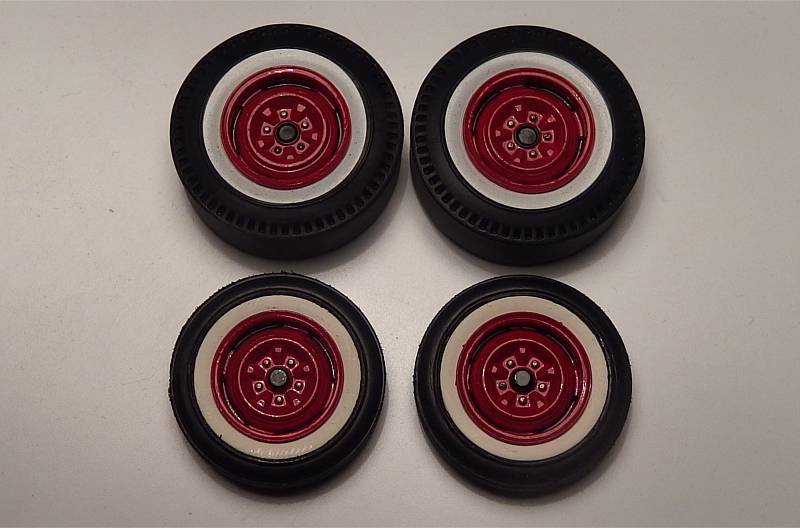 Inner wheels were a little rough to begin with. I cleaned up a little and painted them with the same shade of red. The brakes were painted gloss black. 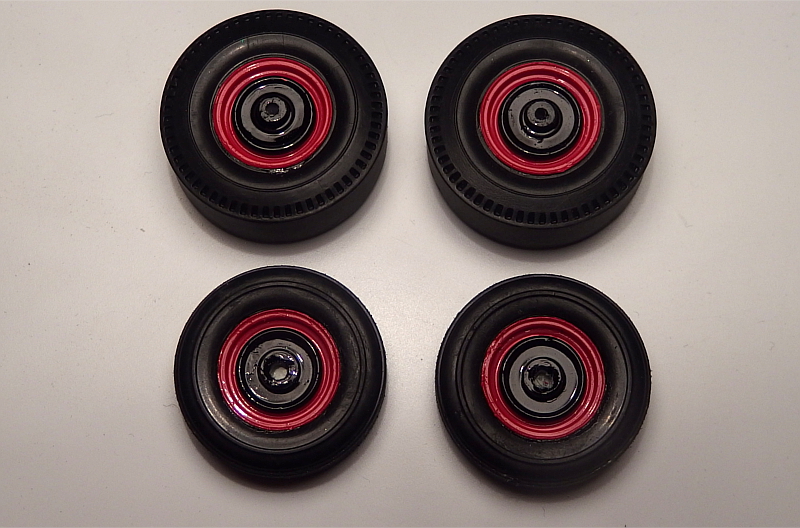 Then I started assembling the axles. Rear axle was glued on place first. Then I installed the leaf springs to the front. In the picture, the front axle is only mocked up. It was painted with Humbrol's Metallic 56 so it looks like a raw casting that hasn't been polished at all. 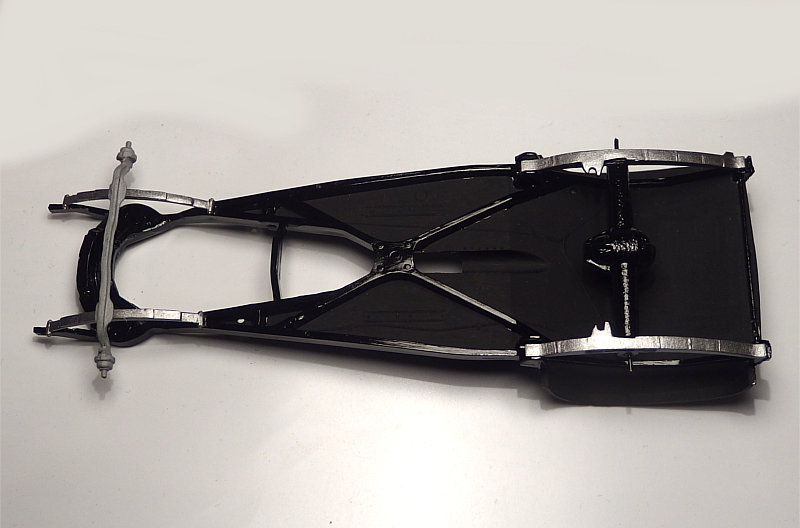 |
|
hardrock
Rebel
  Retired Military
Posts: 59
|
Post by hardrock on Dec 13, 2019 18:13:22 GMT -5
Pretty Groovy! I want to build one now great inspiration Thanks.
|
|