|
|
Post by Mr409 on Mar 10, 2024 14:58:34 GMT -5
Thanks Mike and Richard! I'm curious what size hex rod you use for the fittings and bold heads? For the brake line / fuel line fittings I've used Plastruct .040" Hex Rod. It's just big enough that you can drill a hole on it, but remember to do this first, then cut the fitting to the desired length and paint it. I've painted mine with Revell's silver, followed by Humbrol's Clear Orange. The bolt ends are Plastruct .030" Hex Rod. This is so small diameter stuff that I've used it for bolt ends only. Just cut to shape, glue carefully on place and then carefully paint it. |
|
|
|
Post by Mr409 on Mar 11, 2024 16:43:48 GMT -5
I had glued the firewall on place earlier and now I had to smooth out the seam between the interior tub and the firewall. So a little putty and sanding had to be done. Then I painted the firewall with gloss black and installed the whole interior tub to the chassis. 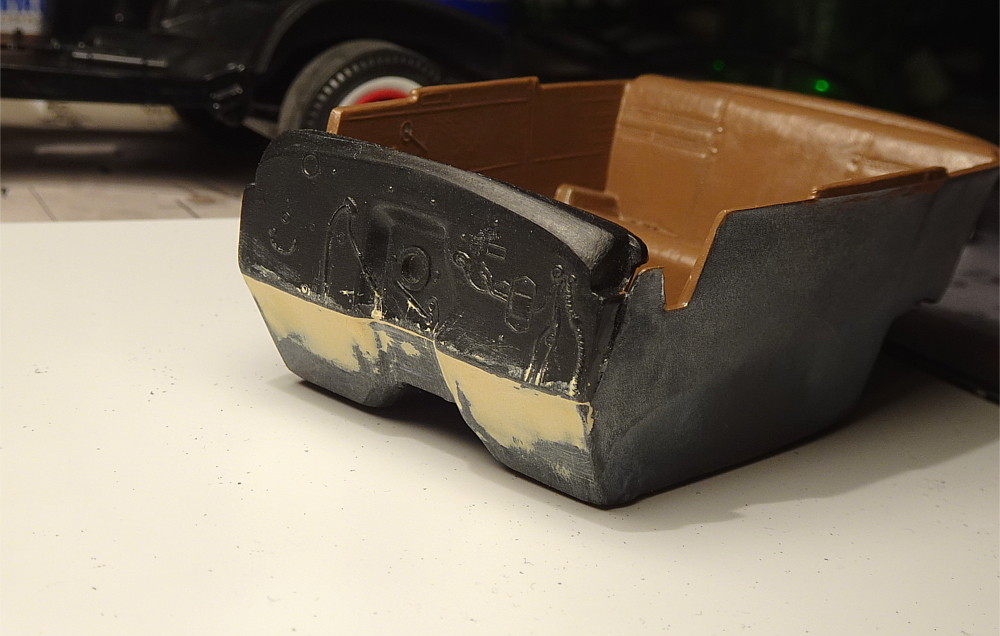 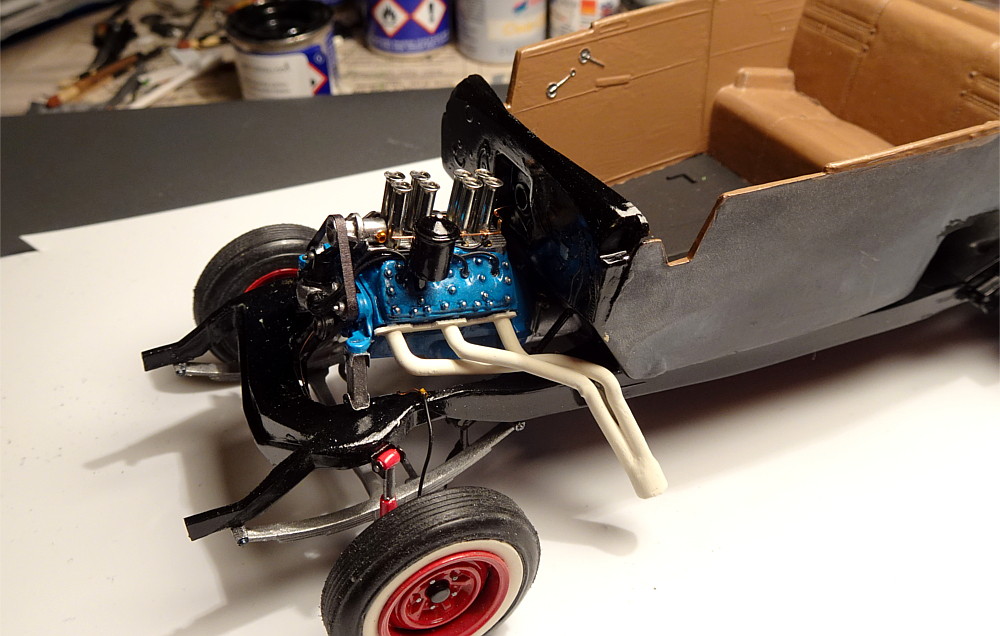 Next up was to figure out how to make somekind of a steering system for this thing... None of the kit parts would work so I had to dig some parts from my parts boxes. I started with a steering box, which might not be 100% correct for a 1941 Plymouth, but it's way better than nothing at all, and honestly it's only barely visible on the finished model. So this is the one I came up with. 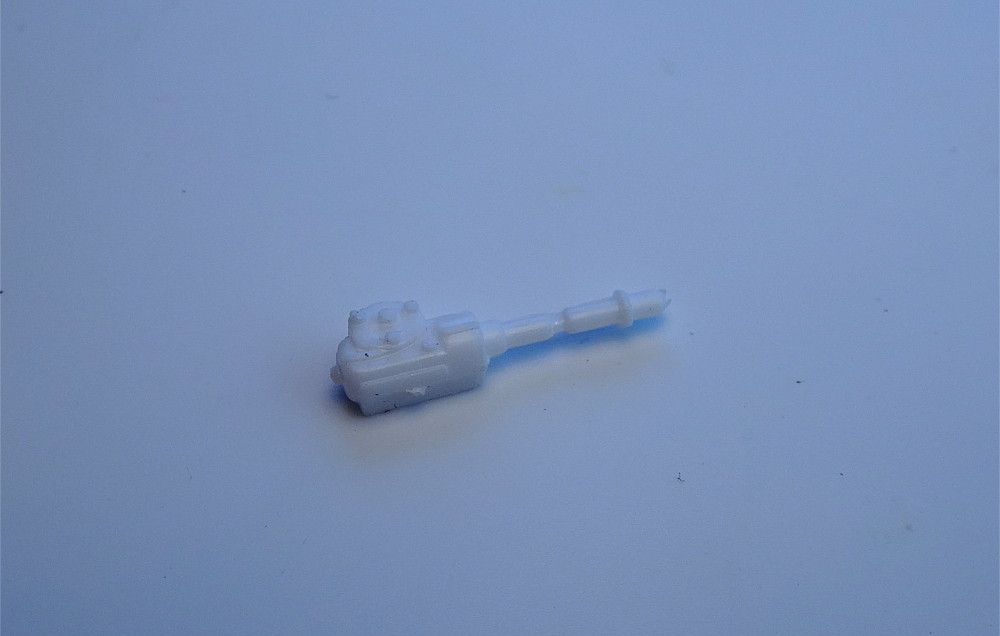 Underside of the steering box was hollow, though. 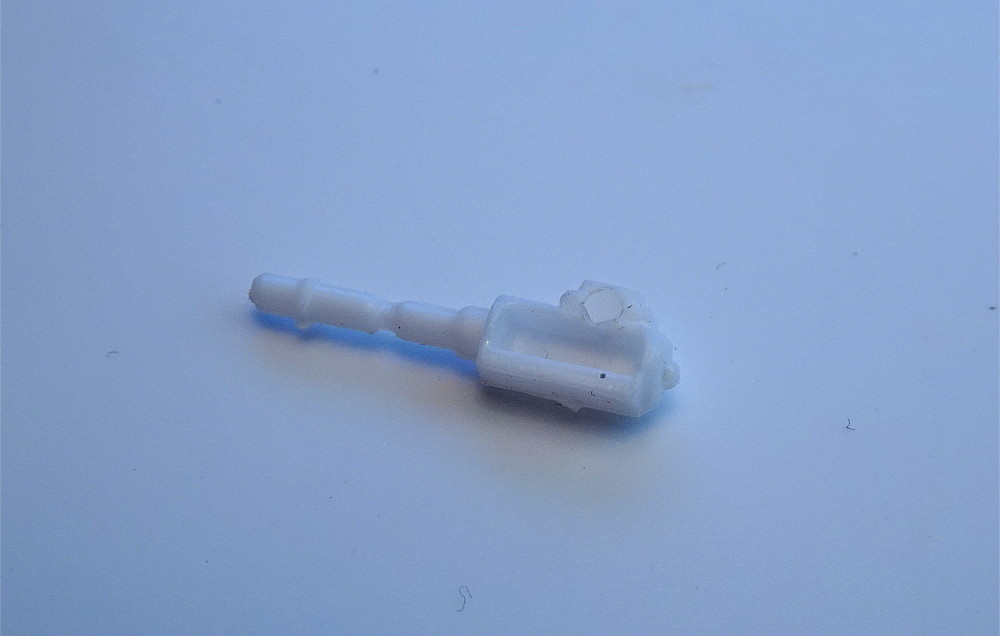 I filled the hole with sheet styrene, sanded to correct shape and then painted the steering box with gloss black. 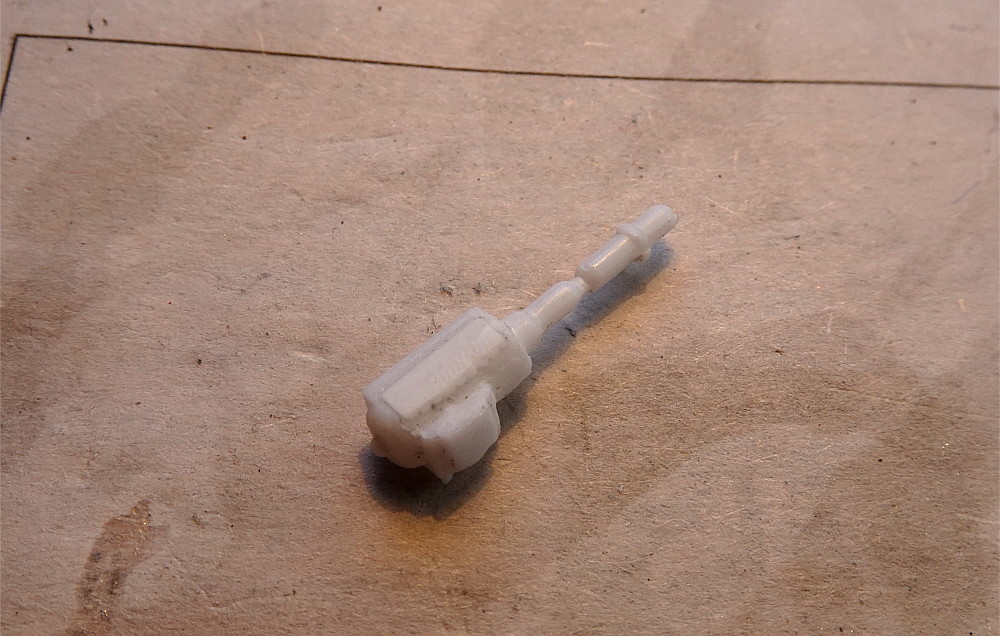 Here is a picture of the finished steering setup. Tie rod was found also in my parts box and it was a perfect fit for that axle. Only modification that I did was to cut the Pitman arm off and then I glued it back on a little different position. Tie rod was painted with Humbrol's Metallic 53 and I added a couple of bolt ends on it for detail. Steering box was glued on place and a correct length steering shaft was made out of plastic rod. 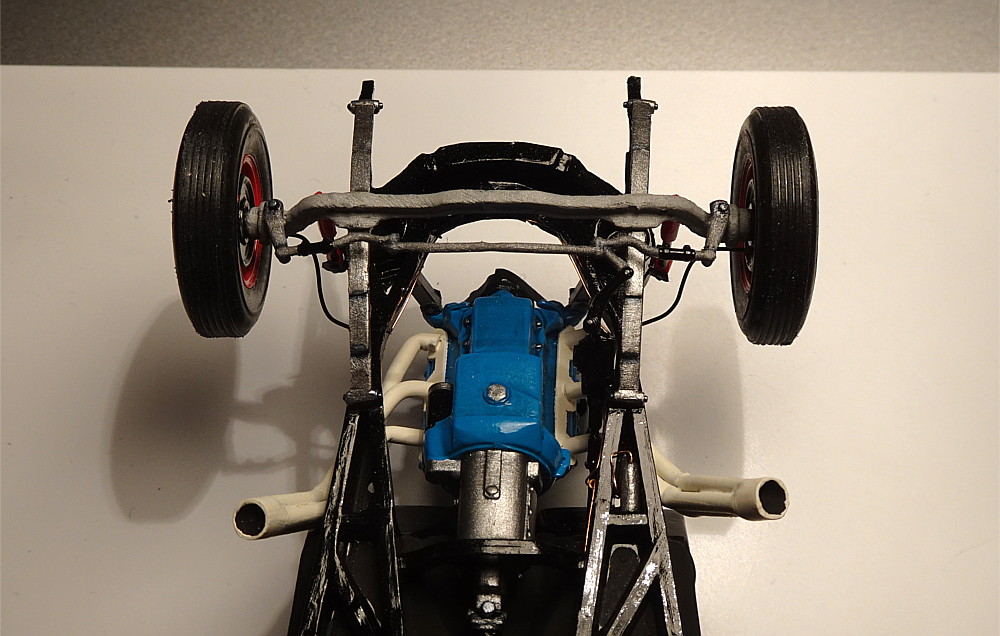 It was really hard to photograph the steering box setup, but there it is!  Especially from the top you can only barely see it. 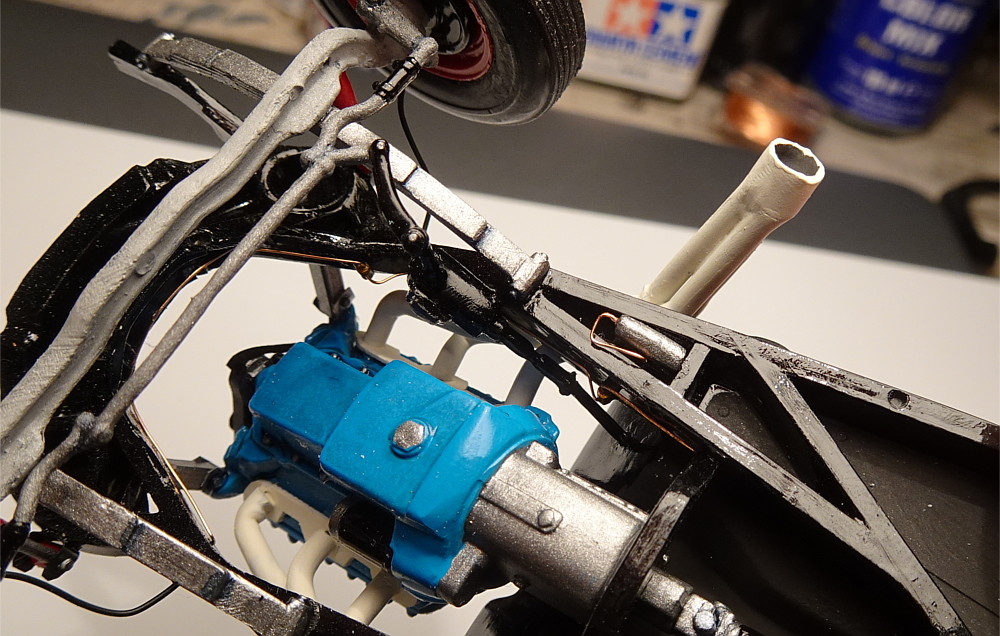 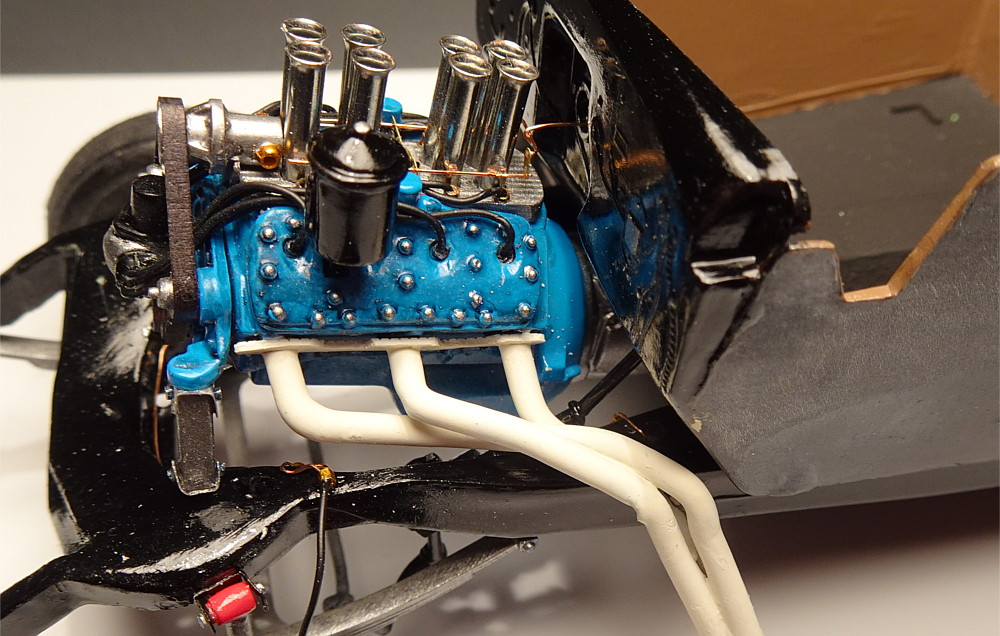 If I'm not mistaken these Plymouths have a brake master cylinder mounted under the floorboard. I tried to find some reference pictures, but came up short. Only thing I found was that it didn't appear to be in the engine bay. So I scratchbuilt a really simple brake master cylinder from plastic, mounted it under the floorboard and made a brake line from the cylinder to a distribution block. 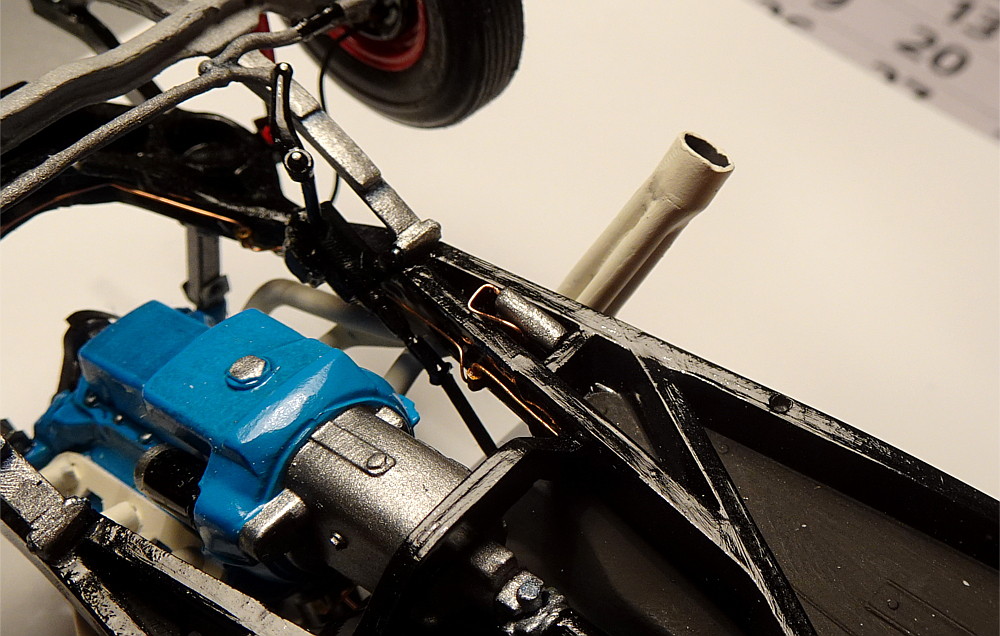 The kit supplied driveshaft wasn't good for this build, so I had to make my own. On the top, some unknown driveshaft from my parts box that is too short, but it had pretty good driveshaft joints on it. On bottom, piece of mold sprue... After combining these two into one, I had a proper length driveshaft for the Plymouth. 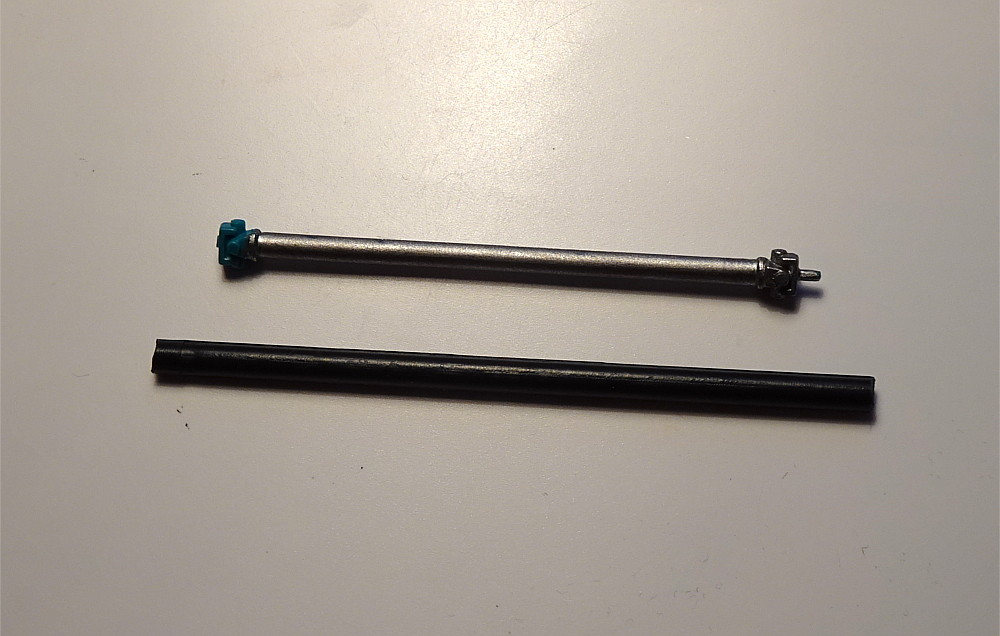 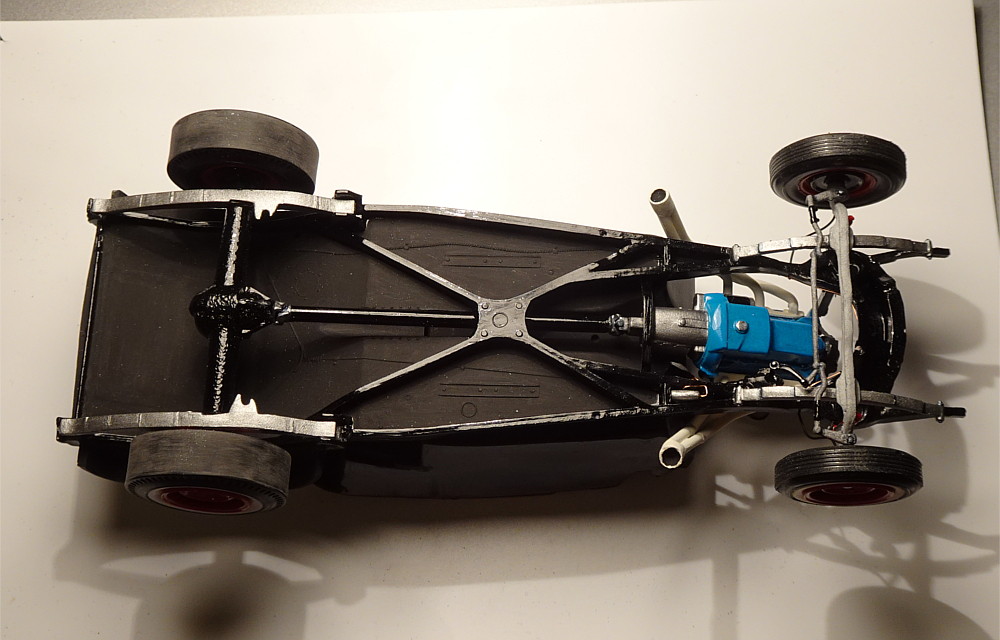 |
|
|
|
Post by Richard on Mar 11, 2024 21:47:45 GMT -5
Thanks for the info on the hex rod. Those two sizes just happen to be the only two sizes I have. The steering box worked out well and looks great.
|
|
|
|
Post by Mr409 on Mar 15, 2024 16:55:27 GMT -5
Thanks Richard! Those are the only size hex-rods that I have as well.  Now I've been doing bodywork in order to get this thing painted soon. The most work was on the front end, after I had glued the nose panel to the body and added some putty and sanded it a couple of times, the seams between front fenders and the rest of the body had pretty much disappeared from the front. So, those were redone using pieces of stretched mold sprue glued to place. I think they came out quite well. Then I sanded the rest of the body. It didn't have too many mold lines, but a couple of them were at really tricky spots... I also glued the rear bumper filler panel on place. Today it was time to spray some primer on the body. As I predicted, a couple of spots need to be fixed before the final primer coat, but it's not too bad. 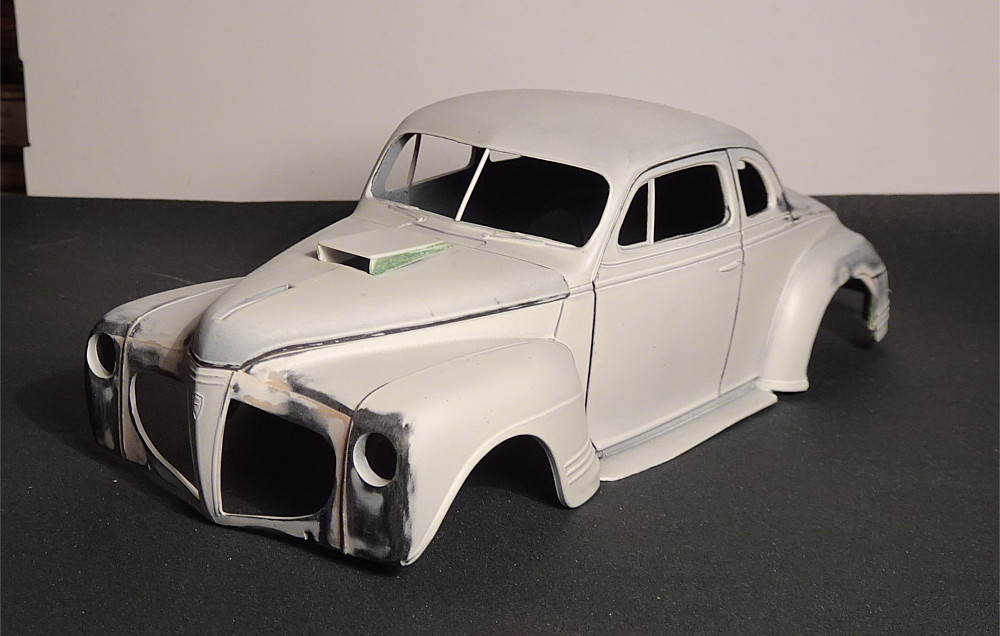 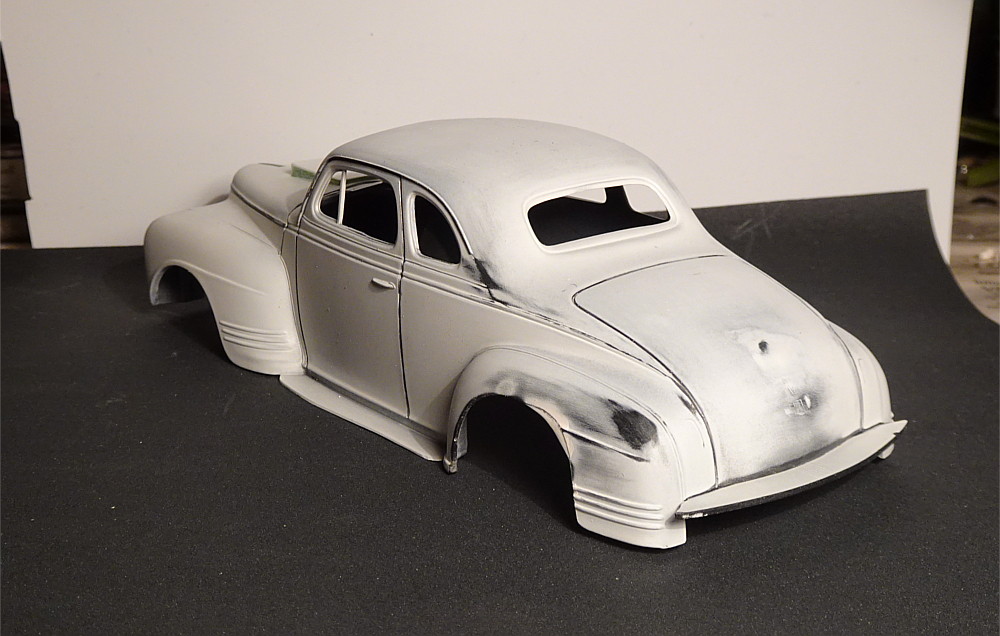 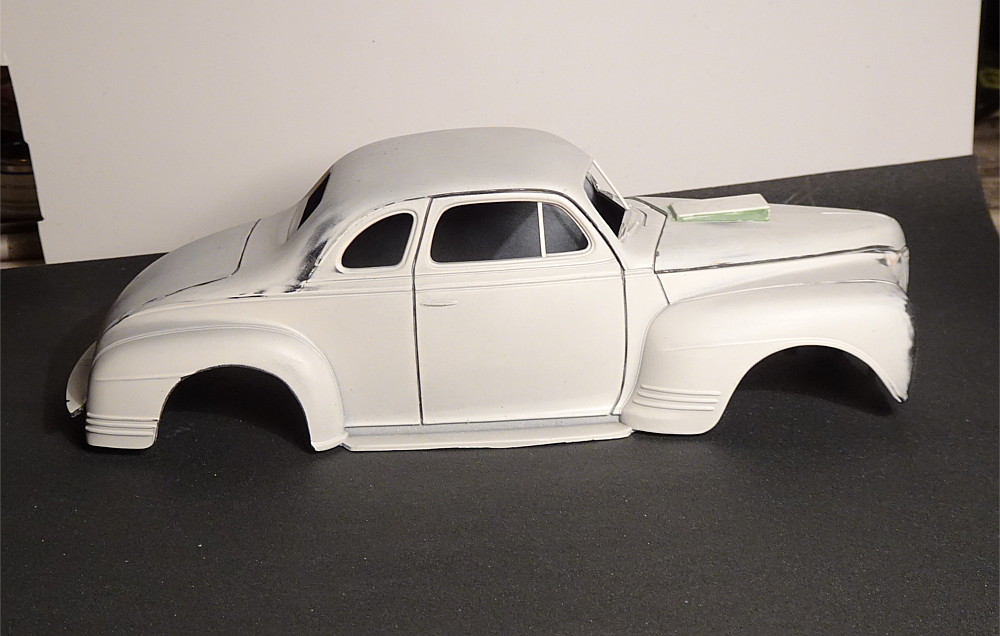 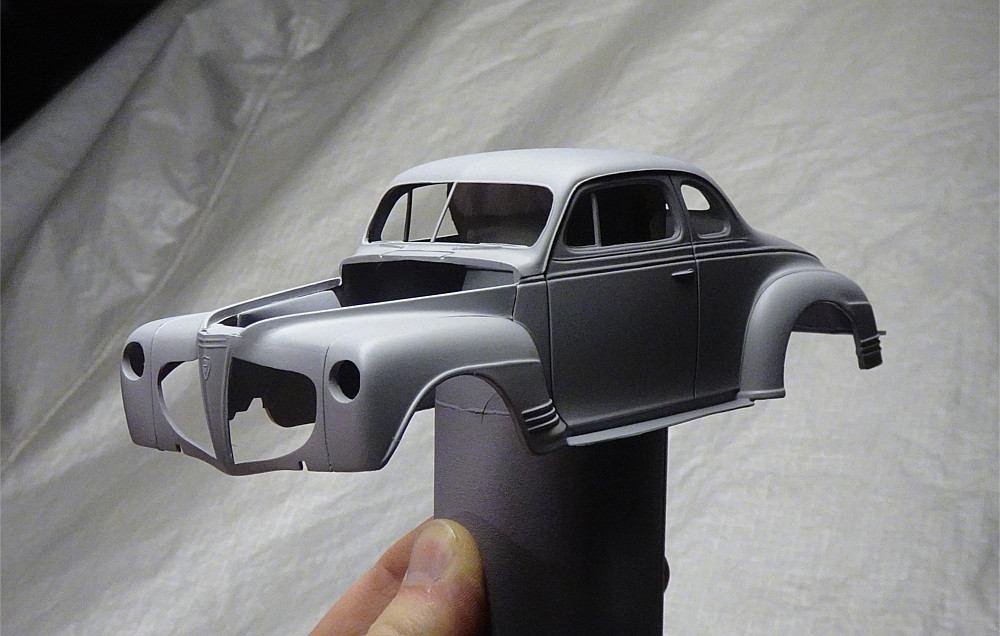 Front seat required some putty for the seam between the seat halves. 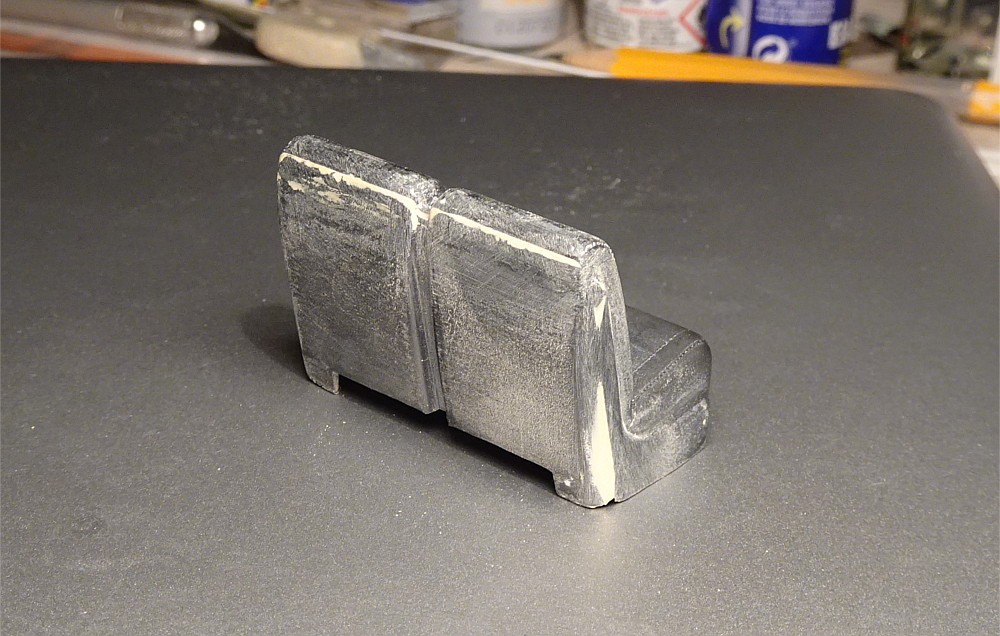 |
|
|
|
Post by RodBurNeR on Mar 17, 2024 0:16:32 GMT -5
nice! this is a cool car and so hard to make much out of it, you are doing it right!
|
|
|
|
Post by sharp on Mar 17, 2024 11:58:23 GMT -5
The body is looking real nice,can't wait to see it in color.
|
|
|
|
Post by Mr409 on Mar 23, 2024 20:44:43 GMT -5
Thanks guys! Bob, I agree, I think this is a really nice car, but usually if I see one customized they end up looking a bit awkward in some way or another. Not all though, I've seen a couple that turned out great. Mike, actually the primer grey will be the final color on this one.  While this represents a budget racer I think the owners put their money on performance and decided that a primer finish will do. Plus, ever since we had the "Primer Build" Community Build here on TRaK, I've always wanted to build something that will be left in grey primer. Well, this is it. After the first primer coat I needed to correct a few things here and there. Not too bad though, so a little putty and some sanding... 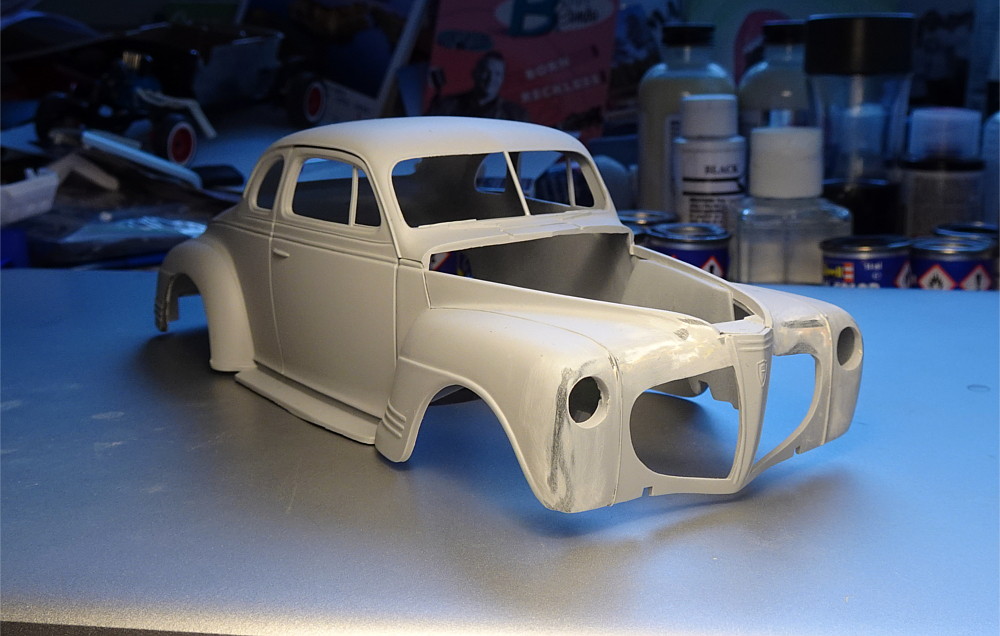 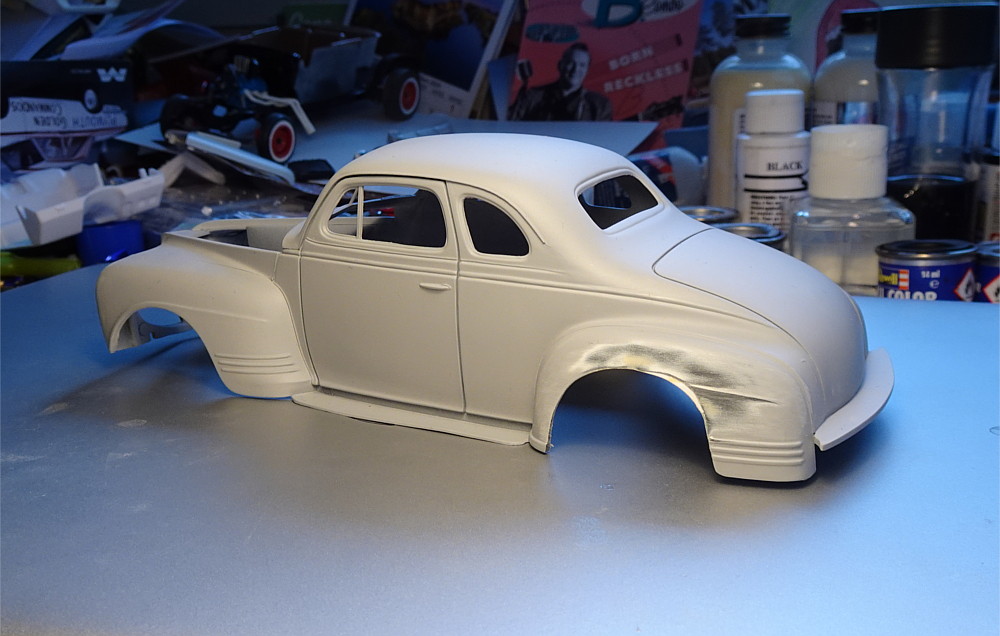 Then I sprayed a second coat of primer on the body. When that dried everything looked good, so no more sanding was required. I wanted to add a couple of decals between the doors and rear fenders. While the finish is a matt grey, I had to trim decals very carefully around the edges to avoid them silvering. I didn't want to go crazy with decals so I just added Isky Cams, Hilborn Injection and Mooneyes decals on the body. After that I sprayed a coat of flat clear to protect the paint and decals. 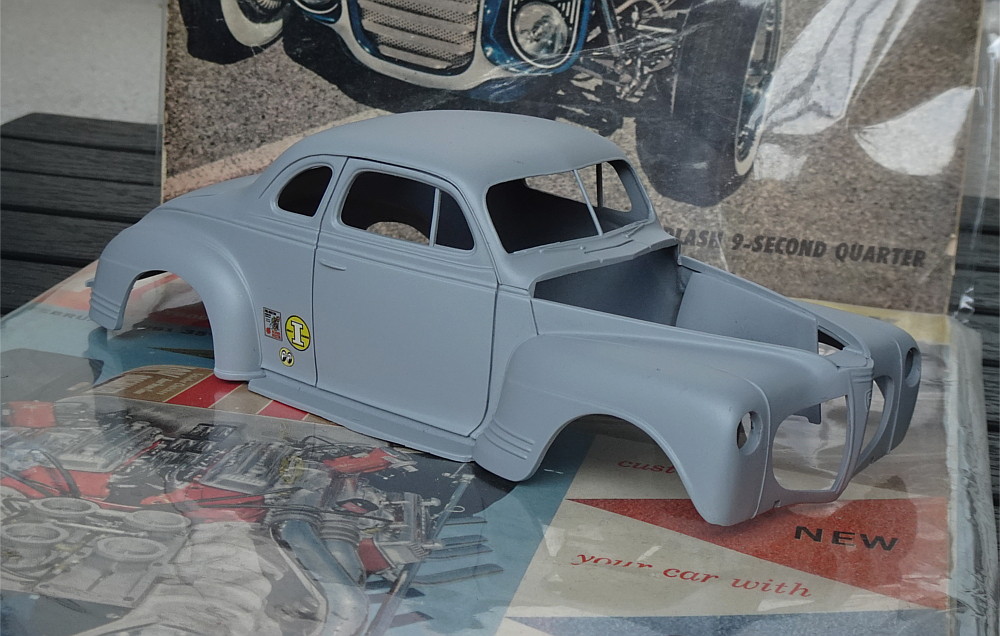 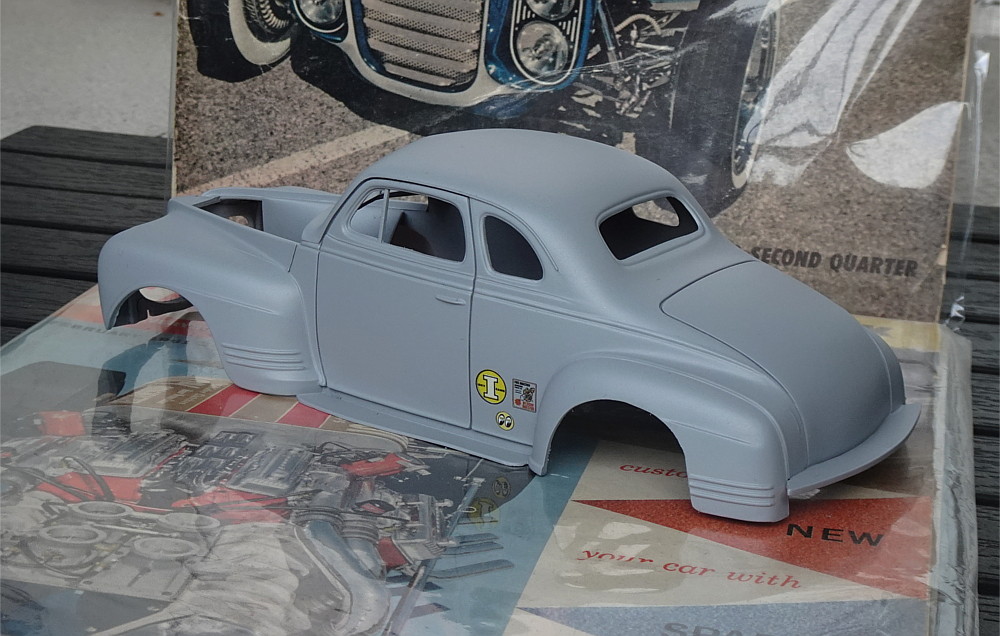 Then I had to build a cooling system for the engine. Radiator is also from Revell's '40 Ford as is the engine. I wanted to use the radiator hoses from that kit as well, so I had to be really careful to get the radiator on the correct place so that all four water hoses fit. Finally I was able to figure out the right position so everything was glued on place. 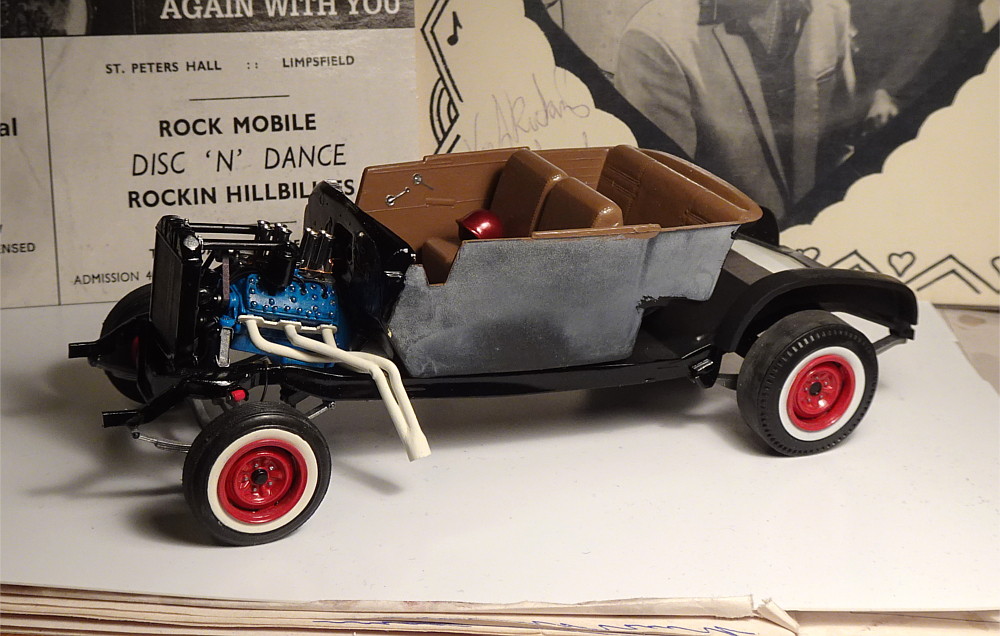 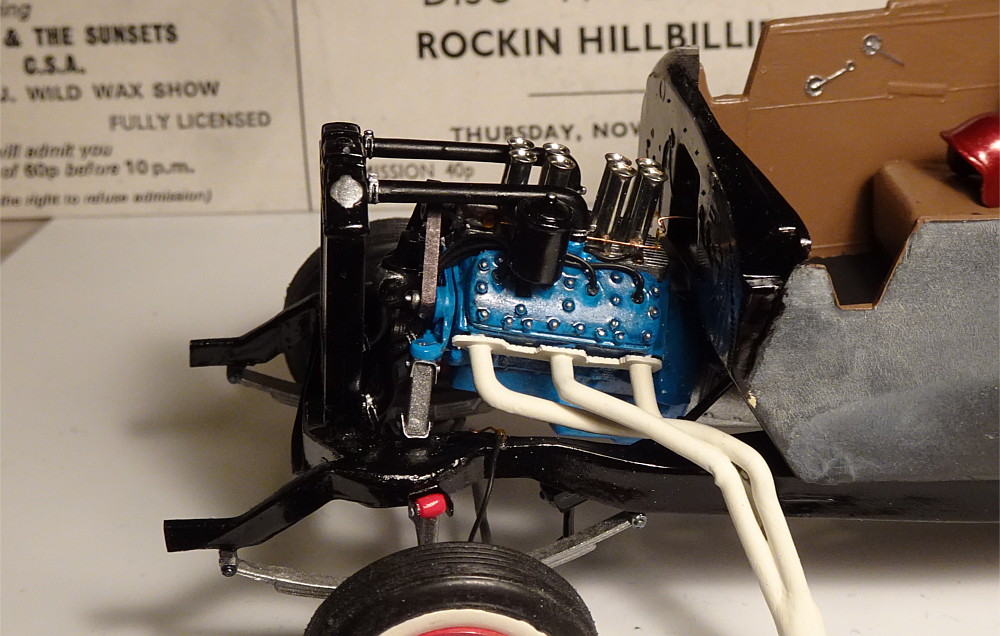 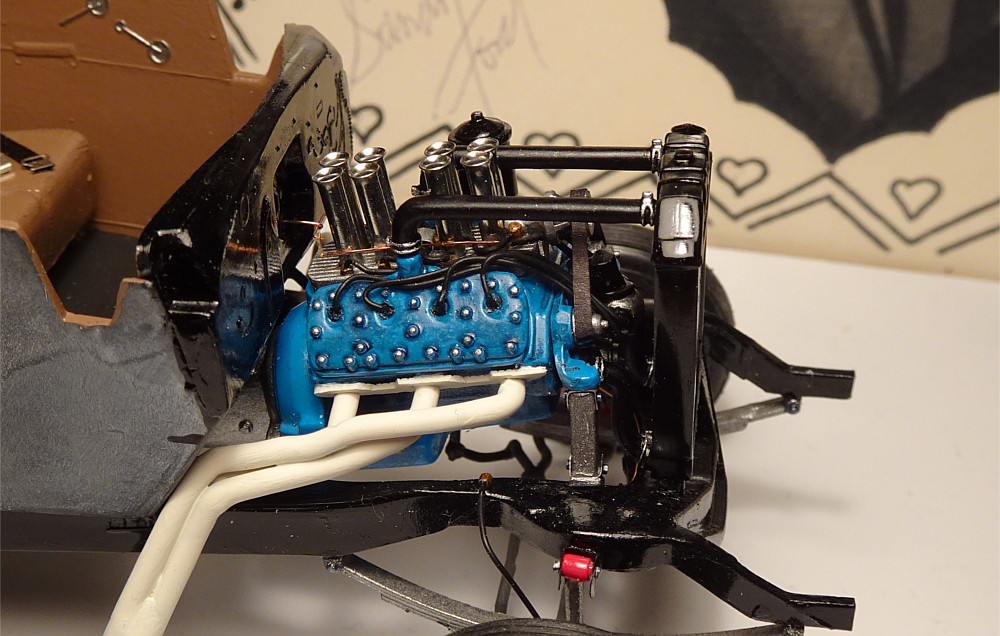 Then I had to paint the class designations to the body. I randomly chose a racing number and the class is G/G. I didn't want these to be perfect, because someone just painted them with white shoe polish at the Drag Strip. So I brush painted them on, and I think I managed to get the look I was after. 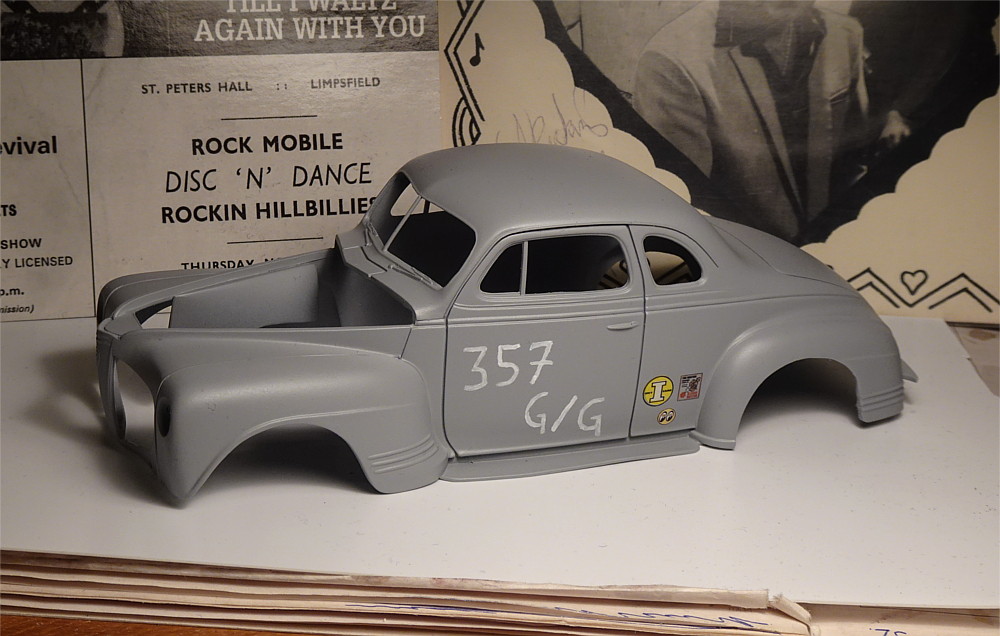 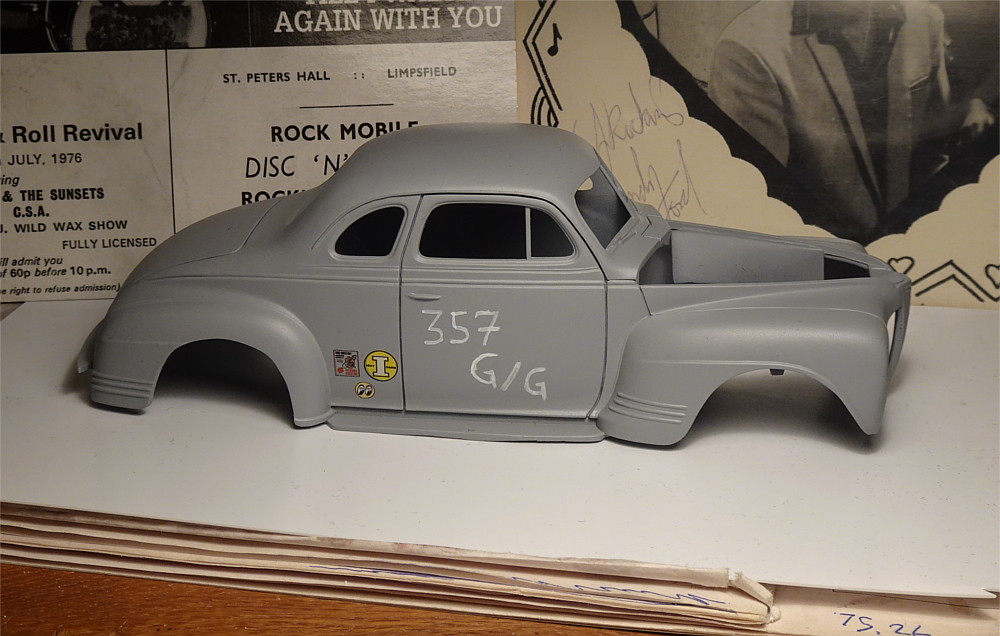 |
|
|
|
Post by Mr409 on Mar 24, 2024 15:56:06 GMT -5
|
|
rickyc
Soc
 Addicted to plastic since mid last century
Posts: 46
|
Post by rickyc on Mar 25, 2024 11:39:34 GMT -5
I have really enjoyed watching this build come together. It is especially enjoyable learning different approaches to issues with a kit, especially one as ummm...crappy as this one can be. Now, if I may play devil's advocate for a second. Really like the way you mounted the moon tank and fuel line; I just hope you have clearance for the tank and the fuel line is not rubbing against any of the body work. Pretty sure you have these areas covered though.
|
|
|
|
Post by Mr409 on Mar 26, 2024 15:36:59 GMT -5
|
|
|
|
Post by sharp on Mar 26, 2024 18:11:14 GMT -5
That looks great Niko. I agree with you leaving it in primer. That's as far as a lot of my 1:1 cars ever got back in the day. I spent most of my money buying intakes..carbs..headers..cam kits and more lol.They were fun times I miss those days.
|
|
|
|
Post by superflekmoonbird on Mar 26, 2024 20:48:11 GMT -5
Nice job....classic gasser look.
|
|
|
|
Post by Mr409 on Mar 27, 2024 11:47:11 GMT -5
Thanks for the kind words guys! Mike, especially nowadays when the price of a paint job is so high I wouldn't mind primer finish at all on my 1:1 cars. But, I've usually done the paint jobs myself then.  Well, this one is finally finished and posted in On The Shelf. Thanx for lookin' everyone! See it finished here ----> trakinscale.proboards.com/thread/20093/41-plymouth-special-deluxe |
|
|
|
Post by lo51merc on Mar 27, 2024 17:14:18 GMT -5
It's been a pleasure following along with this build. Love the flatty!
Gary
|
|