|
|
Post by Dennis on Jan 7, 2021 12:06:51 GMT -5
Thanks guys. I'll take another look at where the front leaf spring should go...above or below the frame With the spring behind typically the front of the frame is shortened so the cross member is moved rearward to match with some simple tabs extending off the front to mount the radiator and shell. This leaves the axle looking like it’s just floating under the front. |
|
|
|
Post by superflekmoonbird on Jan 12, 2021 23:13:57 GMT -5
I scratch built a new front leaf spring with shackles to mount below the frame. Considering scratch building tube shocks as well. 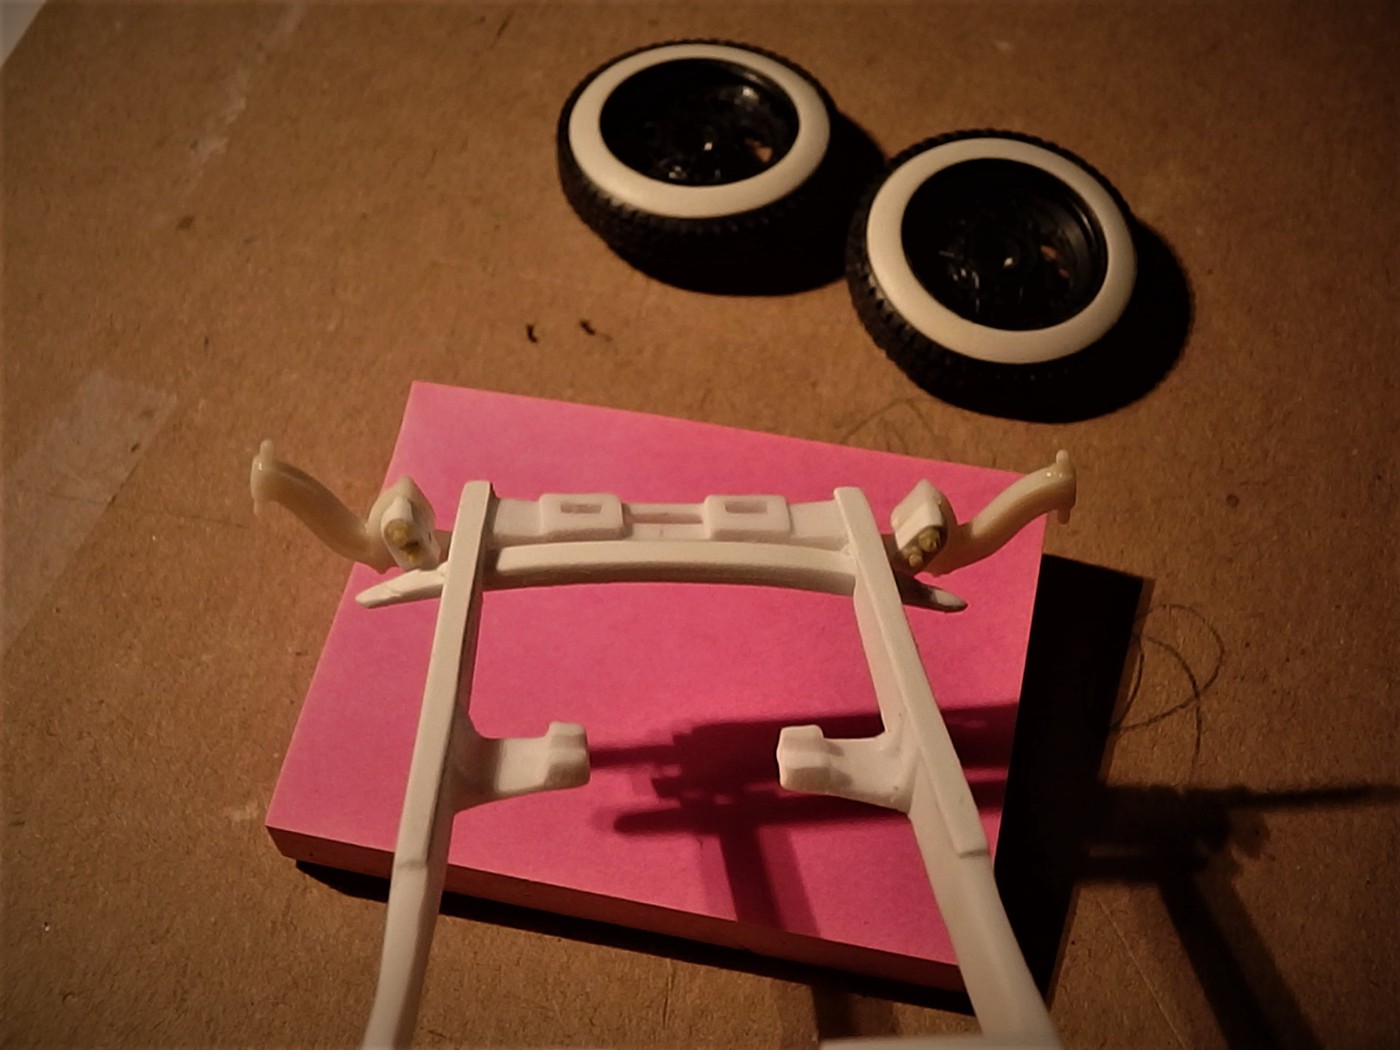 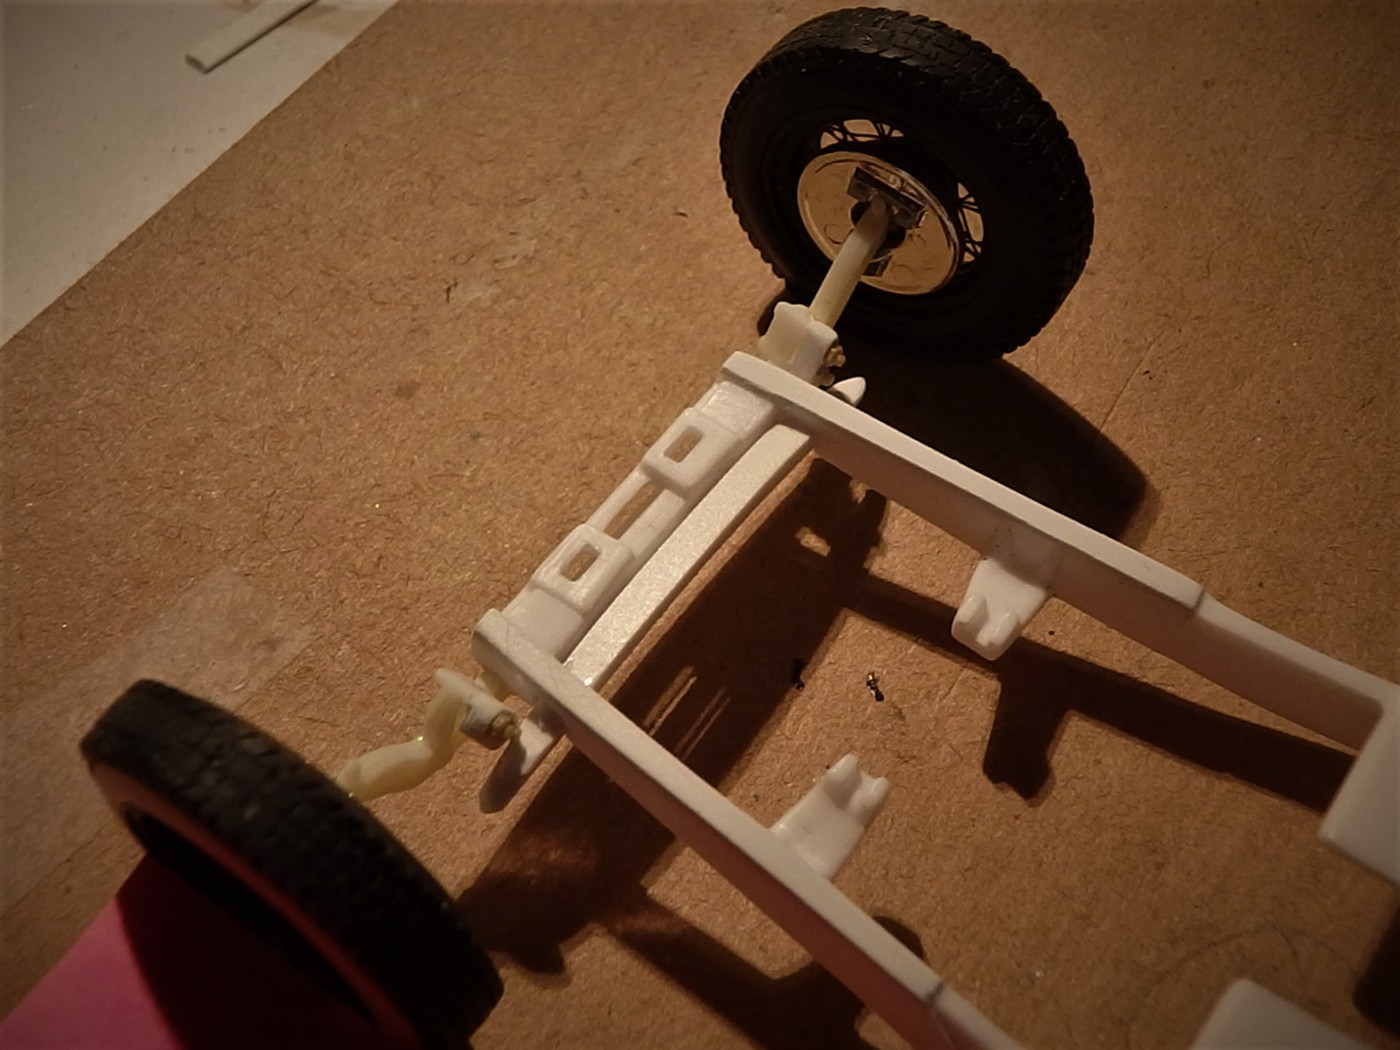 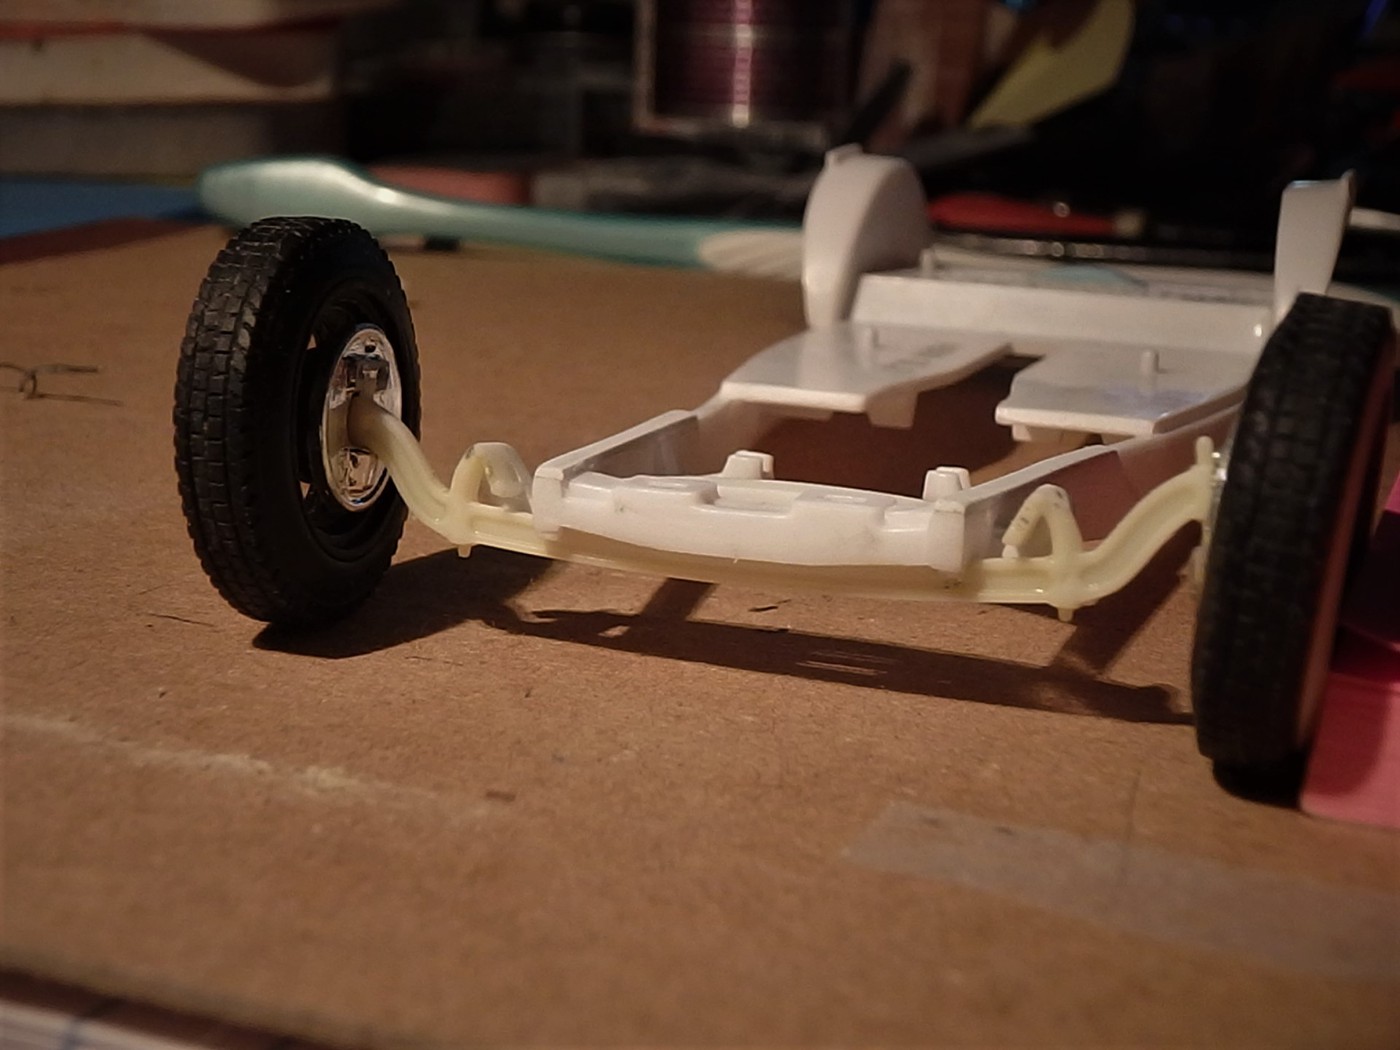 |
|
|
|
Post by skip on Jan 12, 2021 23:58:27 GMT -5
Well you just may have found the limits of "How Low Will She Go"... Sweet-n-Low, that's how low!
|
|
|
|
Post by Mr. Metallic on Jan 13, 2021 7:37:09 GMT -5
Very nicely done. Looks great!
|
|
|
|
Post by superflekmoonbird on Jan 13, 2021 18:20:56 GMT -5
Thanks guys.
Breaking out the Alclad II now, first time in years. We'll see how it goes.
|
|
|
|
Post by superflekmoonbird on Jan 13, 2021 19:43:40 GMT -5
|
|
|
|
Post by Duane on Jan 13, 2021 21:23:45 GMT -5
lookin good Jim !
|
|
|
|
Post by superflekmoonbird on Jan 22, 2021 14:59:36 GMT -5
Dealing with painting now. Anyone out there use the Don Yost technique....Testors enamel thinned with lacquer thinner ?
I have a paasche double action airbrush with an AS186 compressor with pressure regulator...set at 32 psi.
Testors black gloss enamel in the classic little bottle, cut with Jasco Green Lacquer thinner from Lowes for good smooth flow.
First try was less than expected...after many light mist coats - building up to get the final gloss coat... the orange peel orange peel was disappointing.
I might post in a tips or paint discussion if more appropriate.
|
|
|
|
Post by superflekmoonbird on Jan 24, 2021 12:05:39 GMT -5
Painting. The bane of my existence. I'll be waiting for my second attempt at painting the body shell to fully cure before proceeding. Still got orange peel on the second attempt...although a bit less. Got a conversation over in the "How did ya do it" posts....on airbrushing Testors enamel with lacquer thinner. - 32 psi - 2 part paint to 1 part thinner (Jasco Green lacquer thinner from Lowes (pretty mild stuff, no crazing on a bare unprimed test kit plastic) maybe a little more thinner than 2 to 1 as it seemed thick - sprayed outdoors, mid 50's plus degrees - many very thin mist coats building up tp a final coat to show some gloss.......maybe IO held the airbrush too far away? 8 - 12 inches? 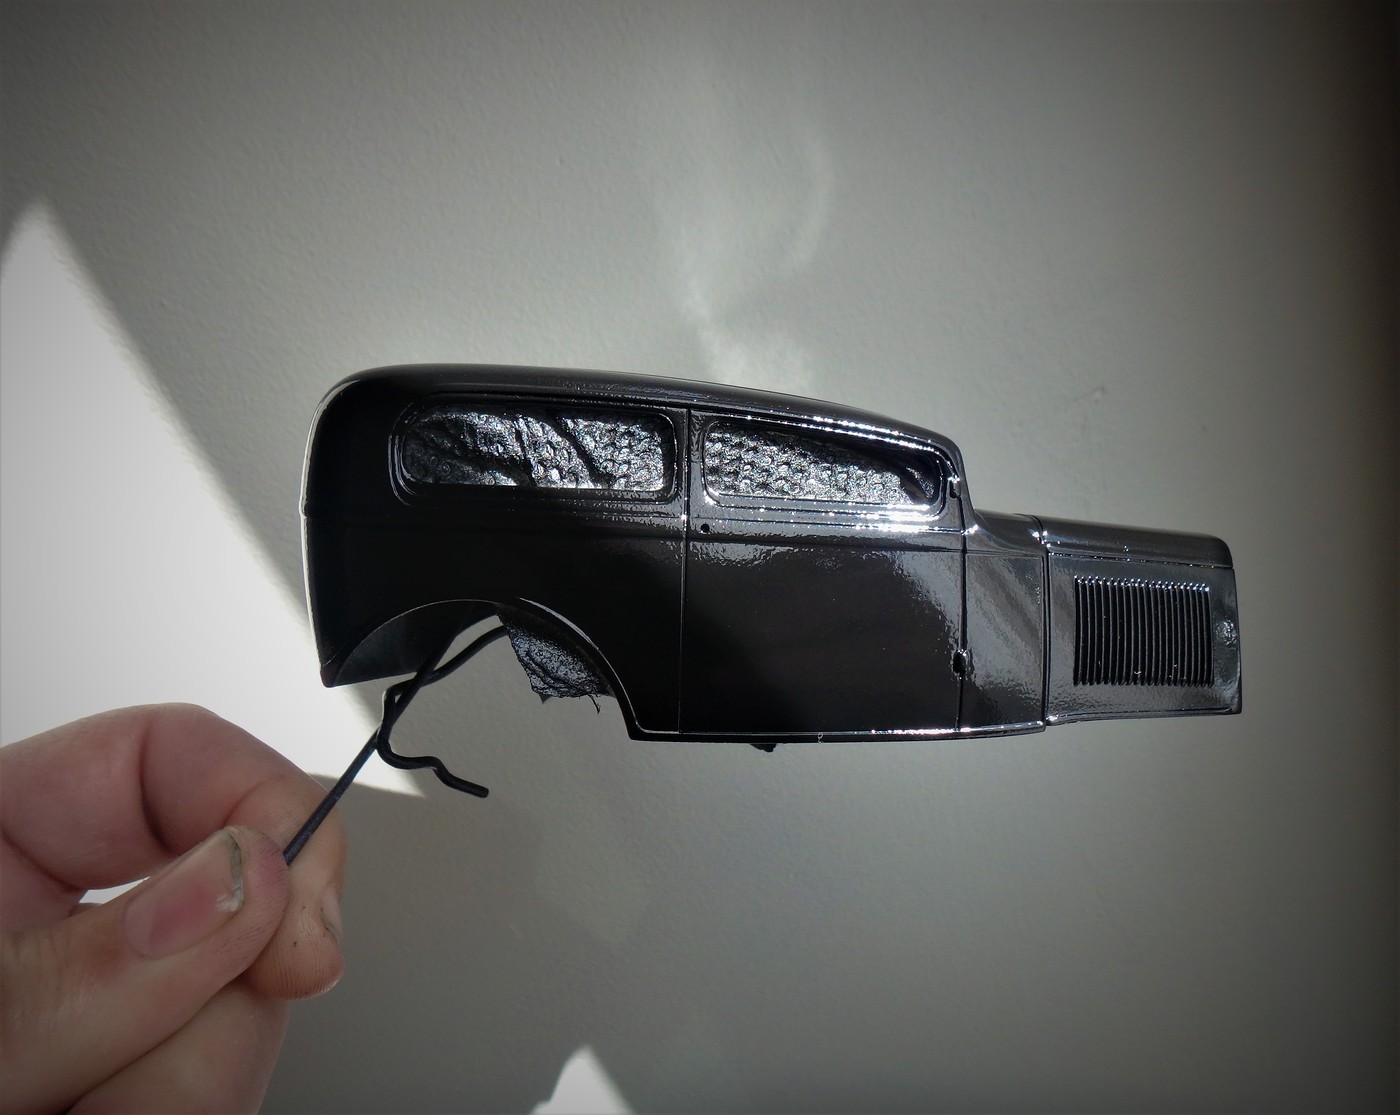 |
|
|
|
Post by superflekmoonbird on Jan 24, 2021 12:23:33 GMT -5
In the meantime, I mocked up some grill shell artwork, in keeping with the Black Widow/coffin theme....... 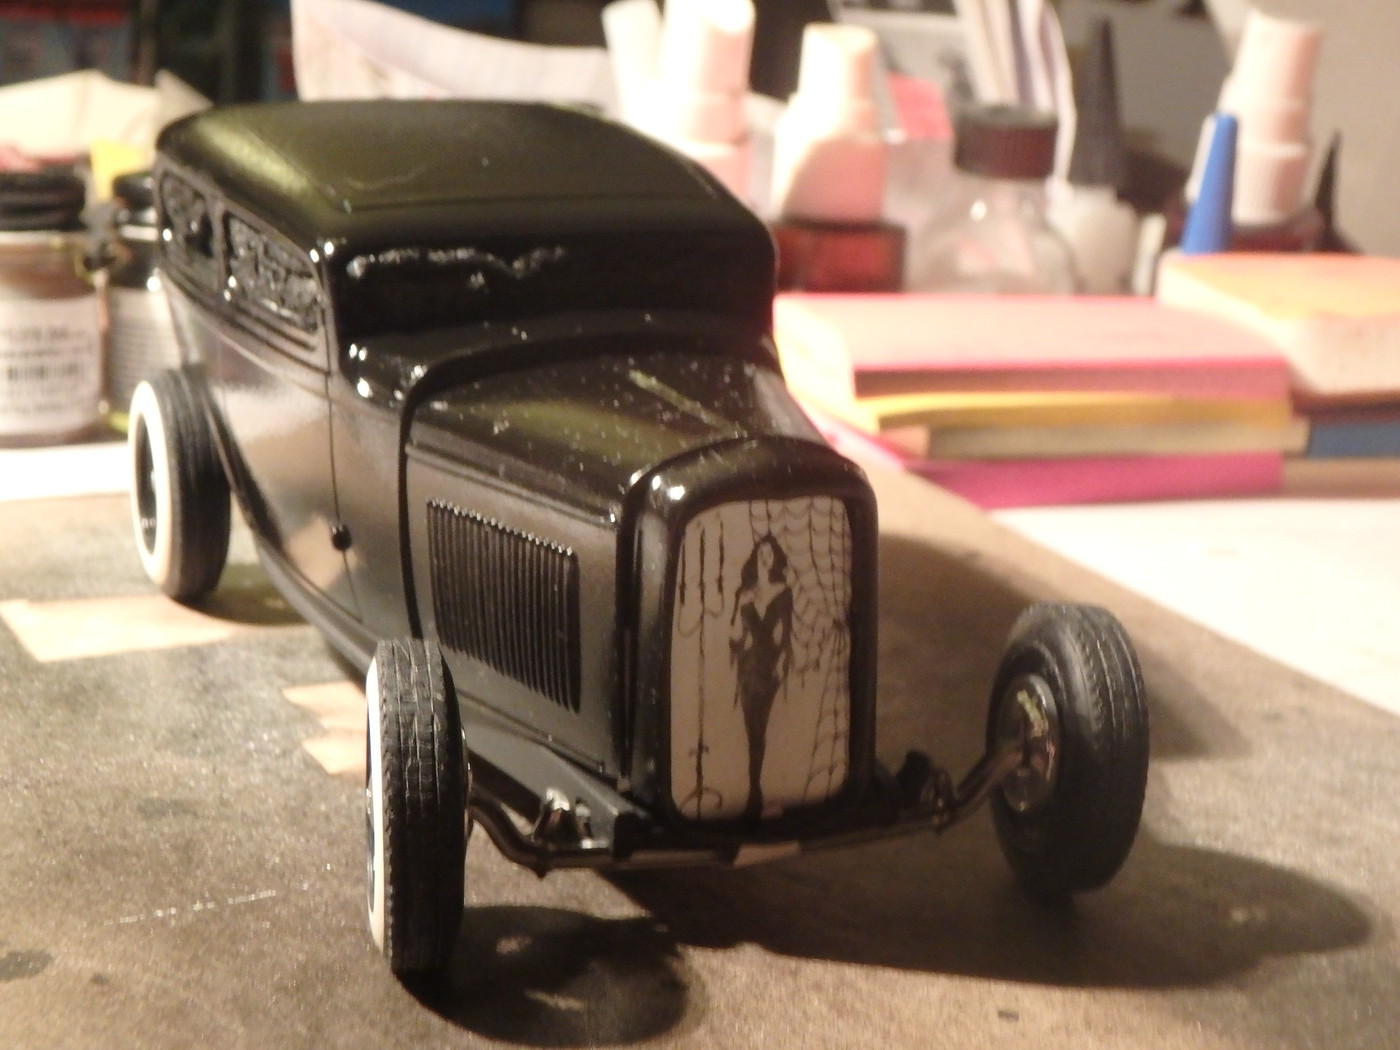 Test fit was tight as its a very small space......when the composition looks ok, I'll probably redo it on a thin sheet of brass. |
|
|
|
Post by superflekmoonbird on Feb 17, 2021 16:15:45 GMT -5
Downtime on the other projects, so I grabbed the LMG kit and started working on all the orange peel on the paint job. Here's is the status as of today. Got my aftermarket parts delivery, so now to think about the top end of the flathead..... 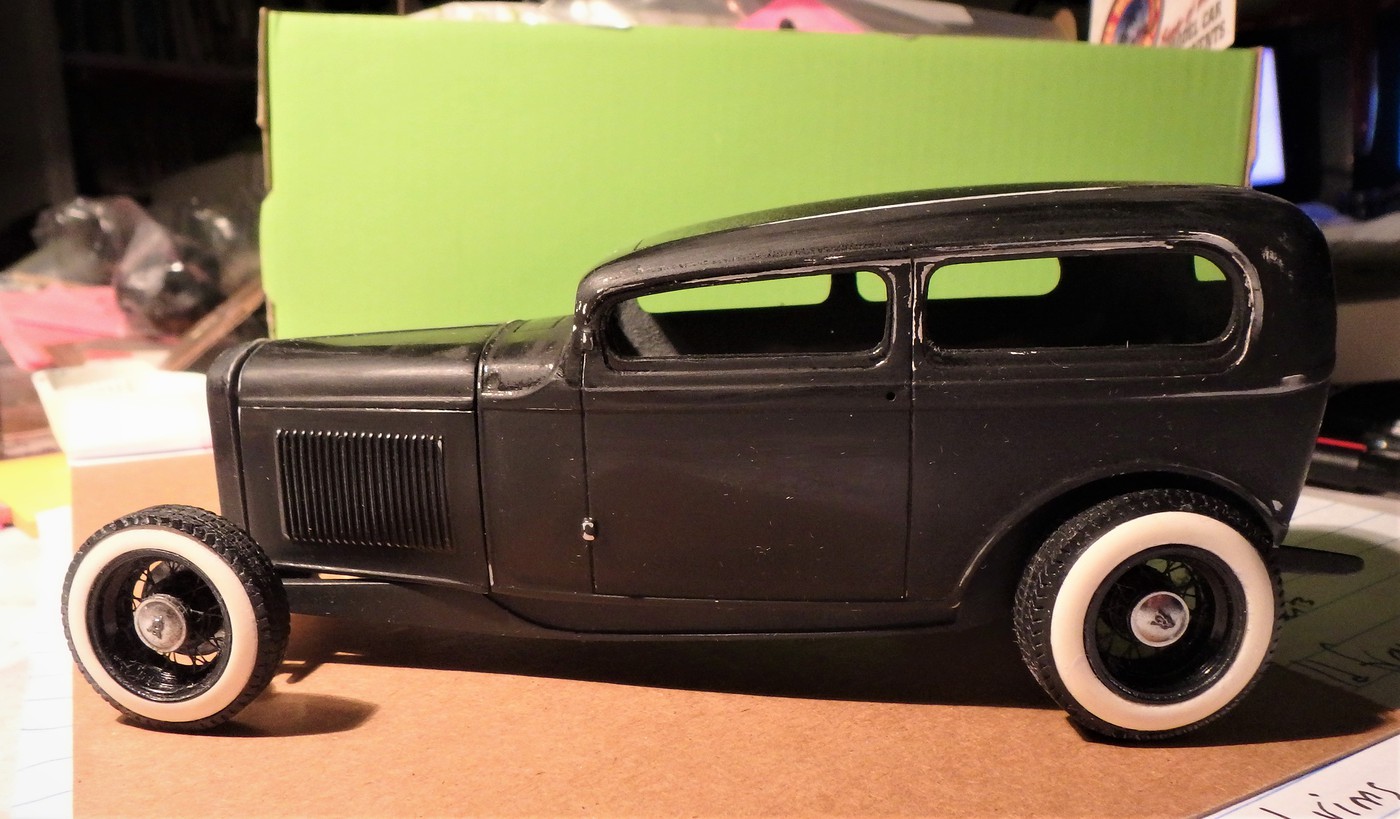 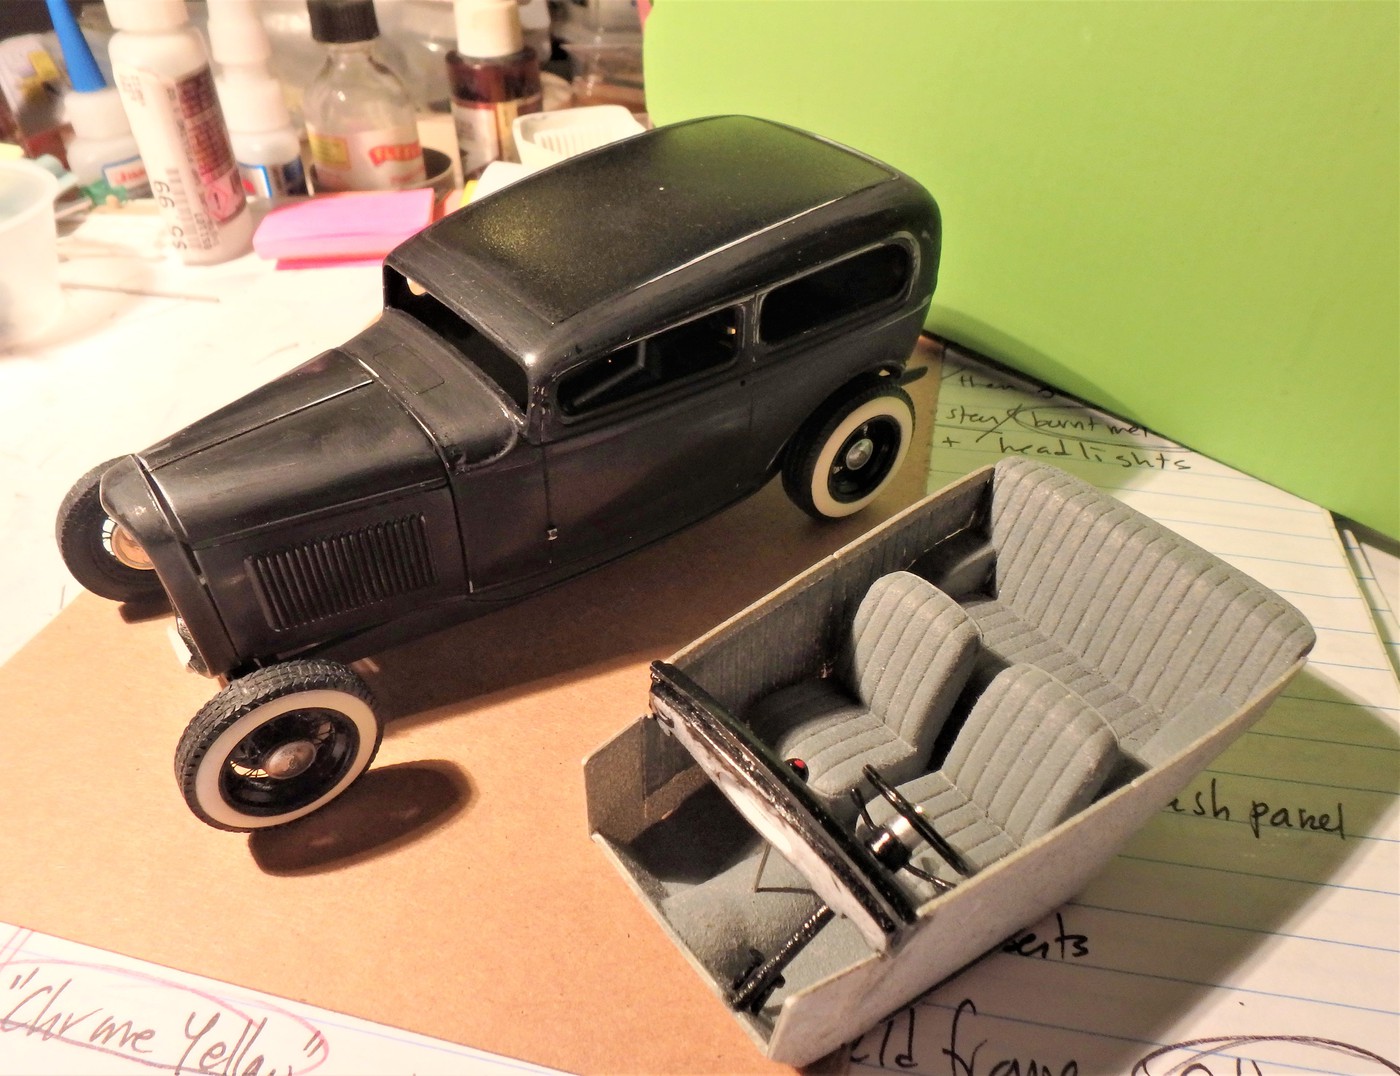 |
|
|
|
Post by skip on Feb 18, 2021 3:26:39 GMT -5
Jim, I see that the "polishing burned through to the bare plastic or did you use white primer? If it were me doing the rework, I think the option might be to strip and start over with fresh primer and paint. You'll end up squirting more on what you've done already so going back to "fresh" styrene might be the winning ticket,,, or it might just orange peel with a vengeance again!! LoL!! (I'm biting my tongue after that comment but I couldn't resist!)
You might think about rounding up some Junker bodies to practice painting techniques, there is nothing like a model car body to separate the real He-Men Painters from the graffiti boys or the spoon shooters from the "Painters"! Good luck!
|
|
|
|
Post by superflekmoonbird on Feb 18, 2021 16:26:42 GMT -5
Plastic is white, primer was Tamiya white surfacer.
|
|
|
|
Post by skip on Feb 19, 2021 4:14:54 GMT -5
I may have spoke pre-maturely. (What else is new! LoL!!) Re-looking at your pictures, now figuring that you only went to the surfacer primer it might be possible to mask off those high edges and reshoot that area only like a color change. If it can be lightly blended back to the existing paint you can probably get away with some sort of clear coat to further tie the two paint edges together. Thanks for not torching me, I'm just trying to think through how I might attack the problem at hand in a helpful constructive way, with alternatives.
I watched a custom paint seminar the other day from PPG and picked up a trick that might help you if you do shoot extra material onto the burned through areas. This pertains to side by side color changes, which is what you are sort of doing. After pulling the tape, run your thumb along the tape edge, you will feel a "Sharp Ragged Edge". Take a rounded metal edge, X-Acto knife handle comes to mind, lightly run that along the ragged edge to knock down those ragged high spots. Doing so will (according to PPG) is supposed to lessen the chance of clearcoat pooling around the two edge transitions and give a smoother blend. Might work in your case, wouldn't hurt to give it a shot.
|
|
|
|
Post by superflekmoonbird on Feb 19, 2021 23:15:39 GMT -5
No problem. Painting is where my projects go awry...so I'm always open to suggestions.
|
|