|
|
Post by superflekmoonbird on Dec 27, 2020 12:15:34 GMT -5
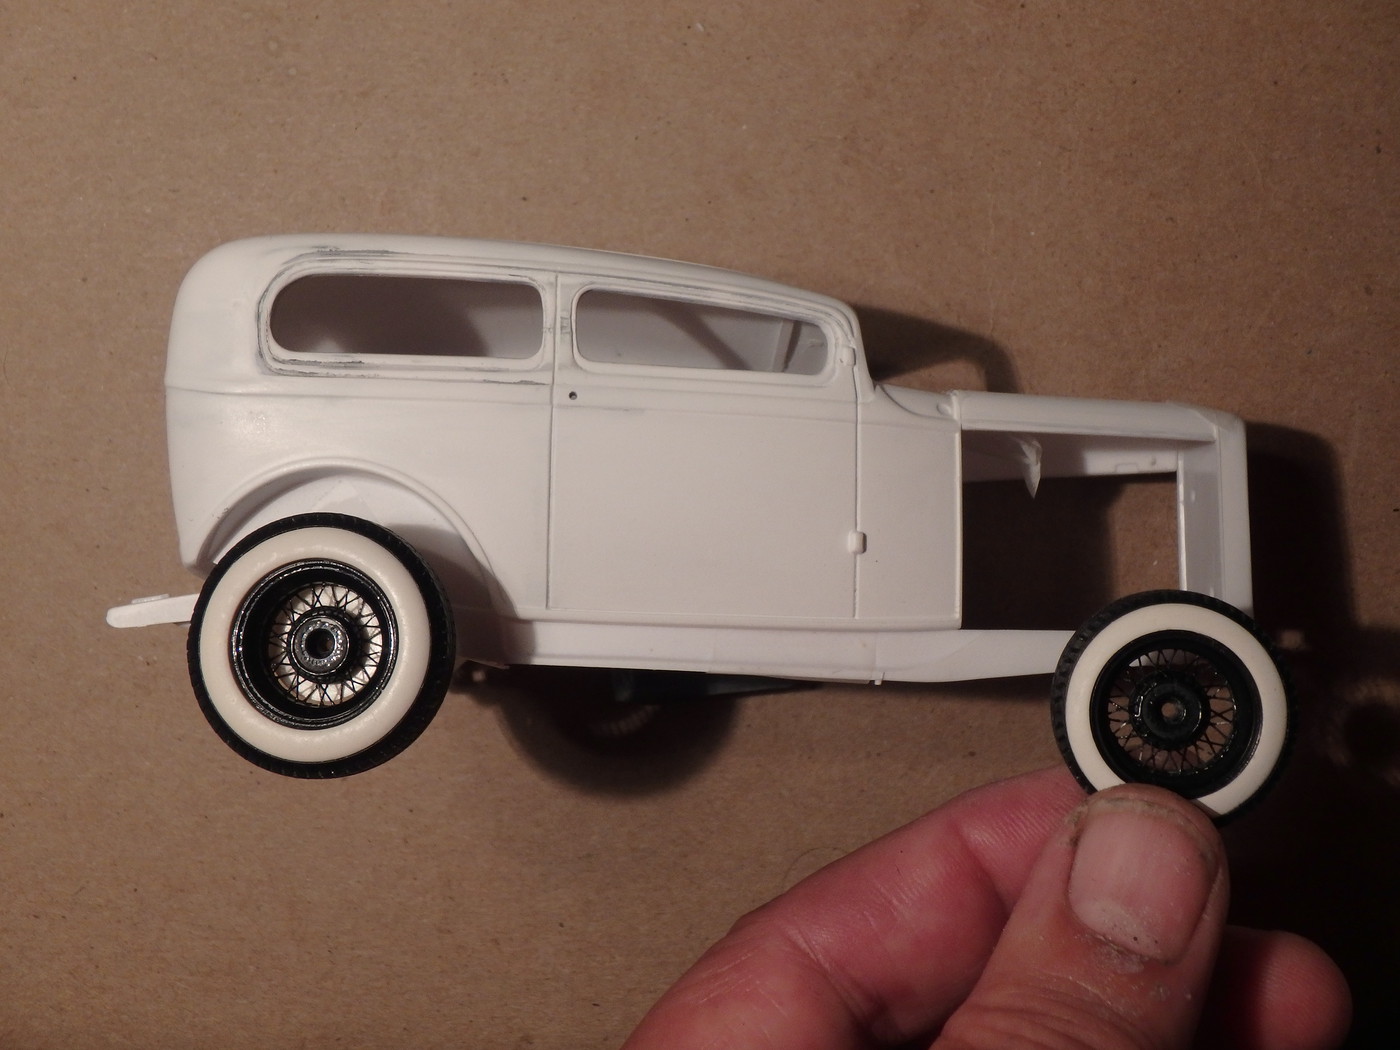
This is another project I set aside, picking it back up. Starting point is the Revell 32 Sedan which I'm back dating to a more vintage project. Chopped the top. The Kelsey Hayes wheels are the Replicas and miniatures resin big and littles which came with PE spokes from Detail Master  |
|
|
|
Post by superflekmoonbird on Dec 27, 2020 12:23:11 GMT -5
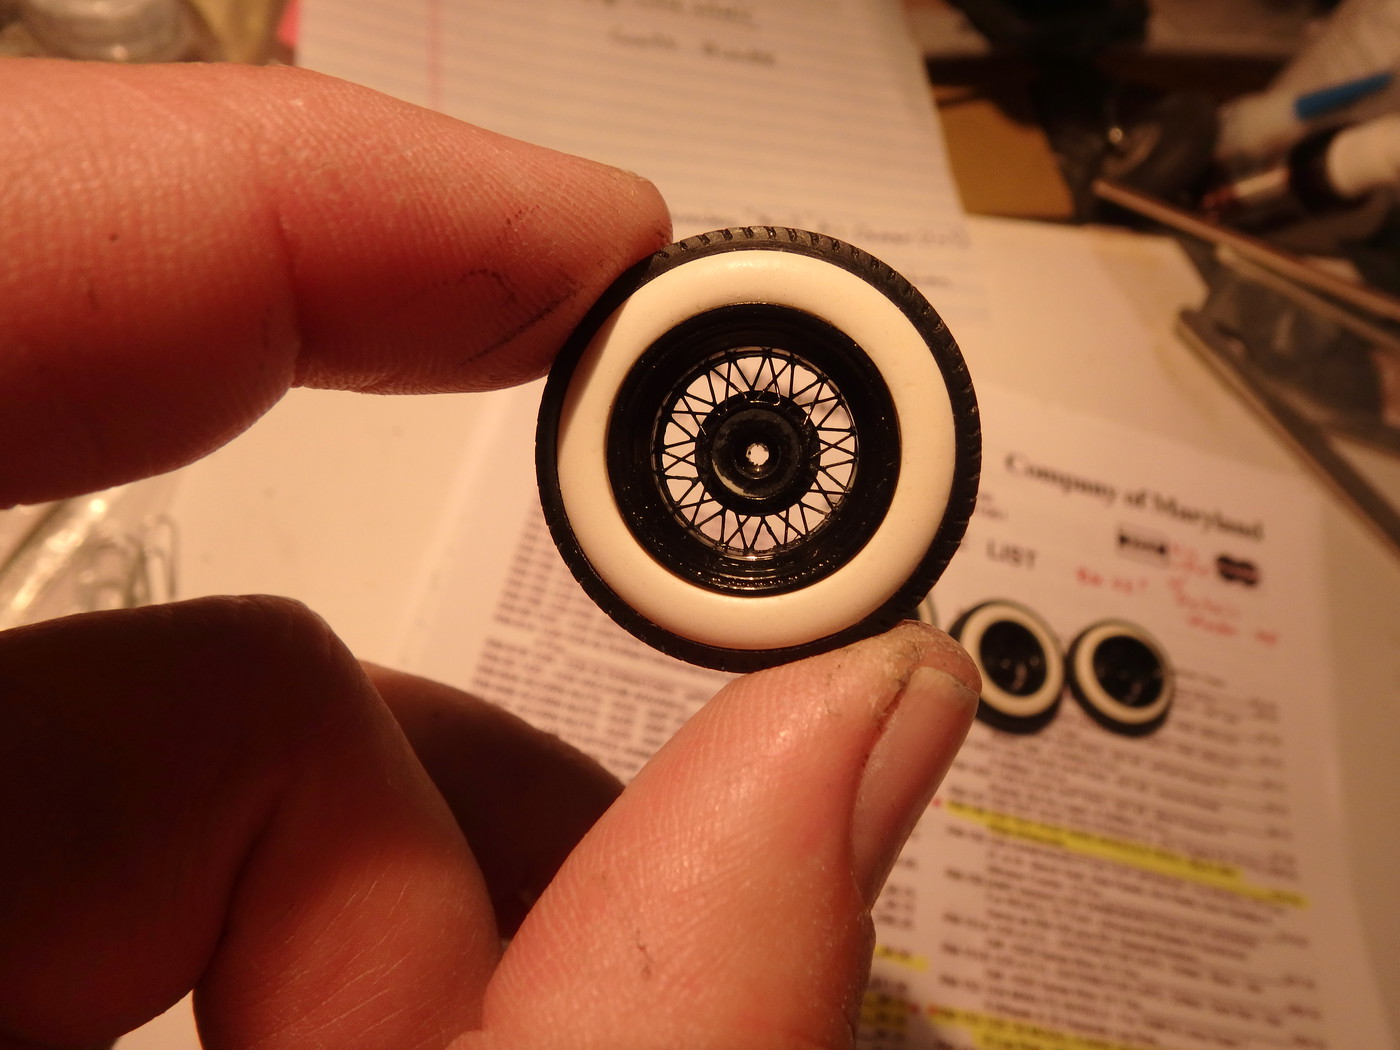
With a LOT of patience, the PE SPOKES wheels go together really nicely.   |
|
|
|
Post by randfink on Dec 27, 2020 14:43:59 GMT -5
MAAAAAN, those wheels are sweet.
|
|
|
|
Post by superflekmoonbird on Dec 27, 2020 15:18:47 GMT -5
Thanks. I wish the PE wheels were still available.
After getting these done, tried to buy another set.
Replicas and Miniatures still has the big and little resin tires.
Detail Master was not currently supplying the PE spokes
|
|
|
|
Post by Bernard Kron on Dec 27, 2020 15:42:30 GMT -5
Wonderful, relatively radical, chop. And the wires look great! I know the white and black look is mainly an artifact of where you are in the build, but it's something worth considering, to my eyes. Looking forward to more, regardless.
|
|
|
|
Post by superflekmoonbird on Dec 27, 2020 17:51:36 GMT -5
Wonderful, relatively radical, chop. And the wires look great! I know the white and black look is mainly an artifact of where you are in the build, but it's something worth considering, to my eyes. Looking forward to more, regardless. Yes indeed, there are good and bad aspects to a black and white project....the '32 chopped sedan "Orange Crate" wouldn't be what it was if it was a primer hot rod or a dull color. But the inspiration that sent me looking for parts for this one one was a lingering desire to do a vintage hot rod with white pinstripes on black .....ala the Black Widow. I'm leaning toward making this a simple gloss jet black with a few polished metal trimmings on a flathead wth a halibrand rear......with small chrome moons on those Kelsey wheels I have an idea for some art work for the front grille..... |
|
|
|
Post by cturner on Dec 27, 2020 17:58:28 GMT -5
the only thing that would make that so much cooler is if it was a 4 door! (in my opinion with those wheels...I think I have 2 sets of those still unopened! (  !) need to use them! |
|
|
|
Post by superflekmoonbird on Dec 27, 2020 18:46:14 GMT -5
the only thing that would make that so much cooler is if it was a 4 door! (in my opinion with those wheels...I think I have 2 sets of those still unopened! (  !) need to use them! They are a challenge to put together. I had to read the instructions multiple times, and eventually figured out a way for myself to get the two sets of PE spokes in front bent up around the outside rim the proper amount of bend, before installing over the two rear sets of PE spokes. They also need to be painted BEFORE putting them together because if you paint after assembly, the paint will clog in all the open spaces otherwise. The spoke sets also need to be scraped in the areas to be glued...before supergluing, which is fun. If you ever want to unload a set ...let me know! |
|
|
|
Post by constructionbob on Dec 31, 2020 9:22:56 GMT -5
REALLY nice wheels! GOOD craftsmanship!  |
|
|
|
Post by superflekmoonbird on Dec 31, 2020 23:35:30 GMT -5
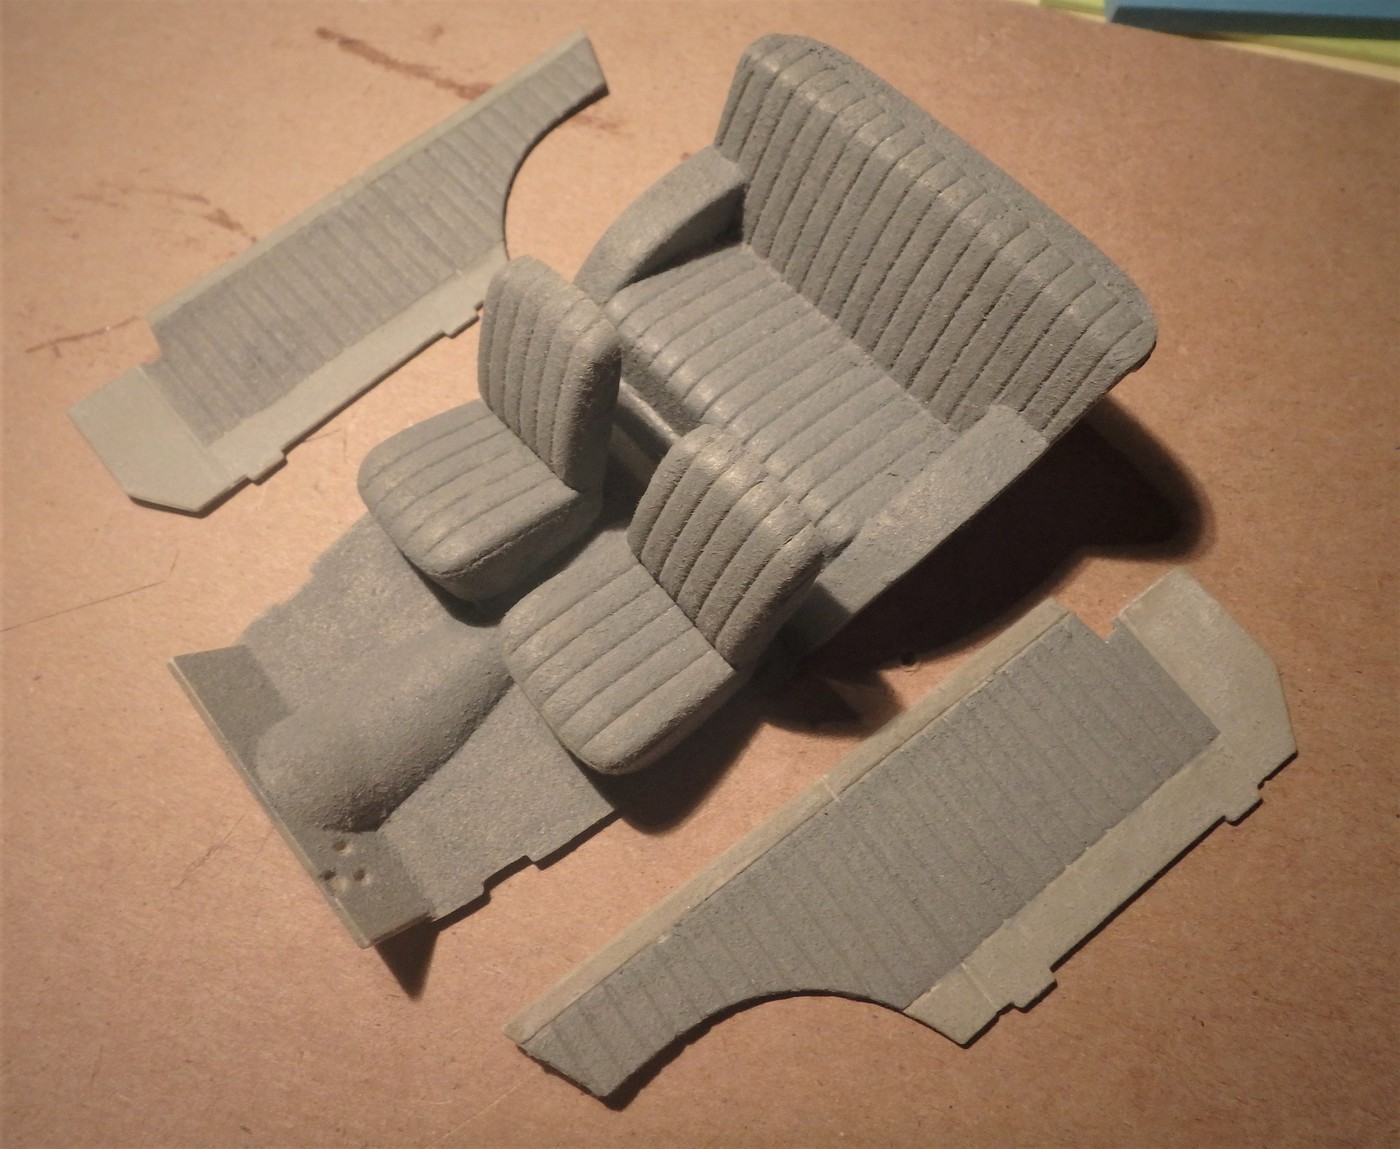
I made a try at flocking the interior. I've flocked small pieces like floor mats, this was a first for the whole interior. First attempt was a disaster. I poured the flocking material on a freshly spray painted interior (Testors enamel since I figured it would stay tacky longer). That left thicker pooled areas in recesses that clumps stuck to unevenly. I let that dry and scraped most of it off. There is a technique for getting better results. I should've done more research first go around. A better method (for me) was to use a brush rather than spray can and have more control over how much paint is laid down and leveled equally and evenly over the surface. Then use a tea strainer/infuser loaded with the flocking medium and gently tap it over the interior, and sift very small amounts, you are basically only dusting very fine particles, you hardly even see it until it begins to collect on the painted tacky surface. Third try I think I can live with.  |
|
|
|
Post by tomqvaxy on Jan 1, 2021 5:01:29 GMT -5
like the two-tone. and of course the wheels, too.
|
|
|
|
Post by skip on Jan 1, 2021 20:06:52 GMT -5
My method for using flocking is Elmer’s white glue mixed 50/50 with Future, (or whatever they’re calling it now). Both are acrylic base so there is no clotting of the glue, just really thin wet gluey base when brushed on. When the flocking material is shaken through a screen type tea strainer it gives a thick even cover. I then allow this to sit absorb and dry for a day, the next day I gently turn the part over to get rid of the excess flocking material then set aside to allow for any glue that hasn’t cured. I used to go over the flocking with cheap canned hairspray to set it, since using the Future in the Elmer’s I haven’t had to.
The other thing I do is prepare the flocking material by screening the flocking through the strainer until it forms a clump free pile of flocking on a piece of typing paper, I’ve found this alone was an improvement. The results of this method are the thicker flocking that we thought we were getting in the first place. I don’t have a photo example right now, will post on the next build I flock. Trust me this method works, maybe too thick for some tastes. Whatever you’re “straining” the flocking onto needs to be something that isn’t going to get the flocking material staticky, which is why the paper works for me.
If it does come out too thick for what you want, you Can use a super soft flat brush and gently; as in very gently brush across the flocked area and brush off the excess flocking until it’s the thickness you want. Good use for those really cheap camel hair brushes.
|
|
|
|
Post by Mr. Metallic on Jan 4, 2021 11:50:11 GMT -5
That's a sinister chop, and man those wheels are sweet.
It could just be me, but I feel like it could be lowered a bit front and back. There's a lot of space between the top of the rear wheel opening and the top of the tire. But, the way you have it was done sometimes back in the day, so it's just a suggestion.
|
|
|
|
Post by superflekmoonbird on Jan 4, 2021 12:06:00 GMT -5
That's a sinister chop, and man those wheels are sweet.
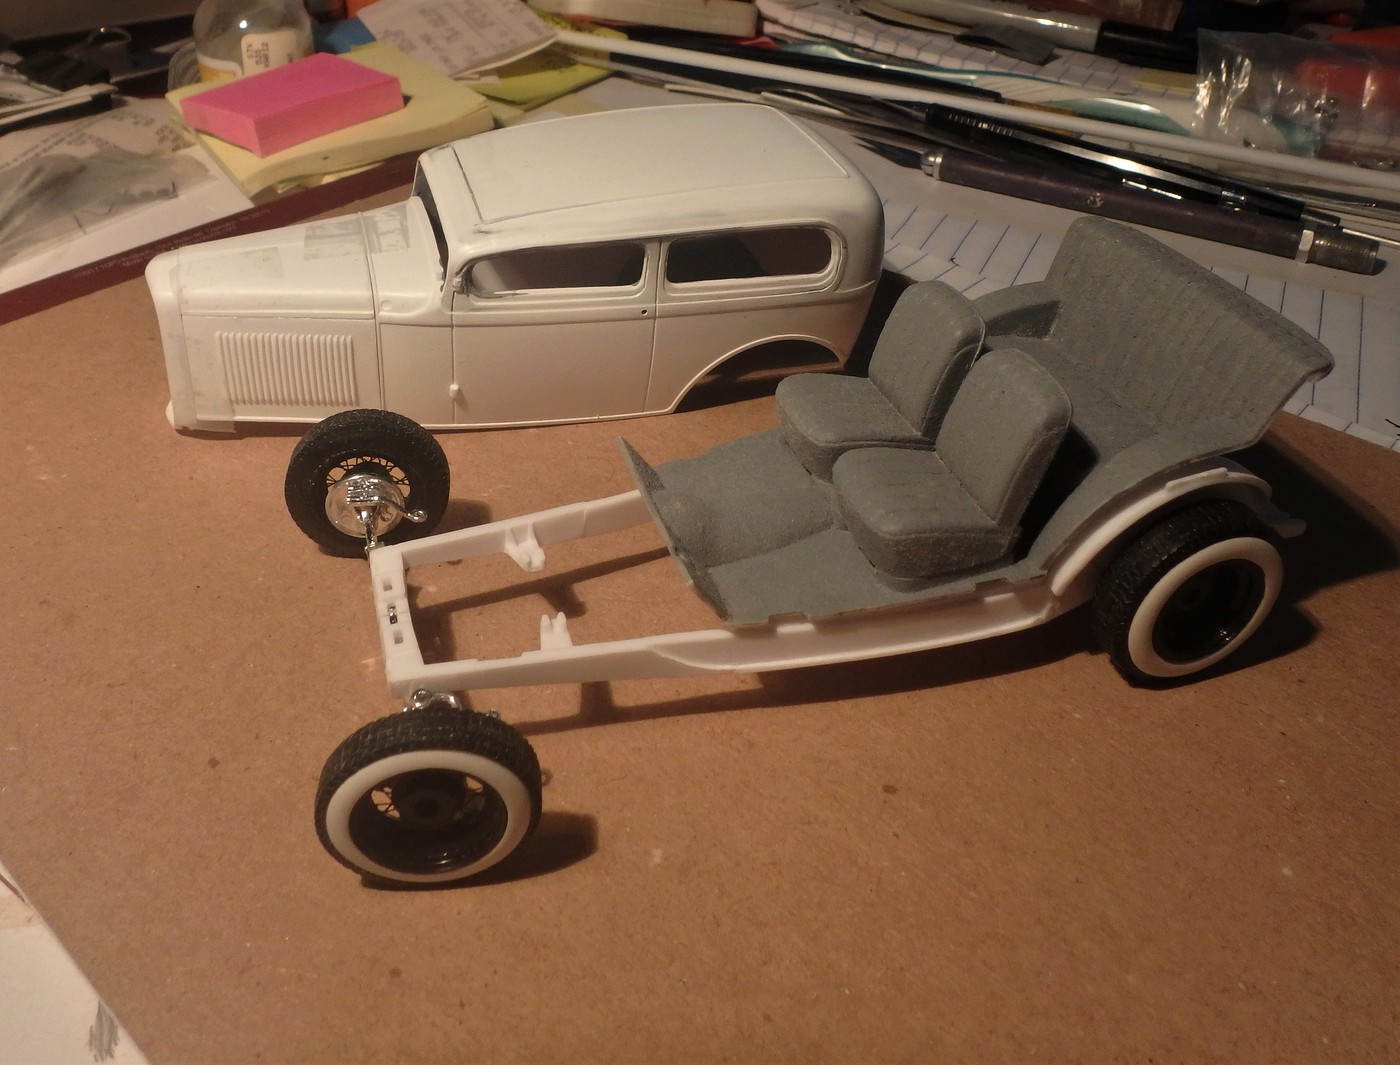
It could just be me, but I feel like it could be lowered a bit front and back. There's a lot of space between the top of the rear wheel opening and the top of the tire. But, the way you have it was done sometimes back in the day, so it's just a suggestion.I agree. When I took the picture I had yet to do the front and rear suspension, so I just placed the recently done wheels against the body. I'm working each wheel back to make attachment points to the front and rear axles, been a challenge to keep spacing and width correct. I'm going aftermarket and parts box...using a Replicas and Miniatures Halibrand rear and a Revell dropped front axle from the 29 Ford PU. I'm figuring out best way to attach the wheels on the axles , and then axle placement on chassis, to get the stance................and look. If I can get good solid wheel attachments, we'll see what I can get.  |
|
|
|
Post by Bernard Kron on Jan 4, 2021 12:51:27 GMT -5
Still likin' that cool wedge chop and those black wires against the whitewalls. Build on!
|
|