|
|
Post by lo51merc on Jan 22, 2011 16:48:30 GMT -5
I'm feeling kinda humbled by your comments, guys. I certainly appreciate every one, and I thank you all. Got a little update today. I widened and lowered the back window, but haven't put the weatherstrip in it yet. I made the rolled and pleated tonneau this afternoon, even though the 1:1 had a smooth one. I patterned it the same as the 1:1, and the center panel is flat. I didn't glue in the center panel so it'll be easier to paint without having to mask it. Gary 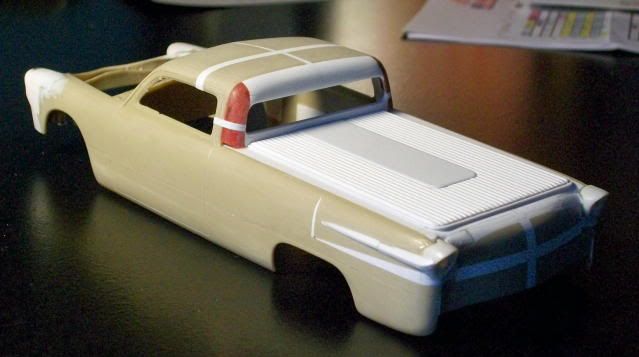 |
|
|
|
Post by volvo544special65 on Jan 23, 2011 3:59:09 GMT -5
It's getting a nice shape.
|
|
olds
Rebel

Posts: 69
|
Post by olds on Jan 23, 2011 5:26:30 GMT -5
Wonderful Job!! It's better and better...
|
|
|
|
Post by Jody Michielsen on Jan 23, 2011 9:24:24 GMT -5
I personally love the bed cover! Nice tough there! Way to go Gary
|
|
|
|
Post by lo51merc on Feb 6, 2011 19:59:44 GMT -5
Yup, I've been sweatin' the small stuff for the last two weeks. I modified the shape of the upper part of the windshield, and created new weatherstrip for it and the rear window as well. I used the original windshield divider, but made new vent window uprights. A lot of what I've been doing can't be seen. I was gonna use the kit Caddy engine only to find out that I had used the heads and intake on another build. (note to self....when you take parts out of a kit, put a note in the box that says what you took!!!) Luckily I came up with another 49 Ford kit and stole the parts I needed from that kit. (didn't put a note in the box yet either!) I also finished sectioning the interior and the radiator support. I added a couple of small pieces of styrene at the peak under the front of the hood to build it out a little bit more, and it may yet need a little more there. 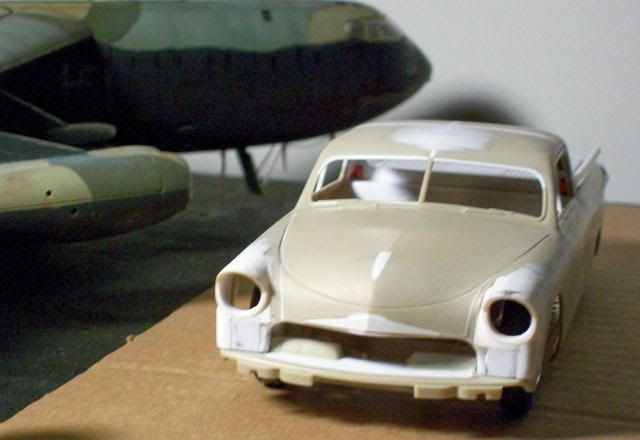 As my chop was a little aggressive, so was my lowering job, so I raised it up about 1/16" front and rear. This looks more like the 1:1, will show more of the whitewalls, and give me some room for the lakes pipes. 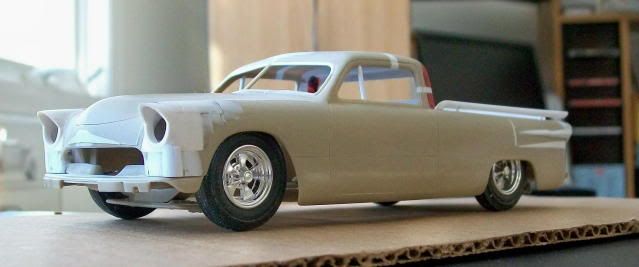 For the rear I made the license plate surround (frenched) but it still needs a little bit of tweaking. Today I made the bed rail/exhaust pipes. I used .093 styrene tube which works out to over 2 1/4" in diameter, but while it looks large in the picture, in hand it looks pretty good. I will be sending out the pipes for chroming. 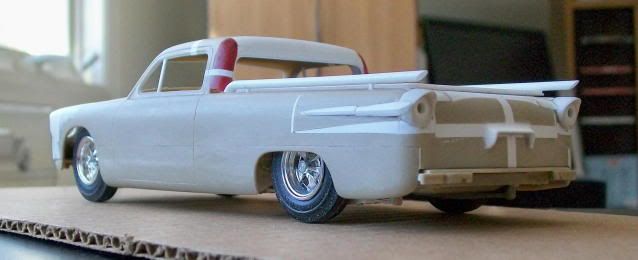 I have the 57 Plymouth wheelcovers on order and also a set of smoothed bumpers. I still have nothing for the 58 Impala side trim, and I'll use the lakes pipes from the Revell 49 Merc kit. More later, Gary |
|
|
|
Post by Duane on Feb 6, 2011 21:08:07 GMT -5
DAAMMN !!!! Gary,
your build is getting sweeter
with each picture that you
post !!!!!!!!!!! stay on it Son !!!!!
|
|
|
|
Post by Jody Michielsen on Feb 6, 2011 21:31:03 GMT -5
Looking smooth. A little here and a little there makes the world go round! Keep it up!
|
|
|
|
Post by froghawk on Feb 9, 2011 9:16:31 GMT -5
It's a real pleasure seeing such clean workmanship. On a project like this it's worth sweating the small stuff!
|
|
|
|
Post by lo51merc on Feb 9, 2011 9:44:21 GMT -5
Thanks again for the encouraging comments! I have forgotten to mention here (and should have from the beginning) that I need some of the Revell 58 Impala side trim for this model. I need four of the rear pieces, and two of the door pieces. I really don't want to spend the $45+ for two 58 Impala kits just for these parts, but my search for them has, up to now, been fruitless. Gary
|
|
|
|
Post by nobillet on Feb 9, 2011 11:11:47 GMT -5
Would you be able to use the side trim from a monogram 59 Chevy? I believe these pieces are included in the 60 Impala chrome as well and there are probably far more of those available in most of our parts stashes. I looked at the trim and it appears very similar to what you are searching for. Just a thought. I may even have some of the pieces of 59 trim if you do not. Let me know.
By the way the build is really looking great. an you elaborate on how you did the modifications to the windshield opening? Thanks
John
|
|
|
|
Post by tex34ford on Feb 9, 2011 14:17:47 GMT -5
great looking build. Just a $.002 comment, the exhaust pipes are nicely done, but I think they make the rear view of the truck look bulky compared to it's overall sleeker look without them. i would run them conventionally so that nothing breaks up the smooth side view top or bottom. Of course it's always easier to offer opinions when you're not doing the work. Either way, it's looking good.
|
|
|
|
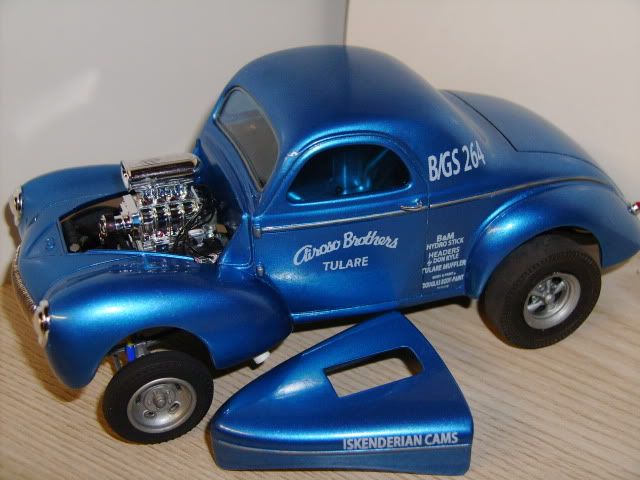
Post by lo51merc on Feb 9, 2011 16:09:44 GMT -5
Bill if you look at the picture of this car there are pipes at the top of the bed edges on each side. While I'm not able to make this model a perfect clone, I'm trying hard to include as many of the 1:1's design elements as I can. 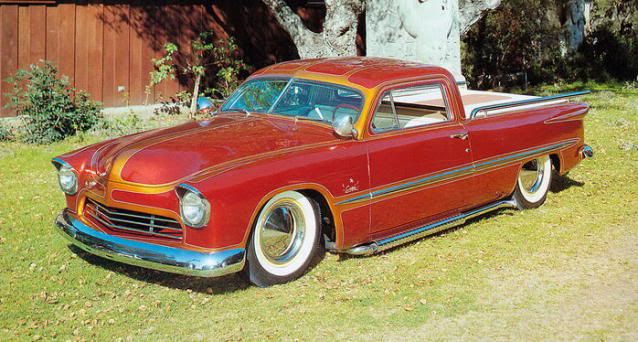 John, I may have some of the 59 side trim on the way from another site. I haven't heard from him recently, and I don't know if he sent the pieces or not. I'll get back to you if I don't hear from him in the next couple of weeks. After I finished the chop, the roof looked a little flat so I built it up slightly. The upper portion of the windshield kinda looked a little saggy to me too and I needed to fix that. Starting at the windshield divider, I filed away the weatherstrip, and tapered it toward the radius of the windshield top. This gave me the extra height I needed at the center. Next I marked the roof just above the windshield about 1/32" above what I had left at the top of the windshield, and continued around to the point where the A pillars were joined by the chop. I again filed this area out, then added a piece of .048 round styrene into the new weatherstrip opening. After the glue set I sanded the new weatherstrip and blended it into the remaining original 'strip. Thanks, Gary |
|
|
|
Post by ChrisV on Feb 9, 2011 17:33:58 GMT -5
Judging by the pictures, it's kinda hard to tell what side-trim was used for the real car (I personally think that the trim looks more narrow than that of a '58 Chevy) Another possible source for a similar (separate) side-trim is Revell/Monogram's 1/25 '55 Chevy Bel Air Convertible (I'm not sure if the Coupe they based on the same tooling had separate side trim, but at least the 'vert did...) By the way, I found these pics of Richard Gregg's pickup over at Rik Hovings Fotki-page: 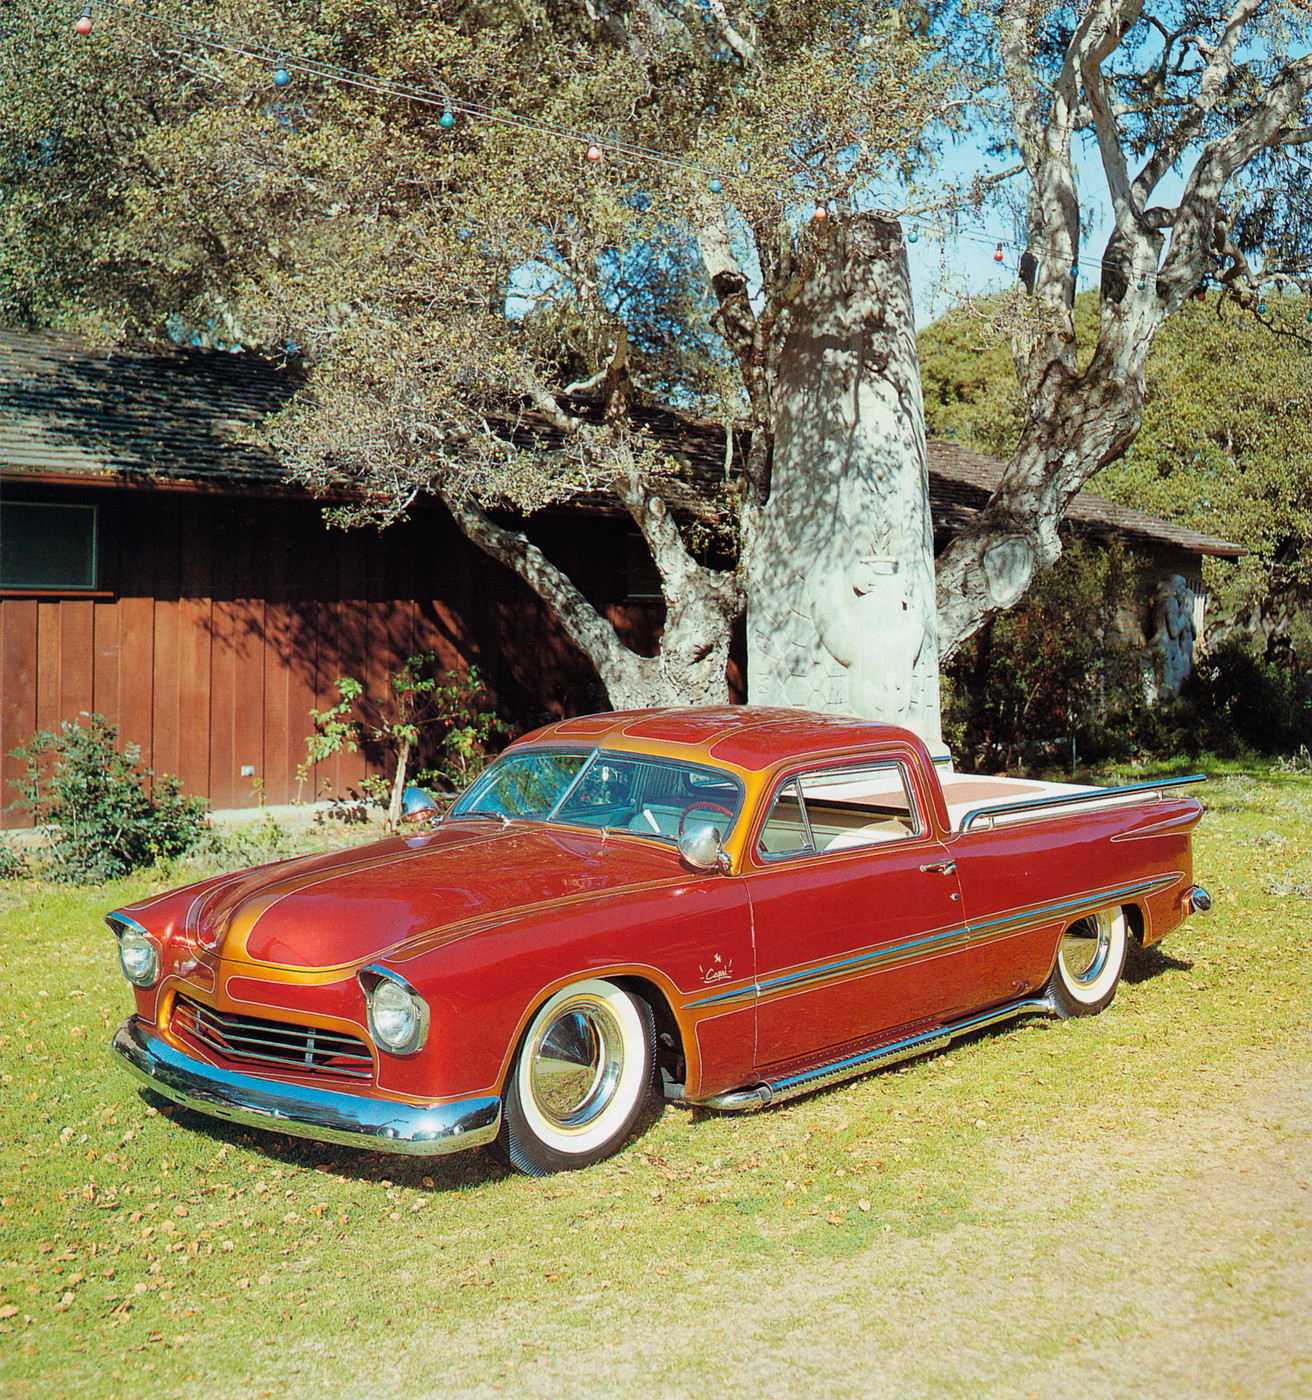   |
|
|
|
Post by Bill aka Gramps on Feb 13, 2011 16:45:21 GMT -5
Dang, I go into the hospital for a few days and you come up with this. That my friend is some fantastic work. I can remember when it was first published. God that makes me old. lol You gotta finish this thing.
|
|
|
|
Post by lo51merc on Feb 16, 2011 10:47:15 GMT -5
While I was trying to figure out how I was going to make the shielded lakes pipes I started the putty/sanding on the body. Again, having only a few pictures of the real car, I had to use my judgement for the dimensions on the pipes. The white pipes are .093 styrene tube, the tabs and pipe end plates are sheet styrene, the tan pipes are modified roll bar from this kit and the smaller angled piece are modified sprue. Behind the shields are pieces of sprue I sanded down to a diameter that I felt was close to the 1:1. The shields were the toughest part of the pipes and luckily I had some MCG photoetch honeycomb grille material. Aside from a little blending of the ends that connect to the stock exhaust system, they're ready for chrome plating. Not much of an update, but I'm pretty happy how these turned out. Gary  |
|